This Trine 2 walkthrough is divided into 13 total pages.
You can jump to nearby pages of the game using the links above.
- The Final Chapter
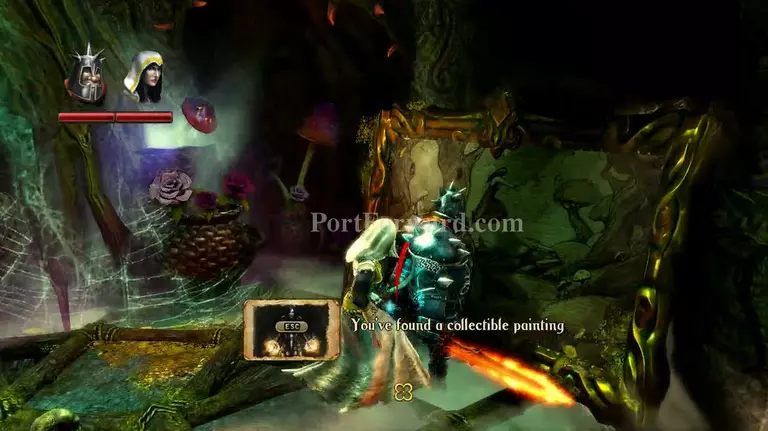
Welcome to the final chapter! and by final chapter, they mean pretty much just the final boss. Lift up the painting and make your way into the pit.
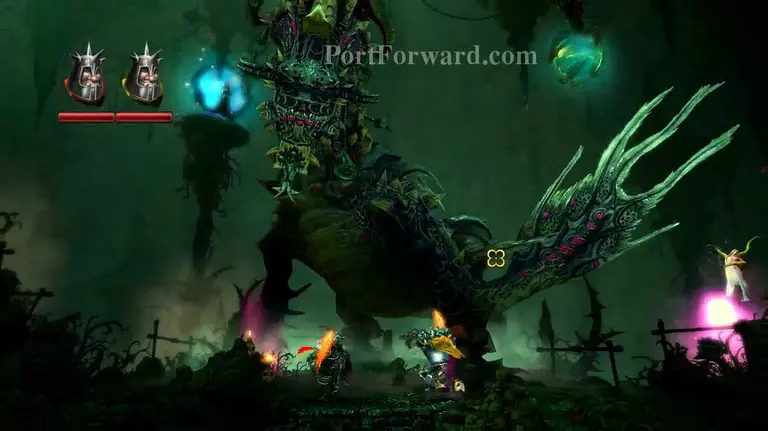
Oh crud, it's the robot! But this time, it's the real deal! Prepare for a fight.
Stand on the leaf to the right so the water goes onto the sparkly ground. This will grow a plant up to the checkpoint so you can heal. The button on the left makes a plant too, but other than getting a better hit at the dragon does very little. The Dragon can also burn these, so you'll be growing them a fair bit.
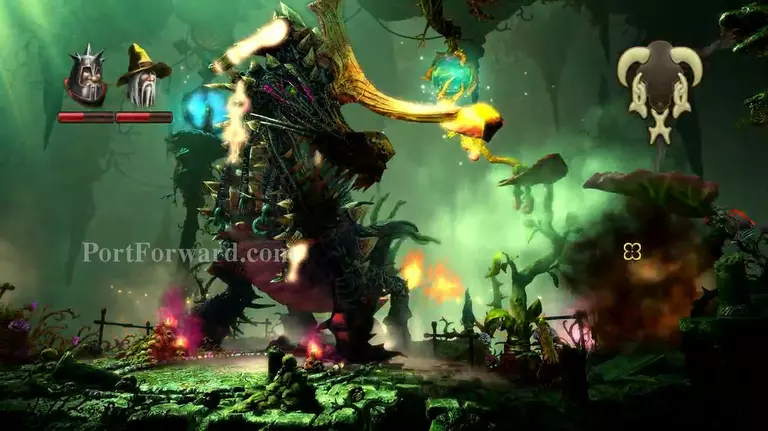
As for the Dragon itself, it's health is in its Jewellery, the Golden pieces on his head. Jump from the leaves for a better hit at them. Throwing hammer can be a real lifesaver here, as you can hit him from the ground.
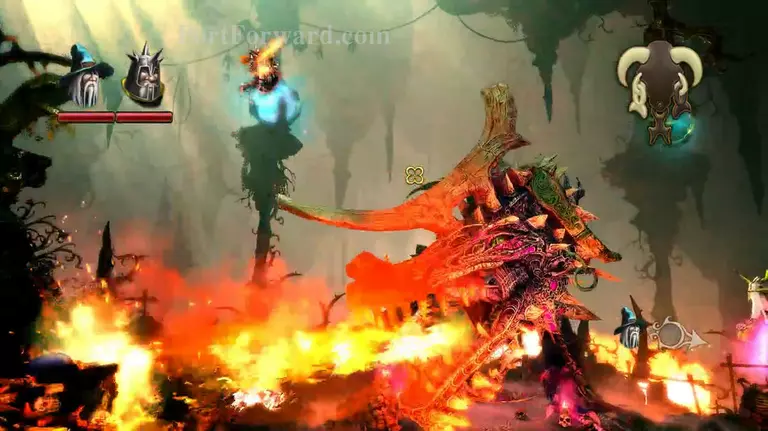
The Dragon attacks by breathing fire and trying to bite you. When he gets lower health, explosive barrels and easy minion badies start spawning too.

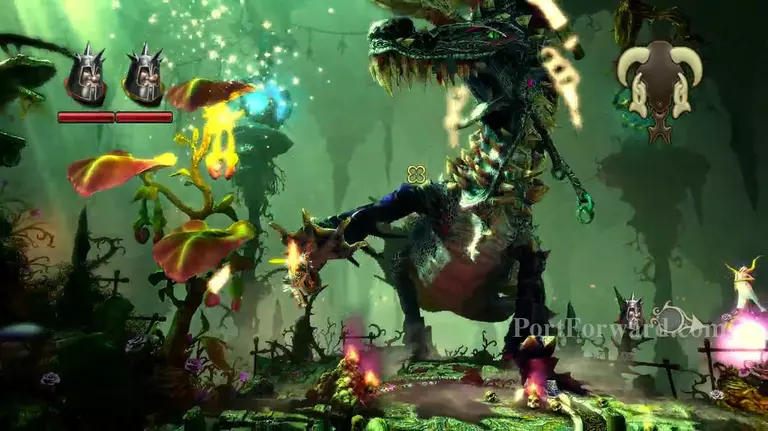
Destroy all the Jewellery, and the dragon is defeated! Give yourself a on the back as the dragon flies backwards into the very thin pillar holding up the evil lady. Enjoy the cutscene unfold, and if you have the DLC, start the new adventure in the Goblin Menance!
More Trine 2 Walkthroughs
This Trine 2 walkthrough is divided into 13 total pages.