
This Trine 2 walkthrough is divided into 13 total pages.
You can jump to nearby pages of the game using the links above.
- Searock Castle
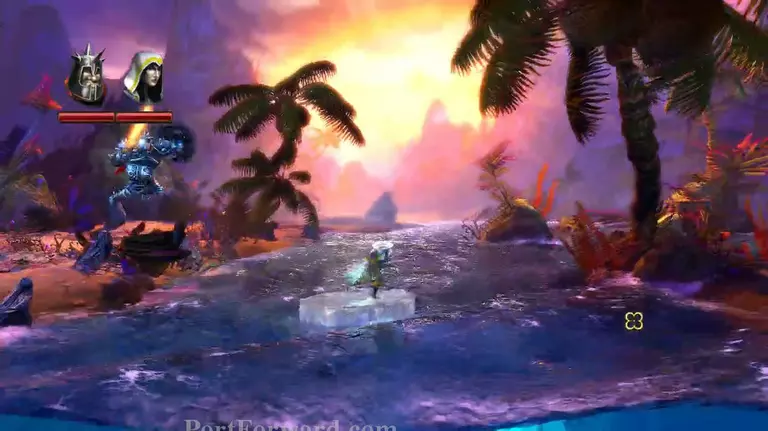
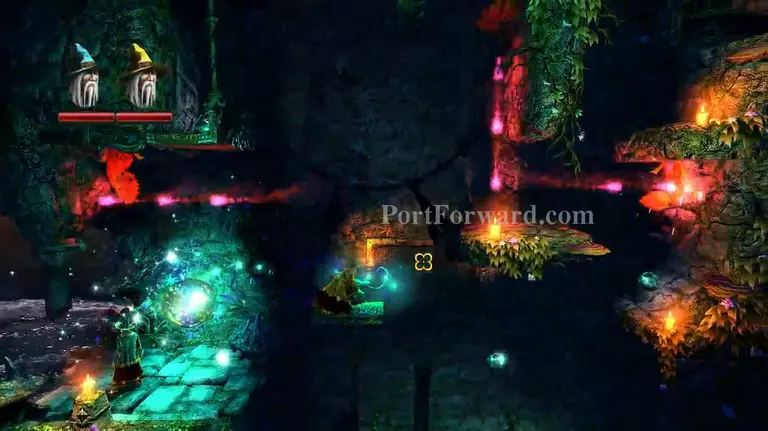
Now the Ice arrows come in handy. Shoot a fully charged one into water to make yourself a platform for a small amount of time.
A new enemy: A Crab! But don't try and kill it, it's impossible. Just put something heavy on top of it so it can't move.
Put something on the button then jump across the falling platforms.
Put a box on the first button, then throw your hammer at the wall to free a rock. Put this on the button in the fire. Jump up the platforms and continue.
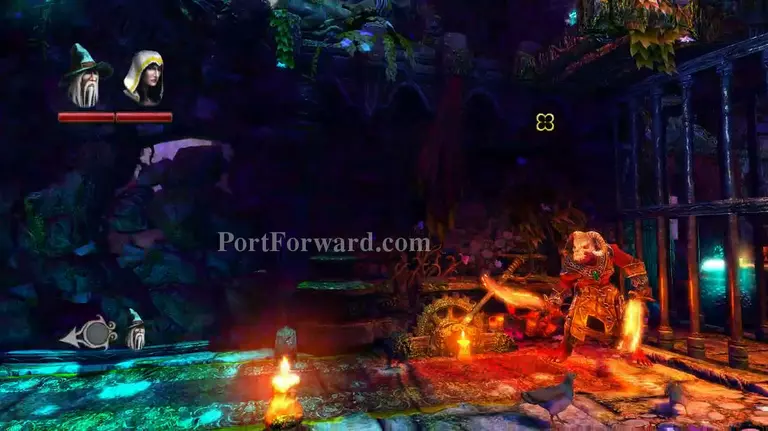
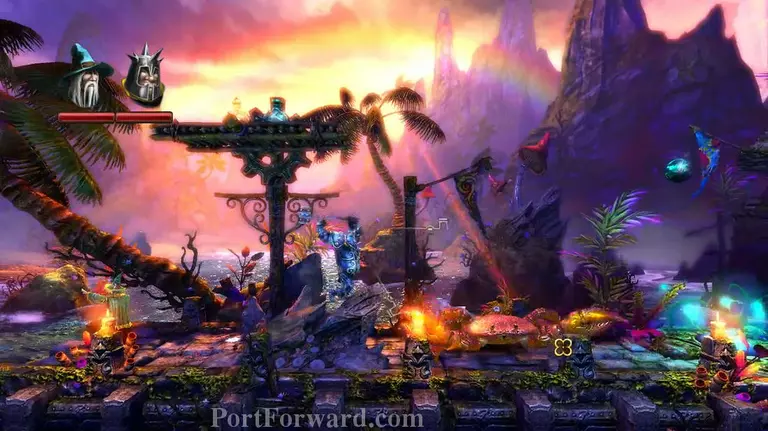
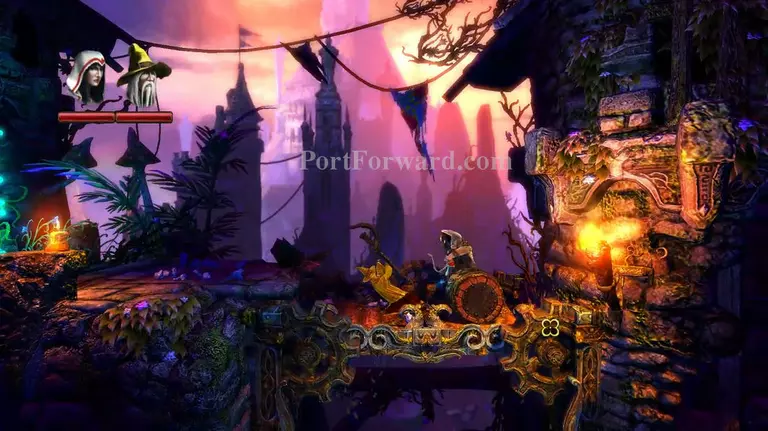
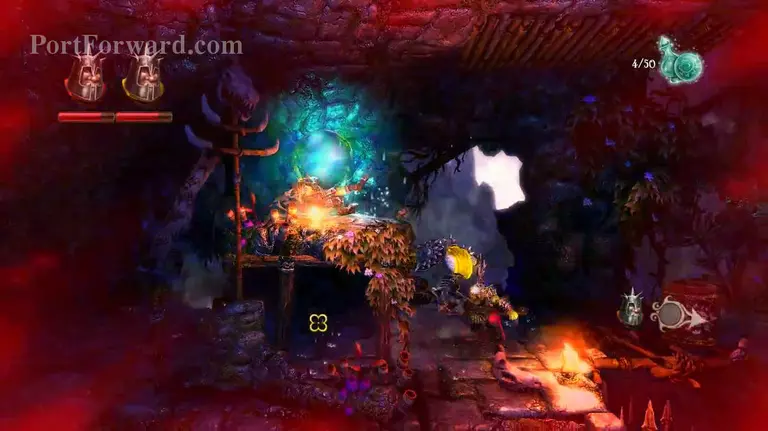
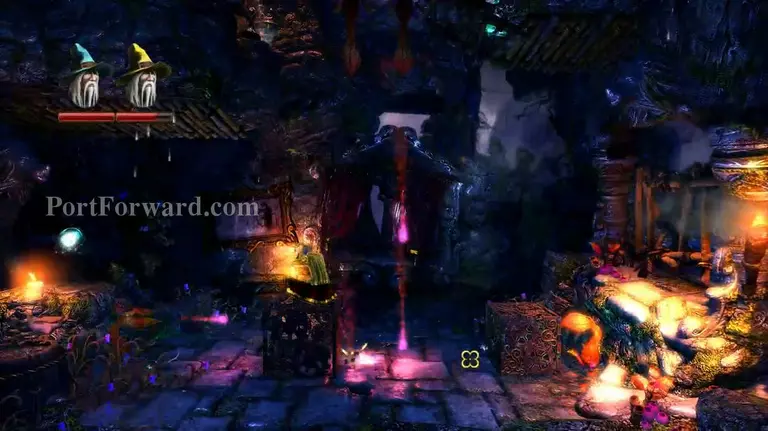
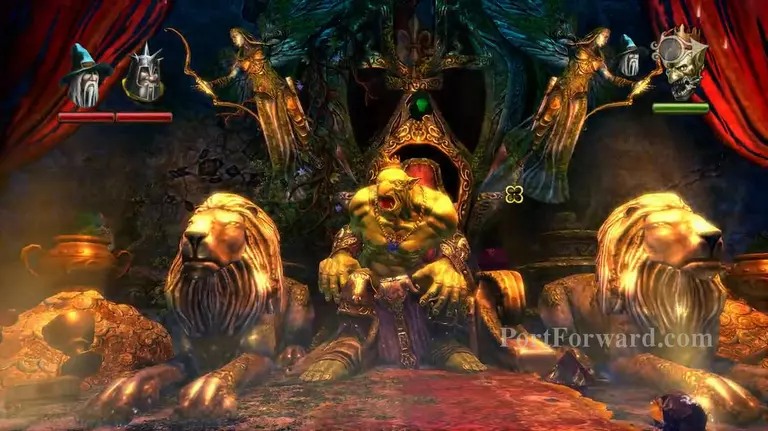
Here's a proper look at the Satan/Kratos enemy because the first time we saw him, my picture wasn't that good. After killing everything, pull the lever.

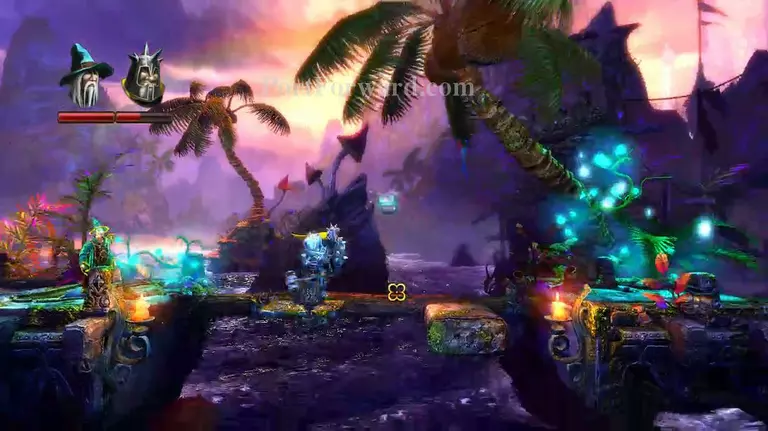
Jump down and jam the dears with something when the rotating platforms are lined up nicely.
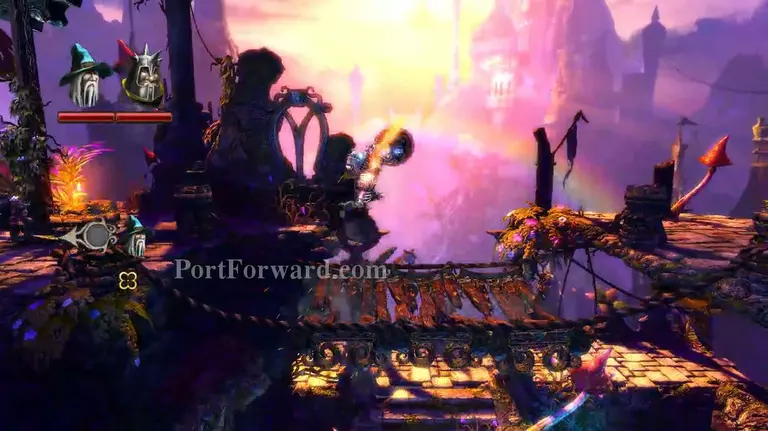
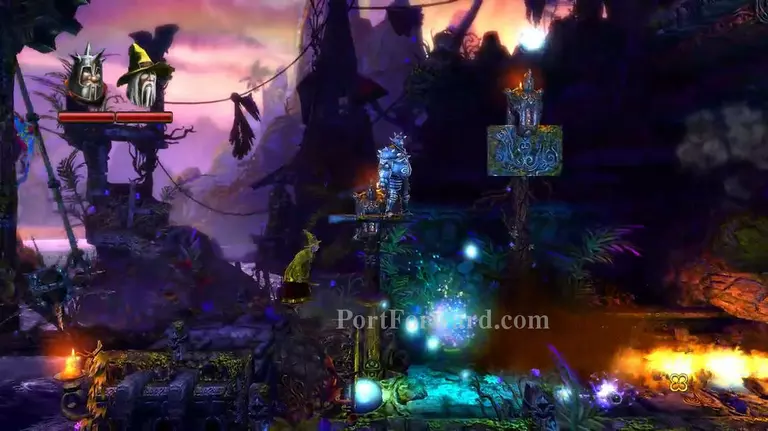
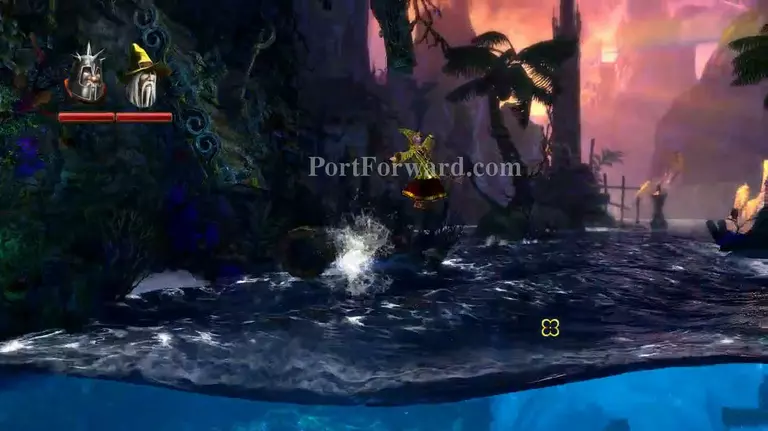
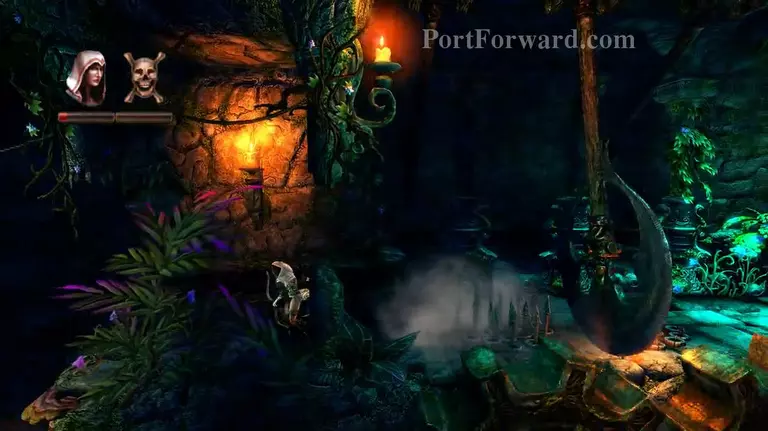
Now you simply need to jump onto this PERFECTLY SAFE looking piece of wood! Nothing bad could co-
Oops, it was a trap. And now you're all wet. Sorry about that.
Make your way safely across on that platform. The Knight's shield is perfect for avoiding the spit.

Push the button to have a Boom Barrel drop down for you, then use that or your hammer throw to break the wall to the right. Then put a box or barrel in the spikes and jump across on the pipe before the fire destroys the box.
Stand on the platform and pull the lever. No trap this time. I'm being serious.
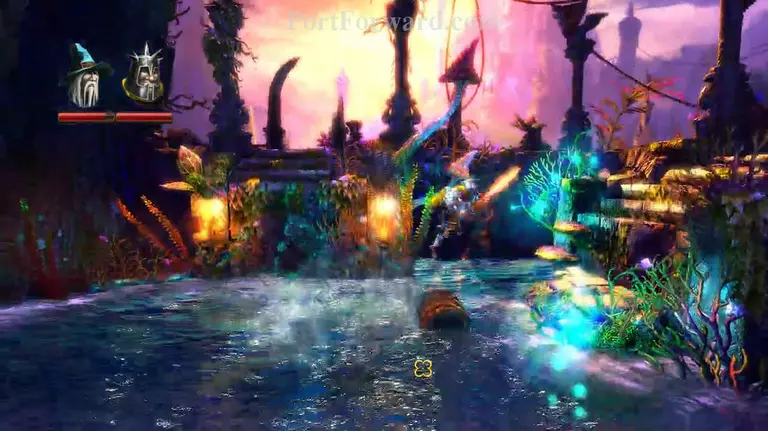
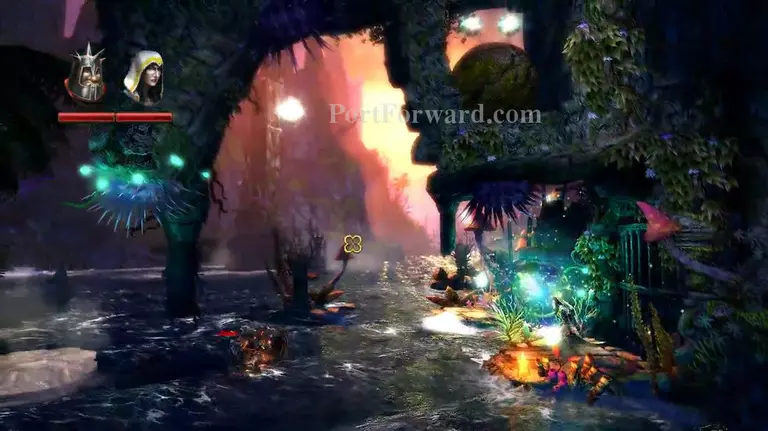
Ok ok, you may have fallen into the water again by my fault. Use Ice arrows to assist in getting out and going ahead.
Break the wall up the top to free a rock. This accomplishes nothing at all. What you need to do is swim underwater to the right.
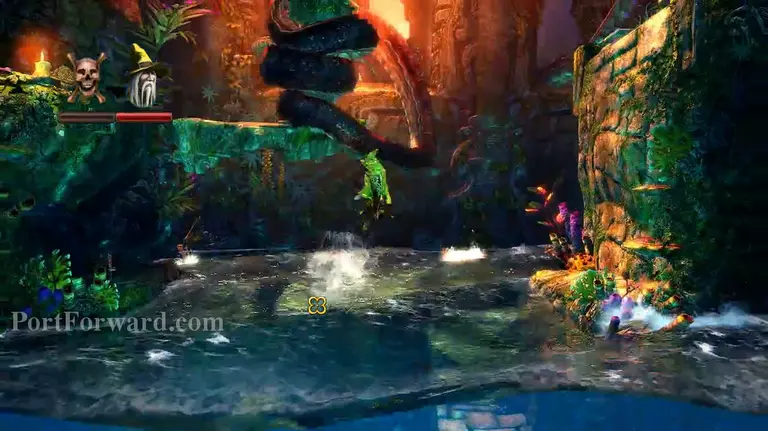
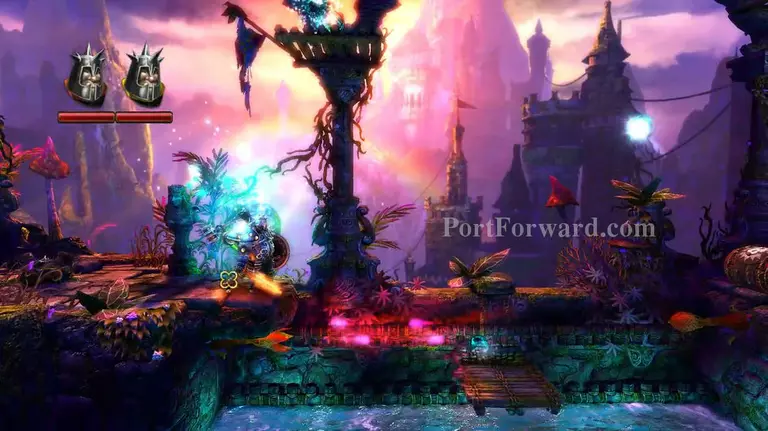
When you come out, you'll be greeted by the KRAKEN. Jump across the platforms he waves around.
Jump down and break the wall to flood the room with water. Parkour through spit and Platforms to the other side.
Spikes and swinging axes, oh my! Time yourself, these axes insta kill.
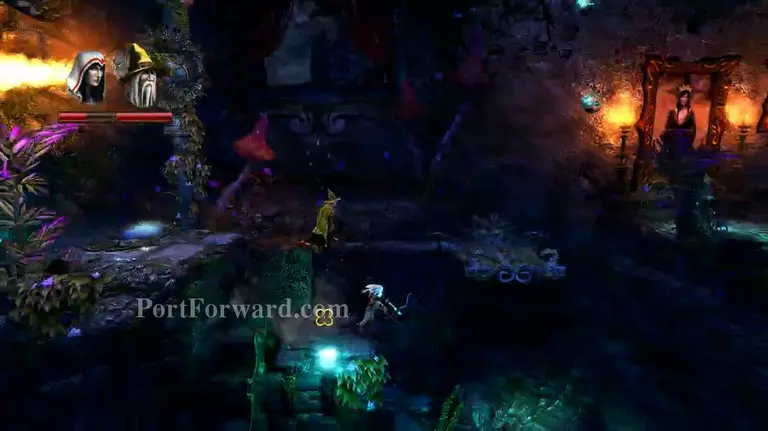
Time for a rollercoaster of breaking bridges, storms and Goblin combat!
Make your way up around behind that goblin by the barrels. Blow him up and try pulling the lever. It seems they've jammed the gears, just like you have previously. Get up there and smash it, allowing the door to be opened.
Drop down into the Pit of Spit. Make your way right and break the wood.
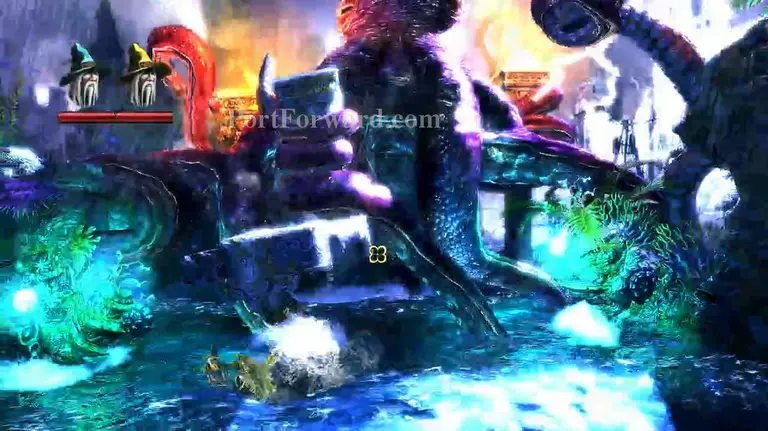
UNLESS THE KRAKEN! Sadly, this is not a boss fight. Just jump across the platforms he's waving around and continue on.
Did you learn your lesson from when the Goblin jammed the gears? No? Perfect, jam the gears here.
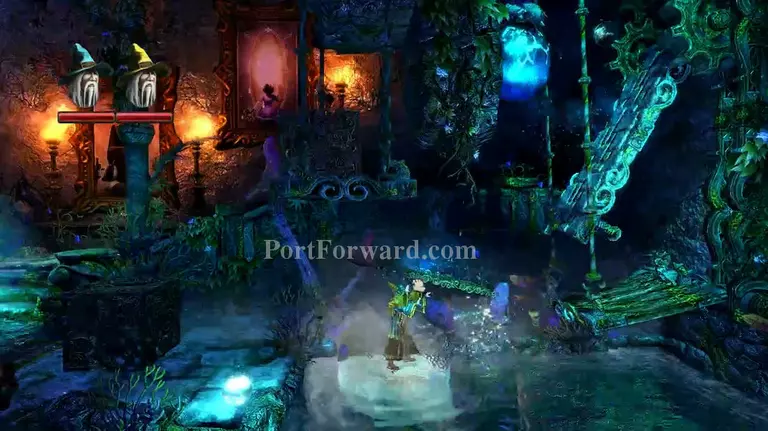
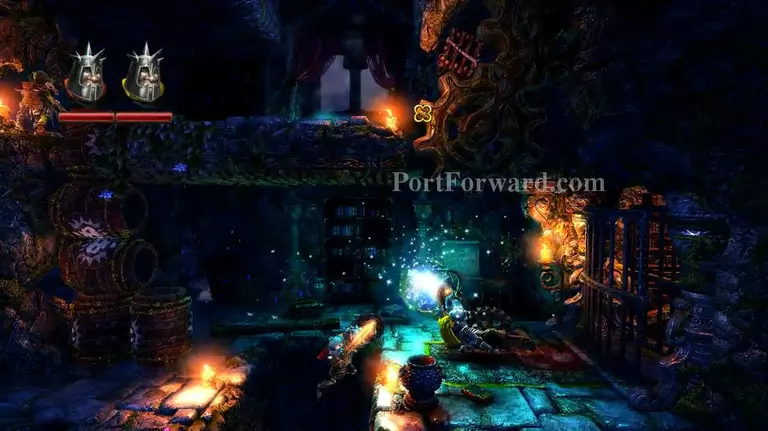
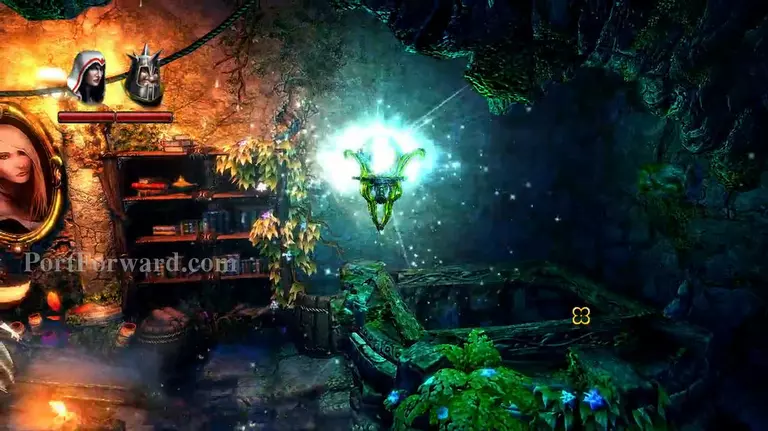
Put a box on the platform to pull up another platform. Weigh down the thing the Blue Orb is trapped by, then free the water onto the sparkly ground.
Over in the corner, there is a small platform. Stand on it and- Oop, it was ANOTHER trap! This time you land right into the King Goblin's chamber! Oh well, at least you aren't wet again.
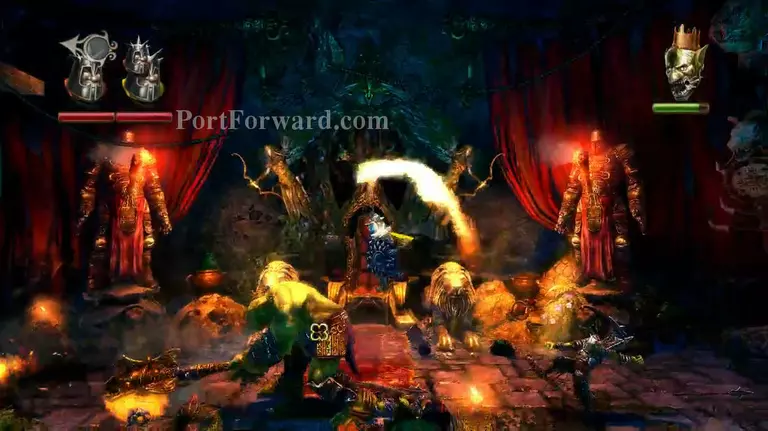
As far as I can tell, this is identical to an Orc boss battle. So jump all over the place and whack him.
The crown has fallen and the Trine has returned. It breaks a wall for you, and now you jump down into the Laundry!
More Trine 2 Walkthroughs
This Trine 2 walkthrough is divided into 13 total pages.


