
This Trine 2 walkthrough is divided into 13 total pages.
You can jump to nearby pages of the game using the links above.
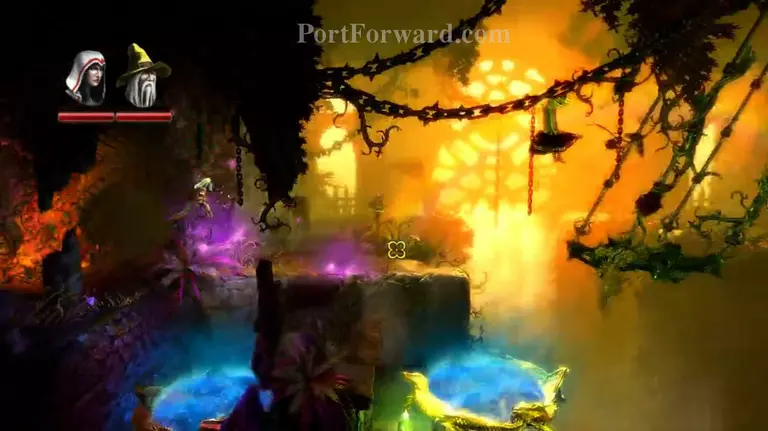
- Shadowed Halls

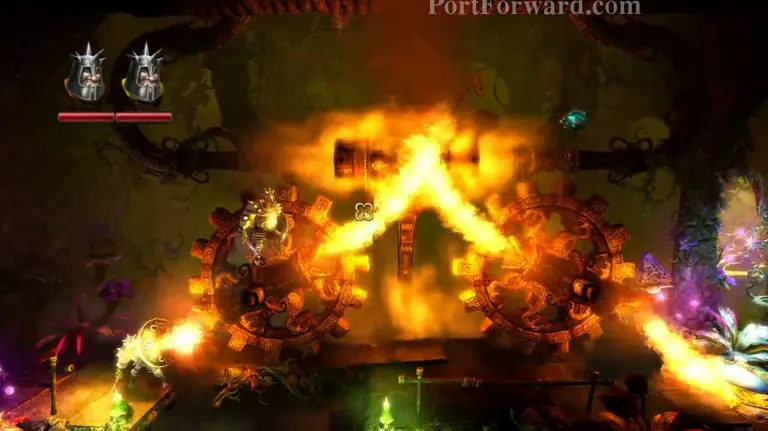
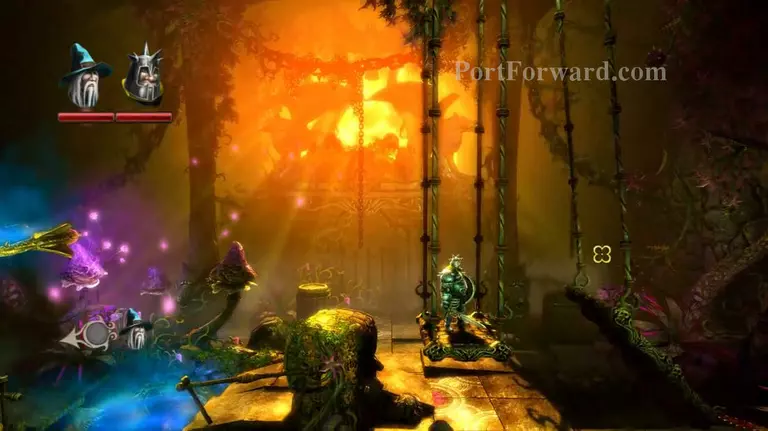
Damn, time to fight a Dragon! This boss is pretty hard, first up, put a box on the button by its feet. And then you win. Turns out it was just a robot!
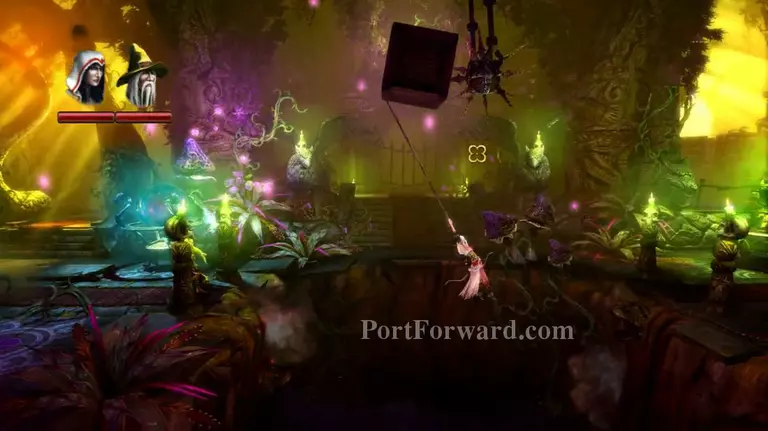
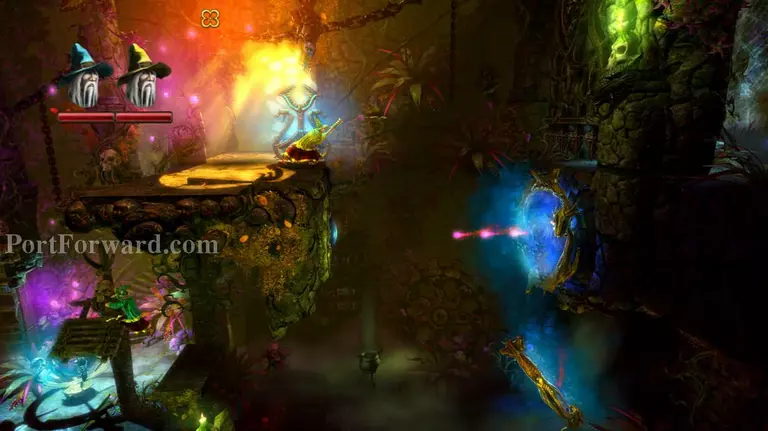
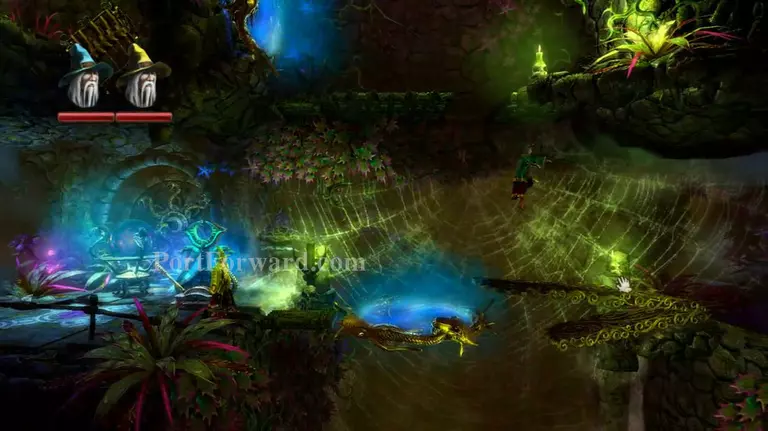
Put the box on the spikey thing and grapple across the deadly pit.
Remember when I told you to level up how many boxes you can spawn? I hope you did, because you should just spawn boxes on all the buttons. That is legitimately the only solutiob.
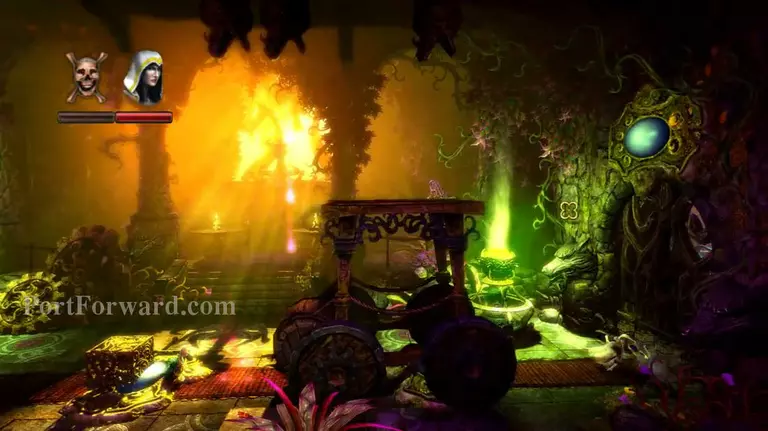
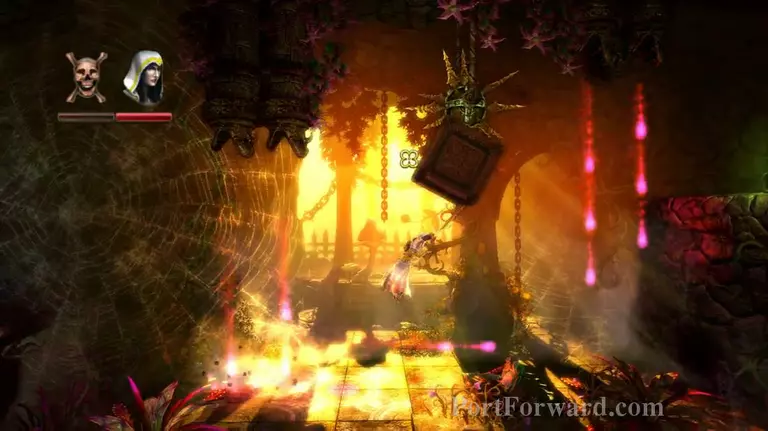
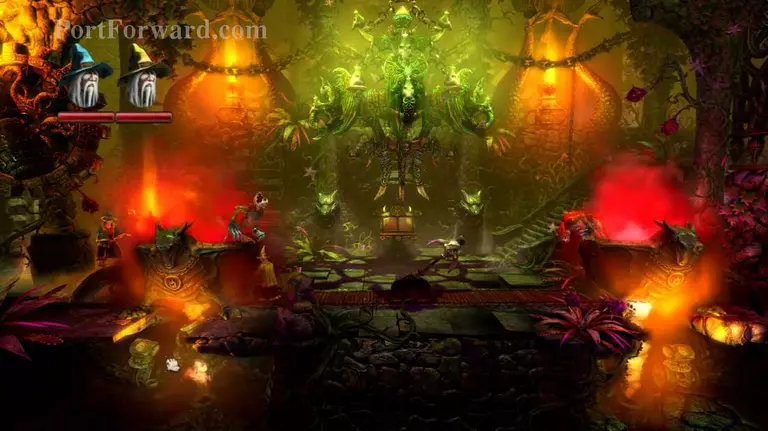
Watch out for that red pot, it spawns nasty monsters! Disconnect the pipes from under it and climb upwards.
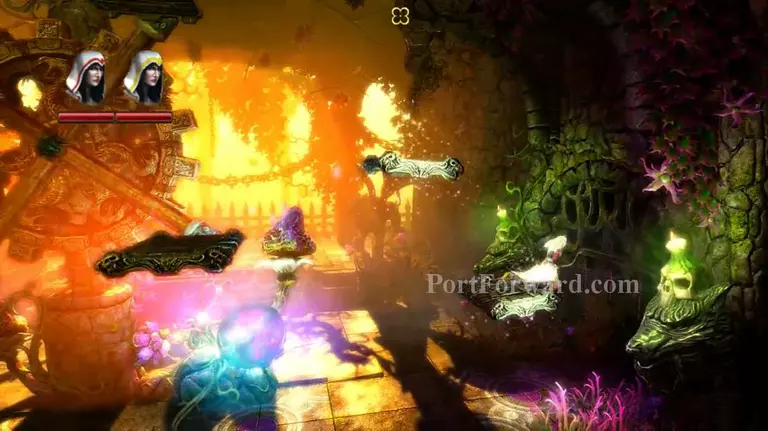
Jump across the platforms with timing and pull the lever.
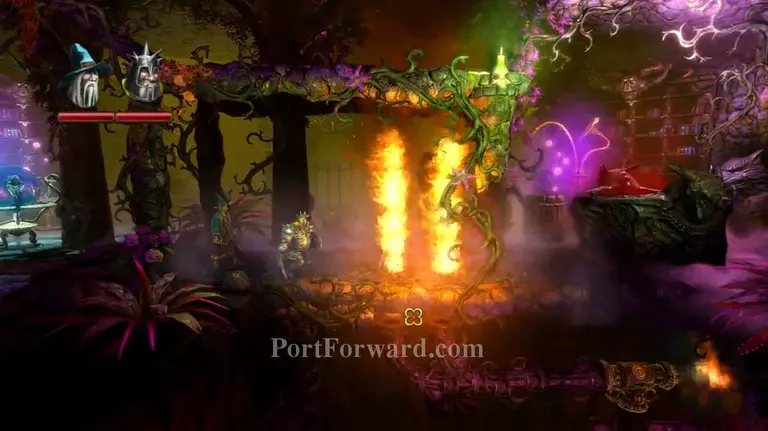
More fire. Just jump across on the pipes.
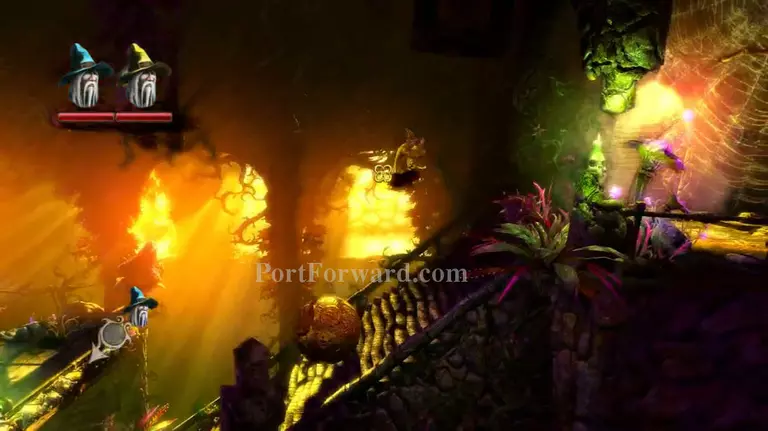
Jump over the balls and go up the stairs.
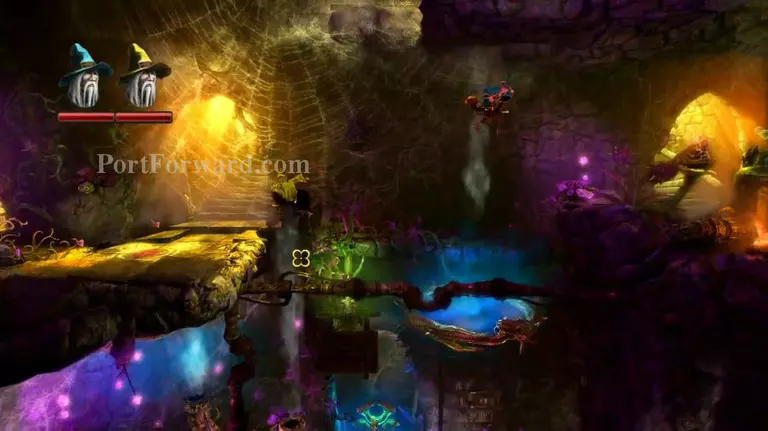
Use the pipes to get the gust into the bottom portal and use it to glide upwards.
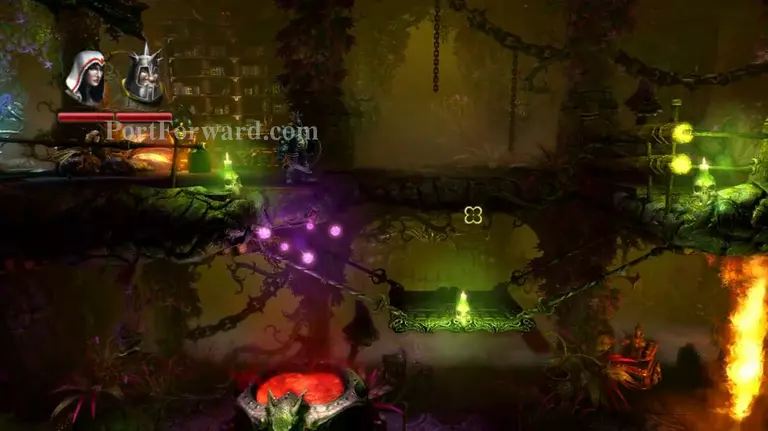
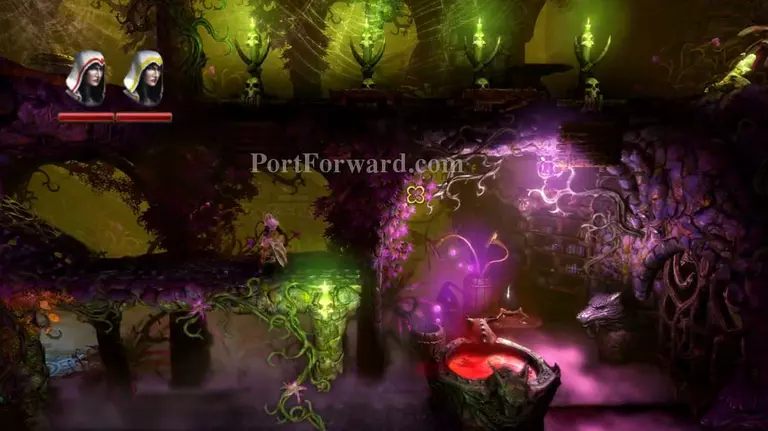
Disable the red pot by getting under it and taking the pipes. Use those pipes to block of the fire above and progress.
Stand on the platform and jump down the hole.
Jump up the pressure platforms and move the portal so the spit pushes the button.
Dodge the spit and put the box on the spike ball. Grapple up to the ledge.
Jump up the Ferris wheel and pull the lever.
Use the cube to jump across the pit, then portal jump onto the moving platform.
Use planks and the portals to get across.
Disable the red pots and pull the lever.
More Trine 2 Walkthroughs
This Trine 2 walkthrough is divided into 13 total pages.


