This Trine 2 walkthrough is divided into 13 total pages.
You can jump to nearby pages of the game using the links above.
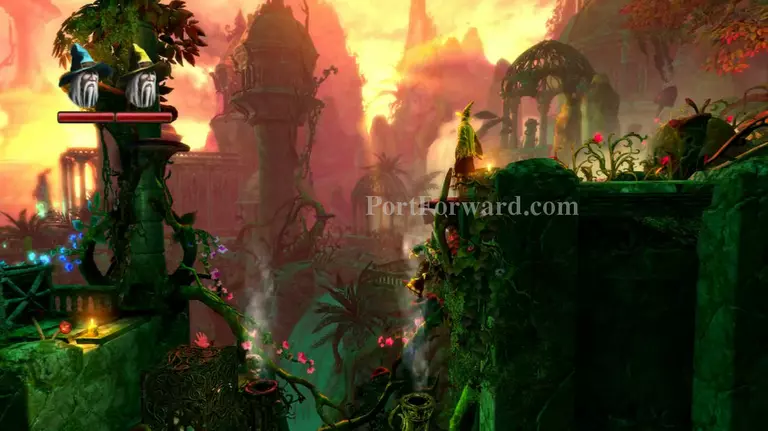
- Forlorn Wilderness
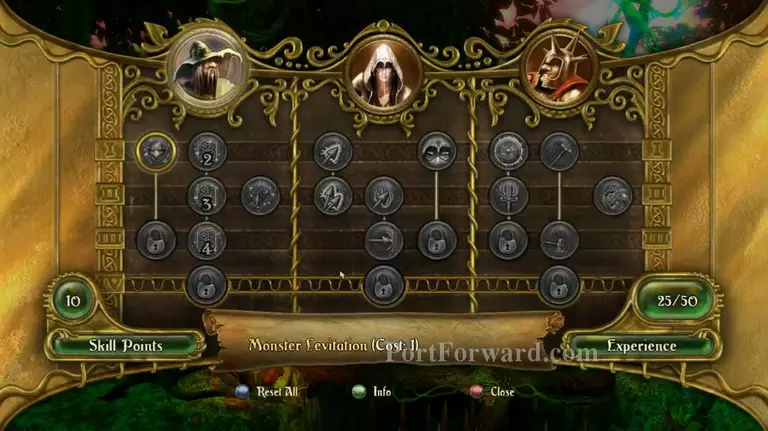
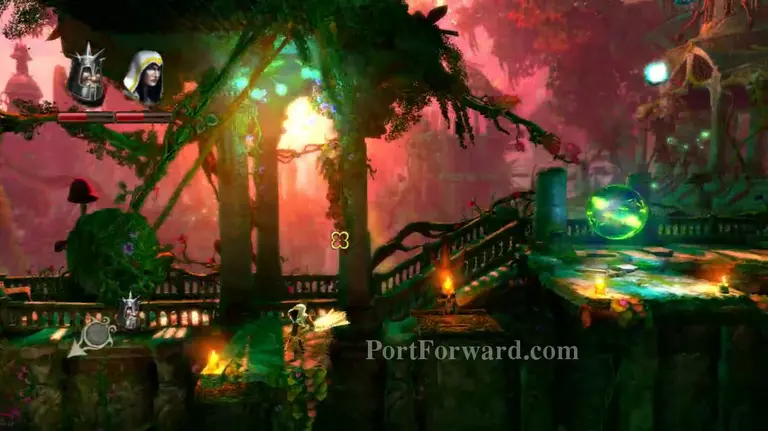
You can now change between characters with 1 2 and 3. Press TAB to access the skill tree. This guide expects you to prioritise getting 4 boxes and the plank. Later on in the story you will need Frost arrow and hammer throw.
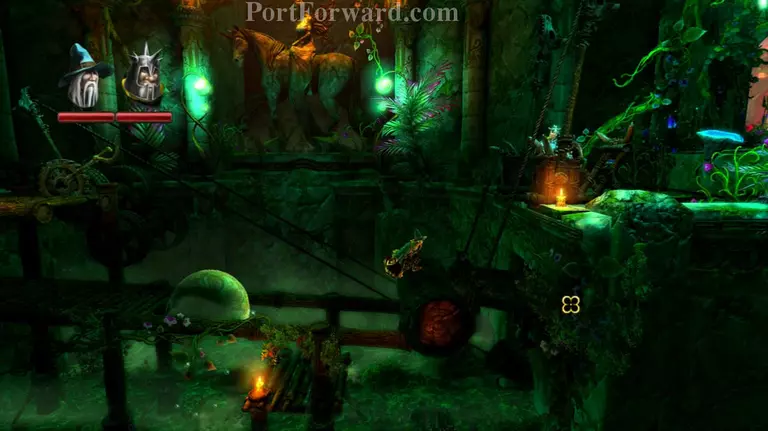
Push the log to roll down a bit, then use it as a platform.

Shoot the vine holding the log on the far side so it drops. Use it to jump up.
Tilt the logs so the water falls onto the sparkling bits on the ground to grow things.
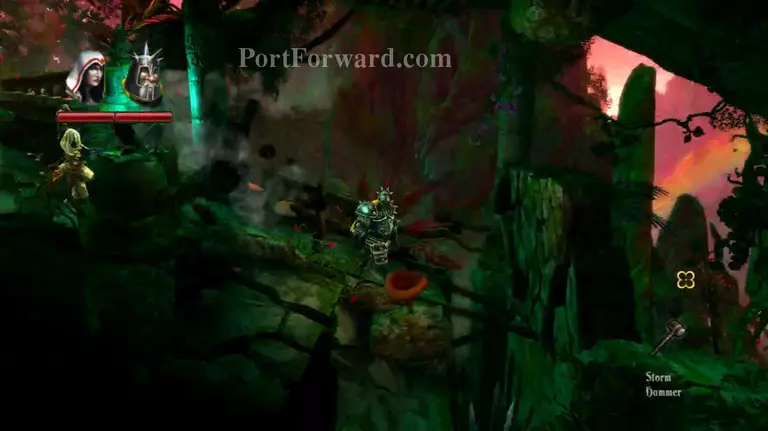
The Knight can smash through wooden barriers with his sword.
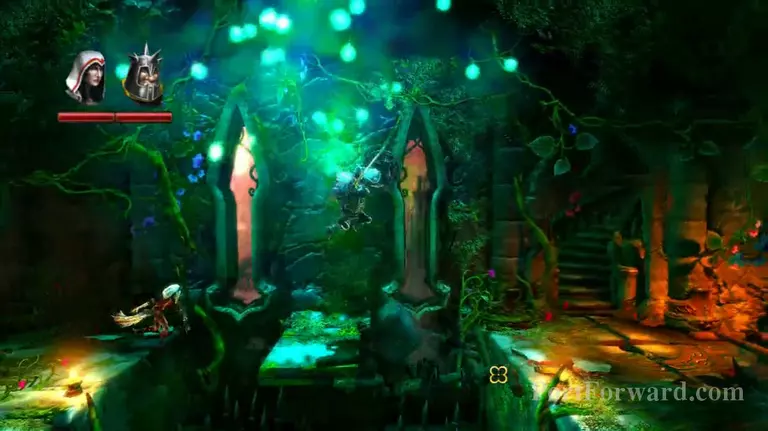
Jump across the platforms and watch out for traps.
Use the hammer (or rock) to smash your way down through the ground.
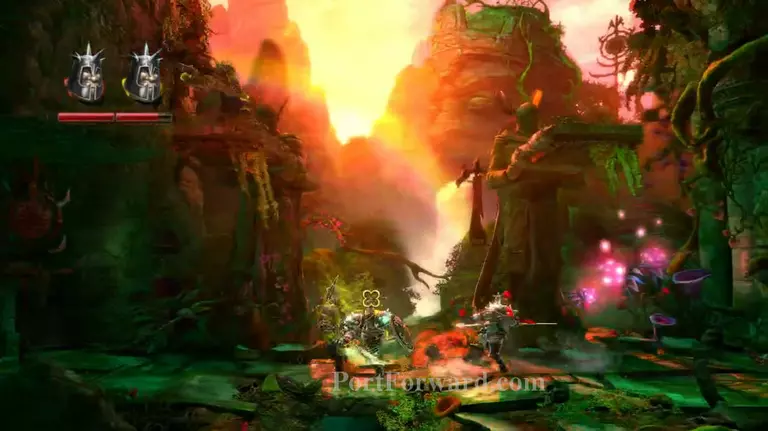
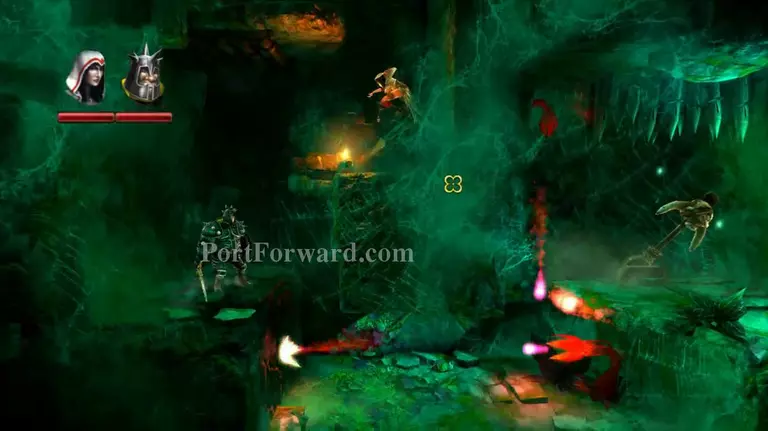
Smash through the rock wall for some proper combat. The Knight is the best for melee, the Rouge can do decent damage from a distance, and the Mage is almost useless is most cases.
Jump onto the wooden platform. It will go down and raise the other one. If you're quick enough you can jump right across, otherwise use the cube provided.
Carefully jump over the poison spit. Balance the platform to jump up, watching out for the rock.
Jump across the pressure platforms while dodging the rocks.
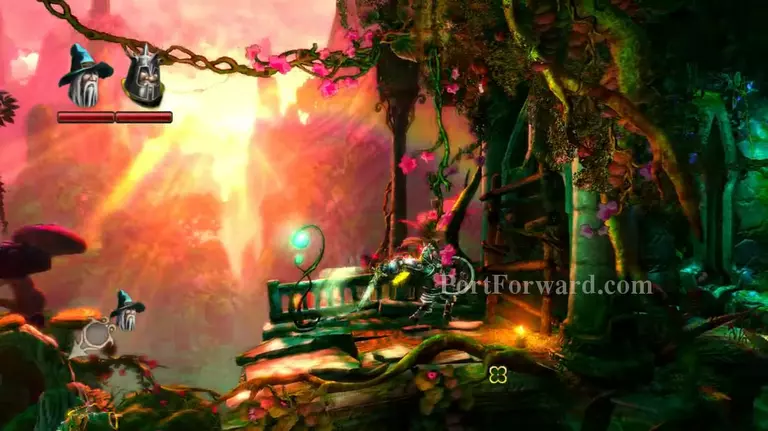
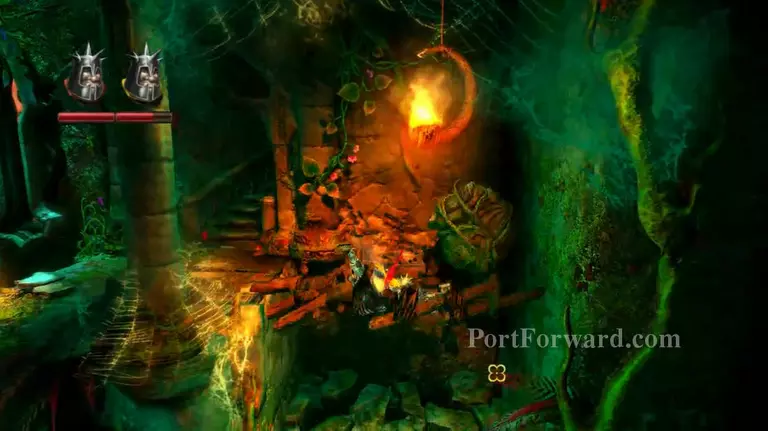
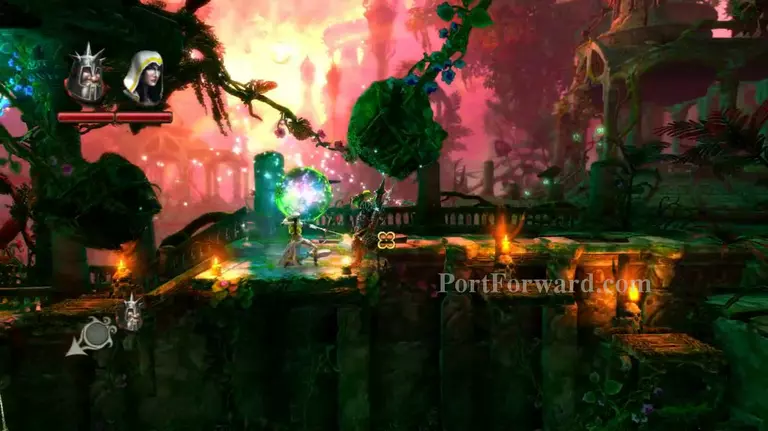
More Goblins will jump you here. Eventually I'm going to get sick of warning you about Goblins, they happen a lot.
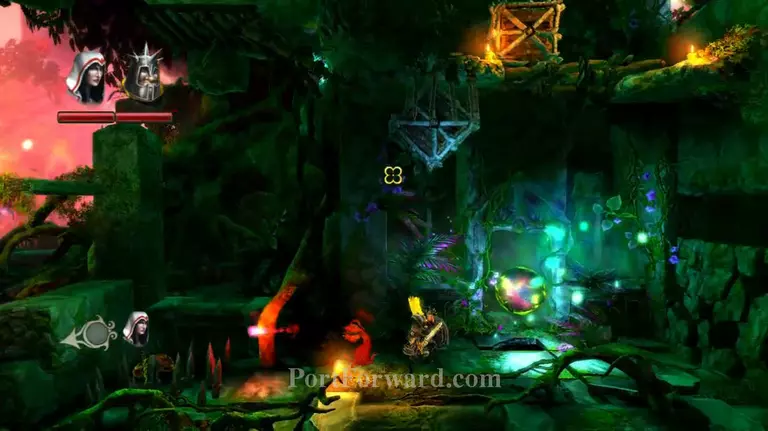
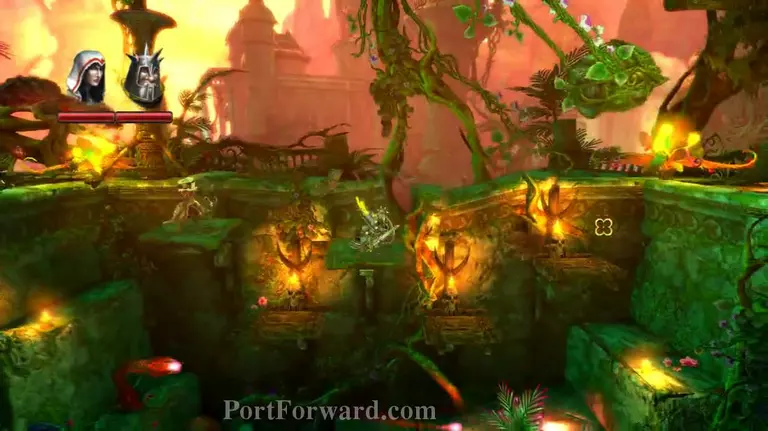
Jump carefully over the spit and smash through the wall.
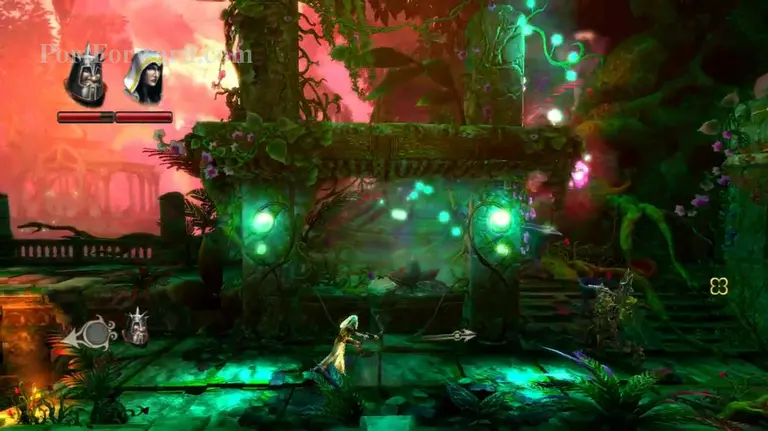
Use the Knight's shield to make your way to the switch, then go back up to the checkpoint for a new path to open.
Smash through the wood, and then a big Ball will chase you. Jump over the rocks and watch out for spikes.
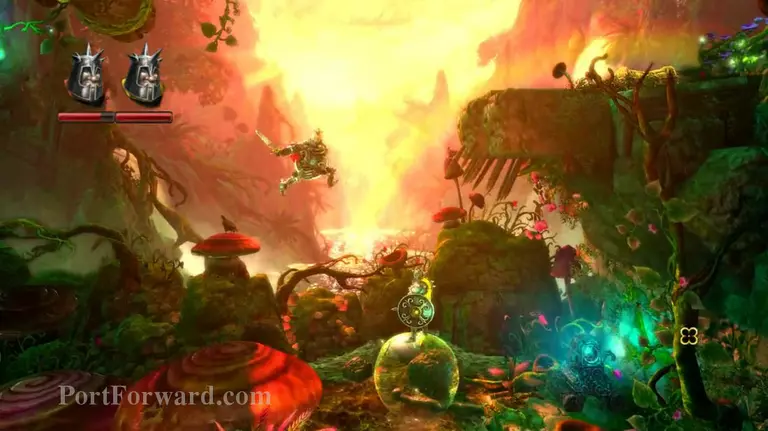
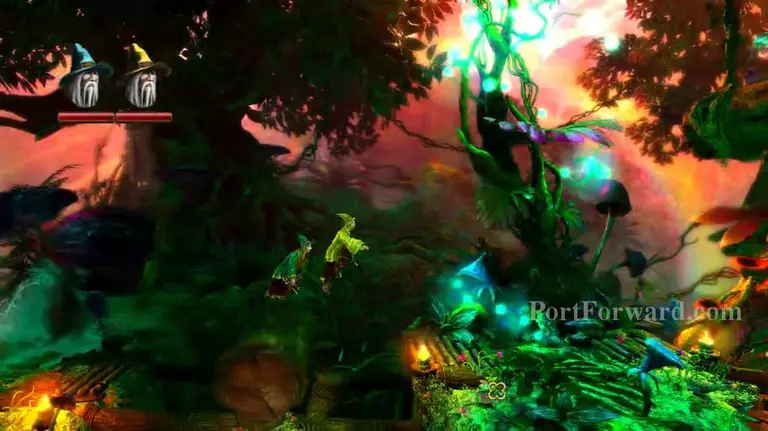
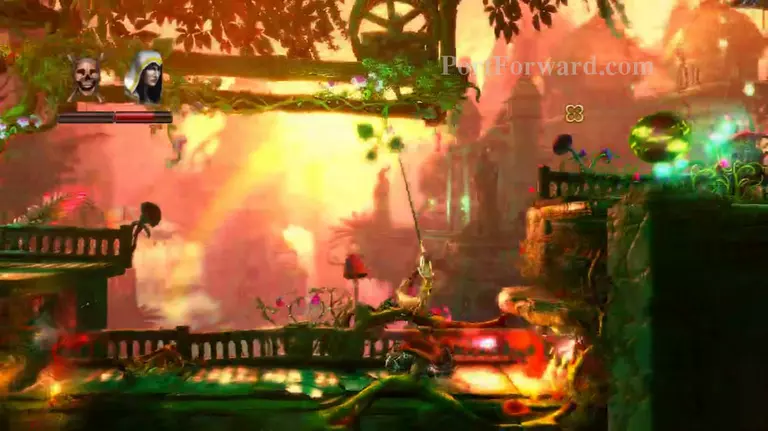
Time for Bubbles. Jump on one as it floats up, keep jumping while on it to go up faster.
Move the logs so that the water gets to the sparkles.
Free to log and set it rolling. Pull the lever and use the bubble and the log to jump onto the platform before it goes back down. More Goblins just ahead.
Set the log rolling and use the thief to grapple across on it if you don't want to jump the spit. More Goblins ahead.
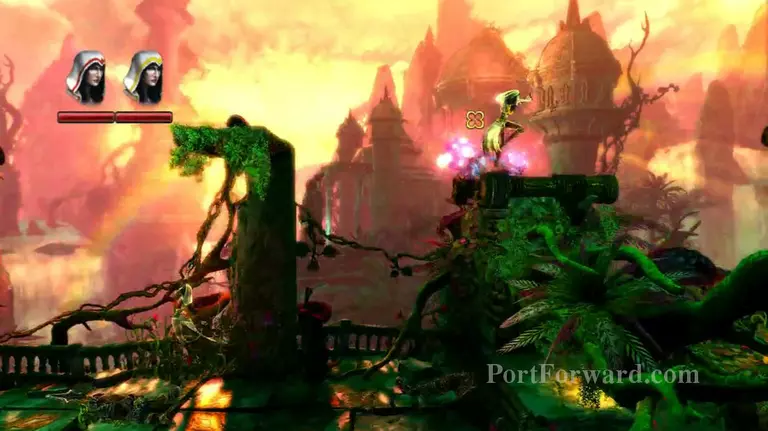
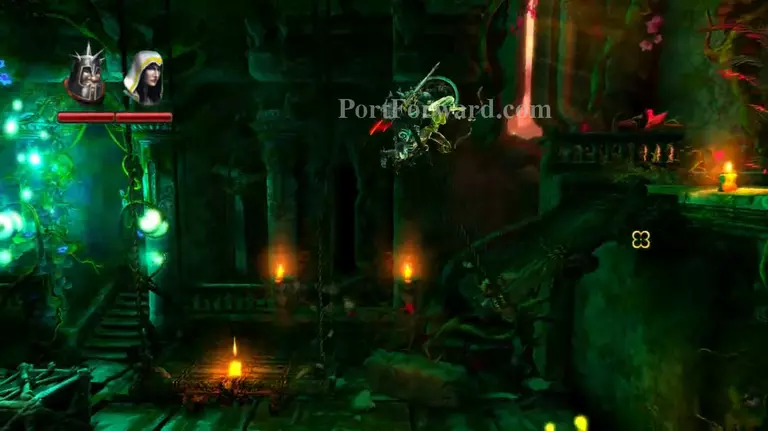
Use the thief to grapple up top and continue.
More jumping, hop across quickly so the platforms don't fall out. Also watch out for that log.
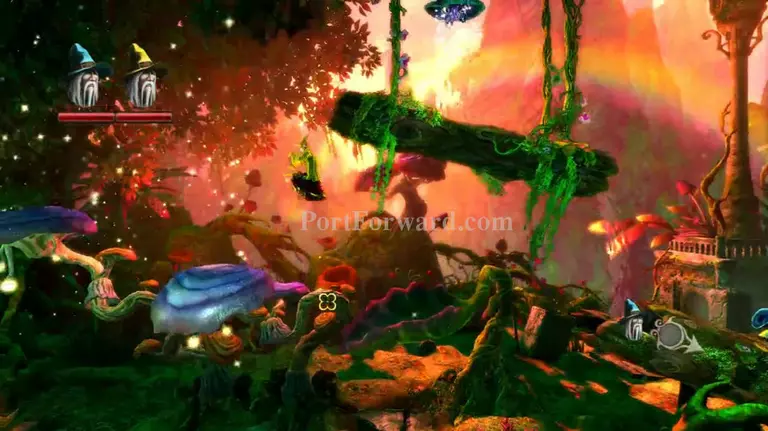
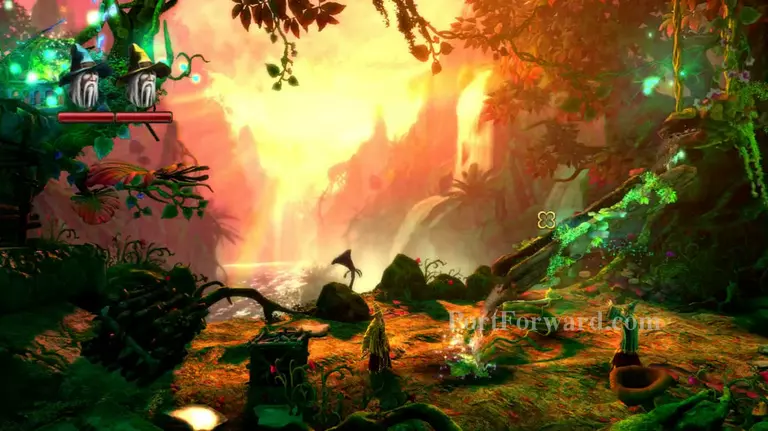
Free the pipe and put it on the horizontal gust so it angles upwards. Ride this gust up.
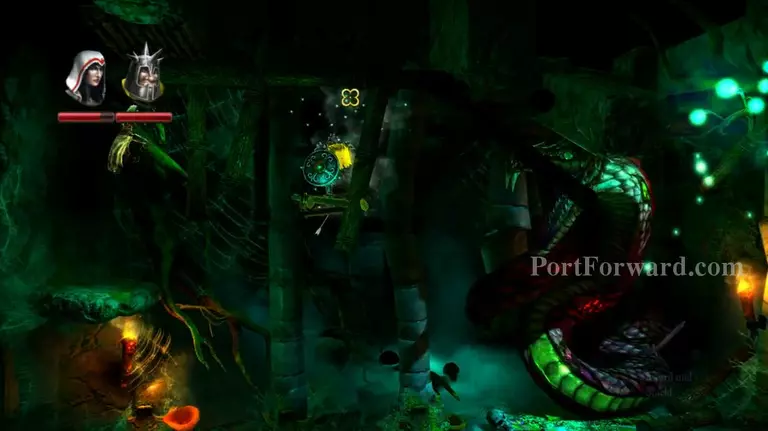
Giant Snake Boss. Get it to destroy the support platforms, or break them yourself. Hammer throw makes this breaking the platforms a synch.
More Trine 2 Walkthroughs
This Trine 2 walkthrough is divided into 13 total pages.