
This Trine 2 walkthrough is divided into 13 total pages.
You can jump to nearby pages of the game using the links above.
- Mudwater Dale
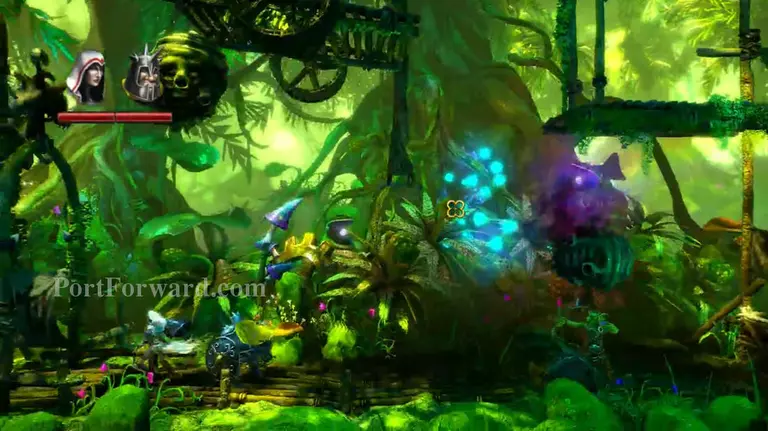
Progress forwards watching out for the Bee nests. Feel free to kill Goblins with them.
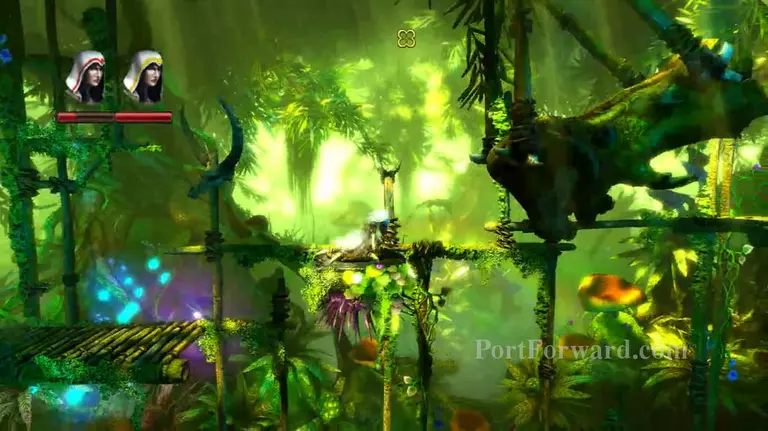
Get up top and keep going forward, watching out for traps. There is some jumping to do in the next bit, and a big trap to watch out for.
Oh look, more Goblins to fight.

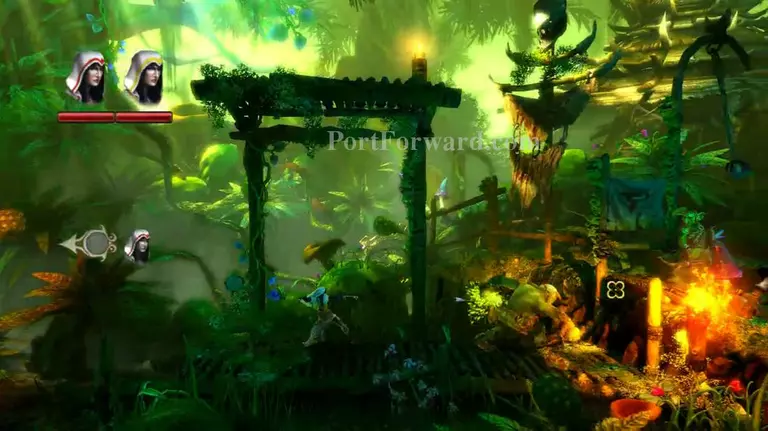
Pull the lever to open the door, then jam the cog up top with a stone box to keep it open.
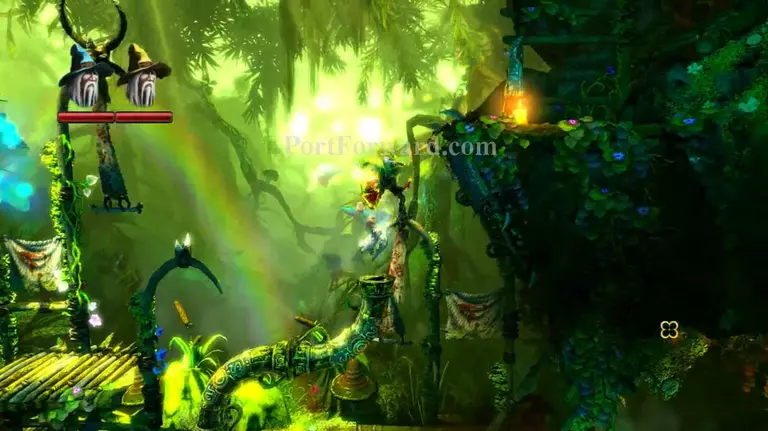
Get all the pipe pieces (including the one in the fire room) and use them to gust up to the platform.

Kill the Goblins and jump over the wall.
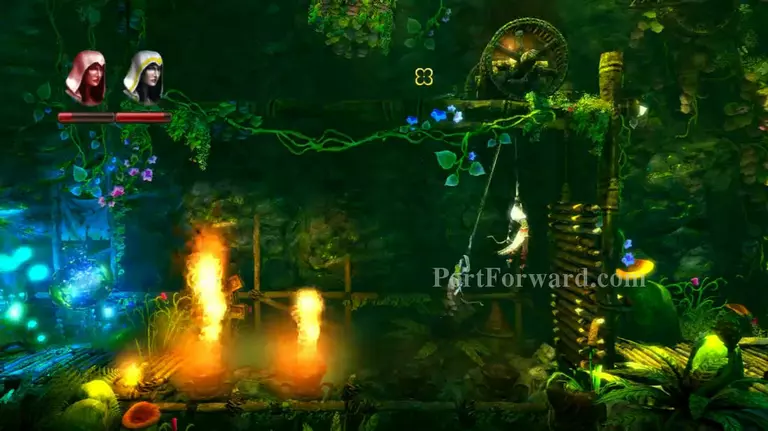
Jump inbetween the fire, roll the log up top near you, then grapple over the wall with it.

Jump on the frog's tongue and walk across behind it. If you fail the first time, pull another fruit from the tree with the Mage.
Oh, the horror! More Goblins!
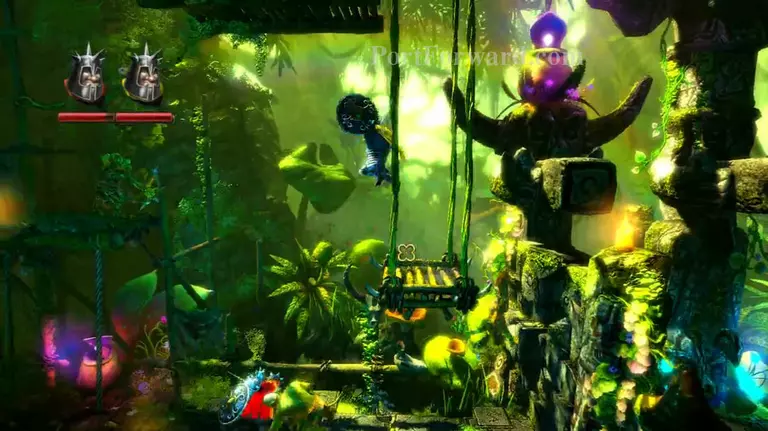
Jump across the pillars for an easy path forward.

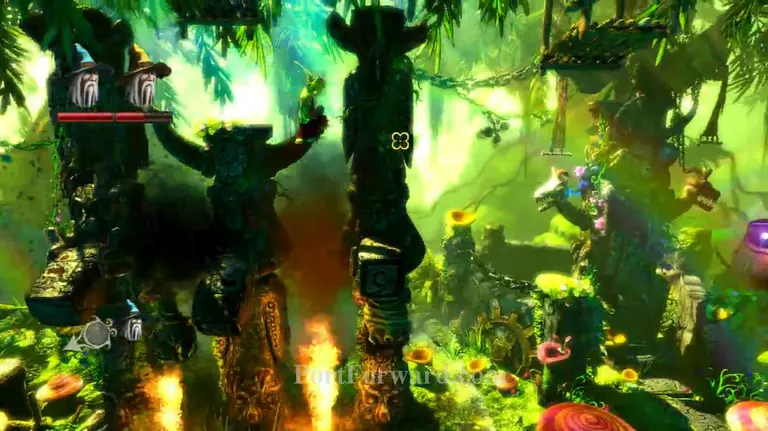
Use the pipes scattered throughout the pillar part to push the bubbles. Once you've set it all up, ride a bubble up.
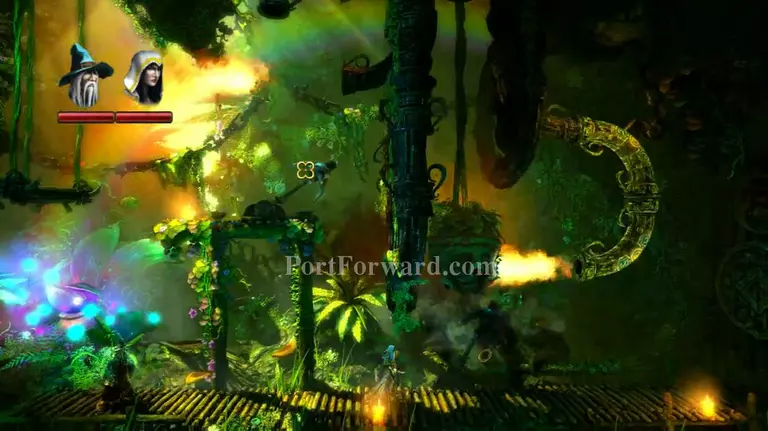
After fighting even more Goblins, use the pipes to burn the big Bee nest with fire, then pull the lever it was protecting.
More Trine 2 Walkthroughs
This Trine 2 walkthrough is divided into 13 total pages.


