
This Trine 2 walkthrough is divided into 13 total pages.
You can jump to nearby pages of the game using the links above.
- Hushing Grove
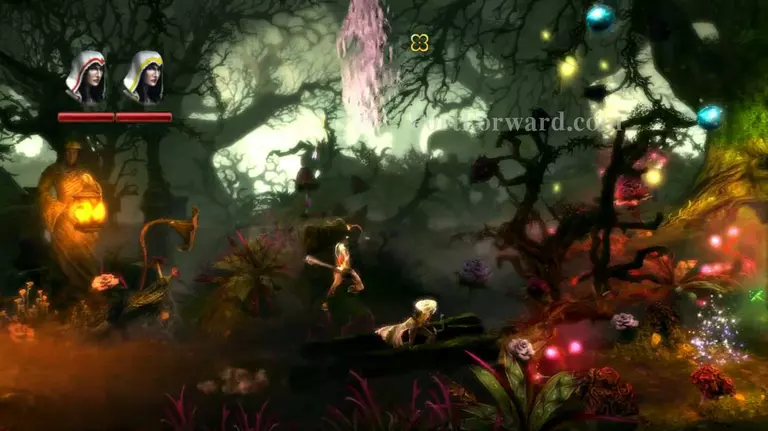
Shoot the blue pod for it to spit water. Carry that water to the sparkles.

Smash through the wood, and get past the evil plant. Distract it with the lantern, but you need to refill it with fireflies each time.

Grapple up to the ledge.

Jump on the leaves while being mindful of the evil plant.
Jump up further and smash through the wood.
Another quick watering puzzle, nothing interesting.

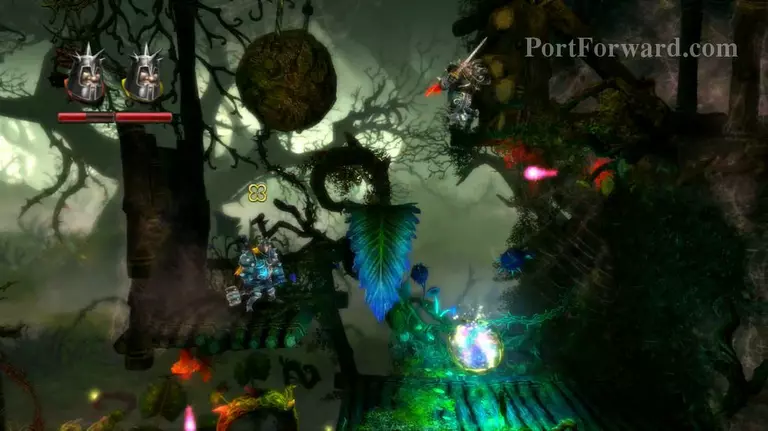
Use the lantern to get too and pull the lever.

Block the fire spitters with cube and carefully jump across.

Pull the lever and jam the gear with a box.

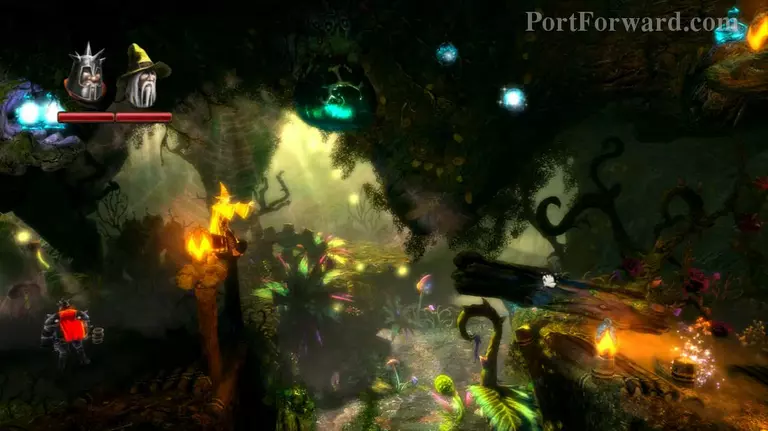
Run through the minefield of evil plants, being careful to not get eaten.
Pout the water onto the water wheel to open the door.

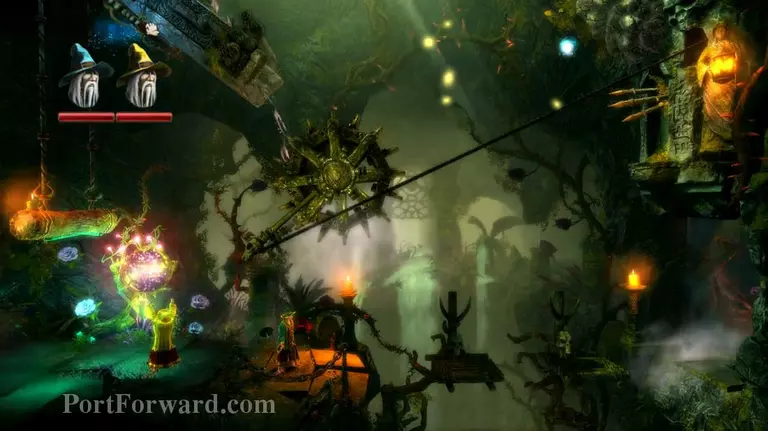
Stack the logs up to get over.

It's another Orc boss! This one is exactly the same as the first one, so do whatever you found works the first time.

Pull that lever by that dead orc and make your way up and over.

Get the water from the Blue thing onto the sparkly ground and use it to get over the evil plant.
More Trine 2 Walkthroughs
This Trine 2 walkthrough is divided into 13 total pages.


