This Trine 2 walkthrough is divided into 13 total pages.
You can jump to nearby pages of the game using the links above.
- Mosslight Marsh
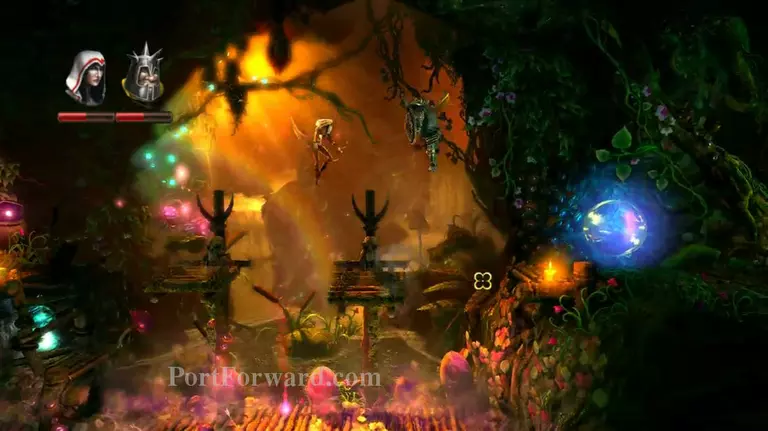
Jump across the pressure platforms avoiding the spit. Don't fall down into the poisonous gas.
Lift the box into the urchin and grapple across using it.

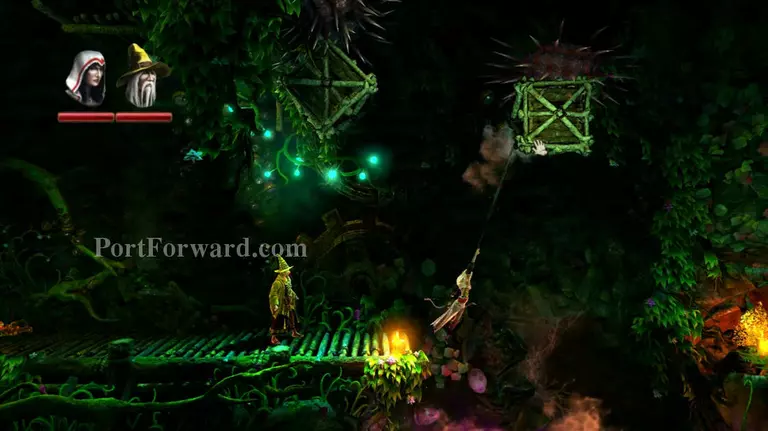
Use a box to break the wood, then grapple over the wall.
Jump across the pressure platforms and watch out for the trap swing. Then kill the Goblins.

Jump down and hook the pipes together. Ride the gust up to the top.
Quickly jump across these platforms, being somewhat mindful of the spit.
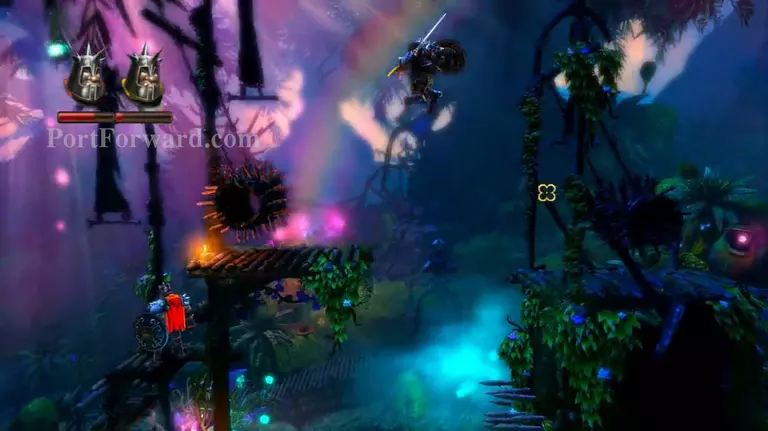
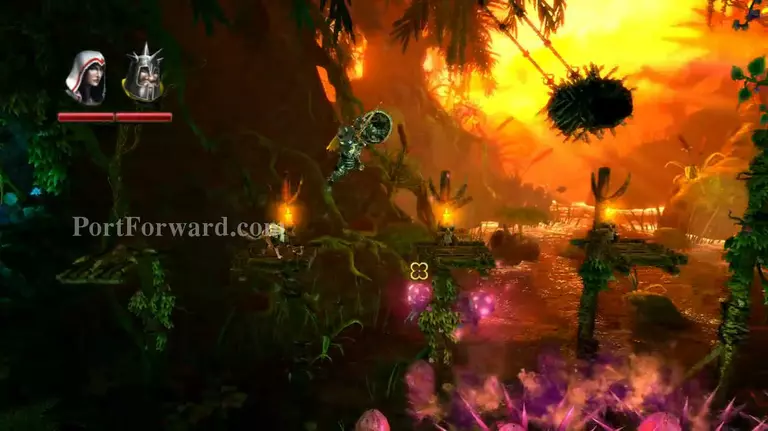
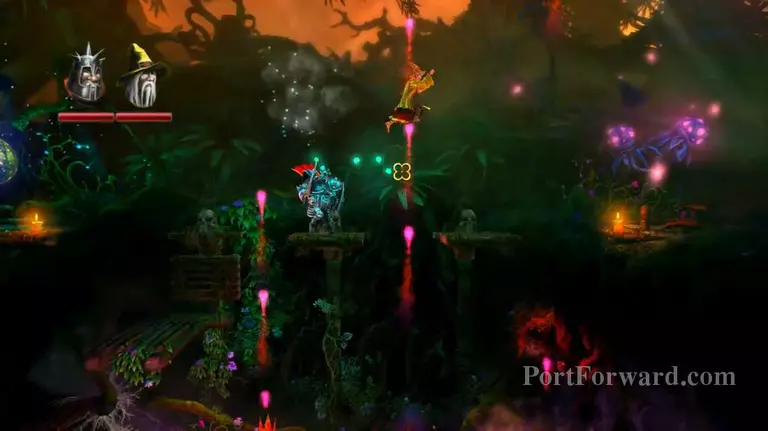
Time your jump up to avoid the spikey thing, battle some goblins, then make the jump in the picture.
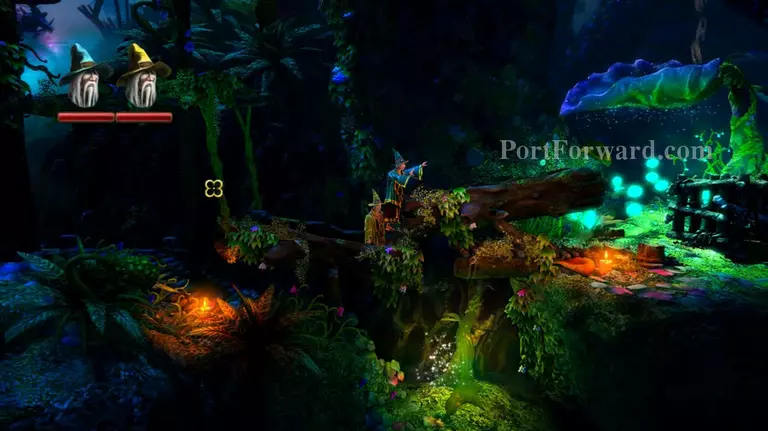
Another quick watering puzzle. Use the box to help you in Single player.
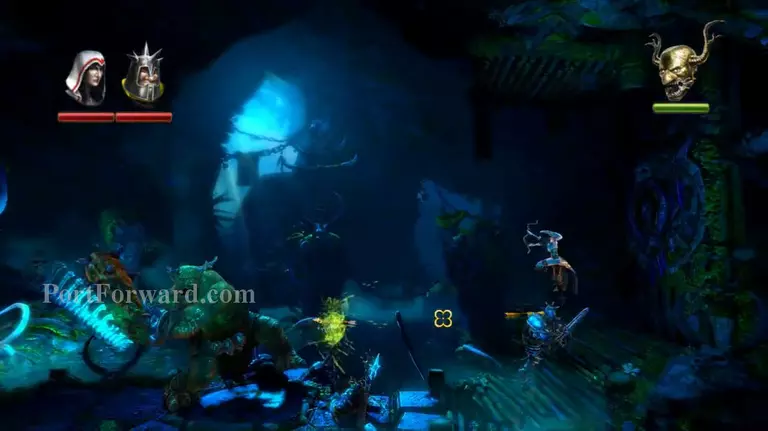
Giant Orc boss! I don't know an strategy for this boss, Juts keep jumping over him and hacking at him with the knight. Be sure to heal at the checkpoint if you're nearly dead. Once he's dead, pull the level to open the door.
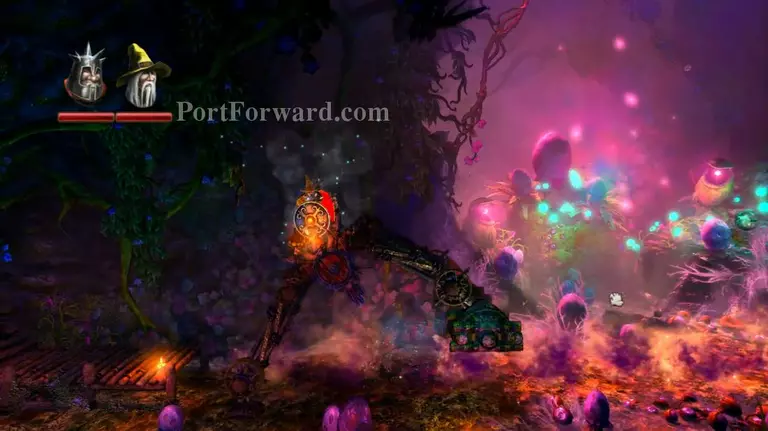
Move the feet of this thing slowly so you cross the river of gas safely.
More Trine 2 Walkthroughs
This Trine 2 walkthrough is divided into 13 total pages.