
This Trine 2 walkthrough is divided into 13 total pages.
You can jump to nearby pages of the game using the links above.
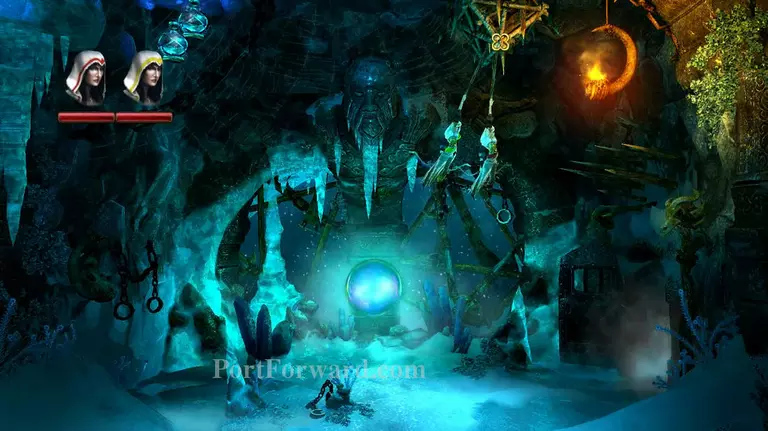
- Icewarden Keep
Jam the box onto the spikes and hang from it. When the goblin opens the door, jump him!

Break the wall, swing across, hold down the platform, and shoot the blue orb.
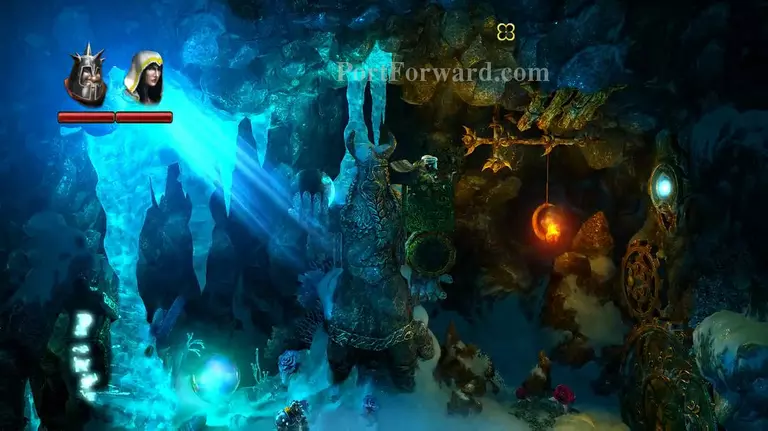
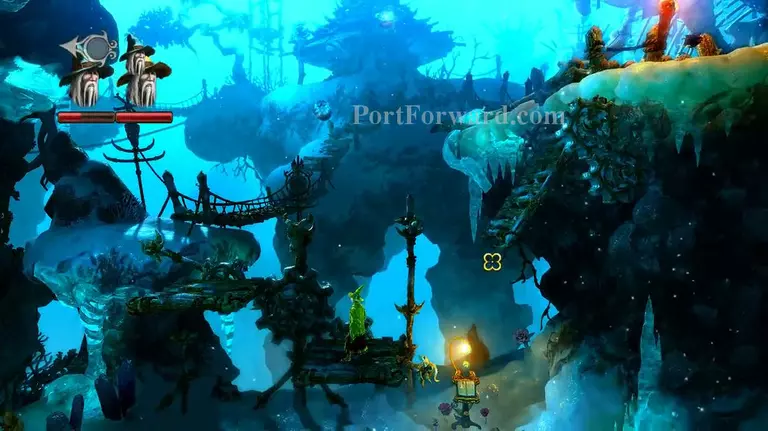
Ninja your way past this sharp things, you have too much swag to be killed by them.
Break the roof and balance the arms so the globe is in the sunlight.
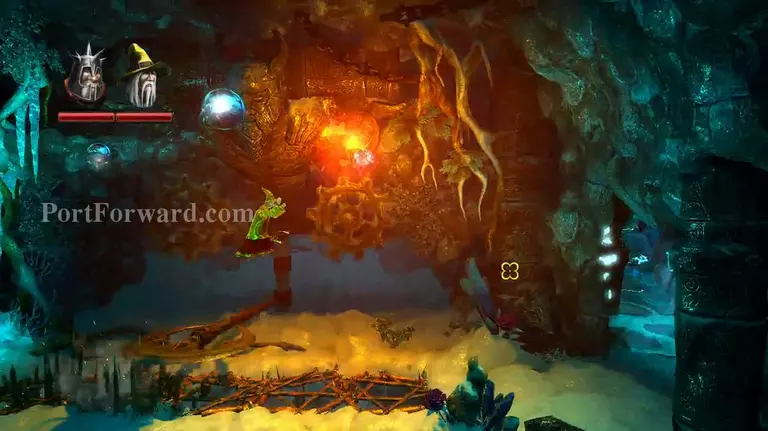
Push the button, prep your throwing hammer, and drop down to break the wall. From there just pull the lever.

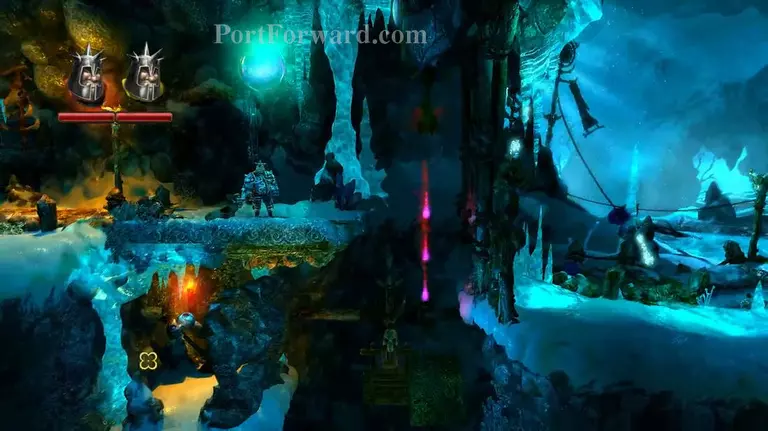
Ride the platform across the lava and shield from the bad things.

Use the portals and some planks to get the lava onto the ice wall.
Rotate the Ferris wheel to lift the platform ahead and get up using it.
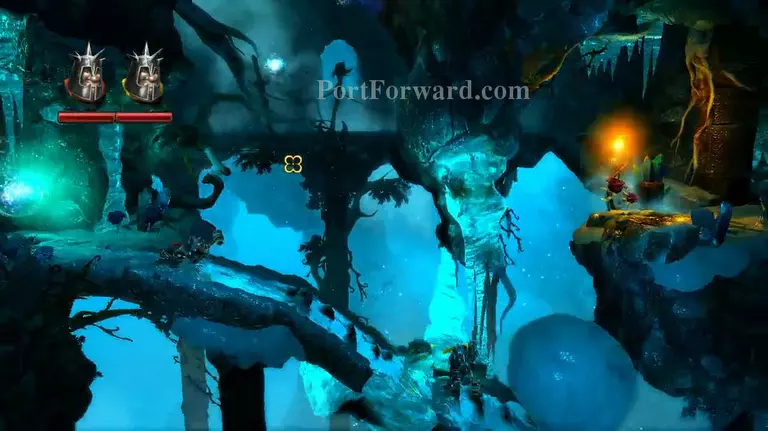
Free the snowball and use it to advance.
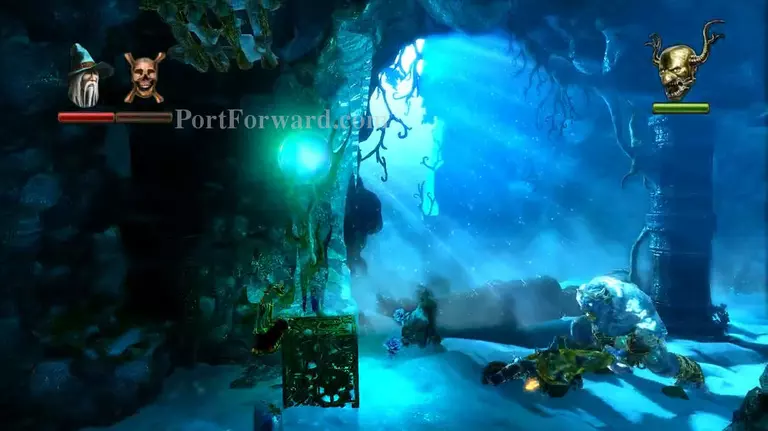
Ice orc boss battle time! It's just another orc battle, kill it just the same.
More Trine 2 Walkthroughs
This Trine 2 walkthrough is divided into 13 total pages.


