
This Trine 2 walkthrough is divided into 13 total pages.
You can jump to nearby pages of the game using the links above.
- Eldritch Passages
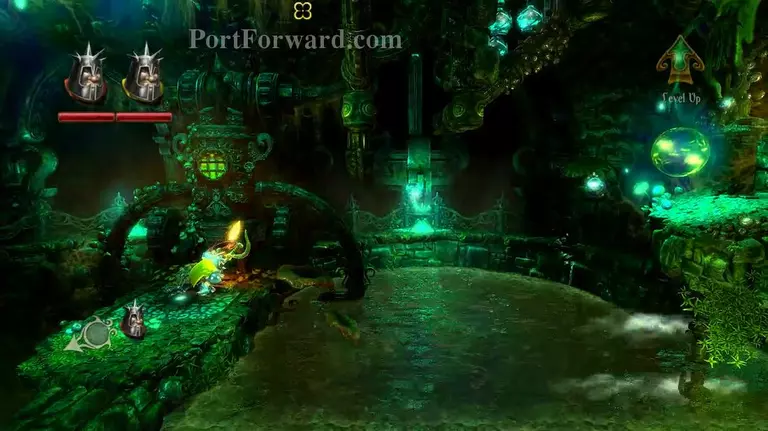
Use the pipes and a plank to get up the ledge. Don't worry about out little spectator, he won't be trouble... for now.
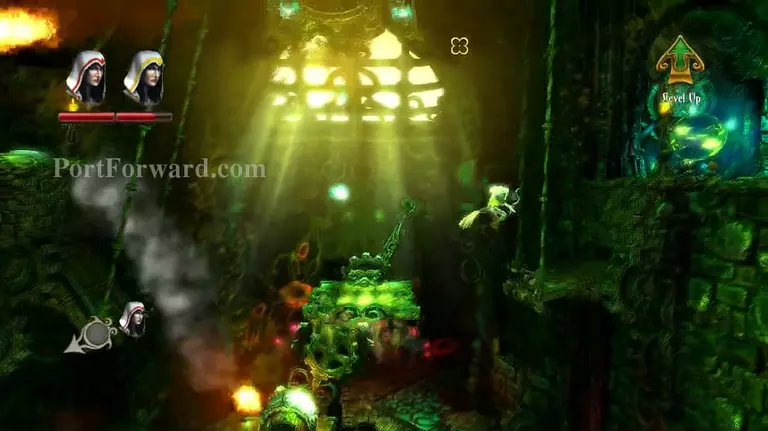
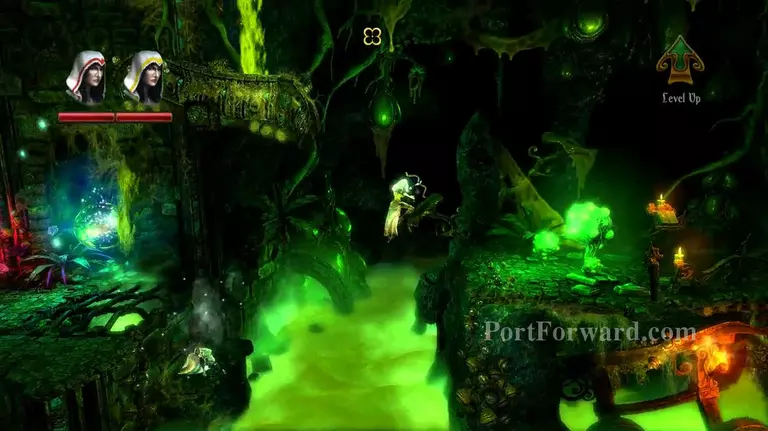
This green stuff doesn't look friendly. Make your way safely past the acid and then break the wall above with a throwing hammer and grapple up to it.
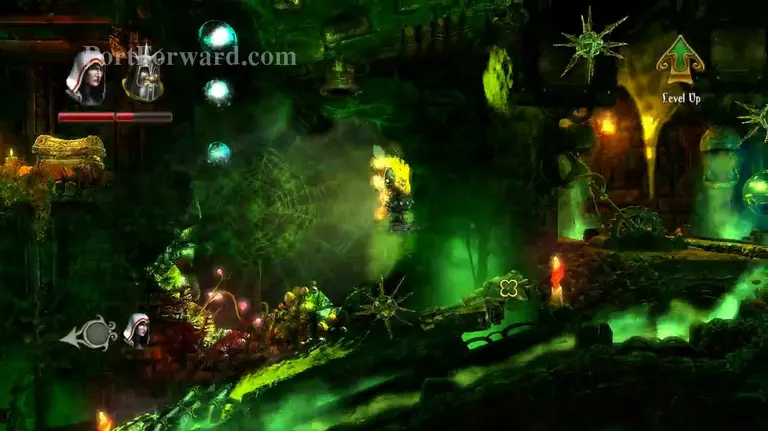
Break the wall up top to free a rock box. Use that and some boxes to get across.
Make your way across these platforms too.
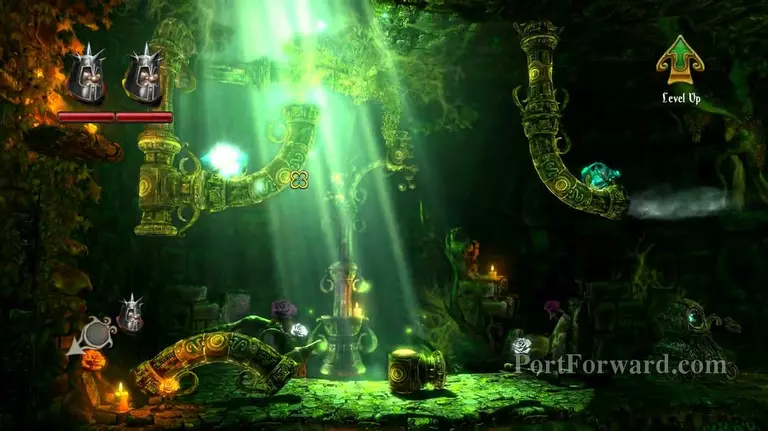
Pull the lever to switch the water to the other side. Use the water and some boxes to get up.
Push the button to spawn an exploding barrel that will push down a platform. This will raise the platform you need, so push the button and be quick!
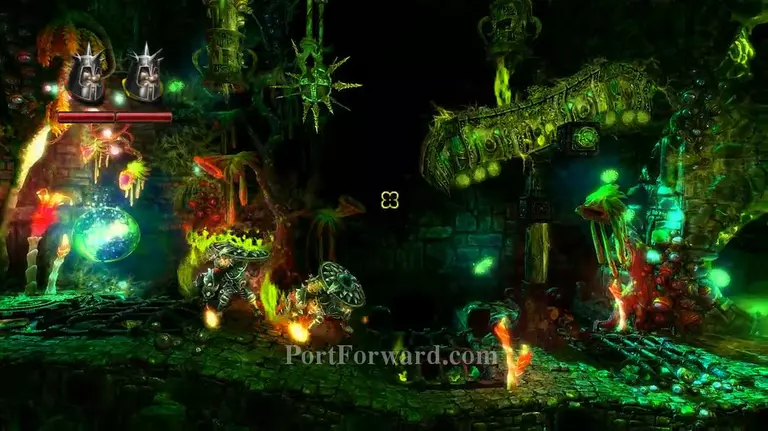
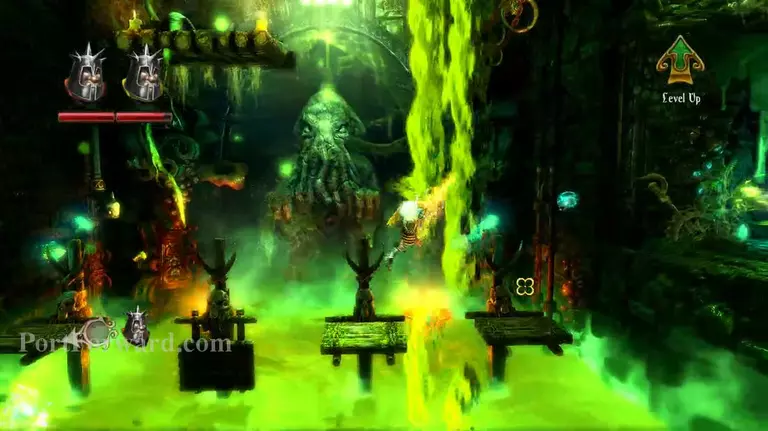
Charge your way safely through the Spiders, Spikes and Slime to pull the lever at the top.
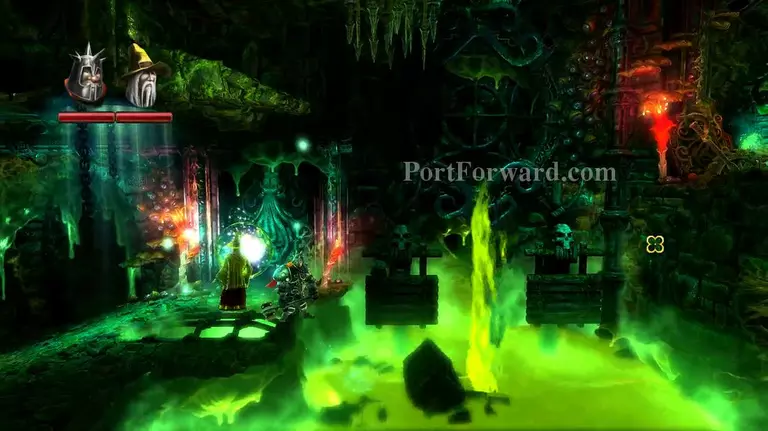
Those goblins took that gear jamming to a whole new level! Now you need to fix the pipes for the lever you need to work.
Use the log to grapple across.

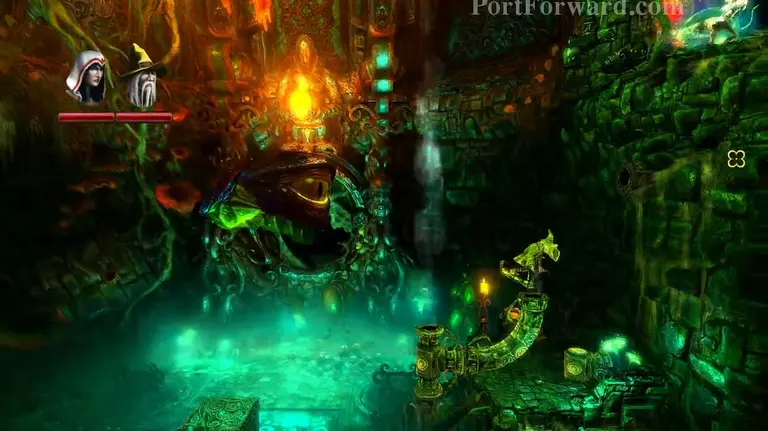
Parkour up, hit dat yellow eye, and keep going like nothing happened.
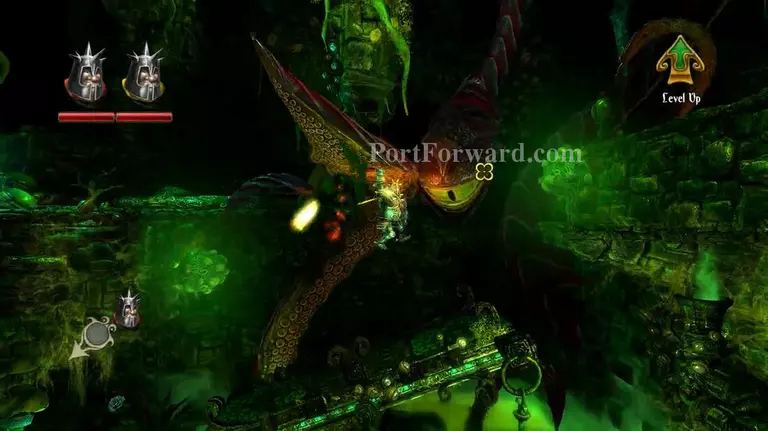
Hit the eye again. and again.
More Trine 2 Walkthroughs
This Trine 2 walkthrough is divided into 13 total pages.


