
This Watch Dogs walkthrough is divided into 39 total pages.
You can jump to nearby pages of the game using the links above.
Sometimes You Still Lose (CHAPTER 5)
Make it to The Bunker to start the last mission. You will upload the footage you took from Lucky, then end up back outside.
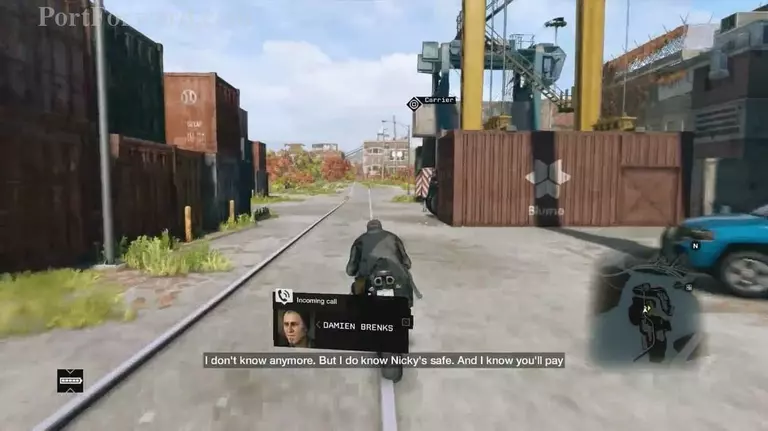
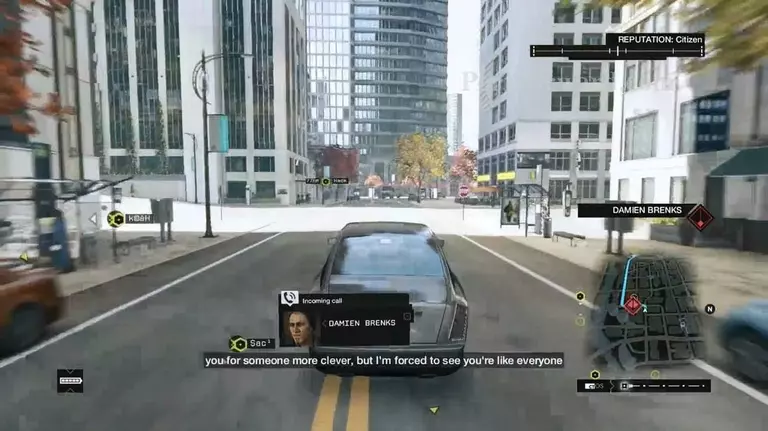
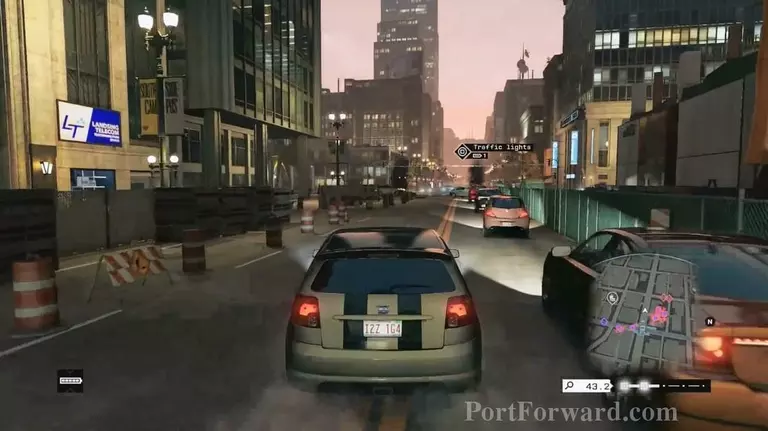
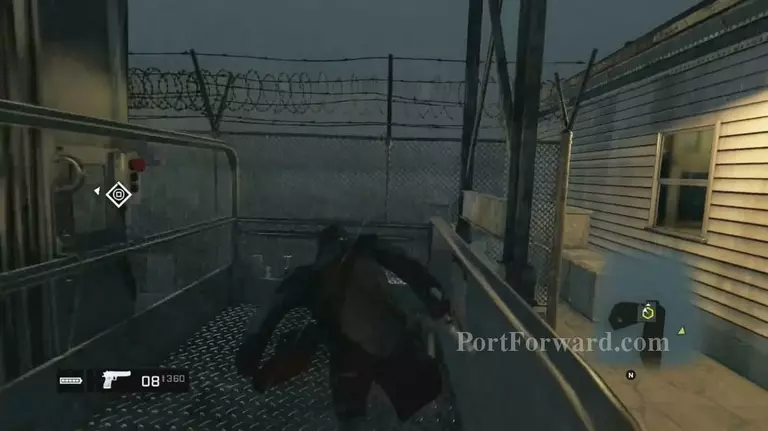
Get on a bike, and drive into The Loop. Watch out, because Damien has full access to CtOS.
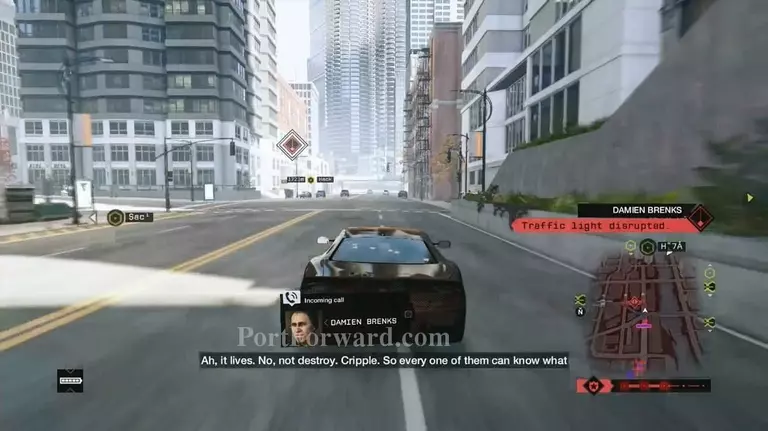
Pipes will be exploding and lights will be changing, so be on your toes. Race towards the mission icon on the map, Damien will call you and the location will move.
Keep driving towards the mission marker until you get to the weak point that T-Bone was talking about.
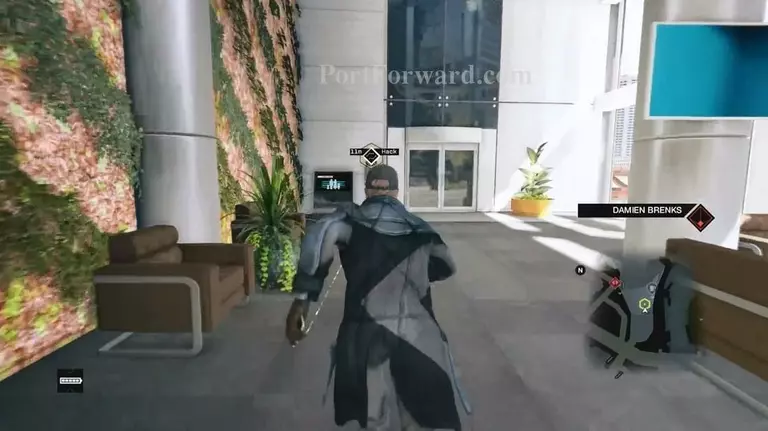
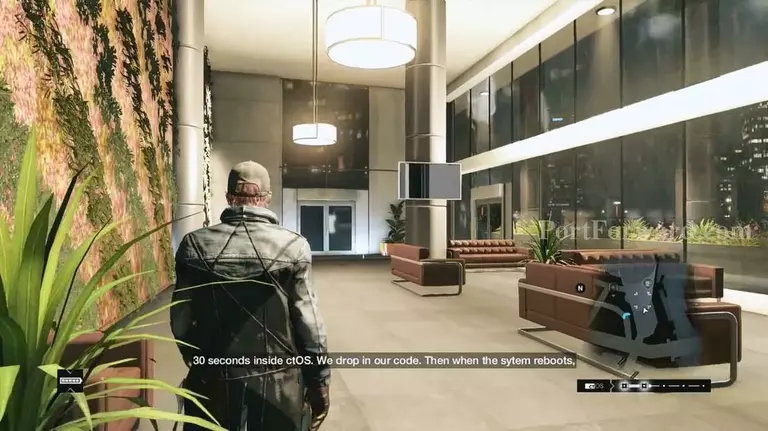
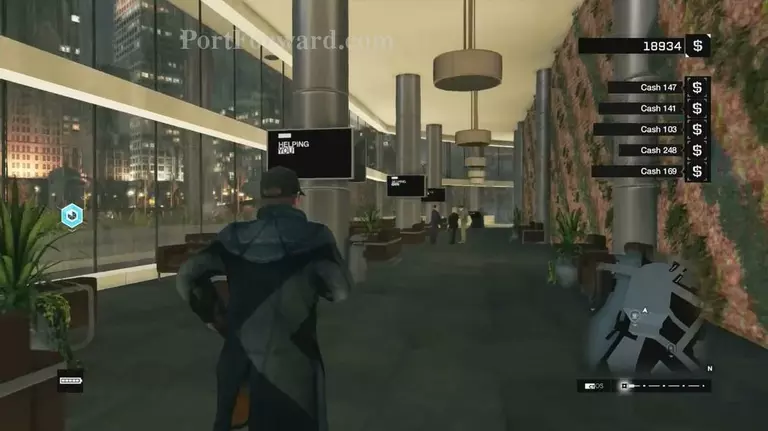
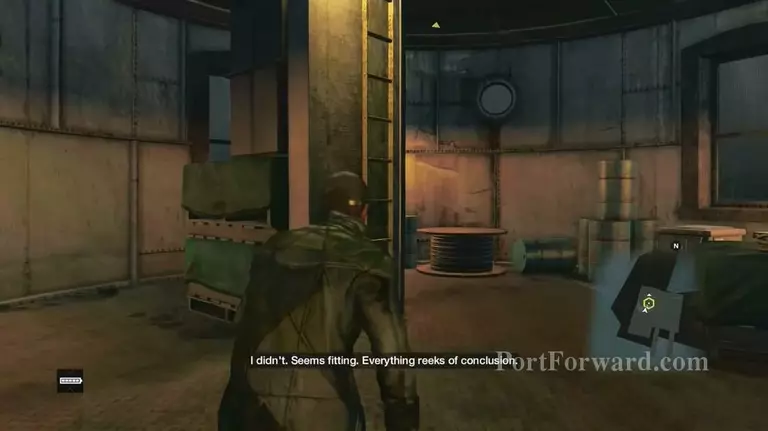
It's a ctOS box inside of a big building's lobby right along the North Riverside.
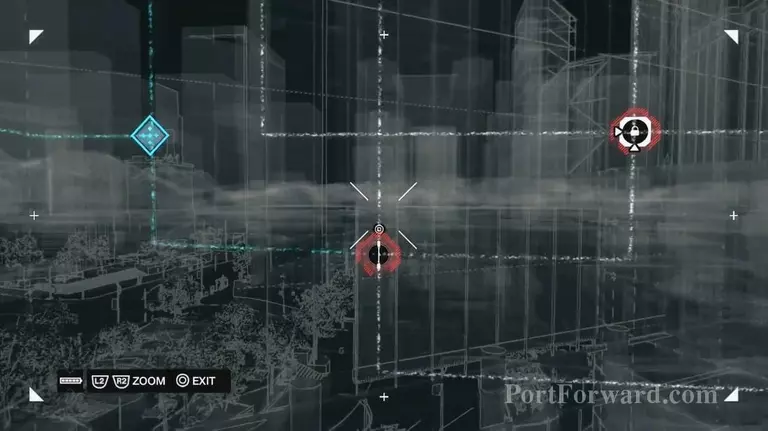
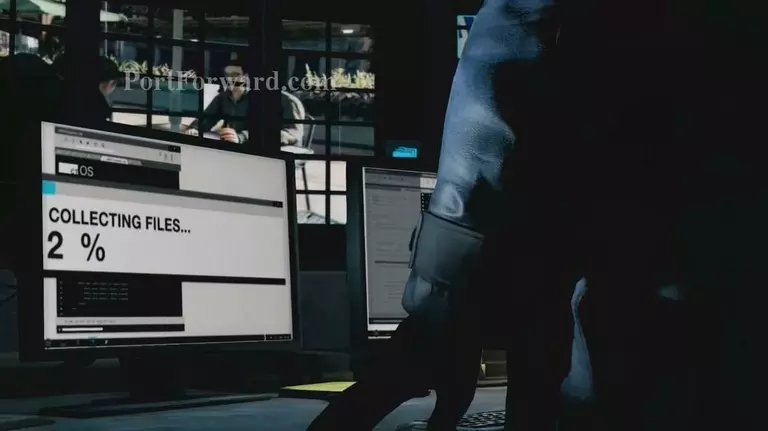
Once you get to it, hack it to solve the puzzle. Looks like you can't.
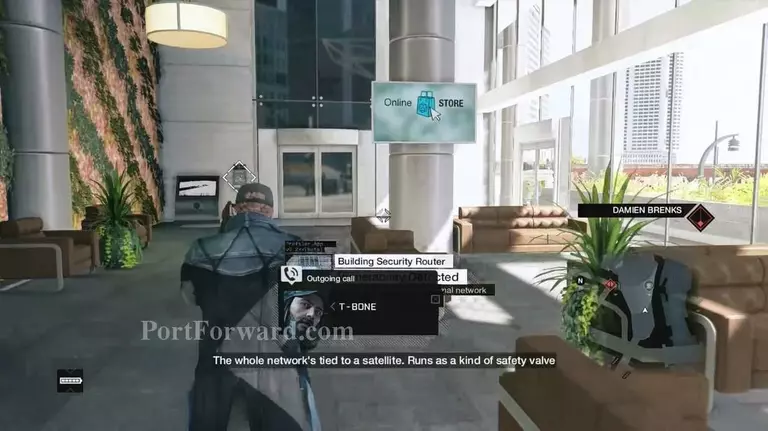
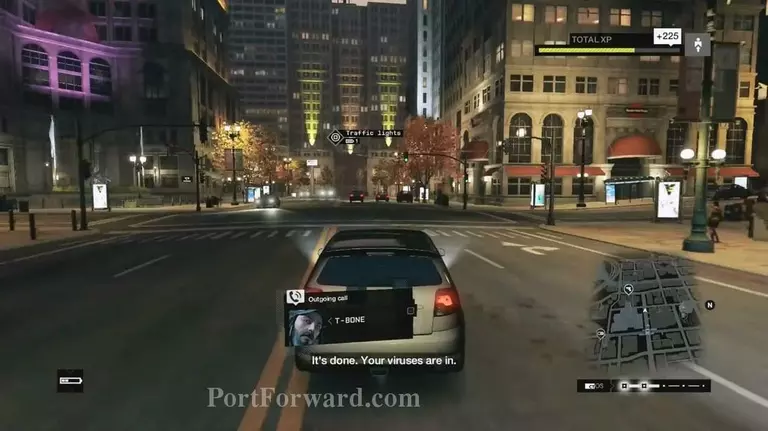
After talking to T-Bone, he has a virus to upload.
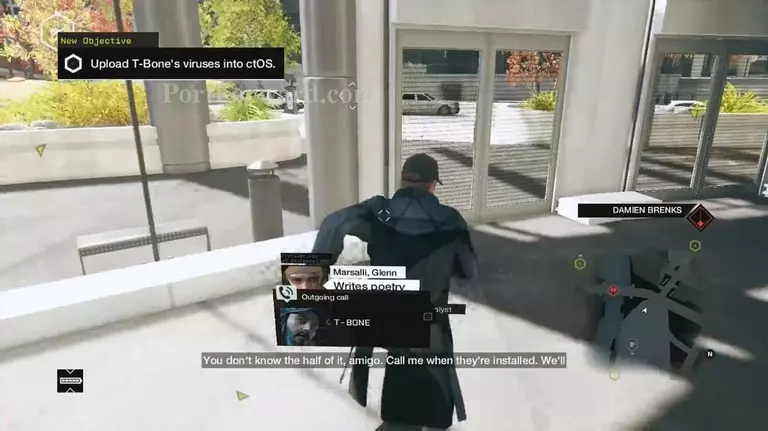
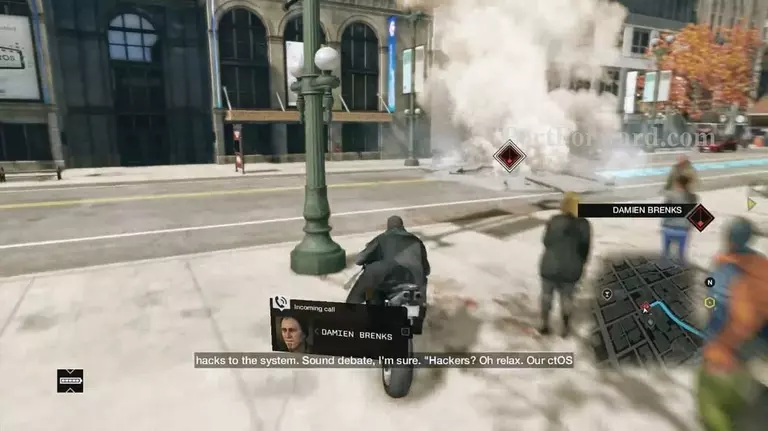
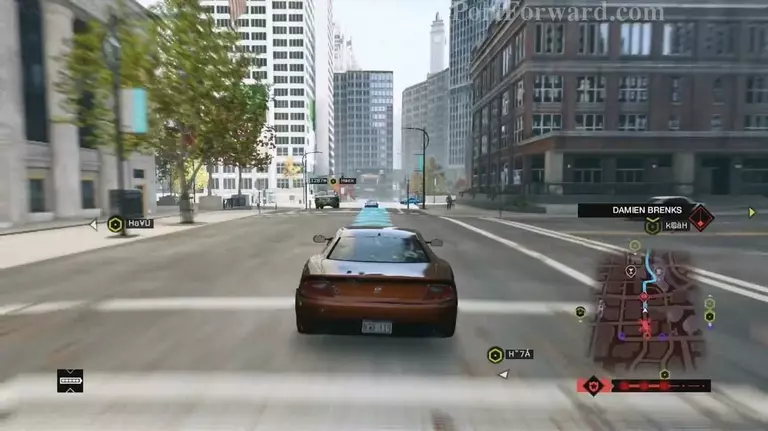
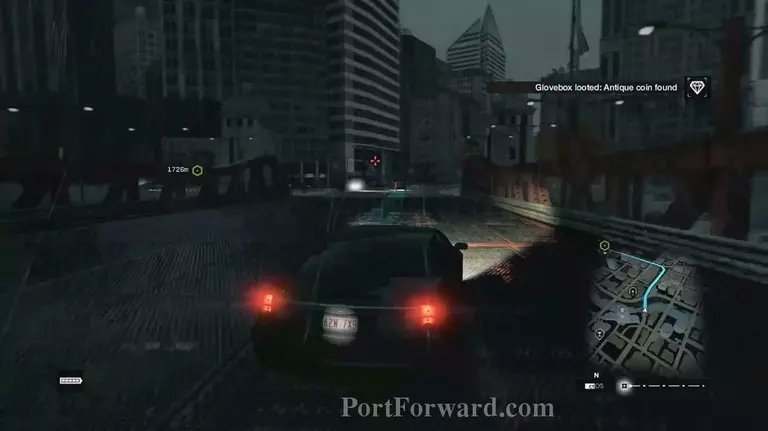
You now need to get to three points across the city so you can upload the virus. This is particularly difficult, as Damien has hacked your map.
There's now tons of mission markers, and the police are after you. There are three points still on your map that say "Hack" instead of gibberish. Focus on one, and drive to it. Let's go to the South first.

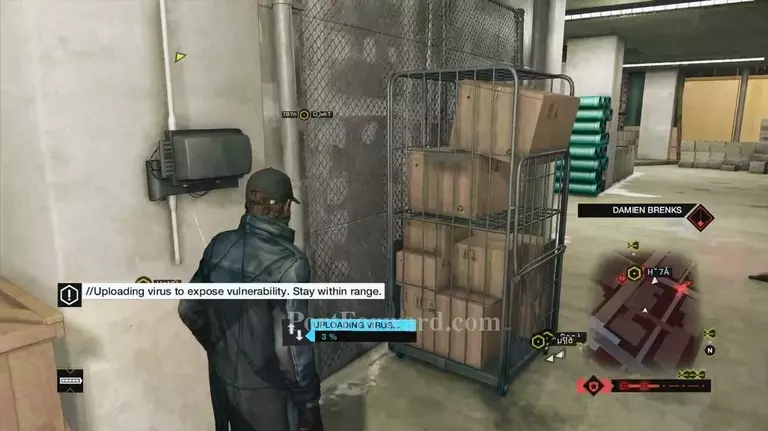
You'll find this box in a ctOS building. It is possible to use the cameras in the building to get a good view of the box you need to upload the virus to, so start the process. You must remain in the area while the virus uploads, so take cover and disrupt the helicopter. He's by far the biggest threat to you.
Head north to the second box now.
It's located on the exterior of a building right along the waterfront on the small island in Mad Mile.
Once you hack the box, hop into one of the many cars out front to take cover while the virus uploads.
Wait until you get to 100%, then speed off to the last box. It's located by the ctOS station at the Navy Pier, all the way to the East in Mad Mile. This is the same location from Stare into the Abyss. Once you've hacked the box here, it's time to run and hide. Either jump into the water and get onto a boat, or use a Blackout to get away from the police faster.
Once you've completely shaken the cops, things will be back to normal. Damien can't cause any mayhem because you've kicked him out of the system.
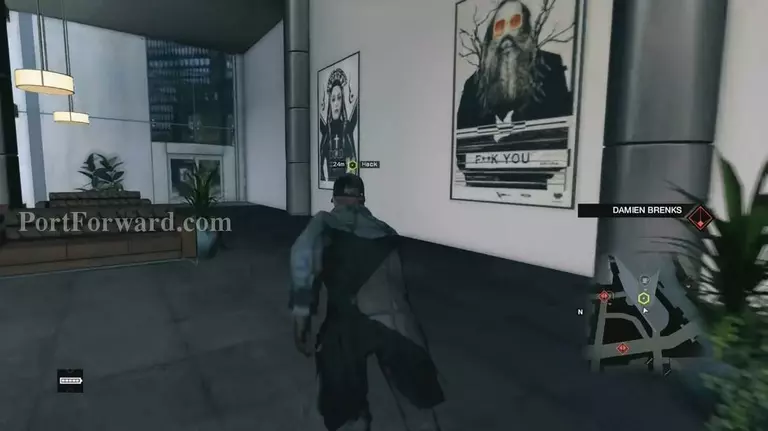
Drive back to the weak point along the North Riverside where you started this all.
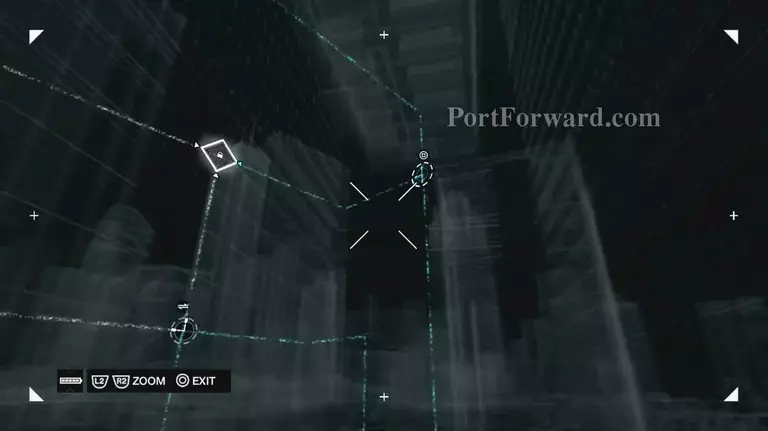
Hack the box, and solve the puzzles. Once you're in, jump to the camera in front of you. Hack into the box in front of you, then solve the last puzzle, which is incredibly easy.

Once in, you have a satellite feed of Chicago.
Shut down CtOS now.
Run outside and down to the water.
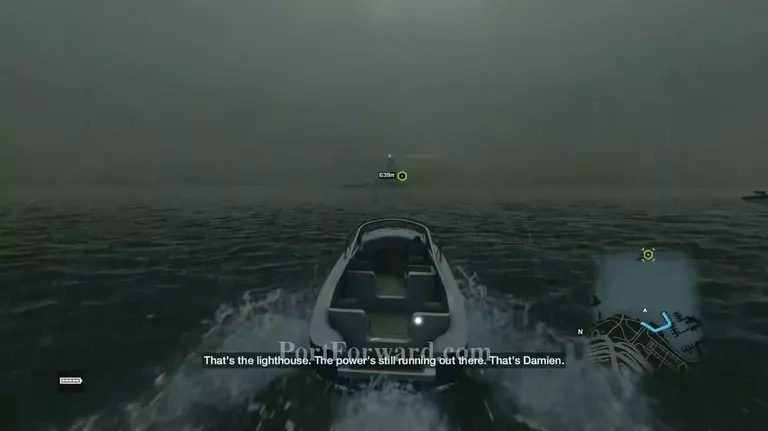
Hop into a boat and drive out into the lake. From here, head to the big lighthouse in the distance.
Once you pull up, hop out of your boat and get on land.
Find a lift out here, hop in, and take yourself up.
Once up, get off and head into the lighthouse.
Make your way all the way up to the top, climbing both ladders. Once up top, you find Damien. What's Jordi doing here??? Watch the scene here, and be ready for when you enter focus mode.
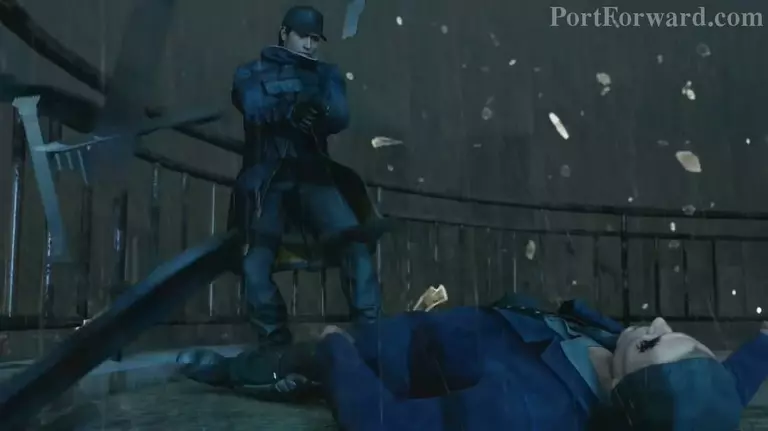
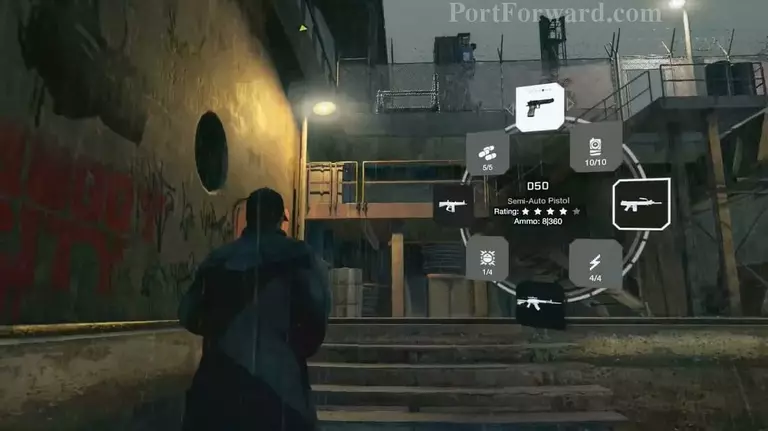
Hack the lighthouse, then shoot Damien before he gets to you.

Keep watching through the first part of the credits. There is a scene half-way through.
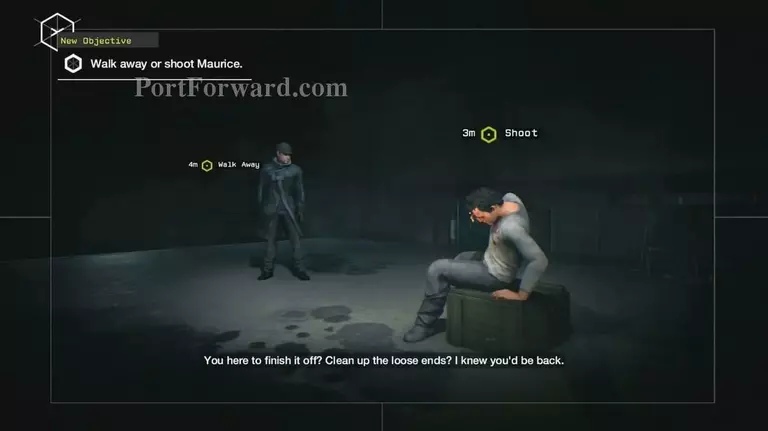
We have one last decision to make. Do you shoot and kill Maurice or let him go? The choice is yours. (Spoiler: it doesn't make any difference that we know of yet).
Done and Done for real now.
More Watch Dogs Walkthroughs
This Watch Dogs walkthrough is divided into 39 total pages.


