
This Alien: Isolation walkthrough is divided into 19 total pages.
You can jump to nearby pages of the game using the links above.
Welcome to Sevastopol
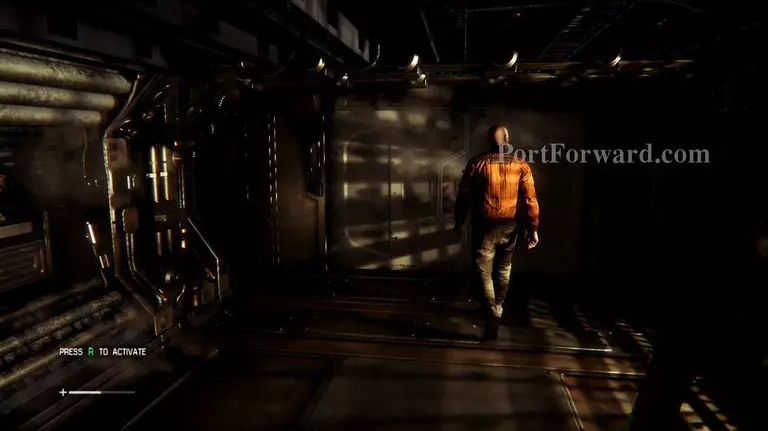
After getting separated from the rest of the crew, Ripley manages to enter Sevastopol through one of the escape doors.

Surrounded by darkness, get up and make your way into the ship.
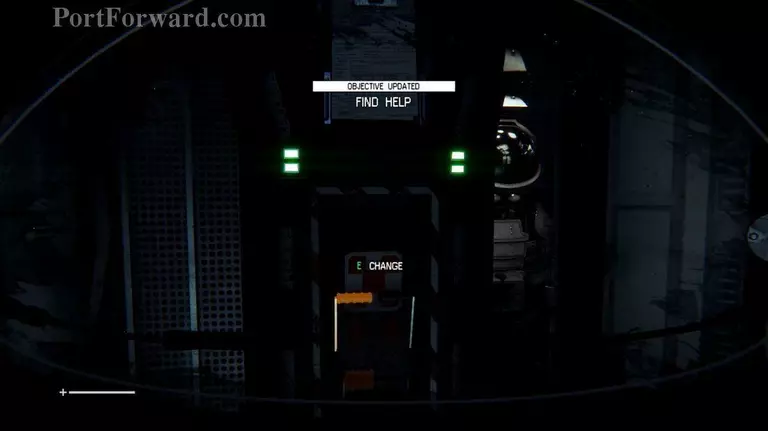
Change out of the space suit and into something a little more comfy. Enter the only door in the area, then save in the next room.

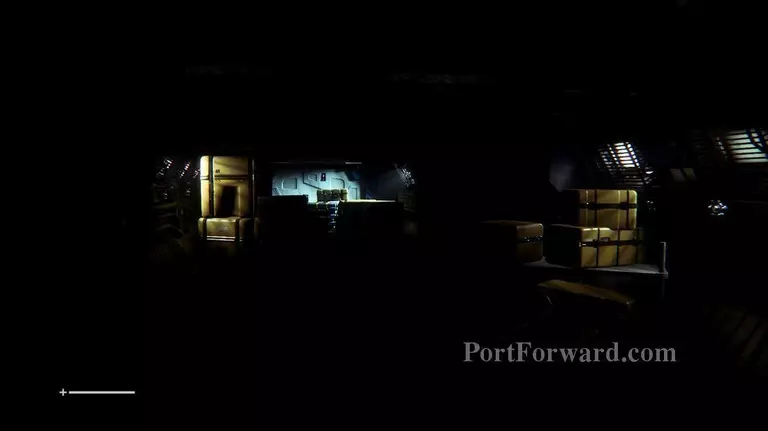
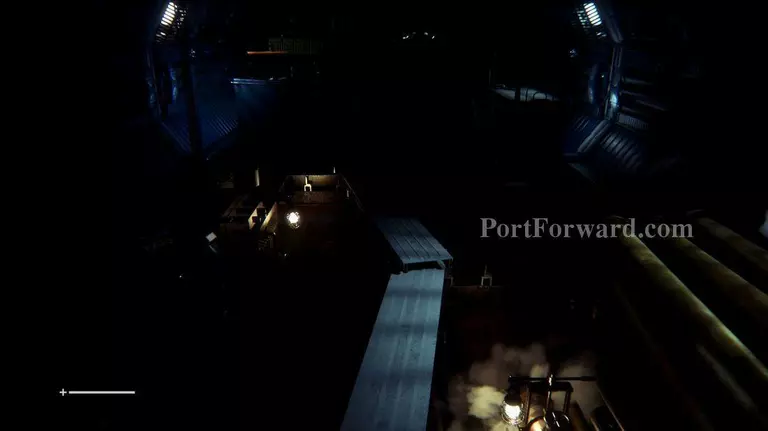
Walk through the next hallway and don't get spooked by the sudden blackout. This is only temporary, so you'll be able to see the rest of the hallway in a few seconds. Once you reach the end of the area, watch as the valve explodes and a tower of fire bursts from the pipe. Again, don't get spooked!
Crawl through the vent on the left as this is the only way to get past the cloud of fire.

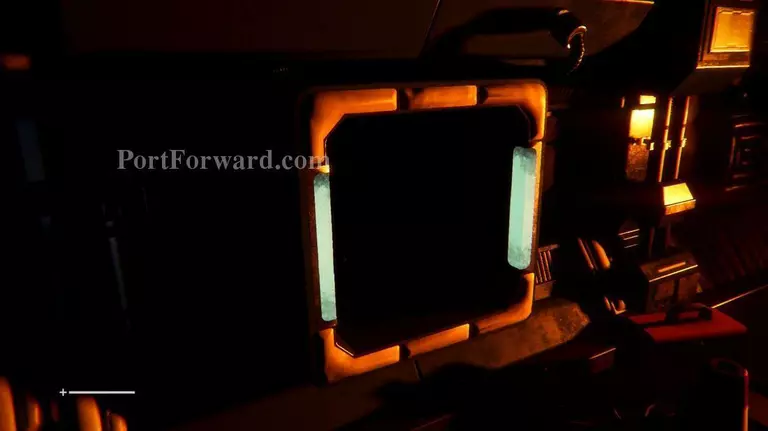
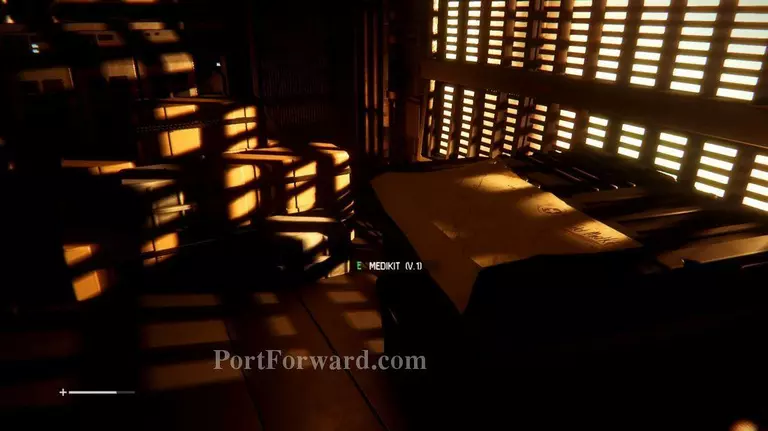
Exit on the other side and continue on into the next room. Make sure to collect any items you see for Crafting.
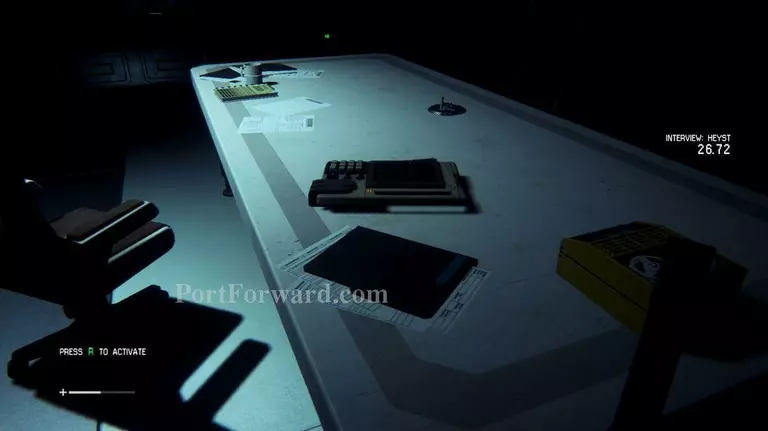
Archive Logs: Hop onto the computer in the room after the flaming pipe to find one archive log
Cross over the planks to make it over to th- oh no, yup, you fell down the pit.

Stand up and grab the Flare sitting on a nearby crate. Throw it into the darkness to see your next path.

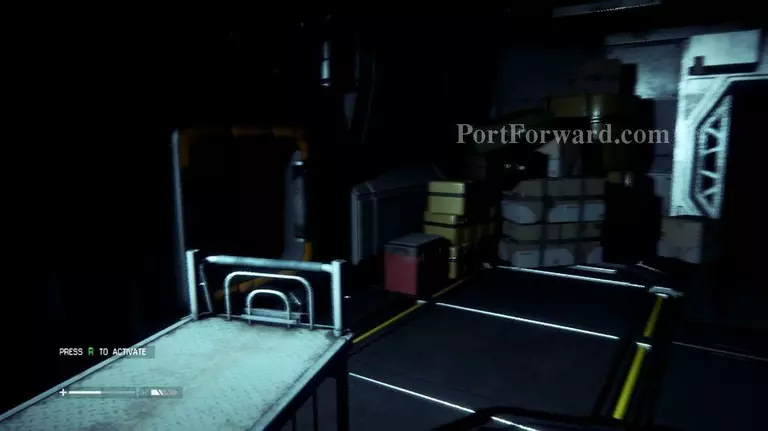
Crawl through the bag check machine and notice two paths.
Take the larger path to a suitcase and some craft material.
Then turn around and hit the button in front of the ladder to lower the luggage ramp.

Climb up the ladder. Collect any materials you see and head through the door.
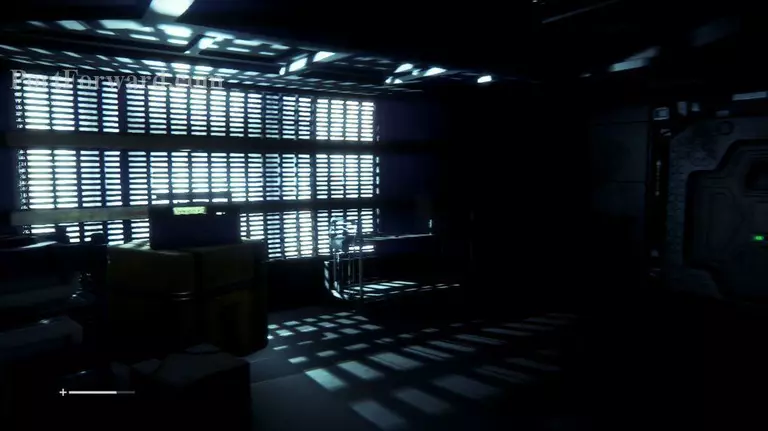
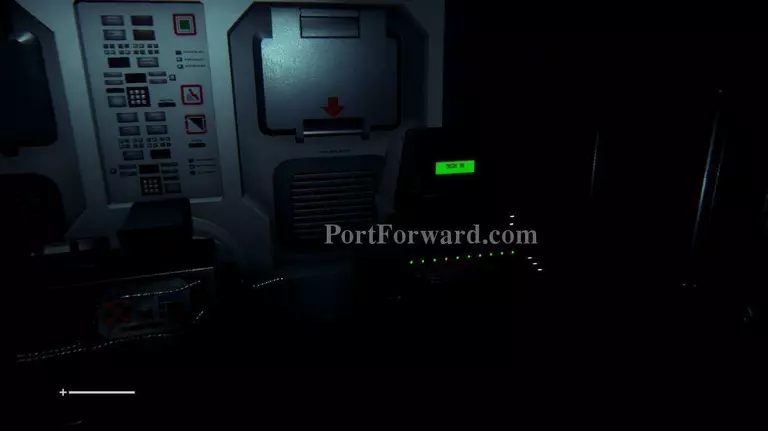
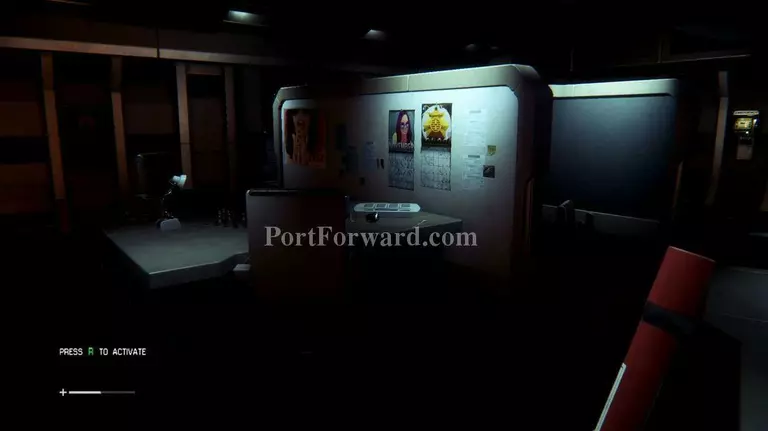
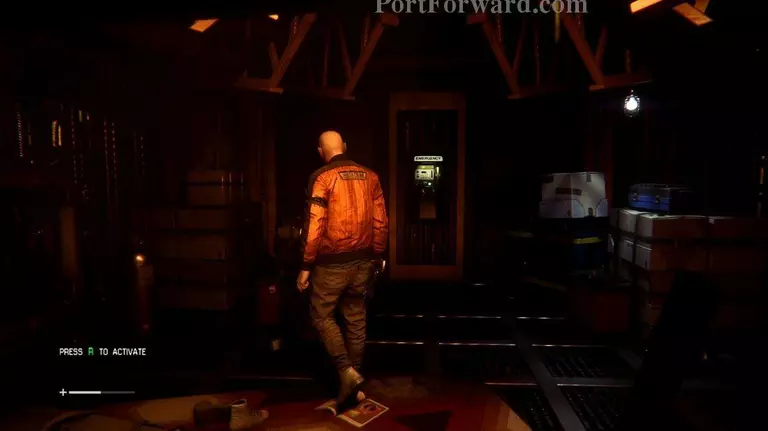
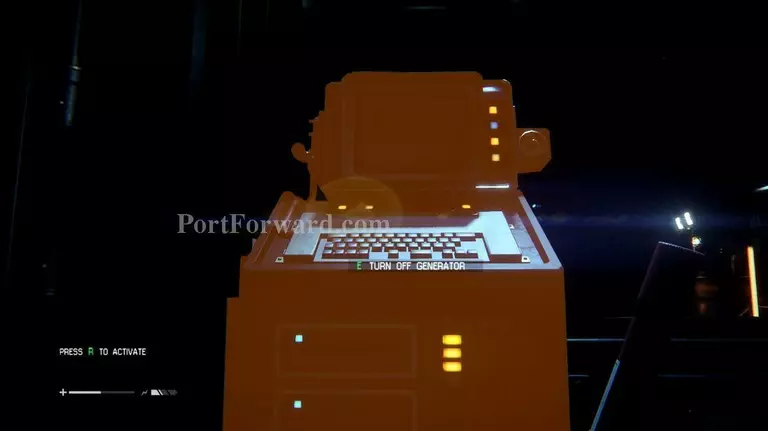
This next room is a little dark, so you'll need to find a way to restore the power. Head to the back of the room and turn to see an office in between the two sets of stairs.
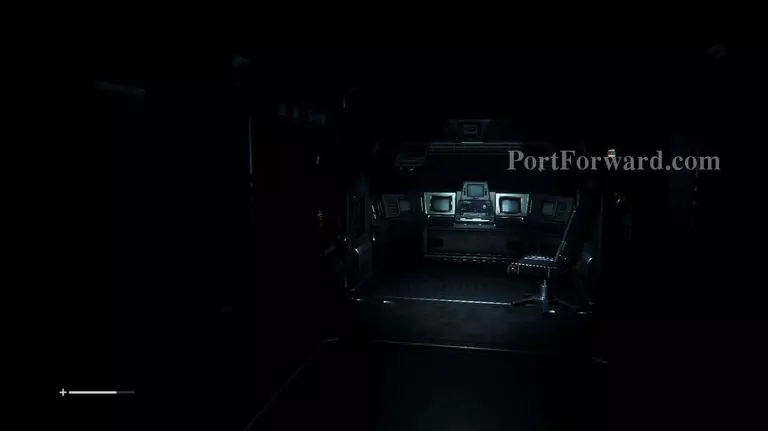
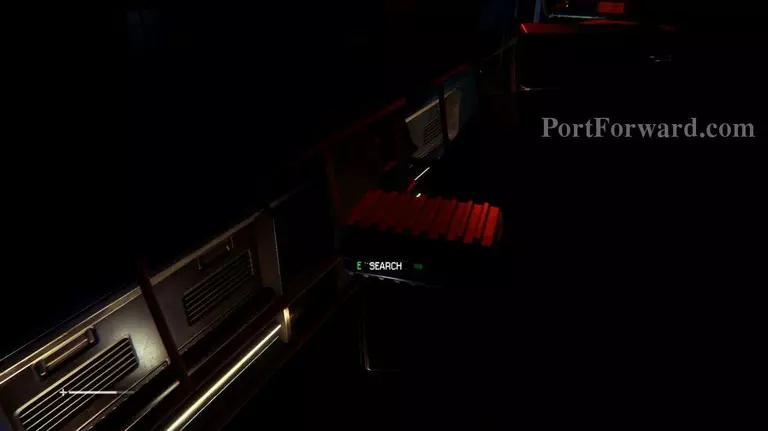
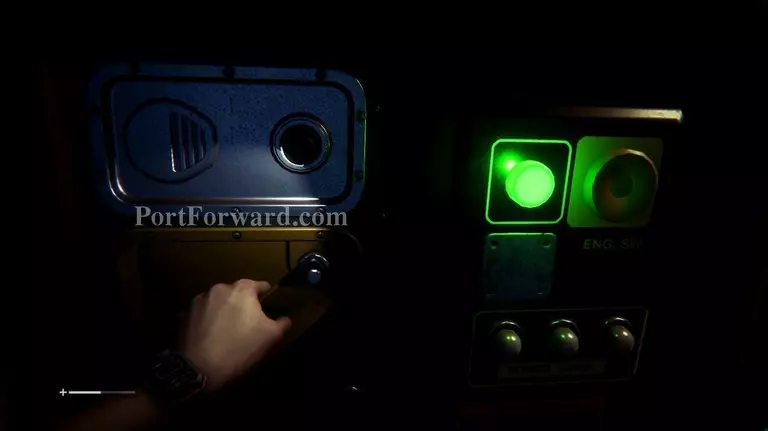
Press on the lever several times to turn on the computer, then use the computer to restore power to the room.
Archive Logs: On the computer used to restore the power, four other archive logs can be read.
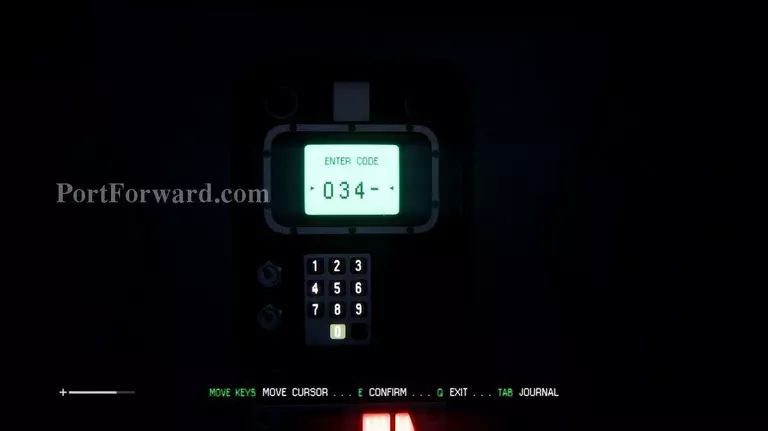
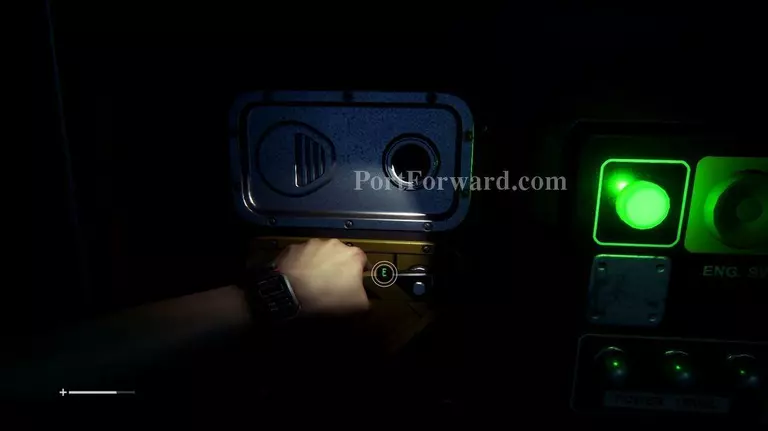
Schematics: Use the passcode (0340) you learned from one of the logs to open the locked door in the same room.
The schematics can be found inside.

Map: To the right of the entrance into the next room is a map.
With the power restored, head into the next room. Crawl under the wire and walk through the doors.

Enter the lobby area and watch as the Torrens passes by outside.
Walk up the stairs in the lobby, then back down the second set of stairs on the other side.
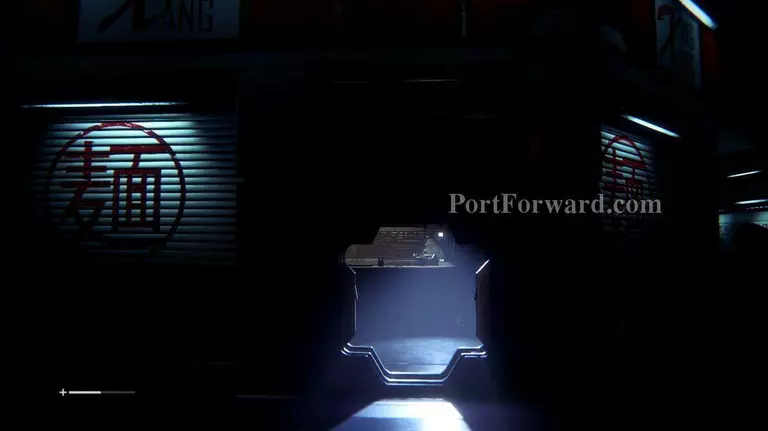
"Enter the arcade room and restore power from the generator. Enter the nearby convenience store.
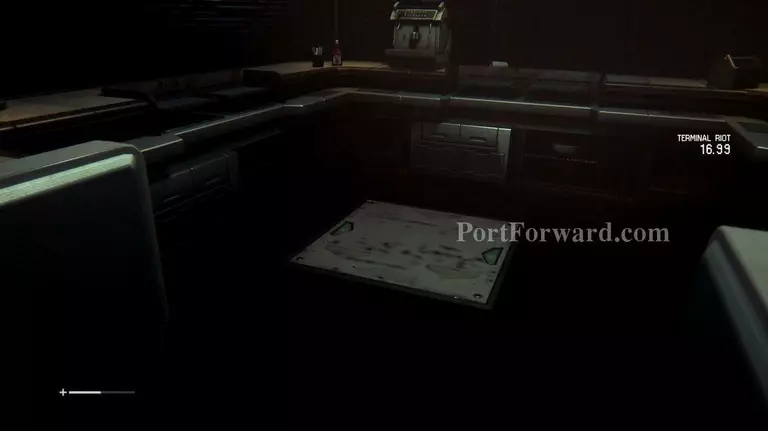
Open the hatch on the floor in the center of the convenience store. Hop inside and crawl into the next room. This room is filled with barricades, so try to find an opening wherever you can.

Start by pushing the machine out of the slanted tunnel, then crawl inside.

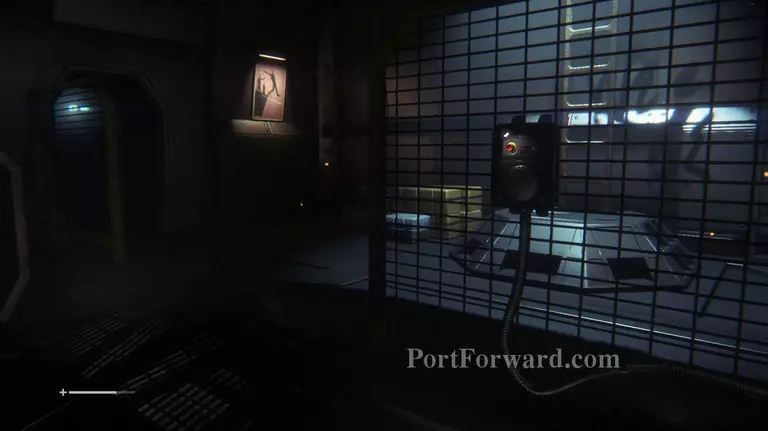
Make it to the other side and lights out! Body bags litter the floor, but don't mind those, just walk over to the big door with the giant lock.

You're going to need to find something to open it with, so head into the room on your right. Activate another generator to open up some of the doors in the area.

Return to the main area with the body bags and head up the stairs on the left to enter a now opened door.
"Save at the save station, then walk into the next room. This control
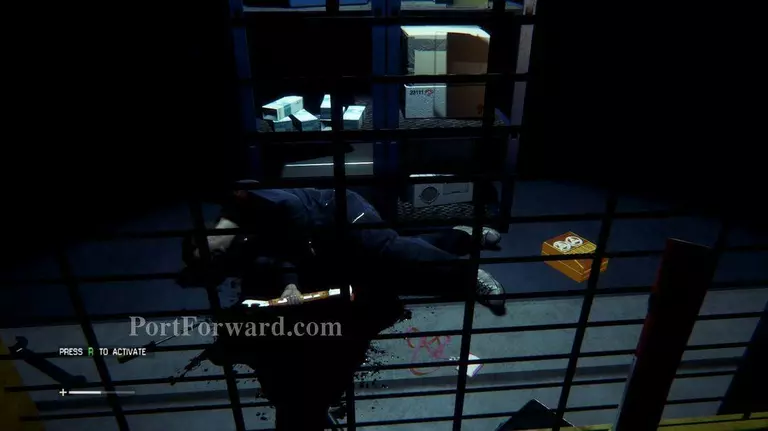
Walk into the supply closet to see a dead man holding the Maintenance Jack you need.
"Enter the vent on the right to get on inside the room. Grab the jack and any other supplies you may want.

Archive Logs: On your way back to the main area, notice another door with a giant lock.
Break through and enter to find some material and a recorder.

You can also go back to the rooms on the left.

Open the door with giant lock to find some supplies.

Now that you have the jack, return to the main room with the body bags and open the big door.

This is where you'll meet Axel.

Open up the door to find two other people trying to leave.
After letting them go, head into the next hallway and let Axel call an elevator.

You've reached an area with human enemy characters. Sneak around and enter the vent to get to Axel's pad. Save at the save station and grab the Flashlight.
ID Tag: In the dark area, find the ID Tag in front of one of the unusable vents.
Find the next vent to crawl through in the back of the darkened area.

Watch the two guys you saw earlier through the vent, then continue on.
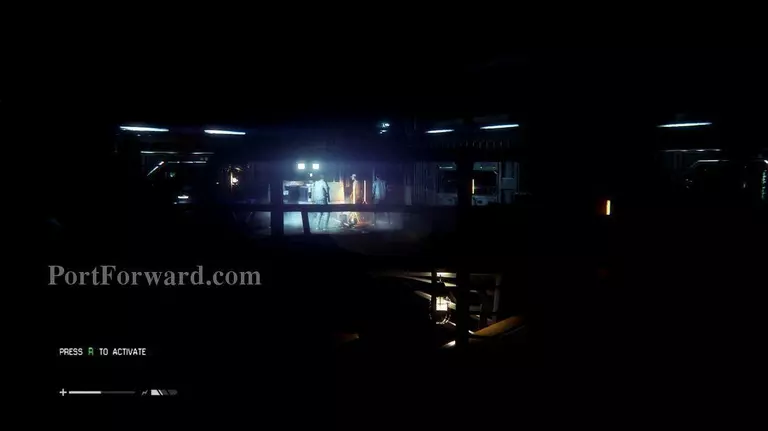
Reach the main room where your enemies have gathered. Crouch and sneak over to the room on the right. Turn on the generator, then hop into the vent on the ground. Wait to hear the enemies walk into the room with the generator, then escape through the next hatch.
Archive Logs: There is a computer on your way to the two buttoned machine that will have three logs to read.

Make your way into the next room where you'll have to have power up the door by pressing buttons in separate rooms at the same time.
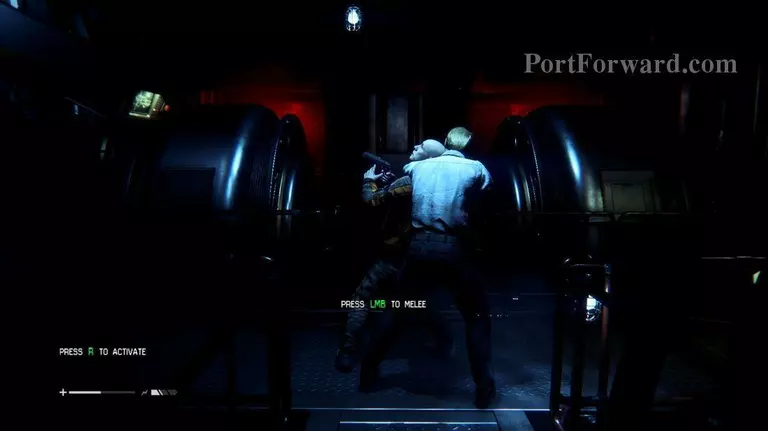
When the door opens, a man attacks Axel. Run over and take him down!

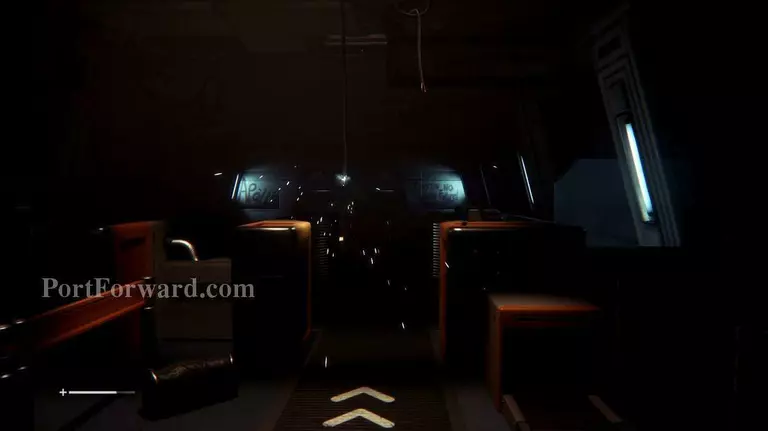
Run into the next room and watch as the Alien violently murders Axel. As calmly as you can, make your way into the next room and call the transit station.

As you wait ages for the transit to arrive, try not to make too much noise or they Alien will find you. Enter the transit, hit the button, and get out of there!
More Alien: Isolation Walkthroughs
This Alien: Isolation walkthrough is divided into 19 total pages.


