This Alone in the Dark walkthrough is divided into 5 total pages.
You can jump to nearby pages of the game using the links above.
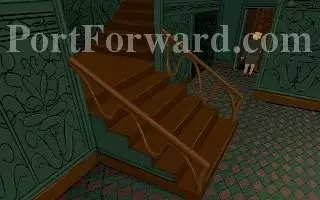
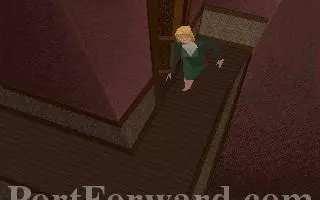
Floor 2

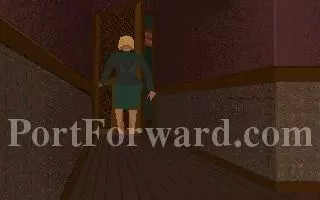
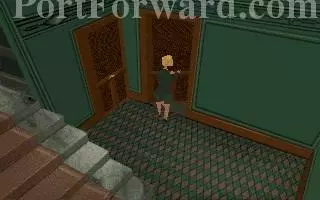
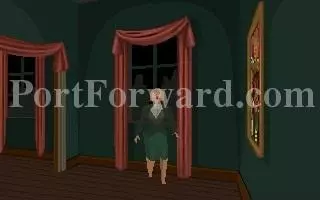
The door to the library closes and...
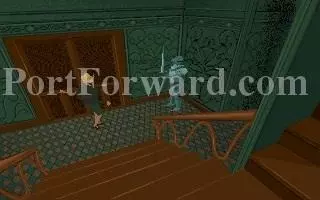
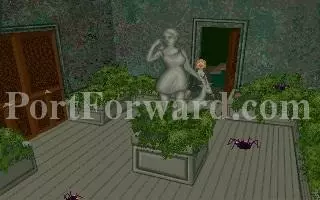
...I think that statue just laughed at me... I'll make sure to pay it back later.
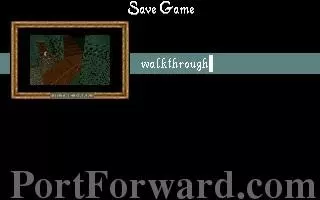
Now is a good time to save your game by the way...
Head over to the right and open the door.
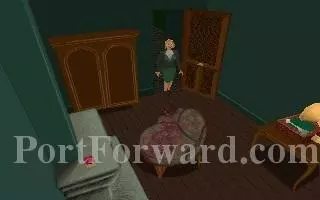
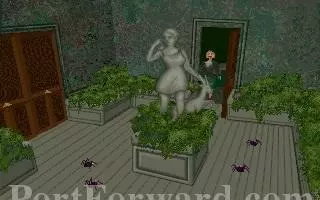
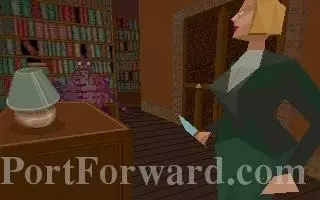
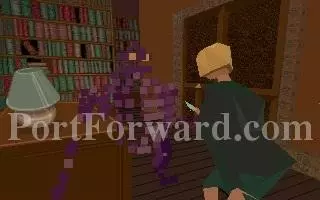
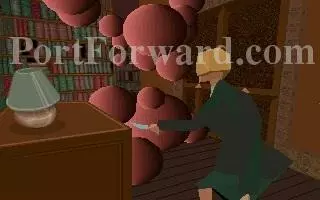
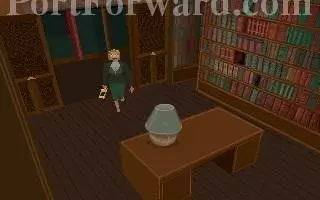
Uh oh... there's a ghost in the middle of the room, if we touch it, it stands up and turns into a swirling vortex of doom! So yeah, stay far away from these things.
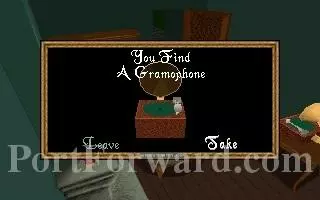
Go over to the right and pick up the gramophone, we need it.
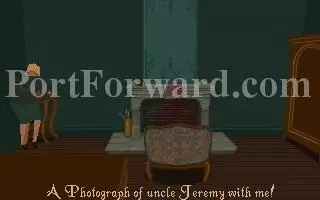
Continue over to the right, around the ghost. Examining the photo, Emily reminisces about days long gone.
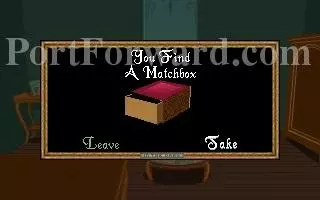
Take the matchbox on the fireplace, but not the poker, we don't acually need it!
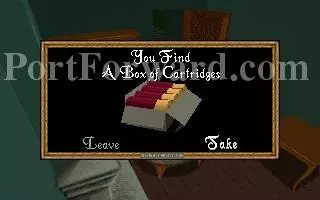
The cabnet at the front of the room also has some rifle shells. So if we ever need to use our gun, we have some backup ammo. There is almost always a way to get rid of enemys without shooting them...
Walk all the way back across the hallway and open the door.
Hallways lead into hallways in this game... get used to it. There is another door once we go through the first, open it and go into the room.

There is a notebook, take it.
You may want to quickly reload your gun and pull it out...
Don't be discouraged if you die here, this is probably the hardest fight in the entire game due to the very akward camera angle, and bad aiming system.
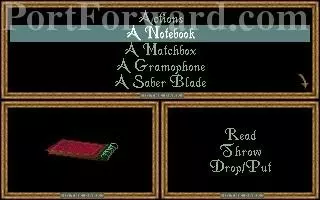
Right, lets read that notebook.
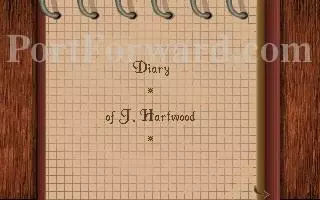
It appears to be the Diary of Uncle Jeremy... It would seem that he started having terrible nightmares. He was reading books found in the library of Derceto, most of which covered topics of some sort of occult. Some sort of "Dark Man" started to try and use Jeremy as a host body, so he continued to read the book in an attempt to find a way to rid himself of the "Dark Man." His father had been looking for some sort of treature buried in a cave system for many years, ironically, he found it underneth the house where he became trapped and then died. With Jeremy's mental health declining, and knowing that the "Dark Man" would take over his body eventually, he went up to the attic and hung himself. Man this is dark... alone in the dark WOOOOO
Lets go through the next door in the this hallway.
Hey look, a jelly fish!
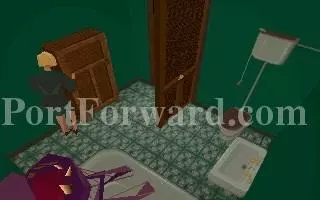
We want to avoid this thing at all costs, it can't be killed. Pick up the jug and search the cabnet. Do it VERY quickly.
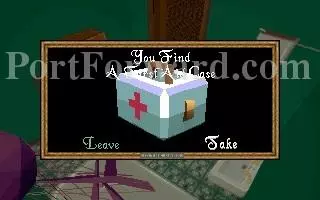
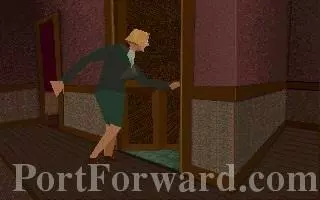
A First-Aid case, great, now RUN!
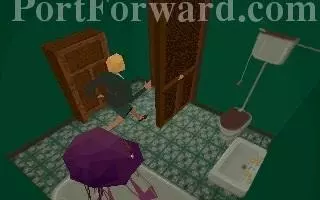
Move it Emily, you can make it!
RARGH

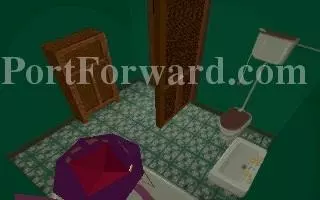
Feel free to drink up, you probably lost some health in that room.
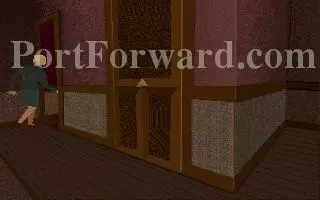
Drop everything you don't need and open the third door.

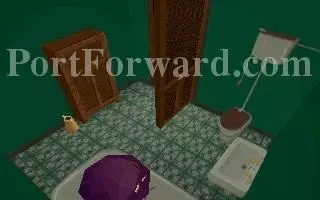
...And we are alone in it!

Use the matchbox here. Emily will automaticly pull out the lamp.
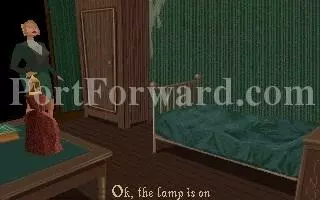
Looks like this is where Jeremy was sleeping the past few days to get rid of the "Dark Man..."
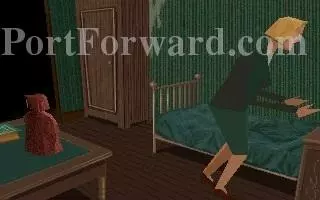
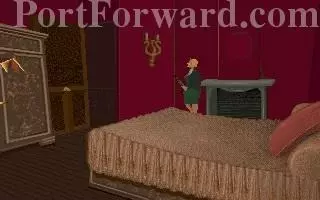
You can set down the lamp and the room will continue to be lit. Note however that it also continues to burn fuel. We DO NOT want it to run out. Motion over the this dresser and search it.

Some bullets? Well I don't have any other guns so these are useless for the moment.

The desk contains a couple of items: A very heavy statuette and a book.
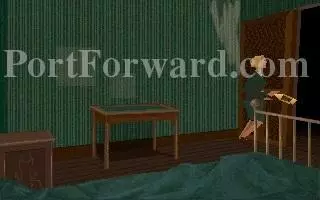
Take the lamp and get out the bedroom.

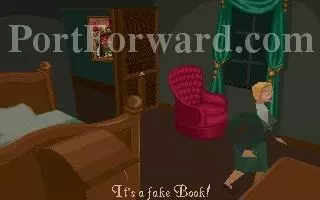
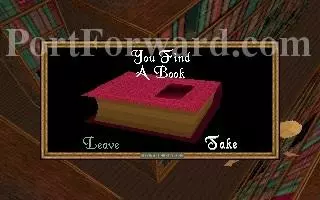
The staple of the original trilogy of Alone in the Dark videogames: BOOKS BOOKS BOOKS

This book is acually just a way to tie this game together with another game they made called "Shadow of the Comet." There's nothing interesting in the book.
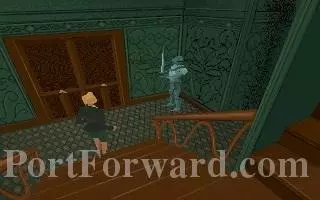
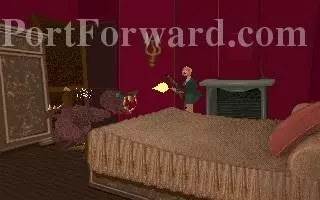
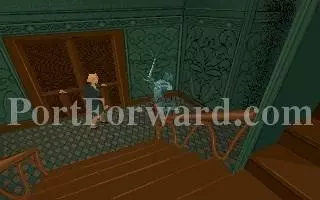
Remember that suit of armor?
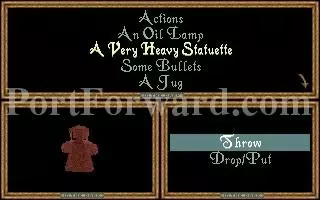
Lets throw that statue at it >:D

Man I clocked that one at 90 miles an hour!
Ohhh right in the nuts. That's low Emily.

If you go near it, it will acually take a swing at you.
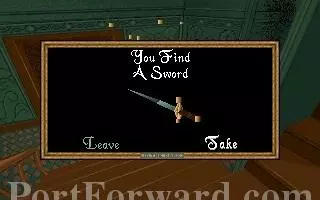
We get the suit's sword, great!
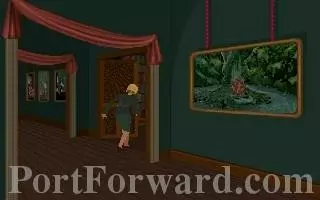
Anyways, go back to the last door in that other hallway.
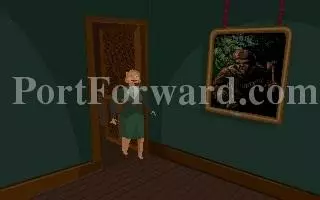
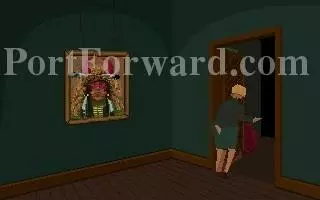
Hmmm... I don't like the look of that painting...

Lets put the Old Indian Cover over it.
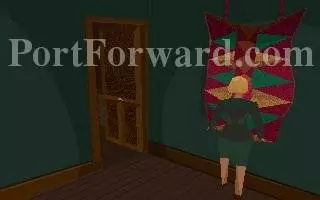
Right... if I didn't do that, it will throw axes at you till you die.

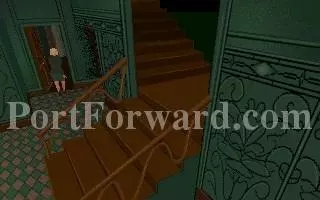
We need to go downstairs for a second.
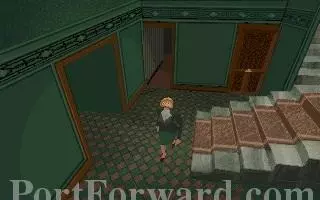
Once we are at the bottom, take a right.
Open this door and walk in.
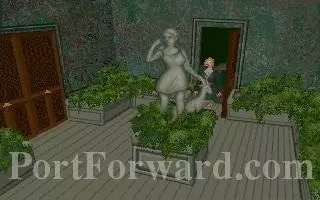
See, there is a another painting at the end of the hall. In order to get rid of it, we need to fire arrows at it. Walk up to this statue and make sure your back faces the door. Search it.
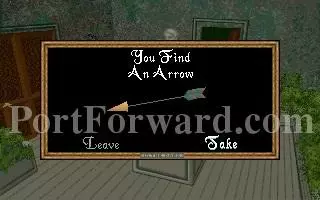
We get three arrows, but...
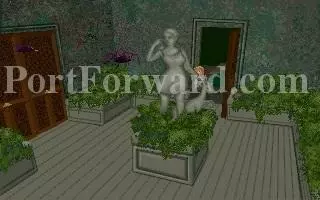
OH GOD SPIDERS
SPIDERS EVERYWHERE
Simply back out of the room, they can't follow you out into the hall.
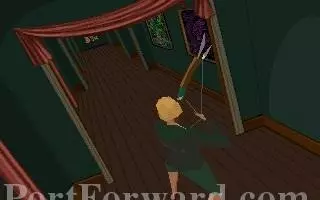
Go back upstairs and take aim with the bow. We need the arrow to go straight down the middle of this hall.
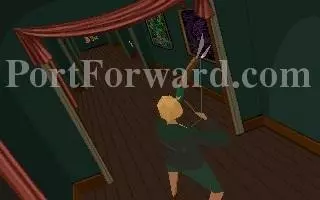
You may miss once or twice, that's why we got three arrows.

Emily must have practiced with this bow as a kid, she is a pro with it!

The painting dies... you can tell because of the signature puff of smoke that appears when enemies die.

You can now toss away any remaining arrows and the bow, we don't need them anymore.

It looks like a tree on fire in the middle of a canvern, strange...
Go all the way across the hallway past the double doors.
I still can't get over that... we killed a painting... Open the next door.

Oh a book! Lets read it.
It's acually used for a puzzle and... say... something seems strange about that clock...
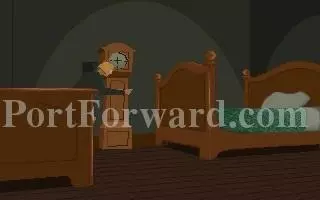
We push it over and what's this?
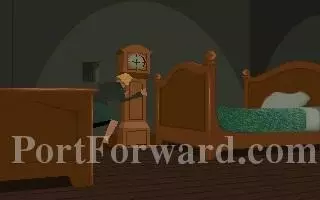
There's a hole in the wall!
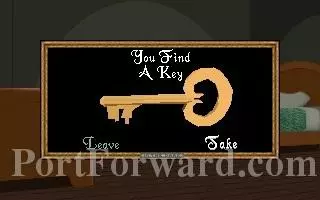
A key and a piece of parchment. Uncle Jeremy sure was a strange guy, he kept all sort of secret places for this stuff.
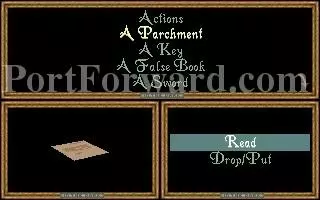
I imagine this parchment isn't fake right?
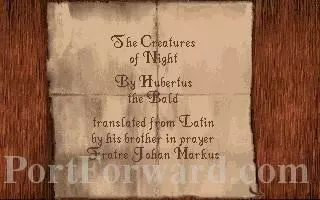
I can't really make this letter out... it is very strange. We do however get this particularly creepy message.
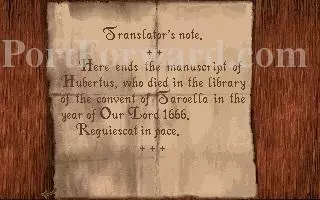
The year: 1666. Brilliant.
We can now open the library doors.
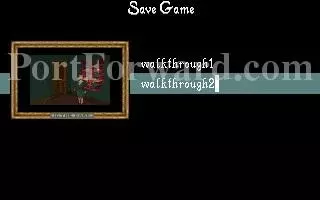
Now is probably a good place to save your game.

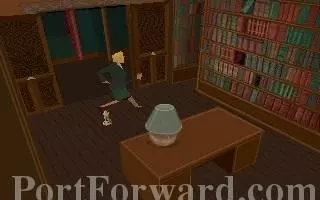
Oh great, the library is in the dark!
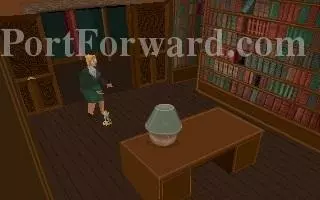
Pull out the lamp, then very quickly drop it on the ground.
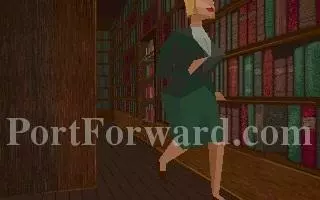
Now very quickly run to the right.
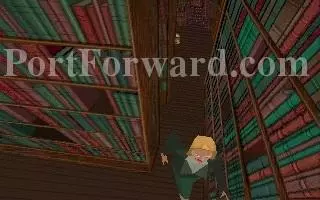
Go to the end, then to the left. You see that purple monster in the background? It's out for blood.
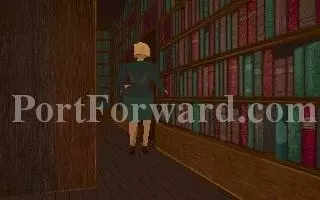
Run to this space that looks like a hole inbetween the books.

We need to place the fake book is this spot.

"A secret is revealed!"
Walk into there.

Woah. This is weird. Pick up the tailsman.
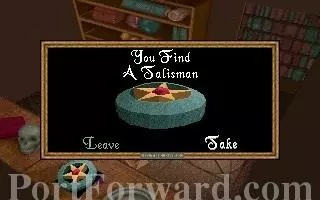
Weird looking thing isn't it?

Now search the bookcase for a few useful books.
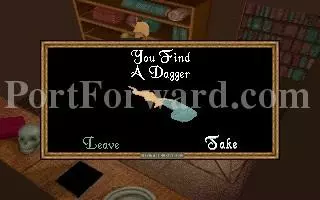
Take this dagger and leave the rest. Take all the reading material.

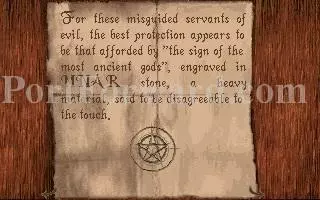
Most important step: stay over this pentigram. It protects you from the evil in some of these books.
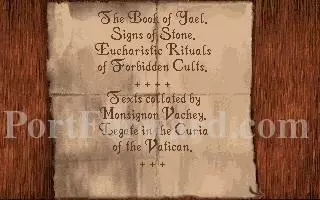
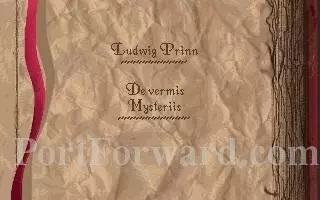
The first parchment definetely links this game to the Cthulhu mythos.
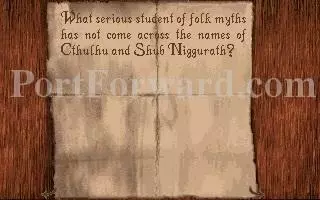
You might recognize the name of Sub-Niggurath if you ever played id Software's Quake.
Look, it's the tailsman we picked up...
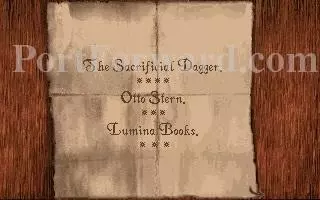
The next parchment talks about sacrifical daggers.

It talks about raising a monster called the Vagabond... guess what the monster in the library is! The one dagger we picked up happens to be the only thing that can kill it.
This doesn't look strange at all.
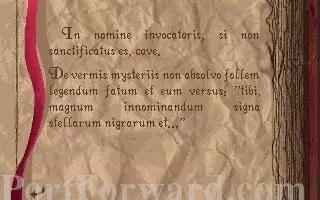
If you weren't standing on the pentigram, reading the book would kill you instantly.

This book tells us that books can be dangerous! Thanks for telling me too late!

Lets go kill us a monster!
There he is!
But enough talk, have at you!
poof

Now quickly run around the library looking for any books that you can find, remember, the lamp is still on, and it is still burning fuel.
Here's another!
Great! Once you've got the books head back into the tailsman room. Take the lamp with you.

This one is another book that tries to kill you if you don't stand on the pentigram.

This one is the story of how the first iteration of this mantion came to be. We find out about a man named Pickford, who appearently must of been some sort pirate, built this house with blood, sweat, and tears, but mostly lots and lots of blood: slave labor and all that.
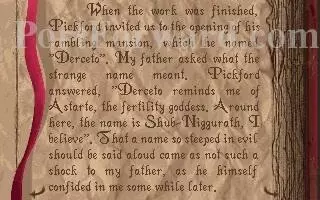
It's interesting that Pickford should say that... you'll find out at the end of the game. img(188585); Anyway, we can now throw away all of our books; we don't need them anymore. img(188586); Take the lamp and head out the other double doors. img(188587); We're back in the main hallway on the second floor. img(188588); That's all there is to this floor, go down the stairs.
More Alone in the Dark Walkthroughs
This Alone in the Dark walkthrough is divided into 5 total pages.