This Alone in the Dark walkthrough is divided into 5 total pages.
You can jump to nearby pages of the game using the links above.
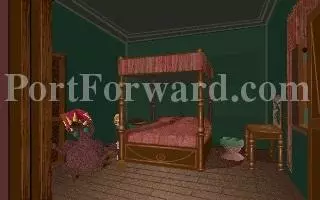
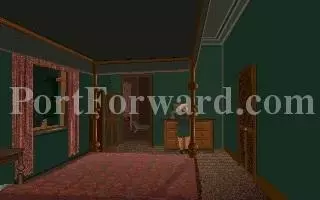
Floor 3
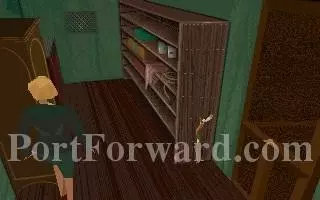
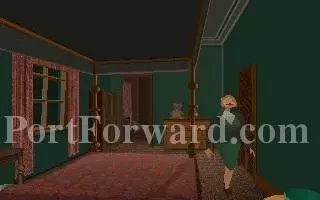
We arrive at floor 3. The floor isn't very large so this shouldn't take long.
Go over to the shelves and search them.

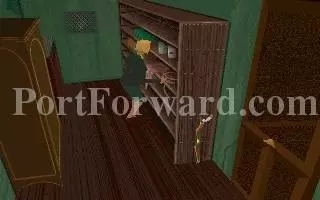
The oil can is used to fill the lamp, so use it when you get it.
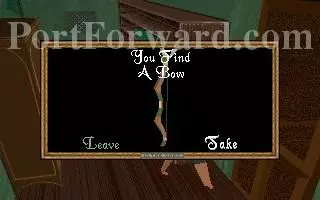
Move over and grab the bow.
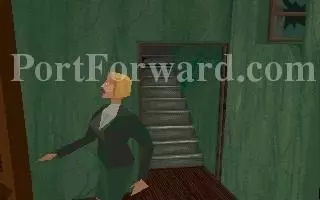
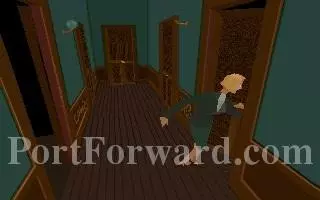
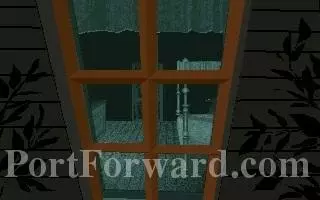
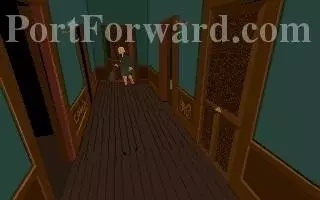
Open the door and go into the hallway.
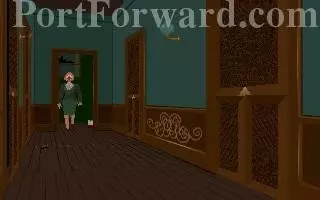
The middle of this hall is a trap, the floor in the middle will break if we try to walk over it.
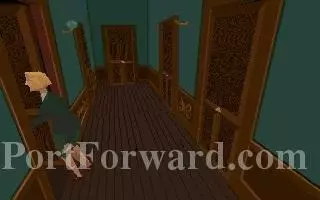
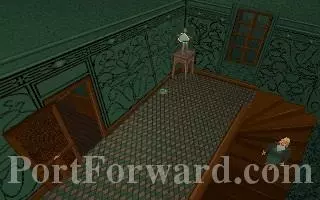
Take a left into this door.
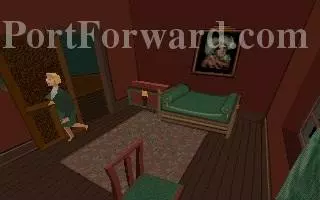
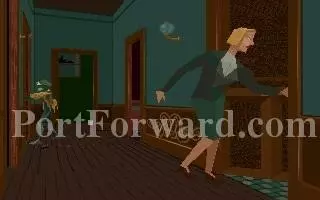
Be careful not to walk on the carpet, doing so would cause an enemy to spawn.
Walk over to this desk and search it.

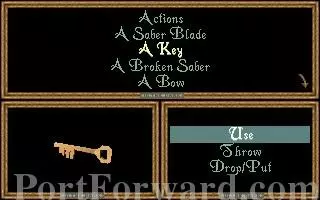
We find a key to the chest we just saw.

Select the key and use it.
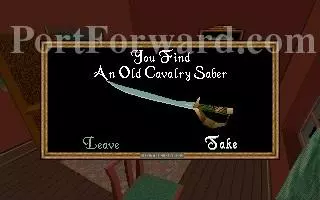
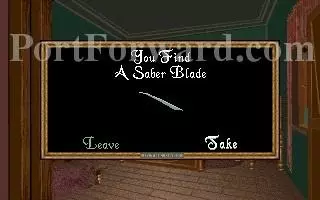
Take the Old Cavalry Saber, we will be using it shortly.
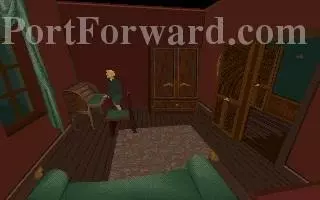
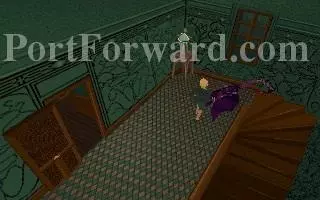
Go straight across the hall into the next room.
Make sure to close the door ASAP, an enemy spawns behind you.
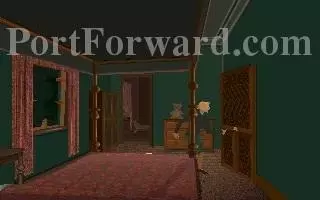
Take a stroll into the next room.
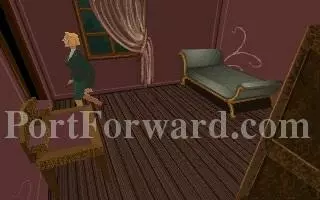
Now quickly go grab the vase in the corner of the room.
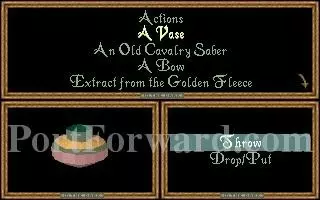
Throw it, you'll see why.
But wait, what's this?

CRAP
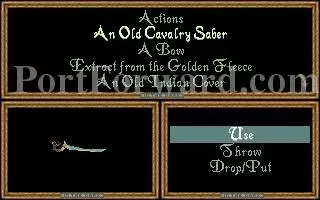
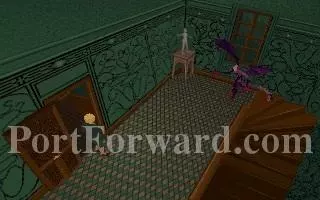
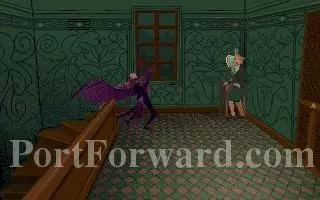
Get out the Saber, it will be VERY useful in this fight.

Hold down the spacebar and press a directional key to make an attack.
If I wasn't using the Saber this fight would be pretty difficult.

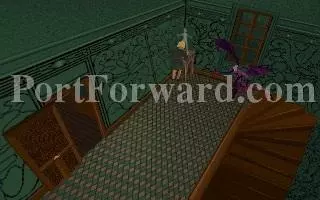
Three sucessful hits should take the bird monster down, but...
We broke the sword. Great.
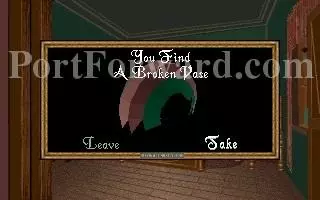
Throwing the vase breaks it, and within lies...
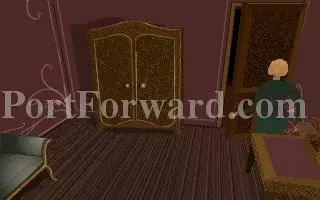
The dresser key. It should be kind of obvious where to use it.
Go over here and use that key.
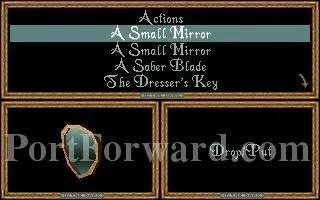
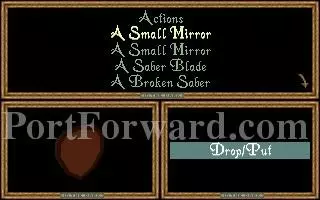
We get two small mirrors, you're probably wondering what crap will be used for... remember kids, this is an adventure game! Where you had to combine a stick with glue (specifically in this order) then combine glued stick with paper to open a door!
Right, lets get back out into the hall.
That's why you want to close the door behind you.
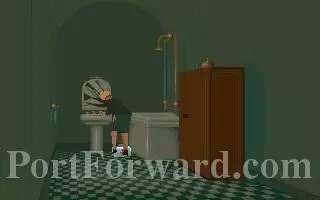
The next room here is a bathroom.

Come over here and open the cabnet.
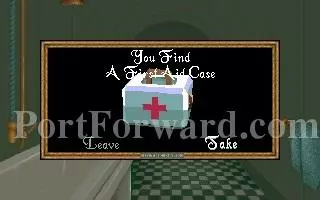
A First Aid case, the only one in the game....
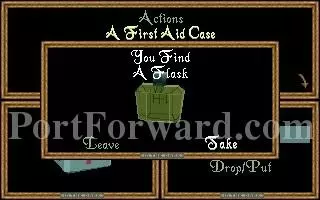
Open it up and you get a flask! Feel free to drink it immediately, there is no health limit in the game.
Now is a good point to throw away everything you don't need: Empty case and flask, any keys you've already used, the book...
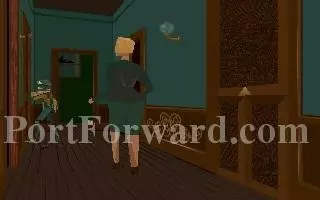
We're finally at the end of the hall, go through the door.
What even is this.
Remember the book? It contained a hint for this bit here.
Go over to the statue and place your mirror.
Then go over to the other side of the room and place the other mirror on the other statue. The monsters start having a freak out.

They both die in a puff of smoke.
We are now able to go down to the second floor! WOOOOOOOO
Both characters take their sweet old time walking up and down stairs in this game.
More Alone in the Dark Walkthroughs
This Alone in the Dark walkthrough is divided into 5 total pages.