
This Bastion walkthrough is divided into 30 total pages.
You can jump to nearby pages of the game using the links above.
The Beggining
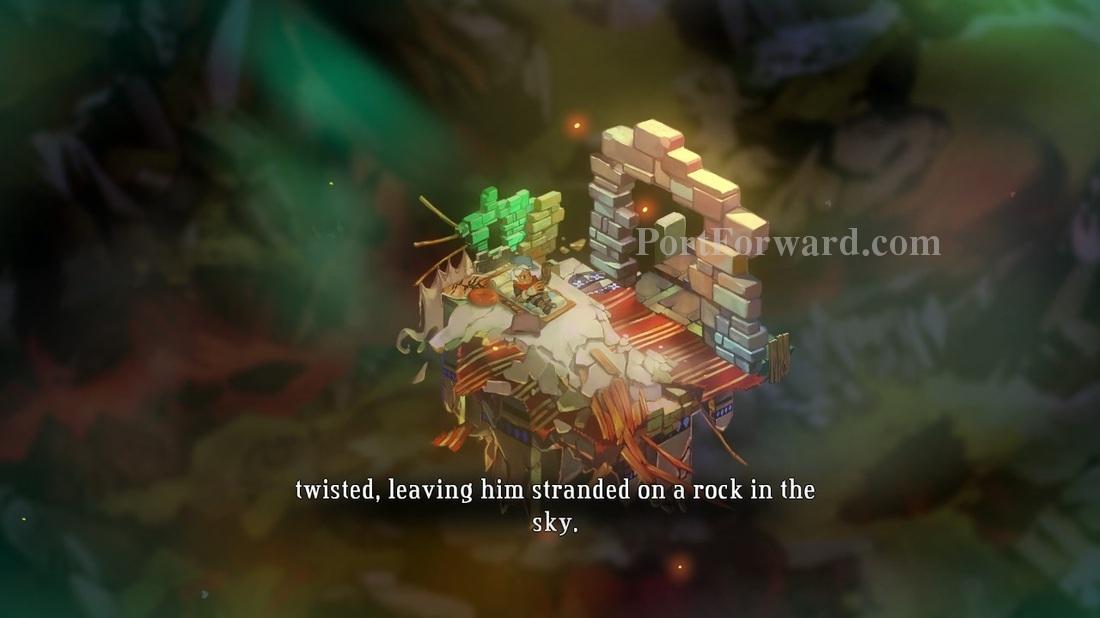
You start sleeping, on a rock in the sky, to stand up, press 'W'
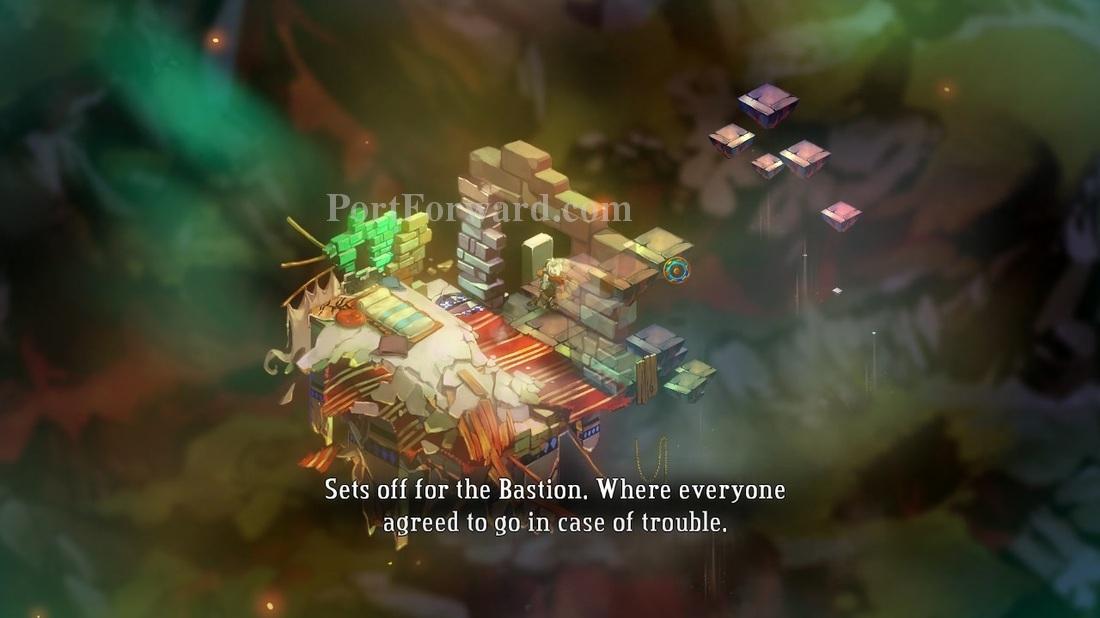
While walking, the world forms around you, so while playing the game, remember to explore the game world, because even if it seems that there is nothing over there, it could form itself just by walking nearby.
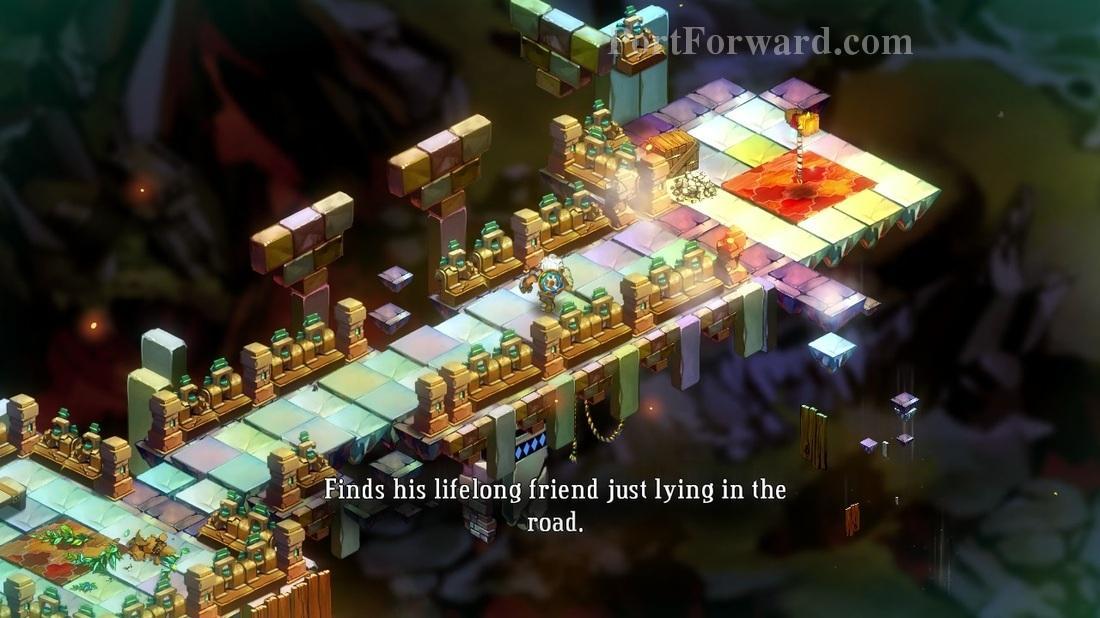
Going forward, you find your hammer. This is the first melee weapon you get.
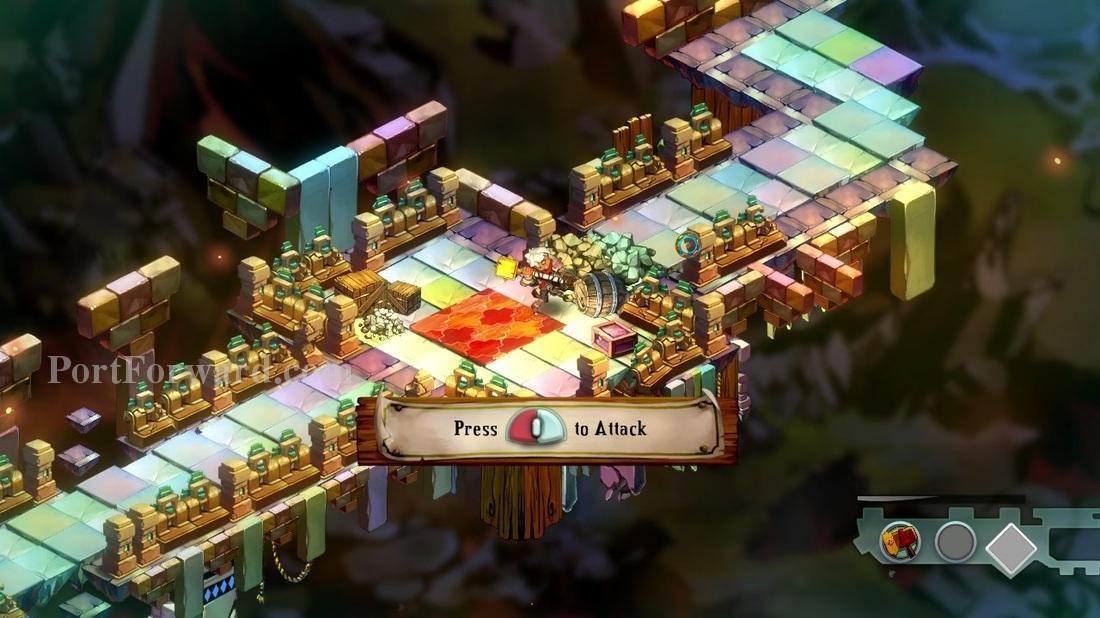
You attack with the left mouse button.
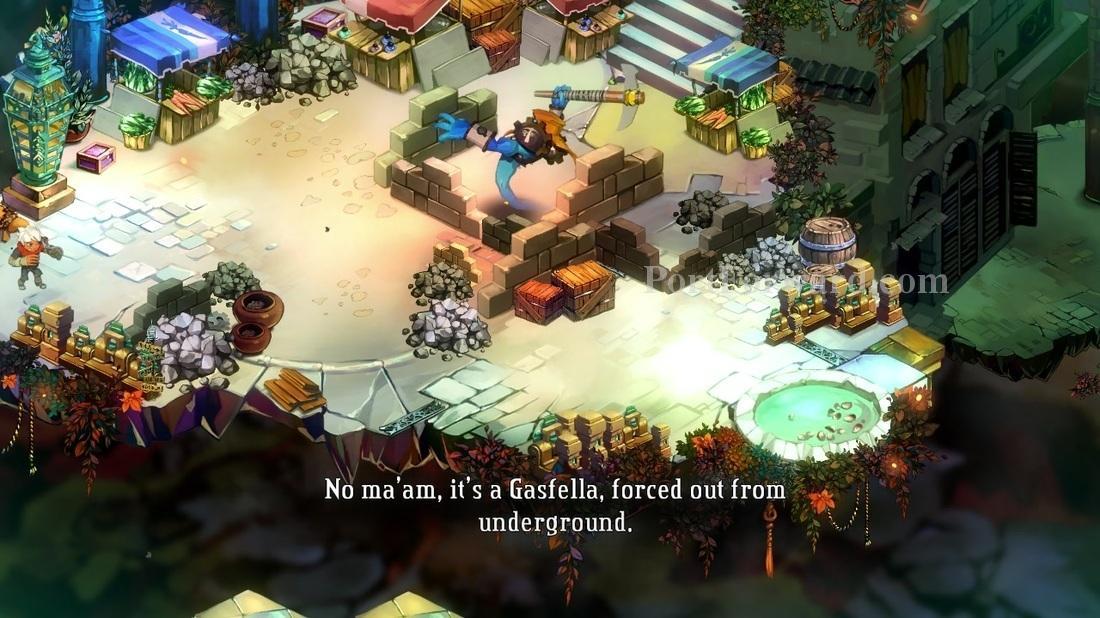
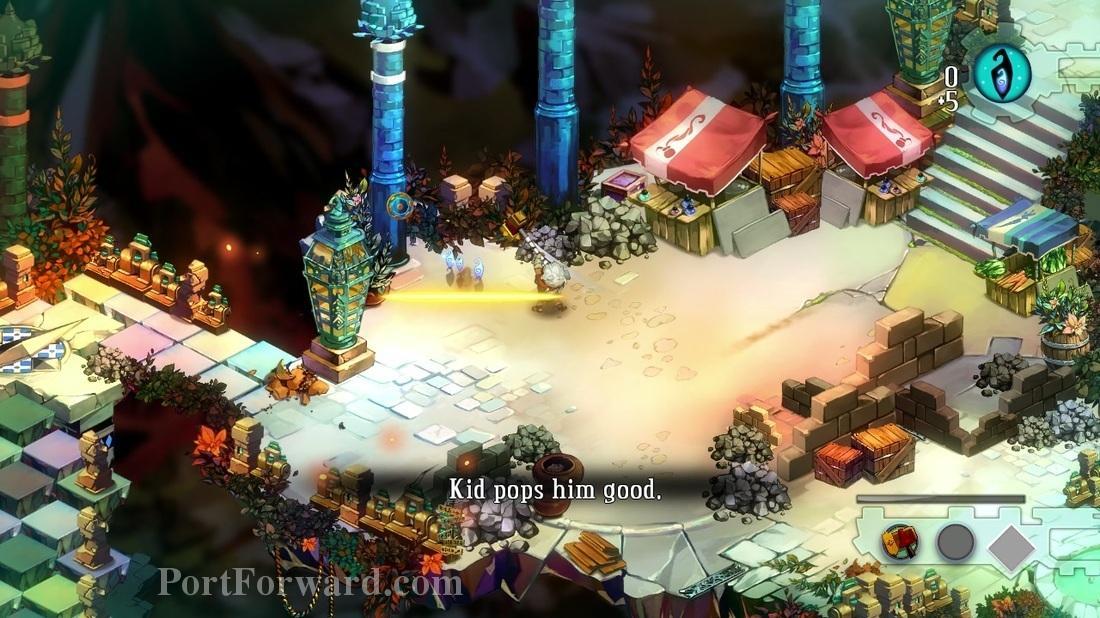
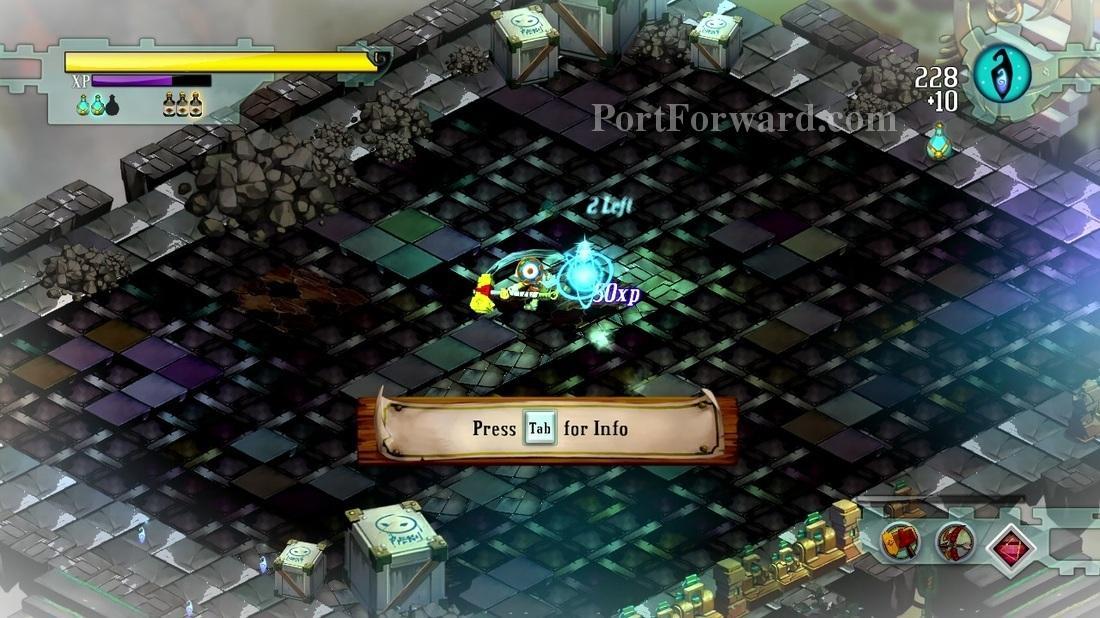
Going forward, you will meet your first enemy: "Gasfella"
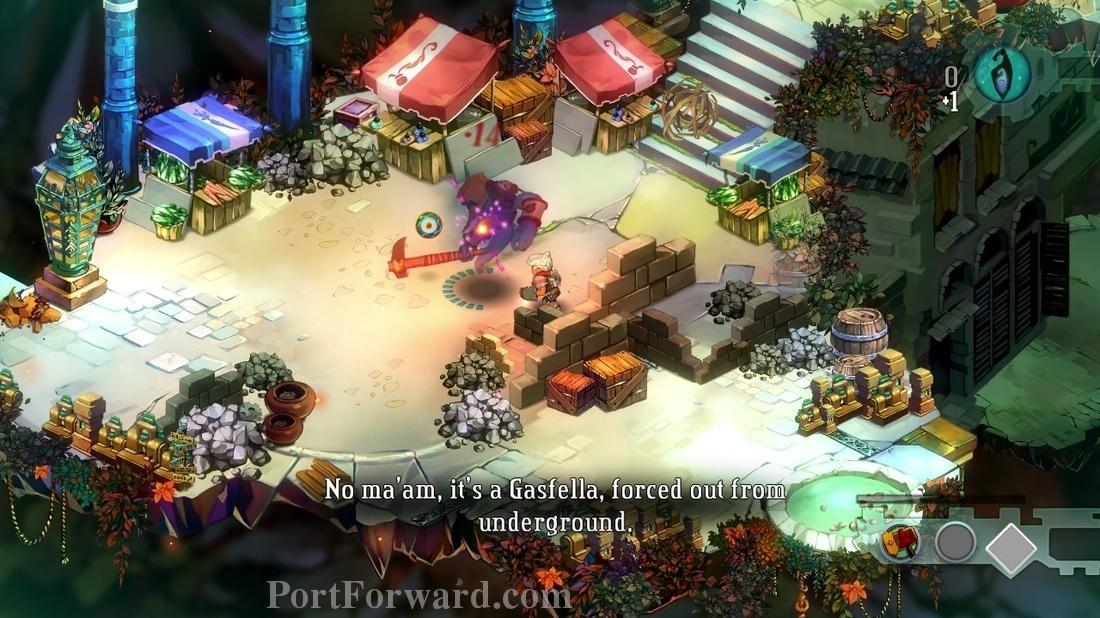
The circle around the enemy displays his current health.
You can dodge by pressing the space button. TIP: Dodging is actually faster than walking.
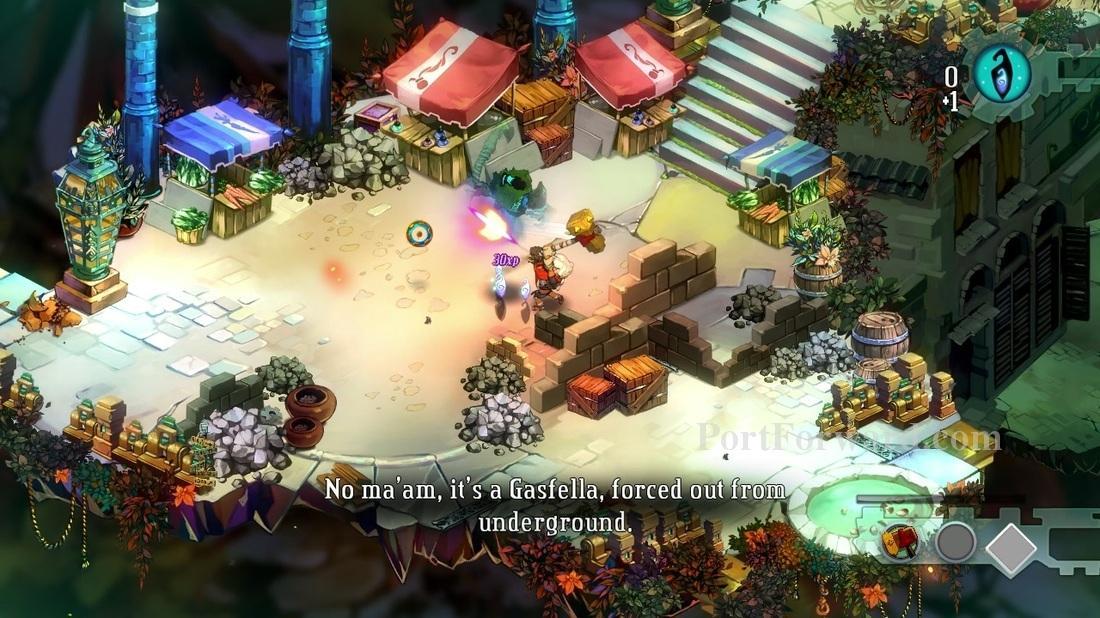
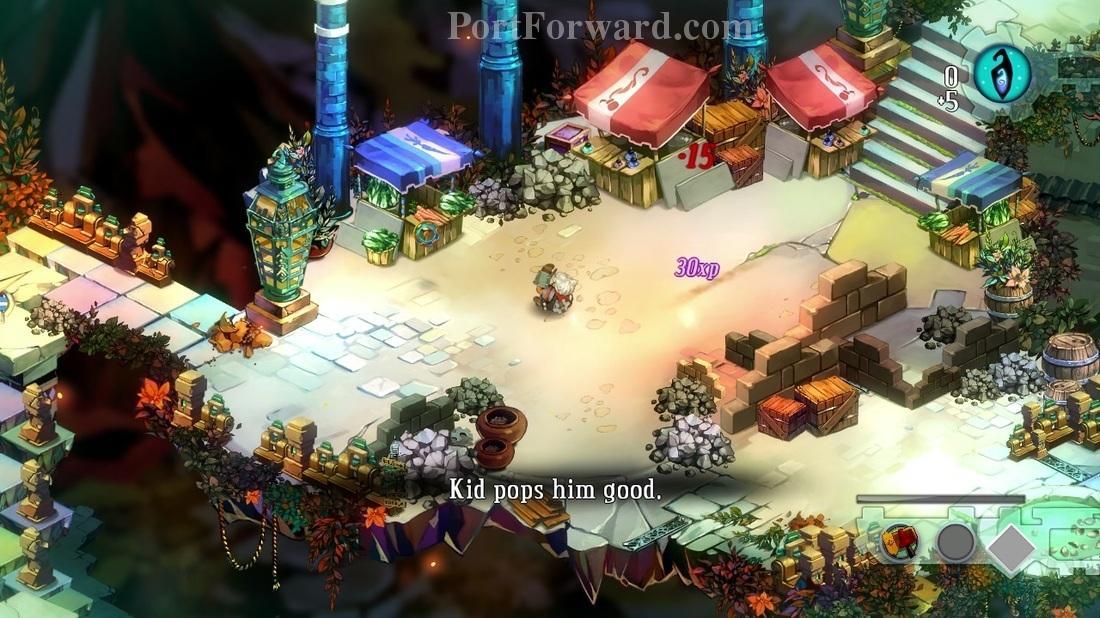
After defeating him, it will show you your health and experience bar on the top. You gain experience everytime you kill something, or gather a potion from the ground.
Destroying random objects might give you 'Fragments'. The number on the top left that says '0' is the ammount of fragments you currently have, and the number '+6' shows how much fragments you just got.
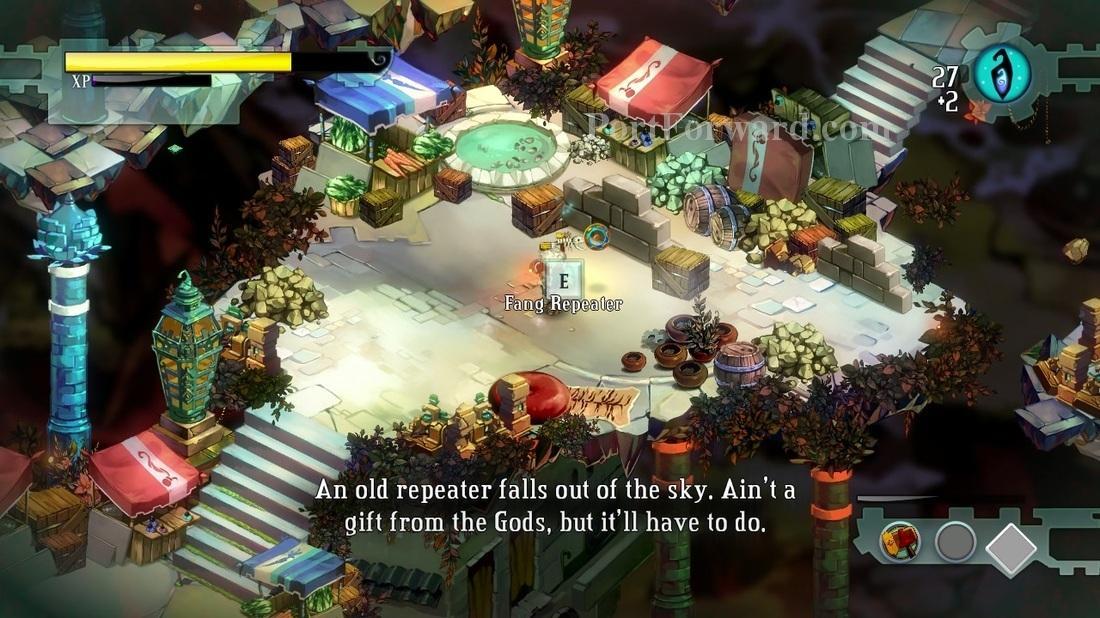
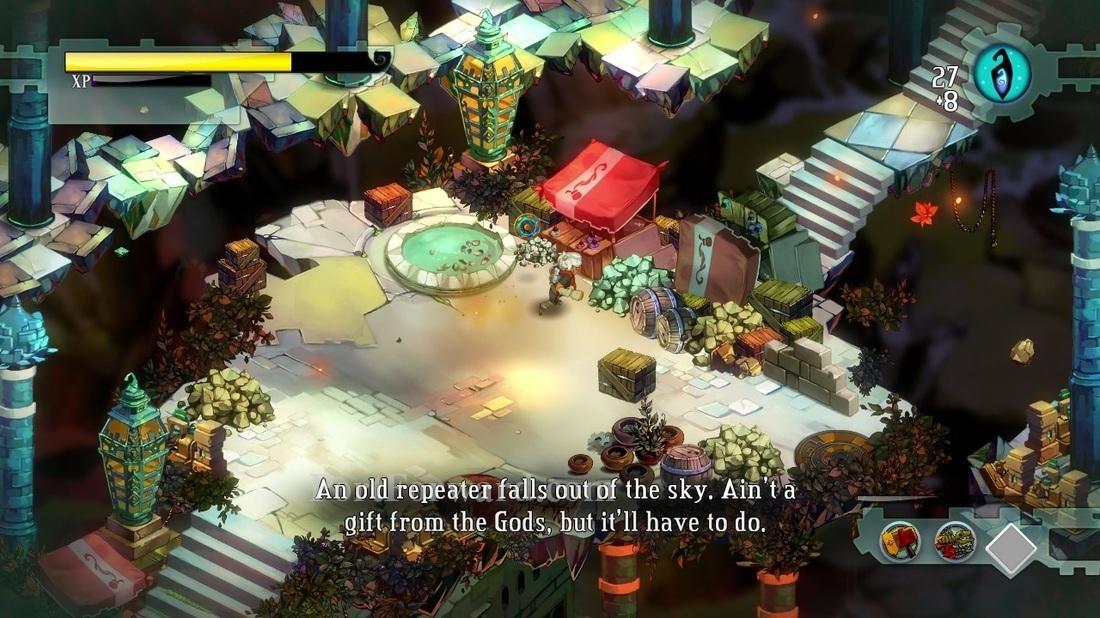
After moving ahead a bit, you will notice your first ranged weapon. You fire by right clicking. Also, if you press shift while there are targets around, you will lock onto them and automatically shoot at them with the Fang Repeater.
You can see your current weapons on the bottom right.
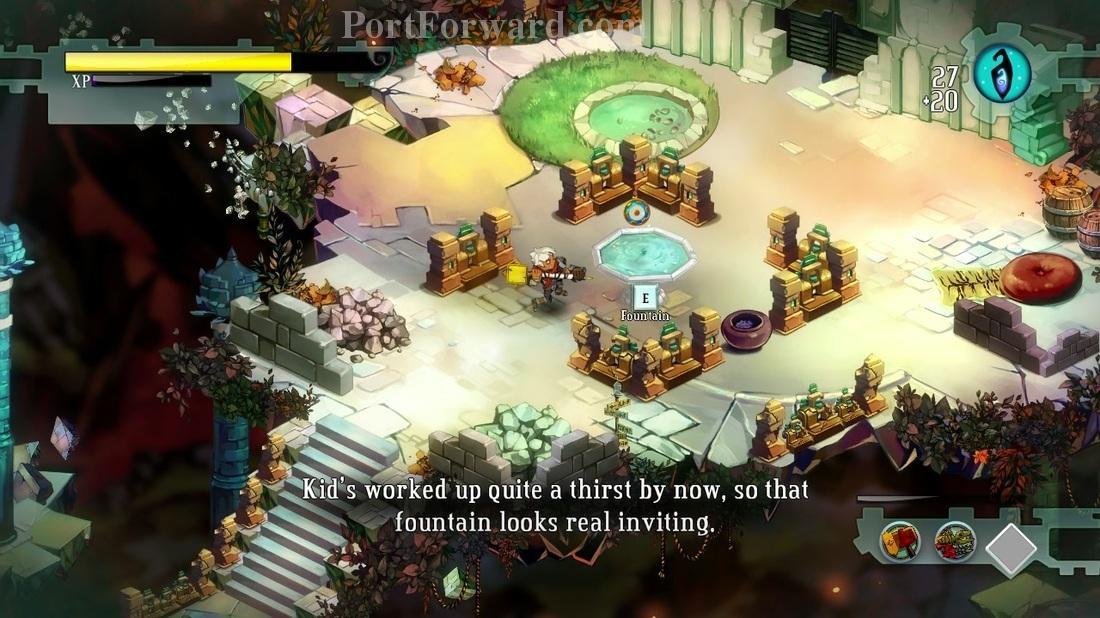
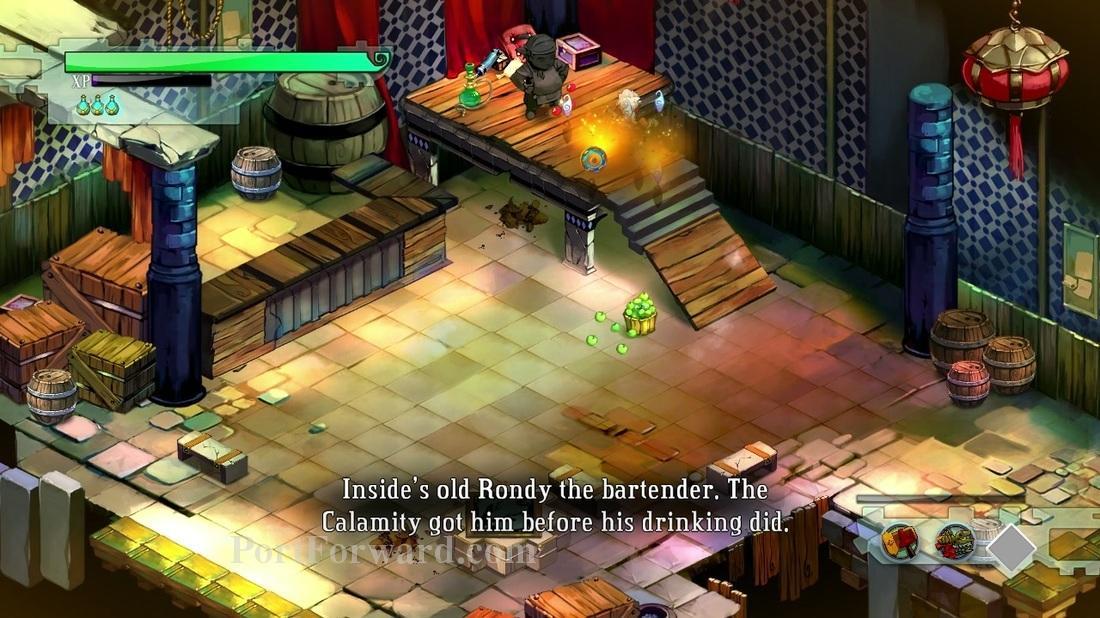
Going forward, you will notice a well. If you stand still and press "E", you will gain potions.
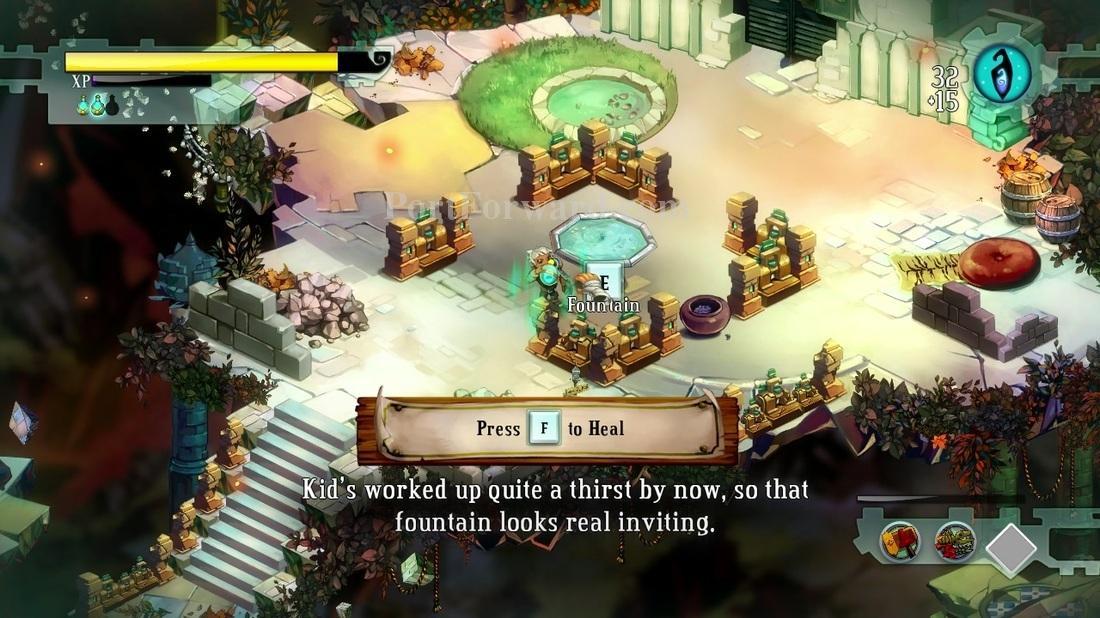
Potions are shown on the top left of your screen. You can press "F" to heal, but that will use up a potion.
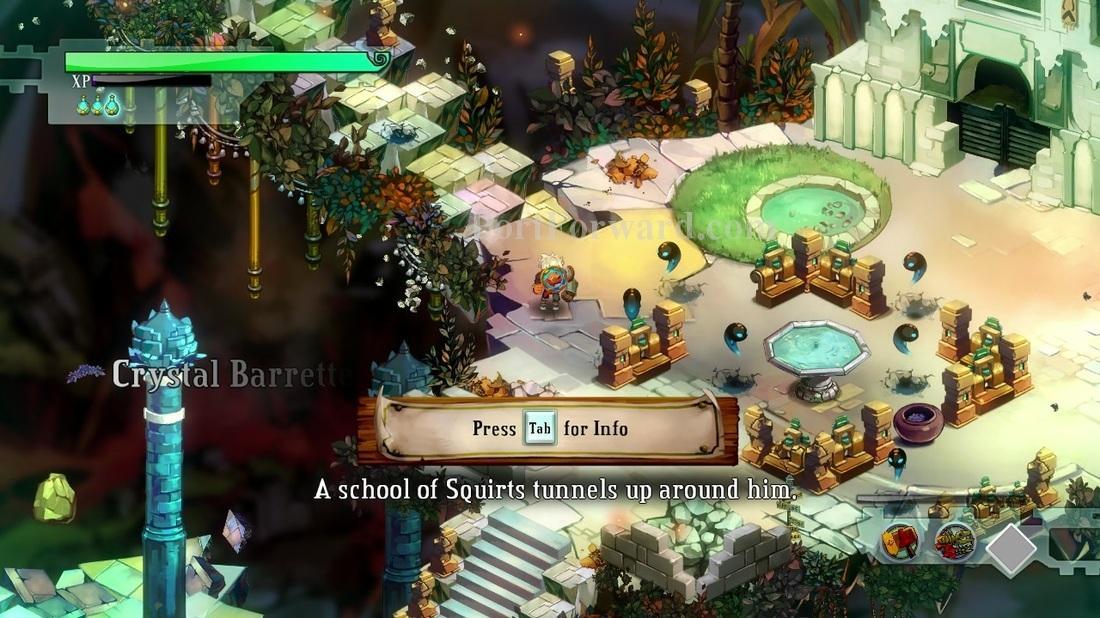
The next enemy you meet is called a "Squirt". They are really fragile creatures, and usually come in groups. They attack by coming close to you, then thrusting their bodies into yours.

Killing them with the Cael Hammer is extremely easy.
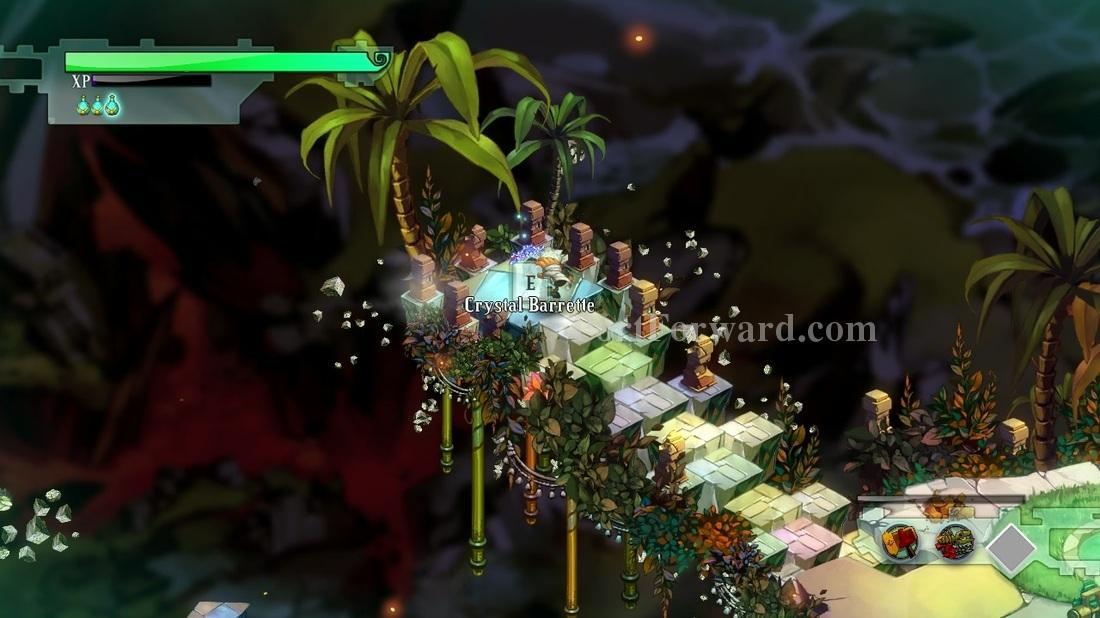
Before you go to the next area, go to the left of the fountain. The item "Crystal Barrete" is over there. It's is a lore item, it has no uses but to give you more information about the game lore.
The next area you go to is a small arena-type level.
You must destroy the stone statue on the top to continue.
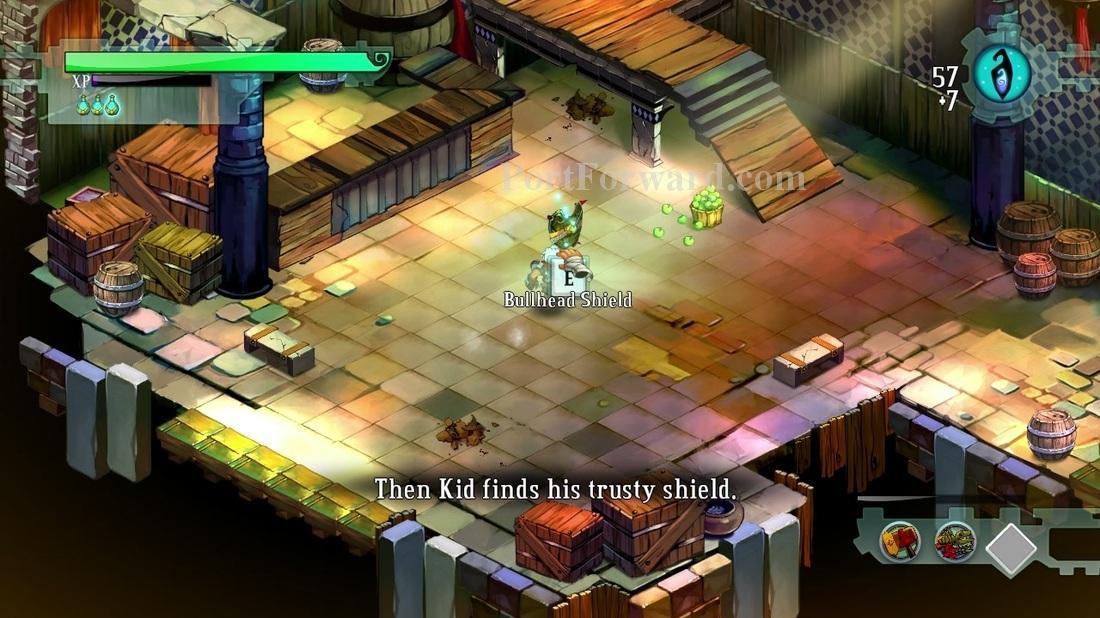
After you destroy the statue, the Bullhead shield will appear.
A turret will appear. You can block it's projectile attacks with the shield, by pressing "Shift", or you can simply smash it to pieces with the Cael hammer.
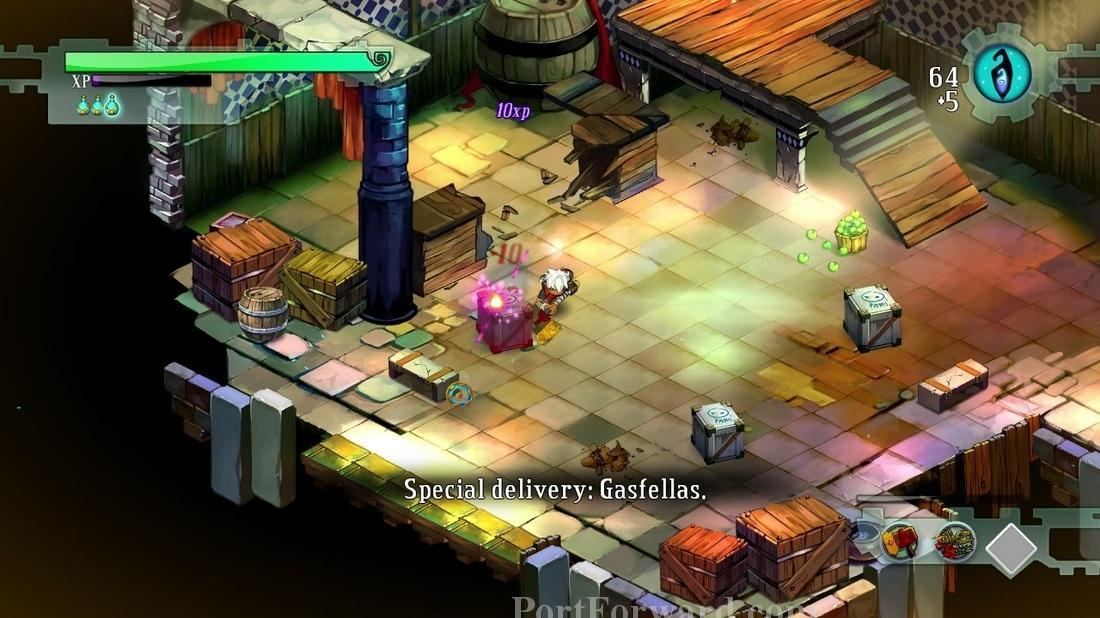
After destroying the turret, a few boxes will fall from the roof. Destroy the boxes, because if you do not, Gasfellas will pop out of them.
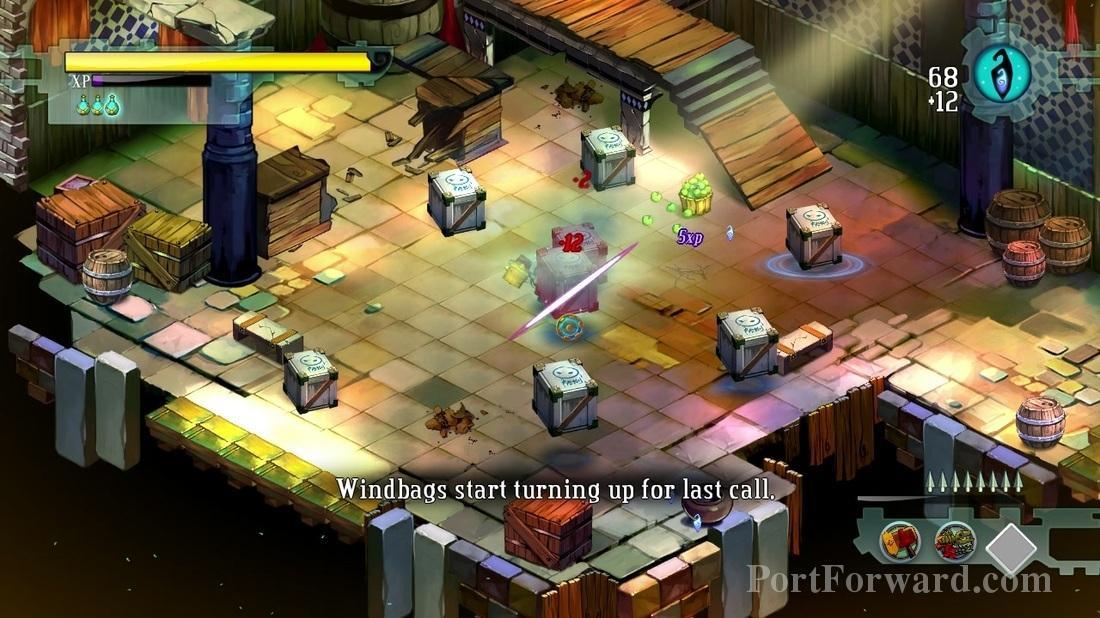
More and more boxes will appear. If too many spawn, i would recommend dodging their attacks by rolling and shooting with the Fang Repeater.

After a bit, squirts and a different version of the Gasfella will appear. This one has fast charge attacks, if you cannot dodge by rolling, i recommend blocking with the shield, which stuns them.
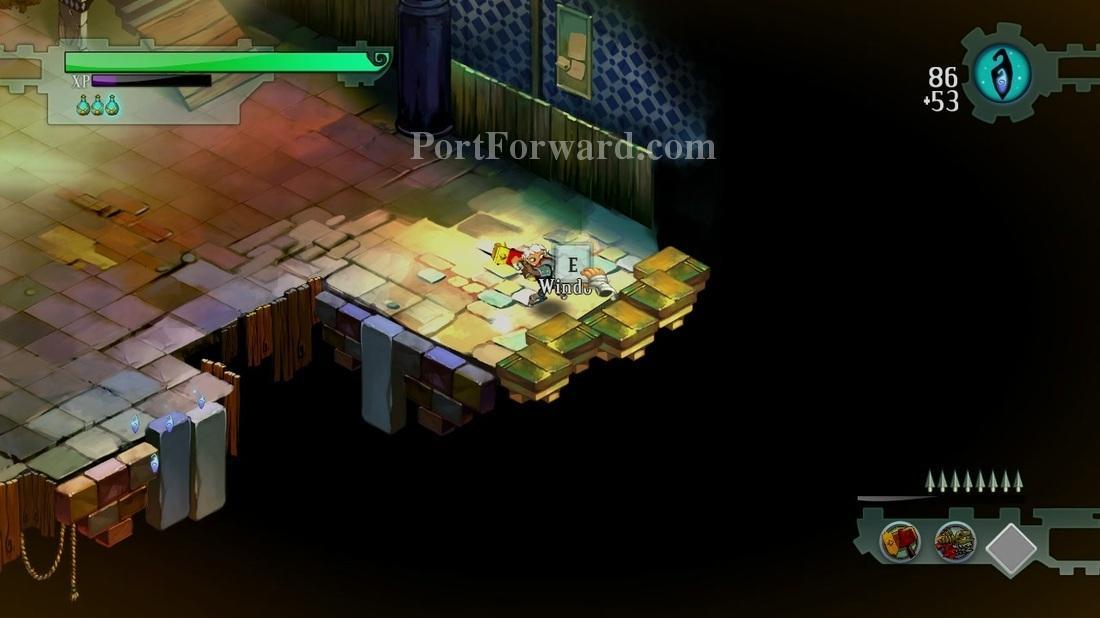
To get to the next area, you have to go next to the wall in the eastern side of the building.
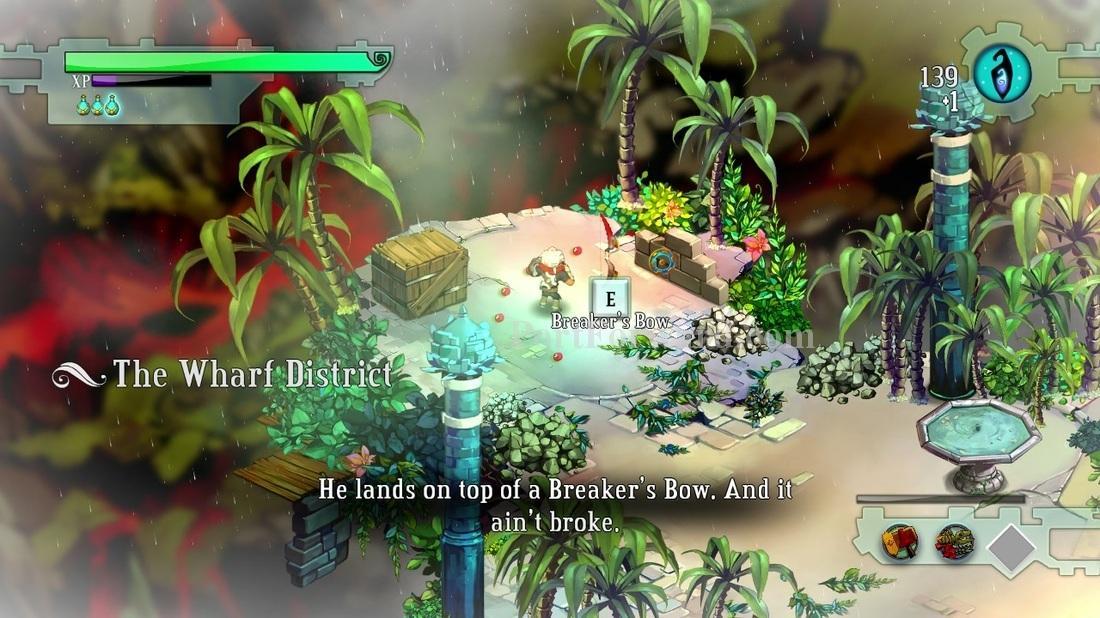
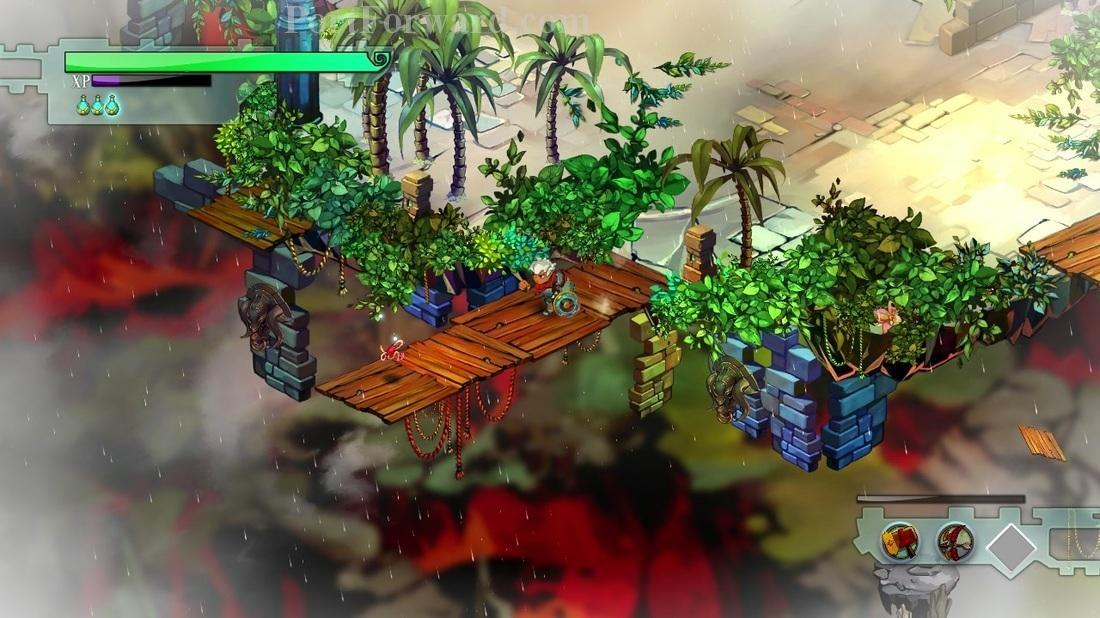
After falling down, you will find the Breaker's Bow, my favorite weapon.
To use the bow, you hold down the right mouse button and release after a certain ammount of time. The longer you hold, the more damage you will do, but there is a maximum ammount of damage you can do.
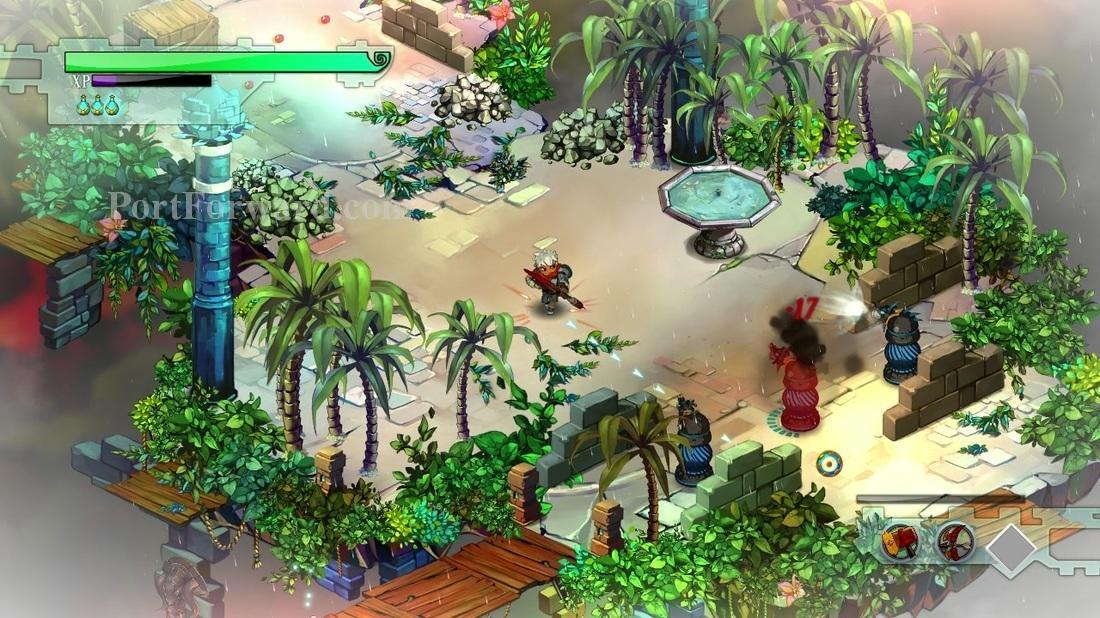
Before going to the next area, go south and you will find 'Something Stringy'. This is a crafting component, that i will explain later.
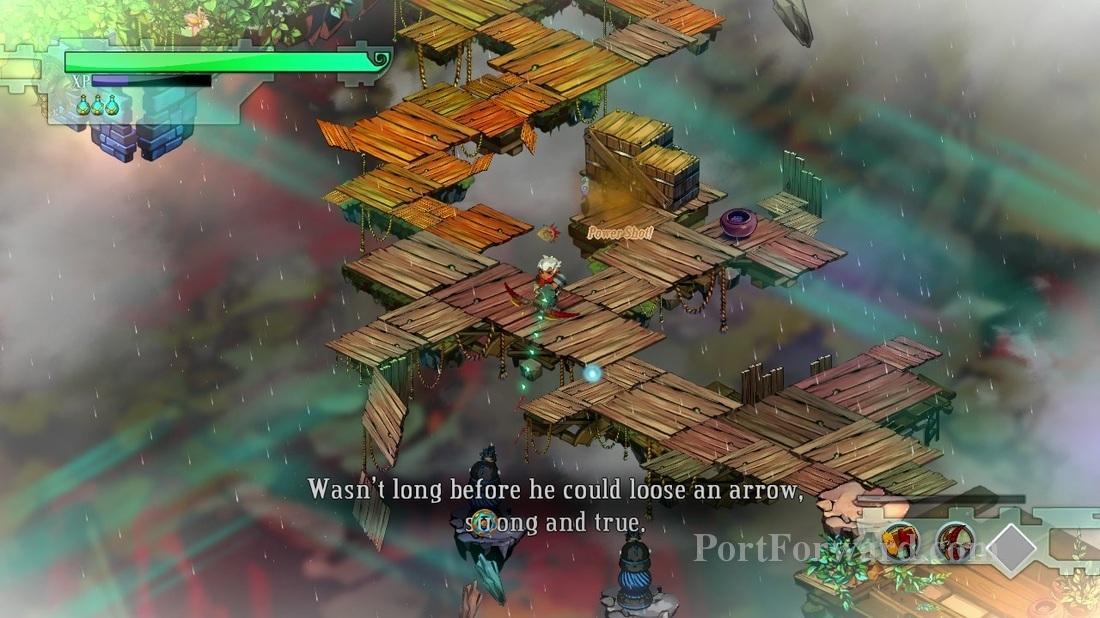
TIP: If you hold down the mouse button while firing with the Breaker's Bow, and you release the button right when your character flashes, you will deal the maximum ammount of damage you can, and your arrow will become shiny.
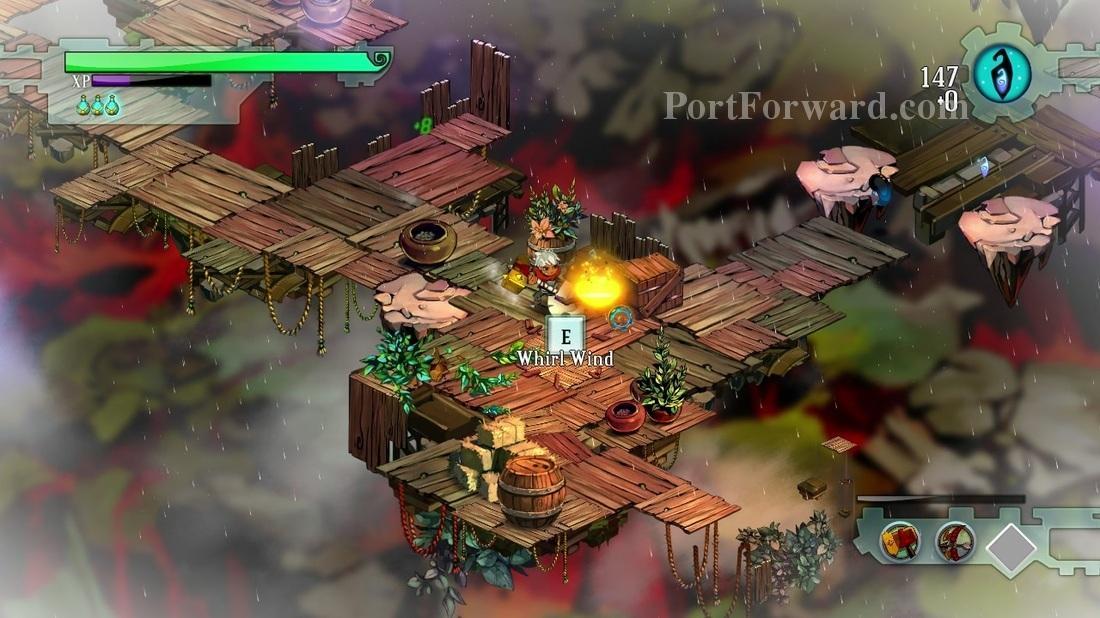
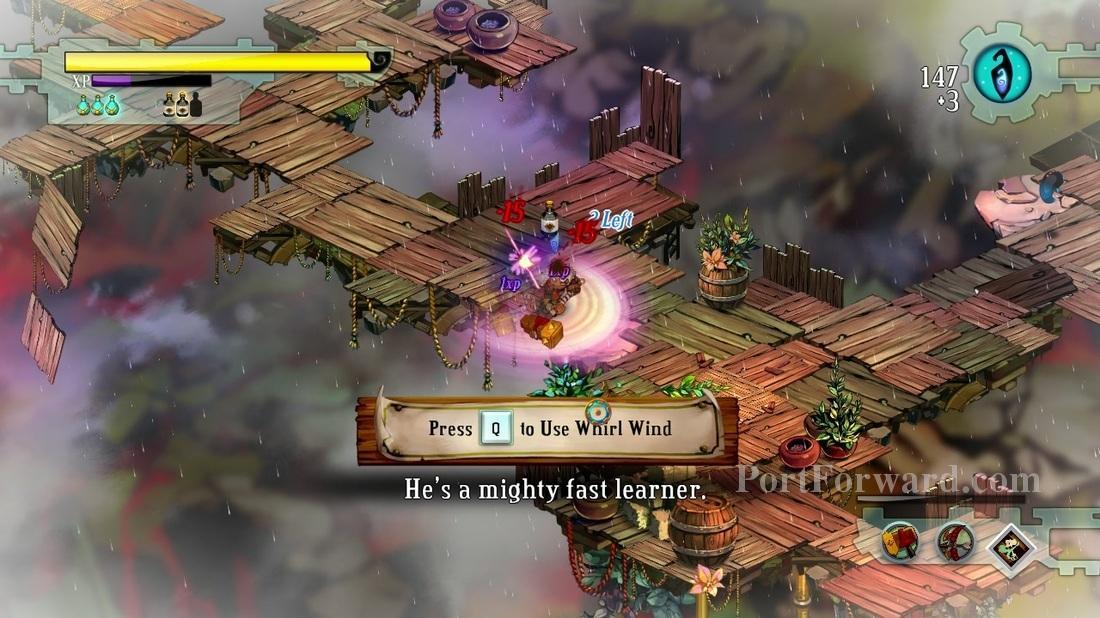
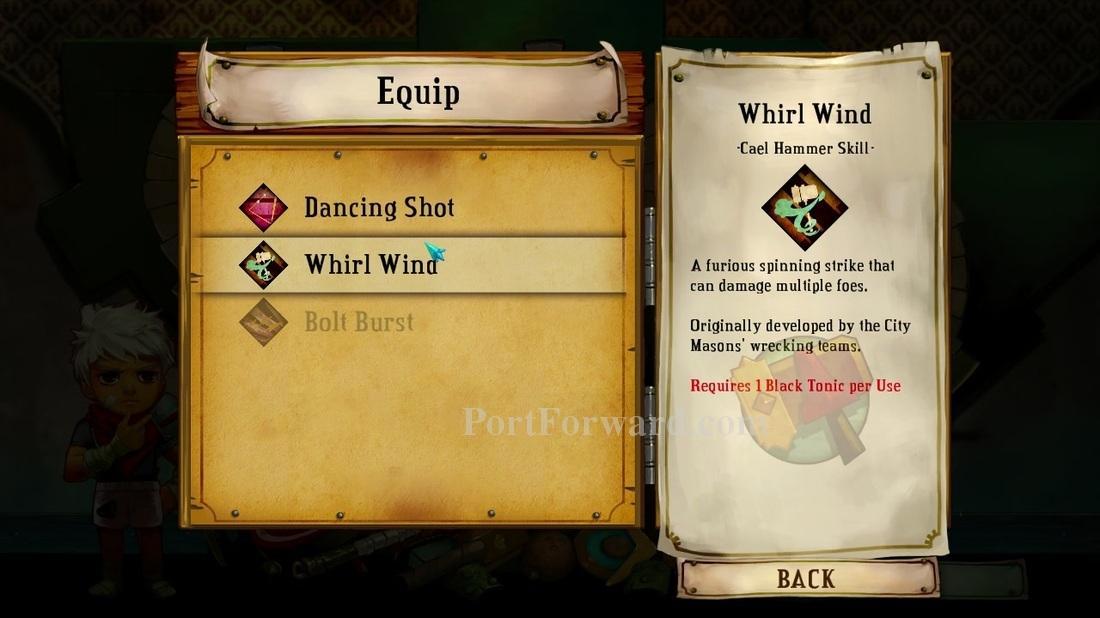
Soon you will find your first scroll, called "Whirl Wind".
If you get a Black Tonic or a Potion while you already have the maximum ammount available, you will get experience instead.
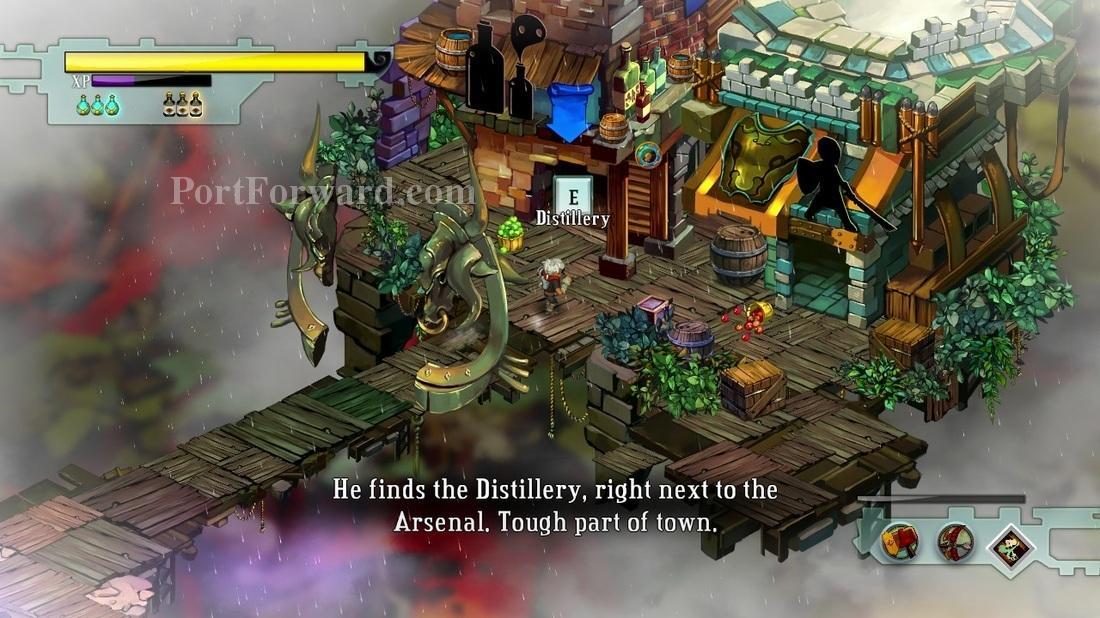
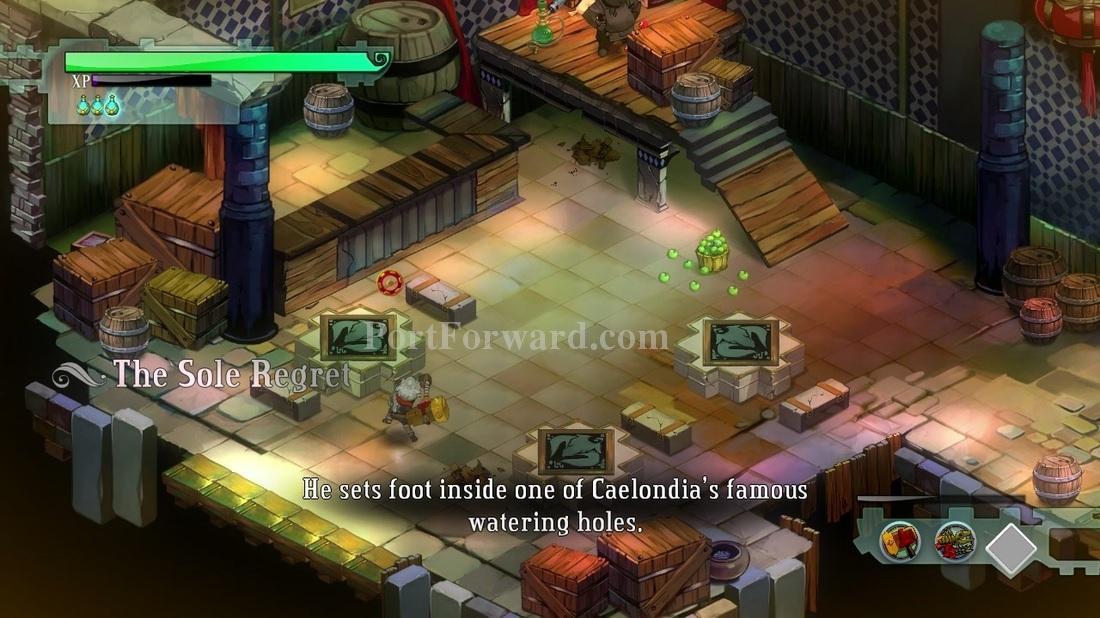
Moving forward, you find the Distillery and armory.
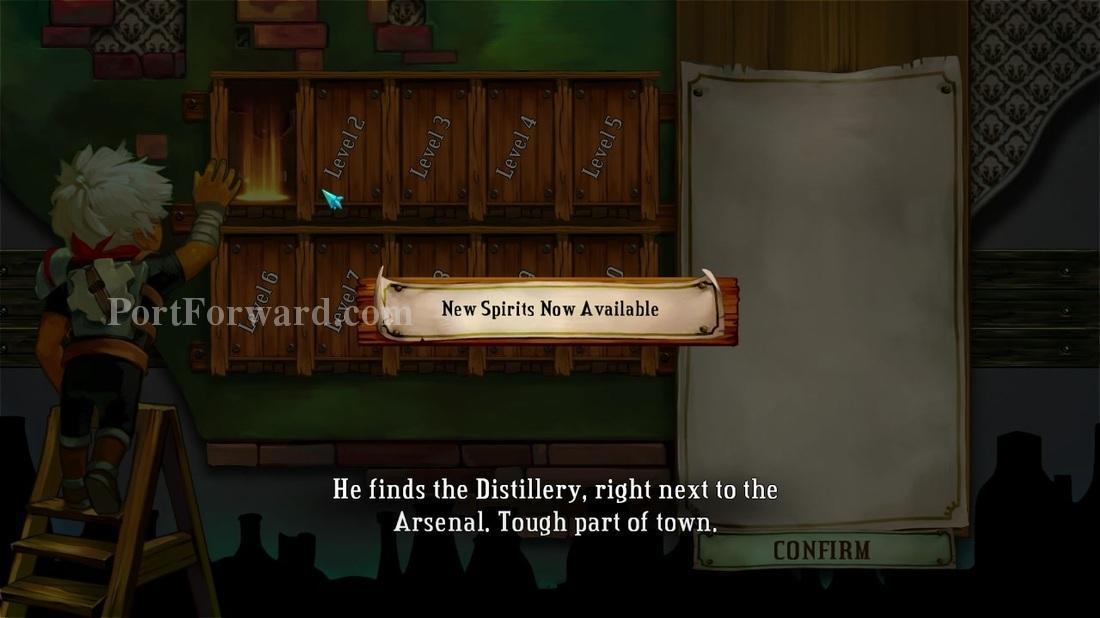
Every time you level up, you get a "Spirits Slot".
A "Spirit Tonic" is a passive effect that lasts while you have the "Spirit" equipped. You can always change the Spirits you have equiped at a distillery.
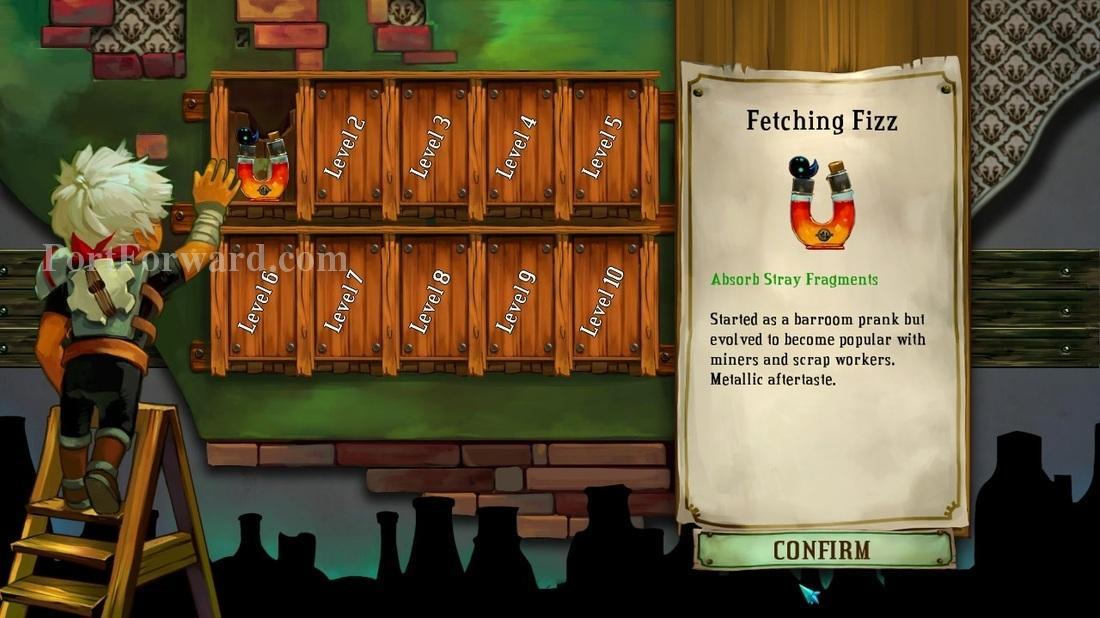
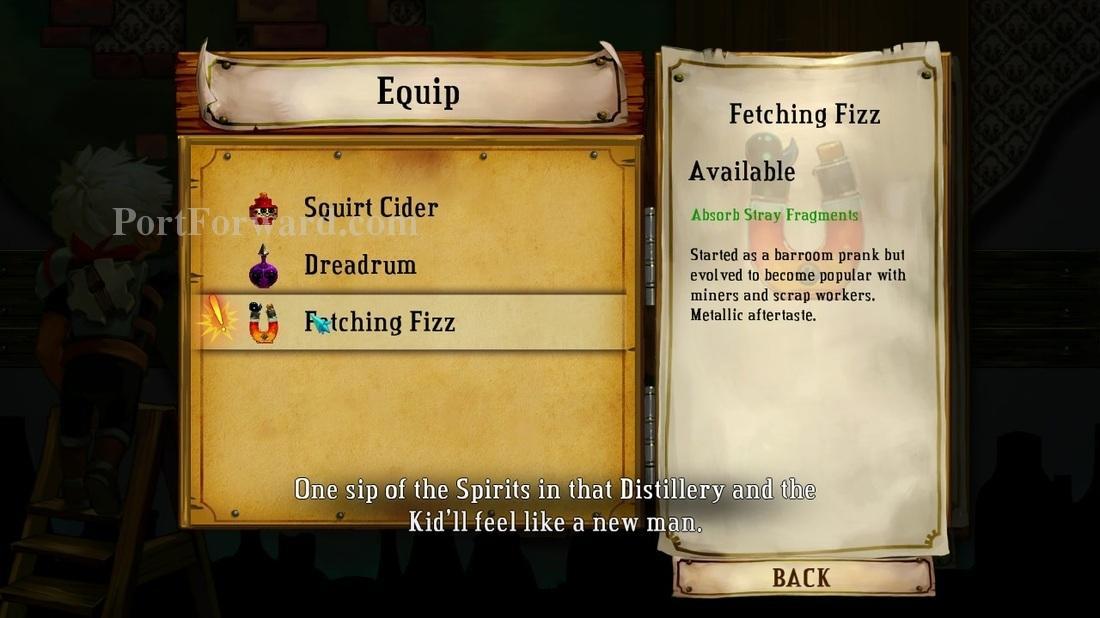
I will use the Fetching Fizz. It increases the radius you can pick up fragments from.
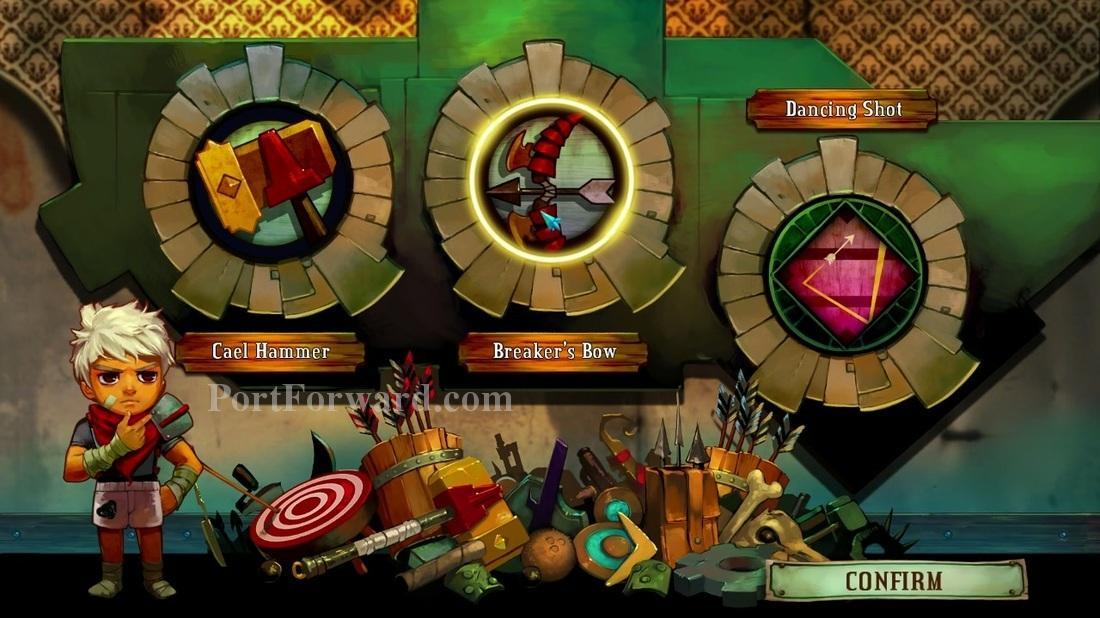
The arsenal is the weapons and scroll you currently have equiped.
You start with three scrolls. Dancing shot is a Breaker's Bow spell, which shoots out an arrow that goes from target to target. Bolt Burst is a bit like Whirl Wind, but works with the Fang Repeater. It sends out bolts in all directions.
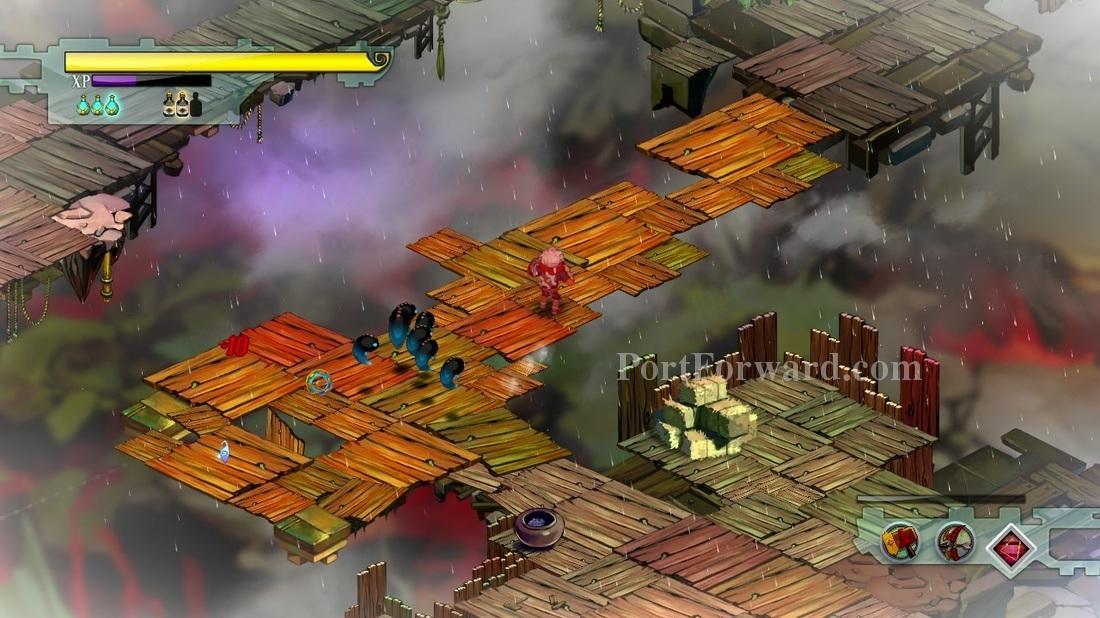
By using Dancing Shot...
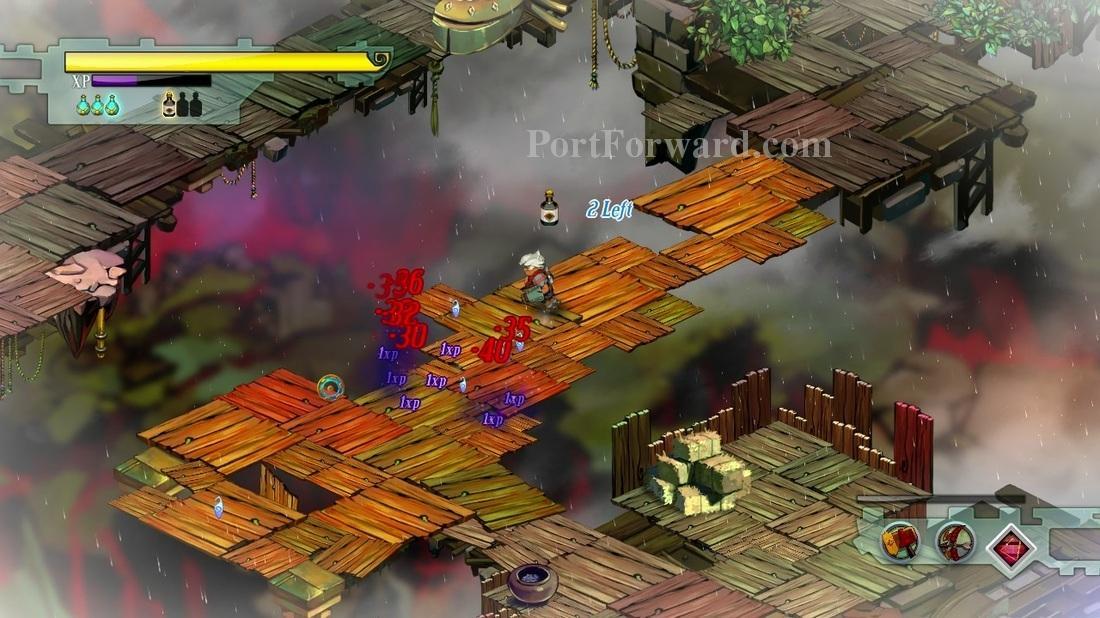
... I managed to kill about 7 squirts in one hit.
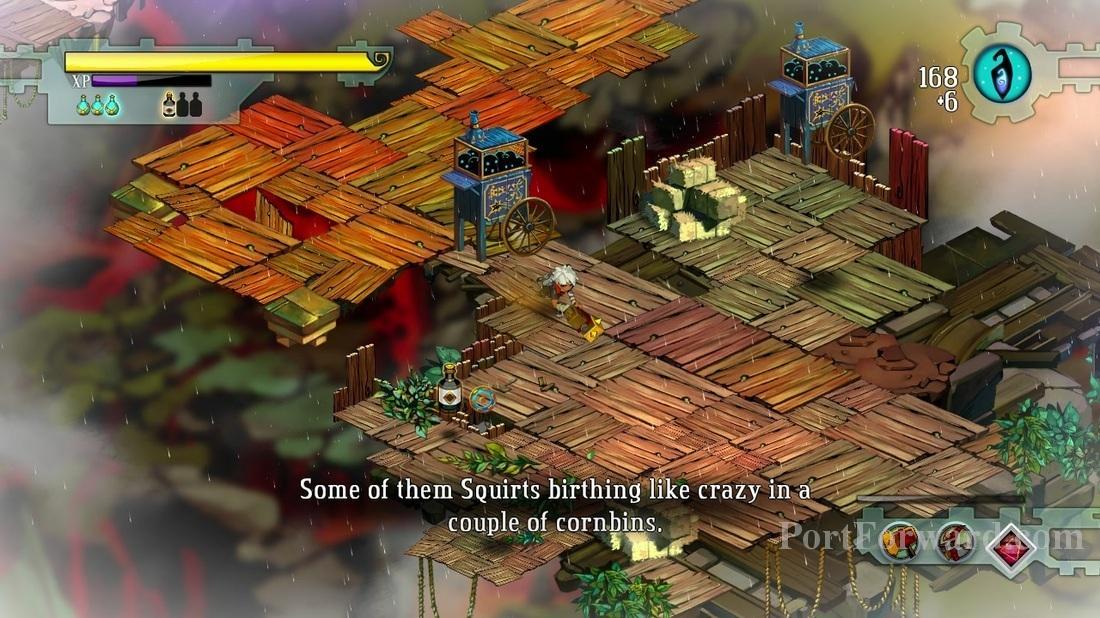
The blue arcade-like machines spawn squirts.
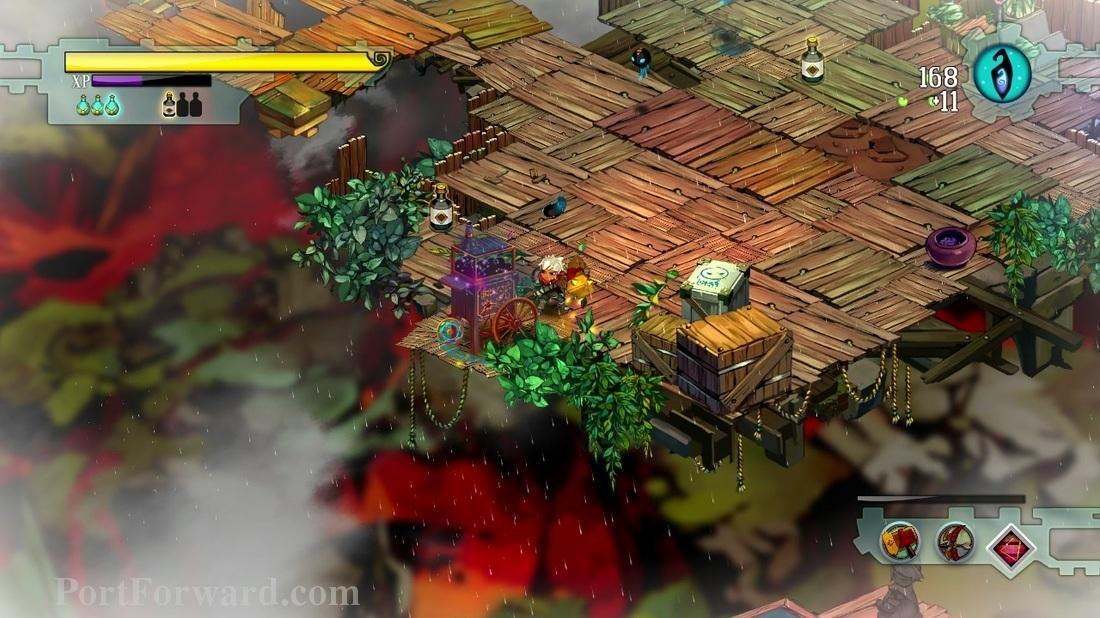
Better kill them before the squirts themselves.
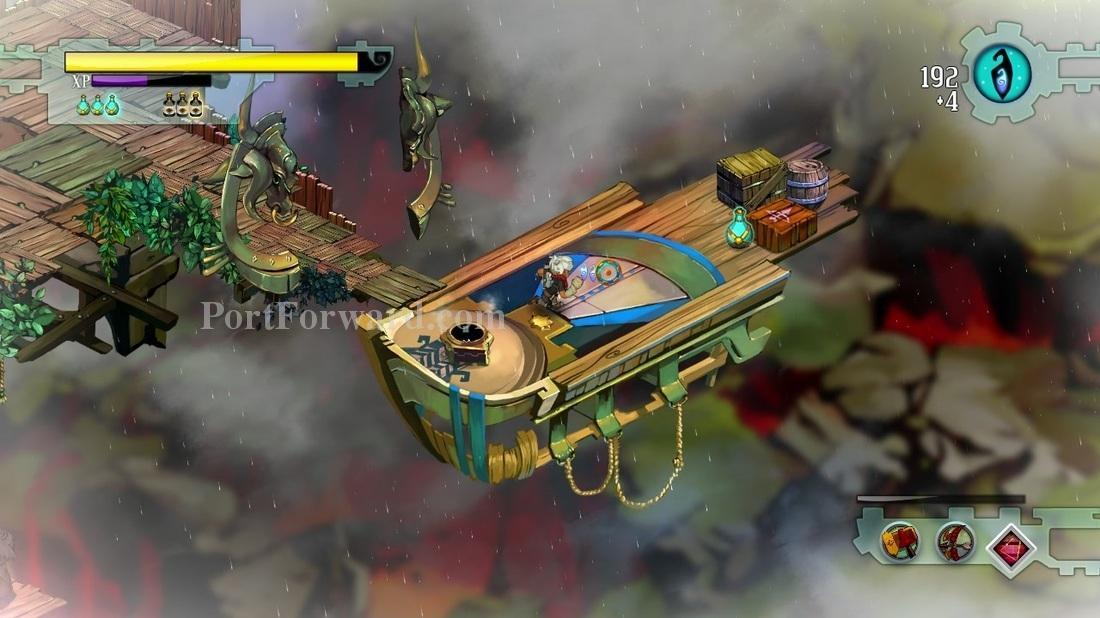
In this section, you are going to try to protect the vehicle-like contraption you are standing on, while it is transporting you.
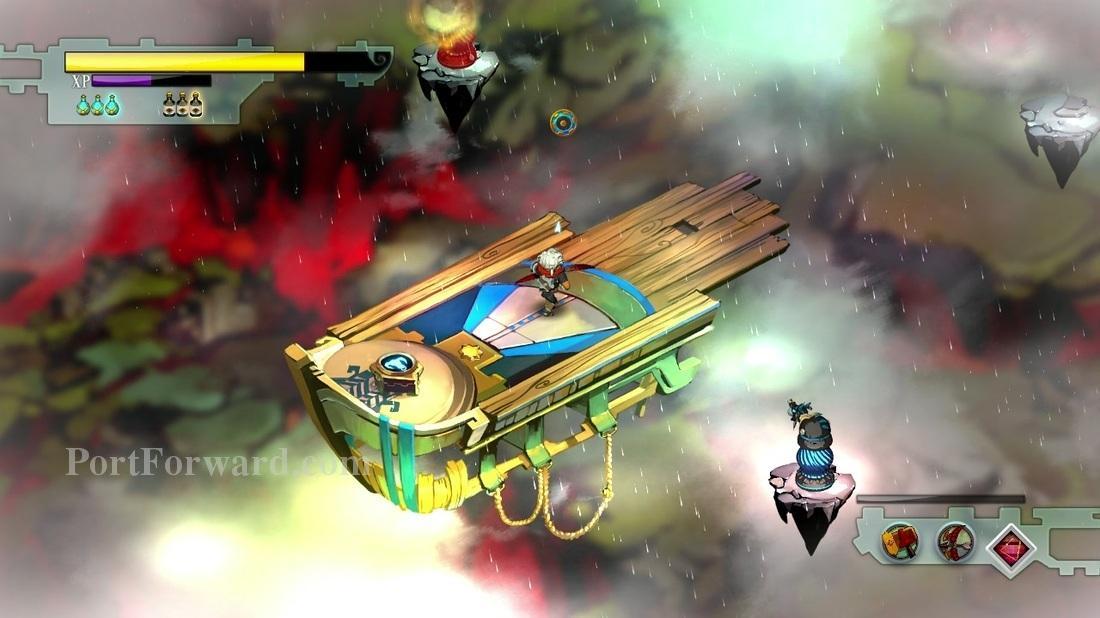
On the way, turrets and gasfellas will attack you.

When you reach your destination, you will find yourself in an arena-like area again.
To start the arena, pick the crafting component "Something Heavy" from the middle.
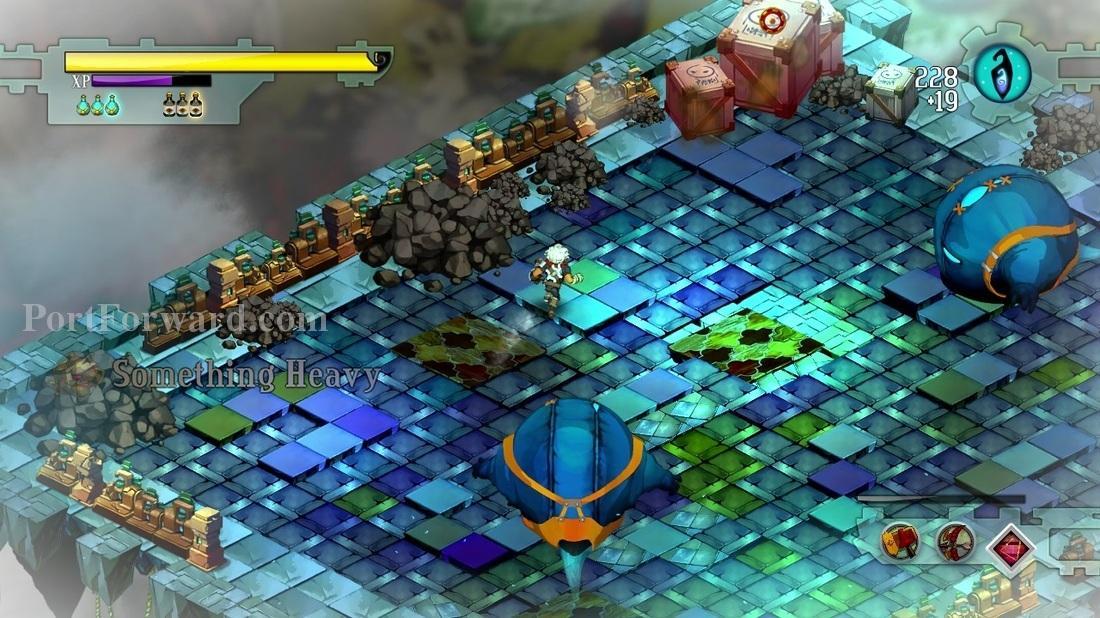
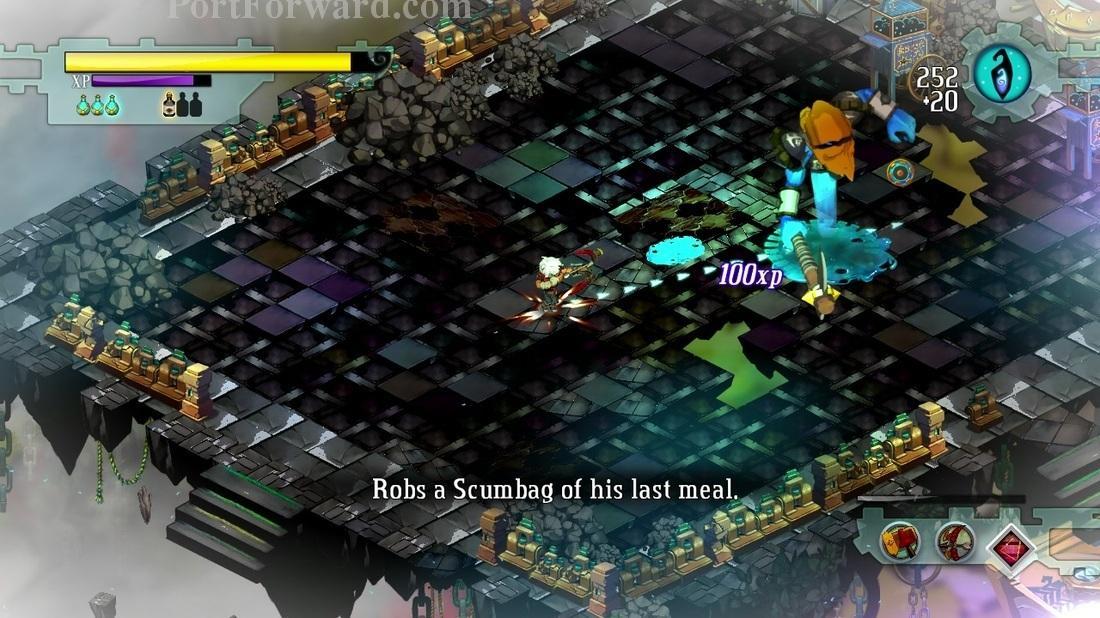
Two huge creatures, called Scumbags, will come.
They throw goo at you, that slows you down and deals damage over time.
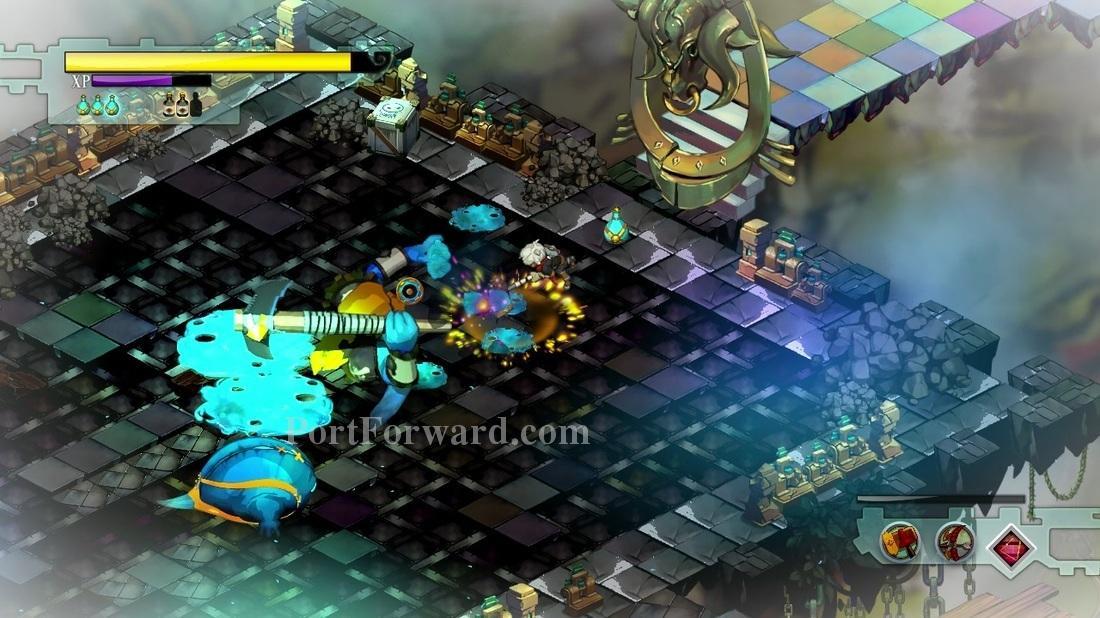
After a bit, a huge Gasfella will arive. He is really easy to dodge,
When he hits the ground he destroys the surface. You might fall down if you're not careful.
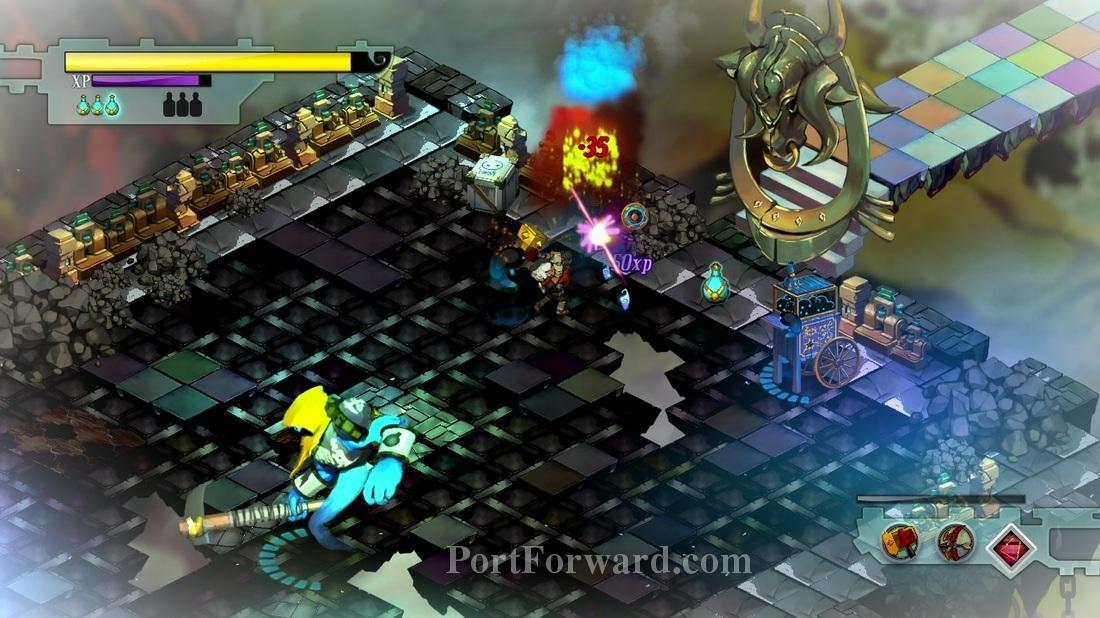
After a bit, 2 "Squirt-O-Matics" will appear. I recommend destroying them quickly.
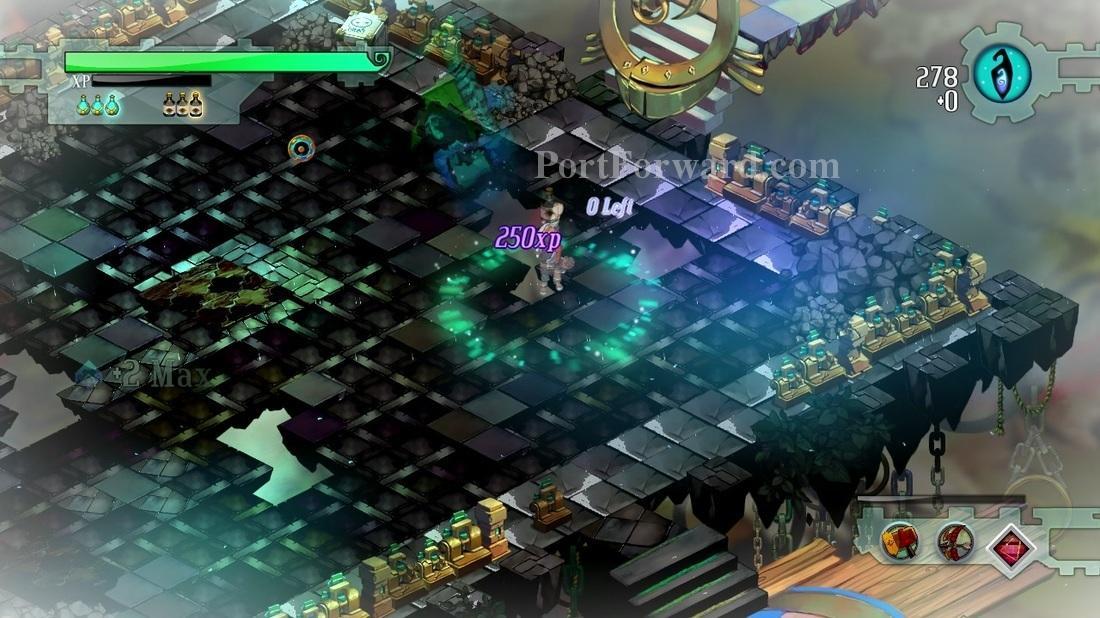
After you defeat all your oponents, you will gain a level. Gaining levels gives you Spirit slots and 2 maximum health points.
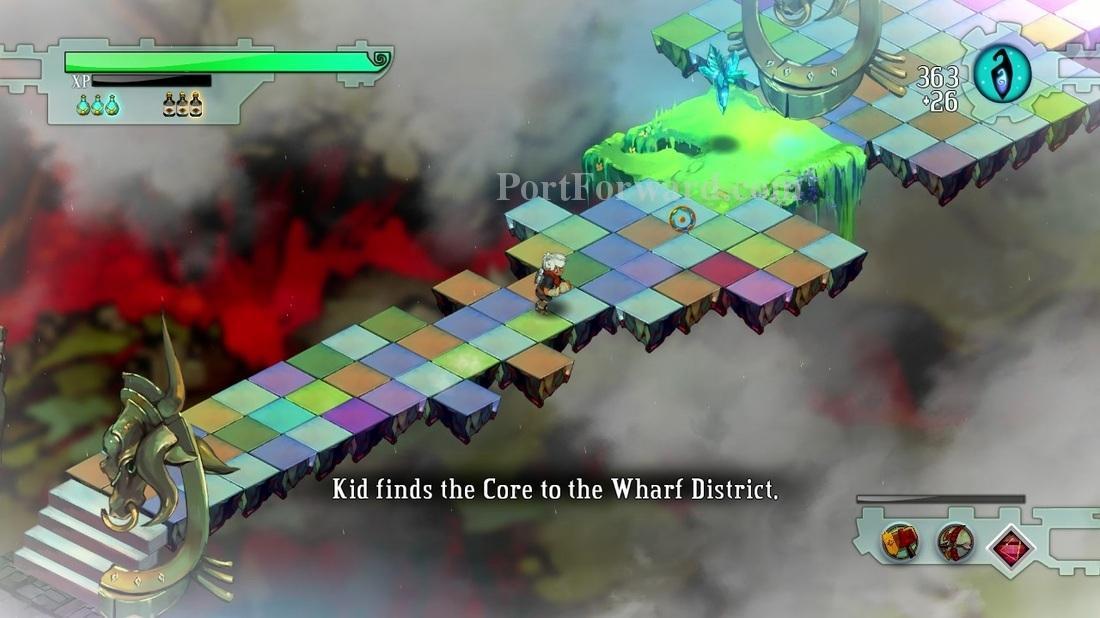
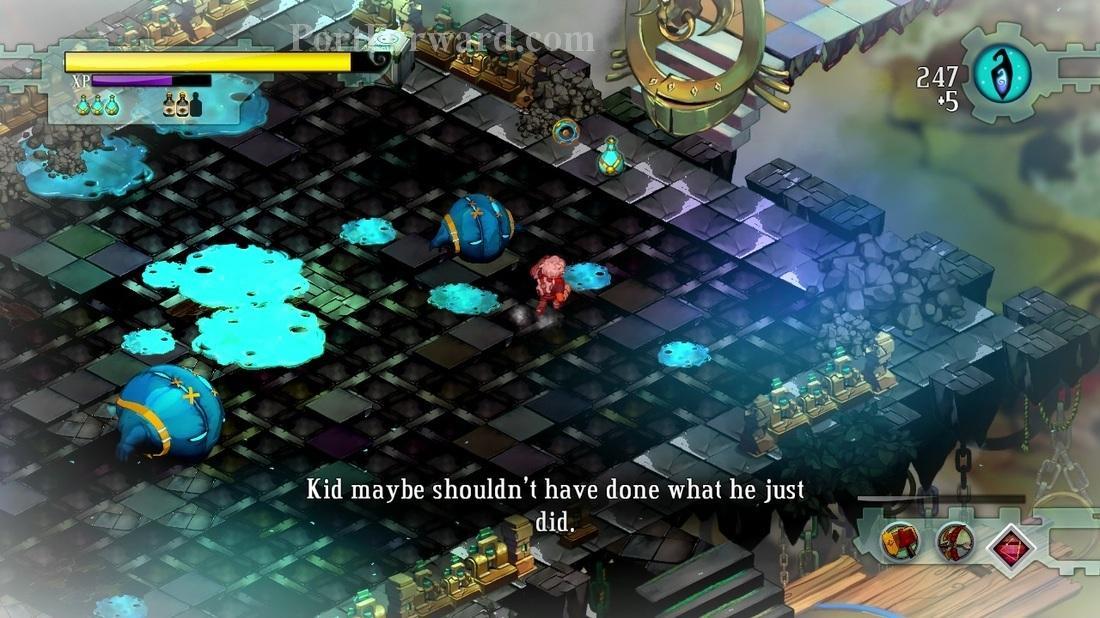
After the gauntlet, you will find a Core. Cores are the objects keeping the cities and areas in the sky.
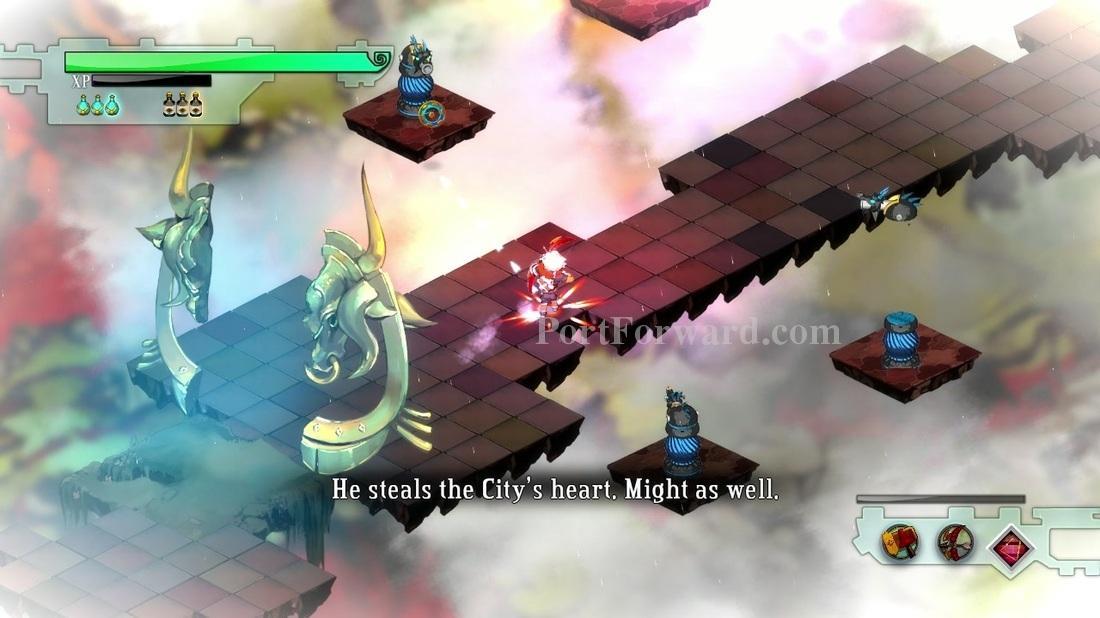
After you get the core, the place will start falling apart.
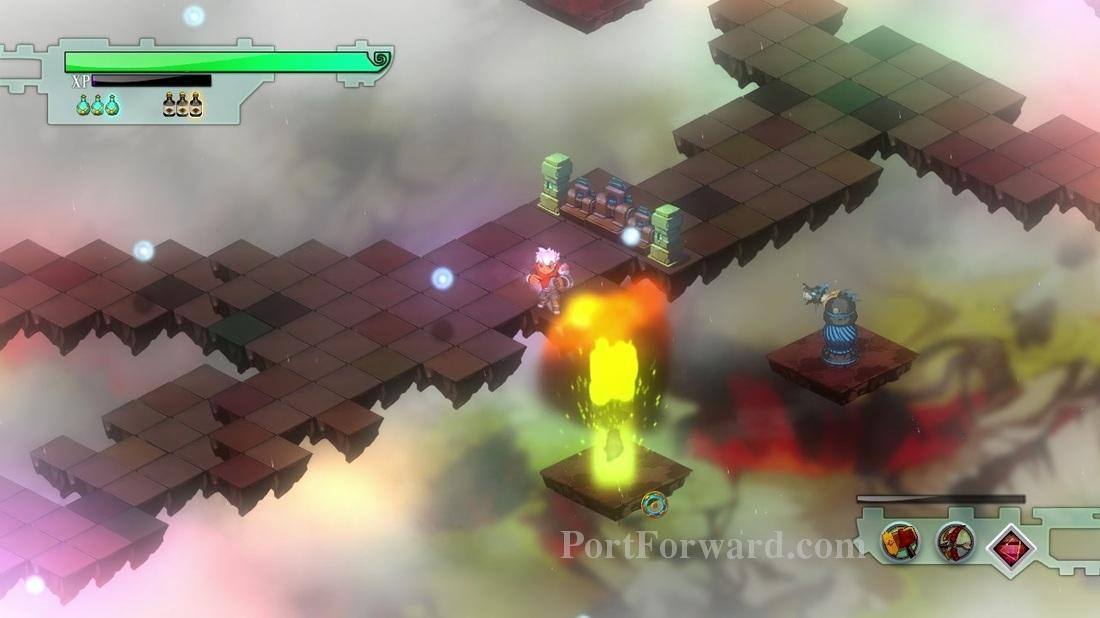
Turrets and baricades will block your way to the end of the level.
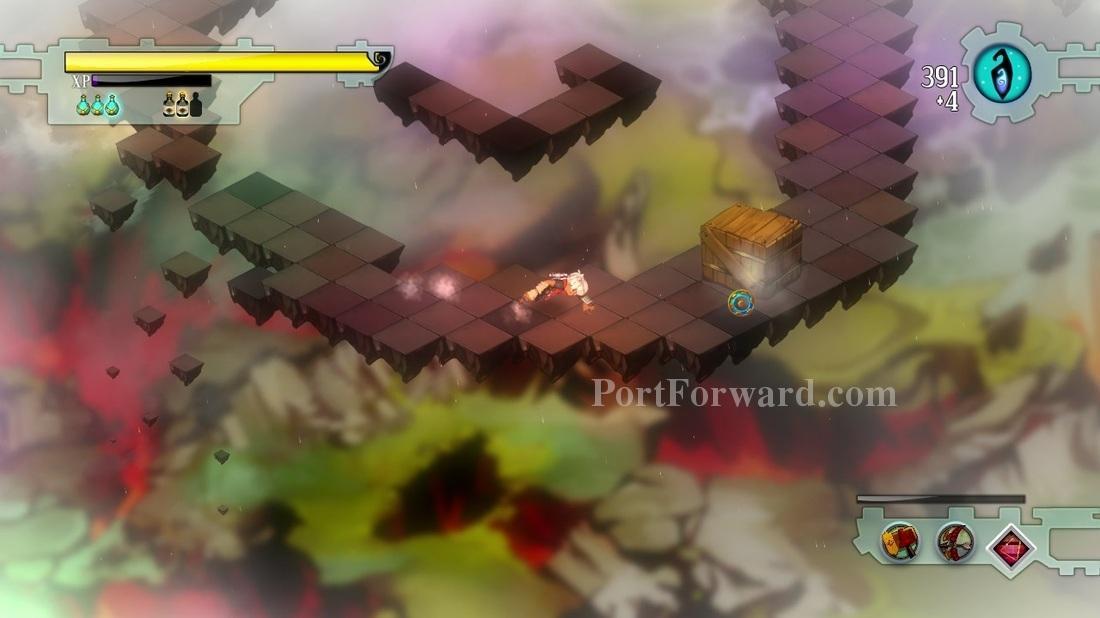
Better hurry up.
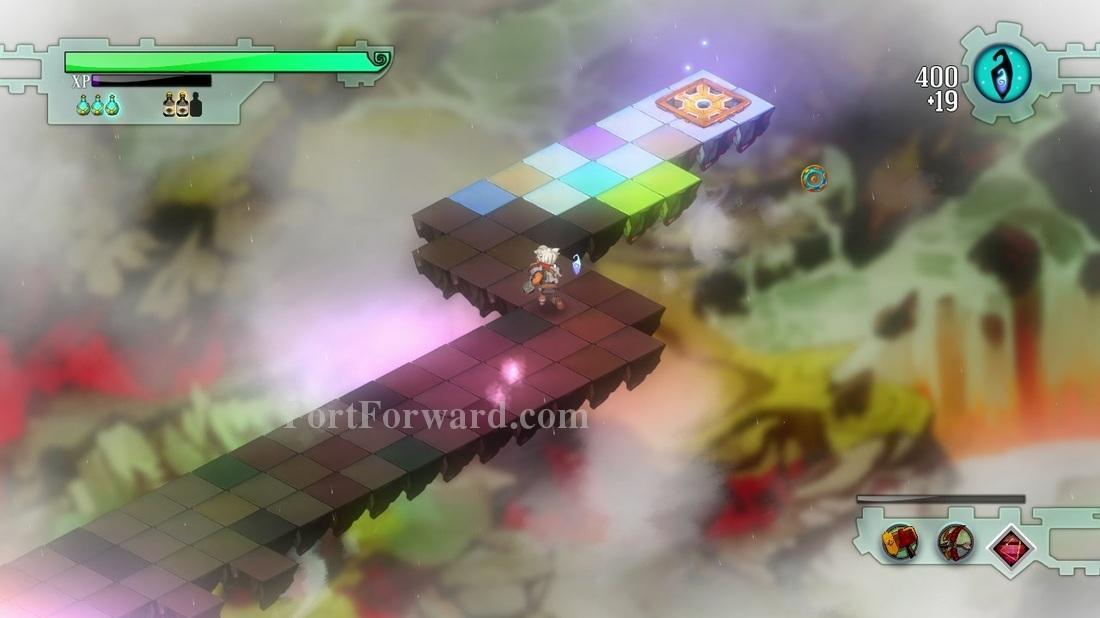
In the end, you will find a skyway. Usually, it means the end of the level.
More Bastion Walkthroughs
This Bastion walkthrough is divided into 30 total pages.


