
This Castlevania: Lords of Shadow 2 walkthrough is divided into 39 total pages.
You can jump to nearby pages of the game using the links above.
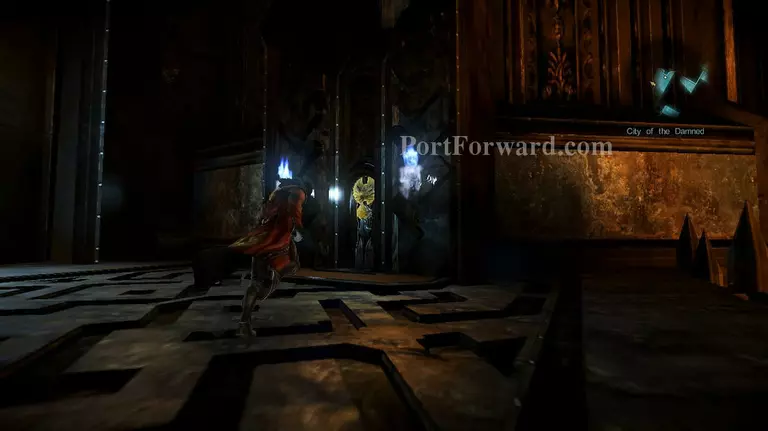
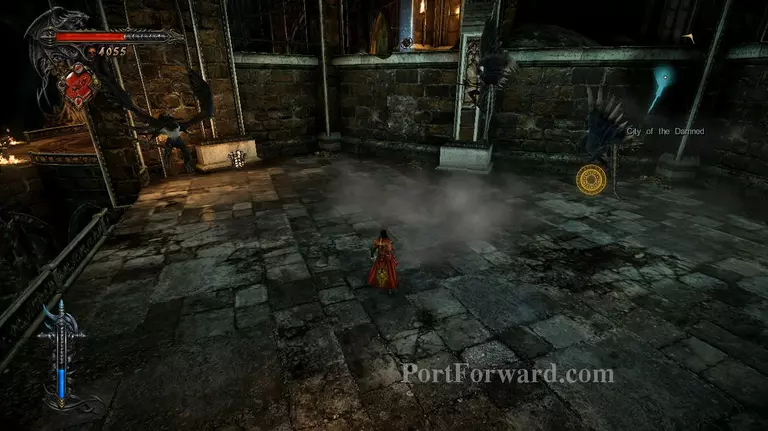
City Of The Damned
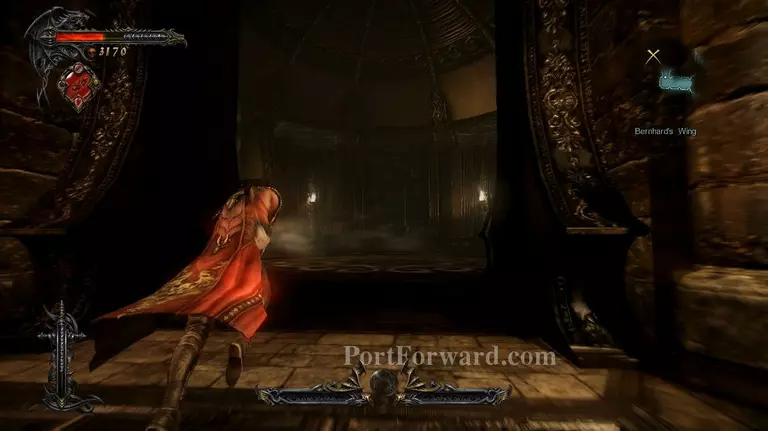
Head forward towards the end of the hall and turn right at the end of it. In the left side of the room there's a lever, activate it to take the lift down to the lower floor.
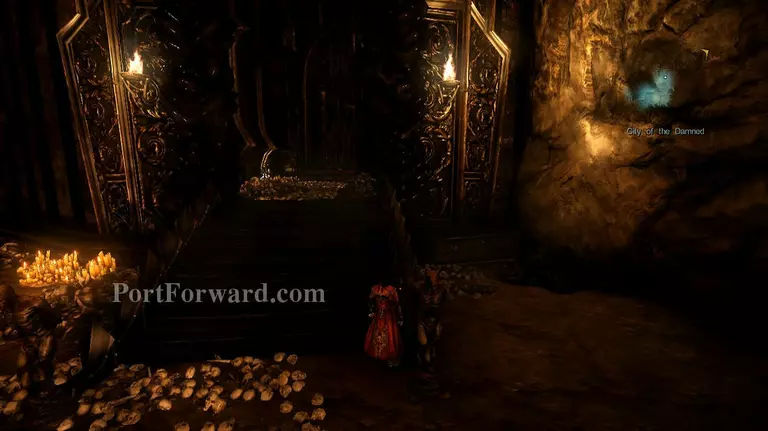
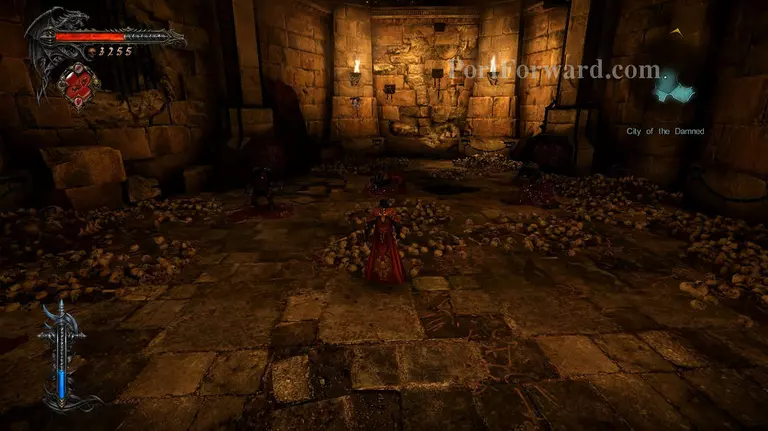
Leave the lift and watch the cutscene, then head to the left side and climb up the stairs that lead into a hallway filled with blood and skulls.
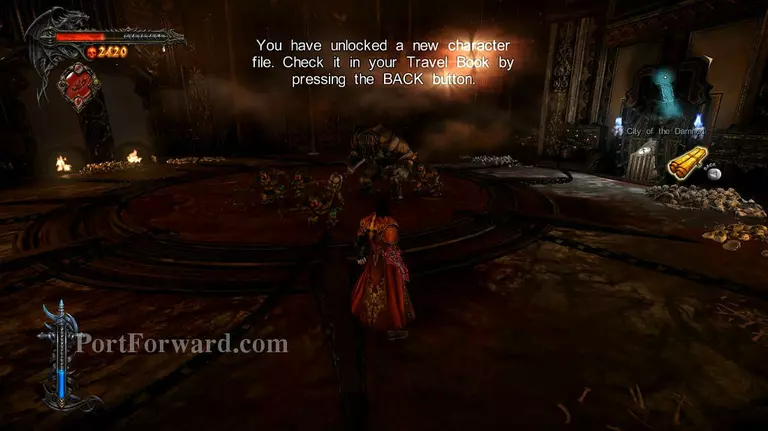
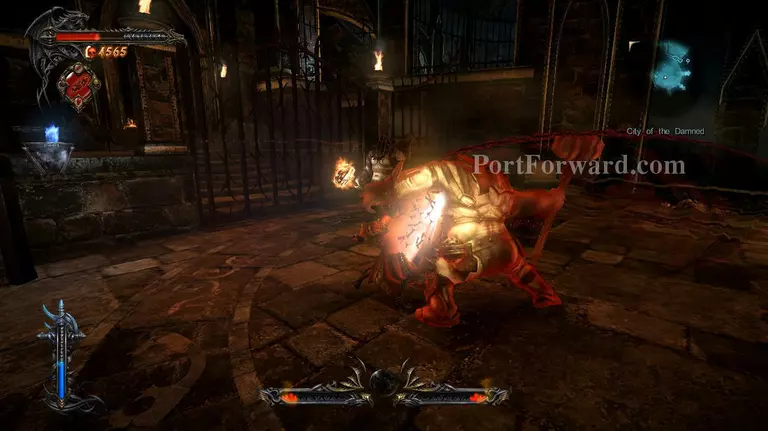
Head inside the next room and you'll be locked in by a bunch of jailers. Ignore the big one for now and focus on the small ones. They constantly use blockable attacks so use that to your advantage.
The larger jailer loves to charge at you while you're killing the smaller ones. Dodge to the side to avoid his attack, then follow him and keep attacking him until he removes his head from the wall.
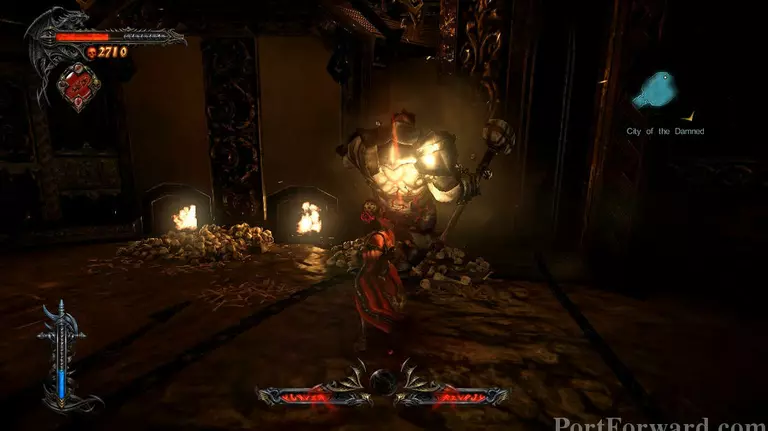
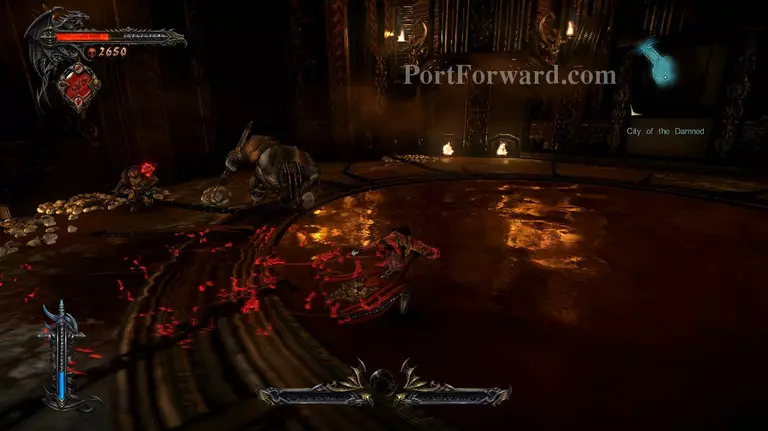
Keep in mind that the jailer in this room is wearing an armor that's keeping him from getting damaged when attacked from the front, so always attack from the back.
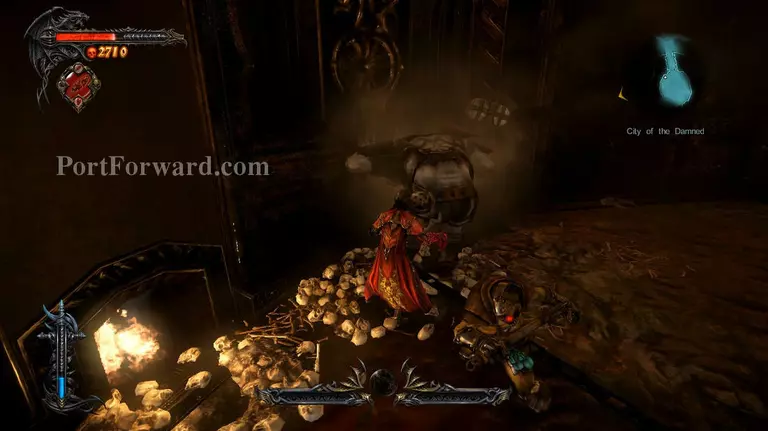
Eventually more jailers will spawn from the blood, when they do start taking care of the smaller ones again before going back to attacking the bigger one.
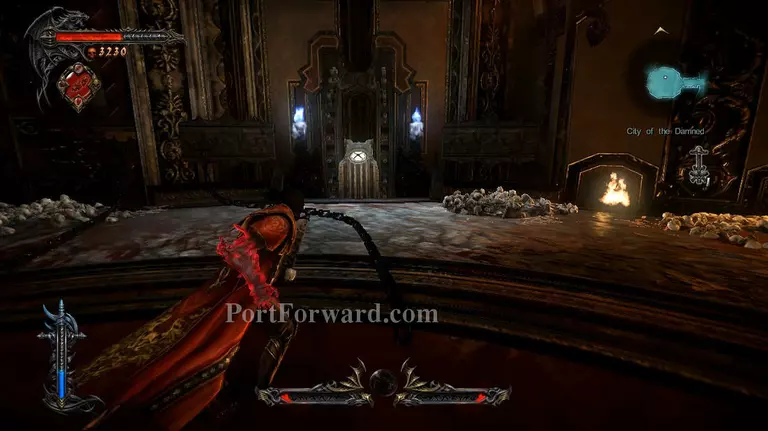
Defeat the large jailer and he'll give you back the key that he took from the mechanism. Return the key and activate the mechanism, then head out the door that opens.
Head northeast and drop down near the bones on the lower platform. From there jump towards the platform in front of it, then jump on the chains at the right side.
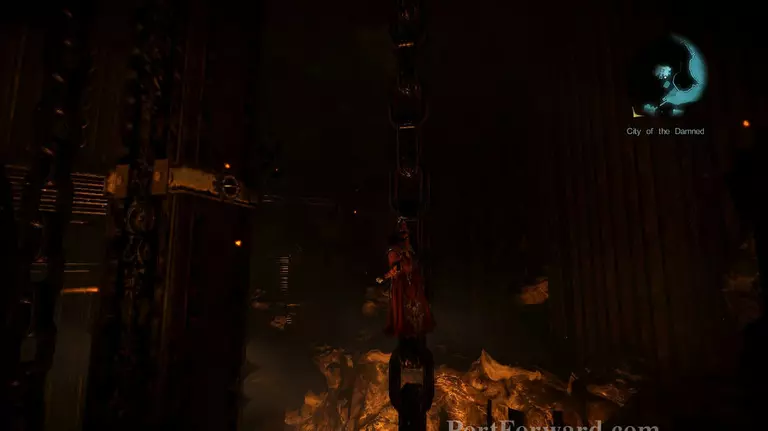
From there climb up a little, but don't move too fast cause the chain will move and keep pushing you down. Once you get near the golden plating on the pillar at the left side, jump towards it.
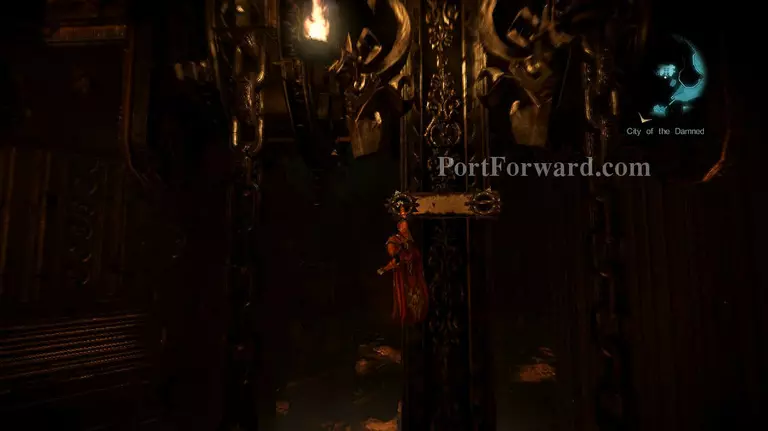
Wait for the chain to stop moving, then jump back on it and climb up to the second gold plating and repeat the process until you get to the third. Then shimmy to the left and jump on the next chain.
On the second chain, wait for it to lower enough so that you can reach the ledge on the left side and jump towards it. Continue making your way to the left side and jump on the next chain afterwards.
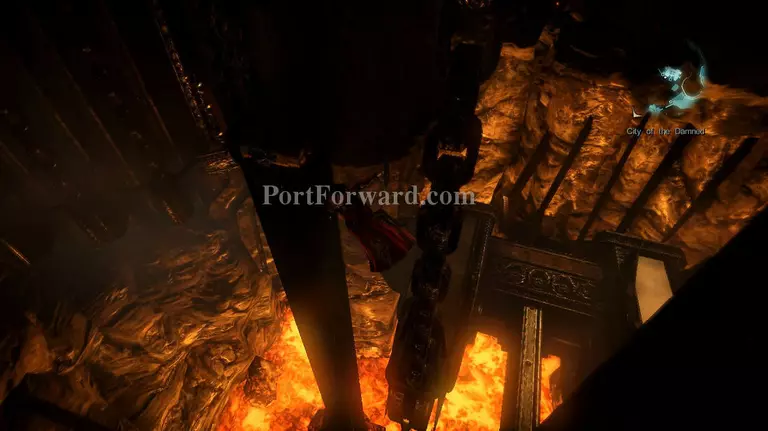
Now you'll have to continue making your way on the platform on the upper left side. Alternate between the chains while making your way up, then jump to the platform on the left side.

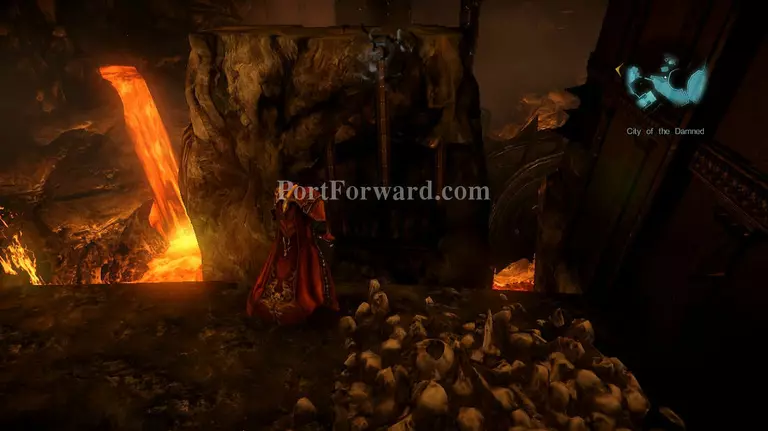
Go towards the platforms that shoot out lava on the left side of the platform and wait for the first one to blow lava, then jump on top of it and continue moving forward to get to the next platform and into the next area.
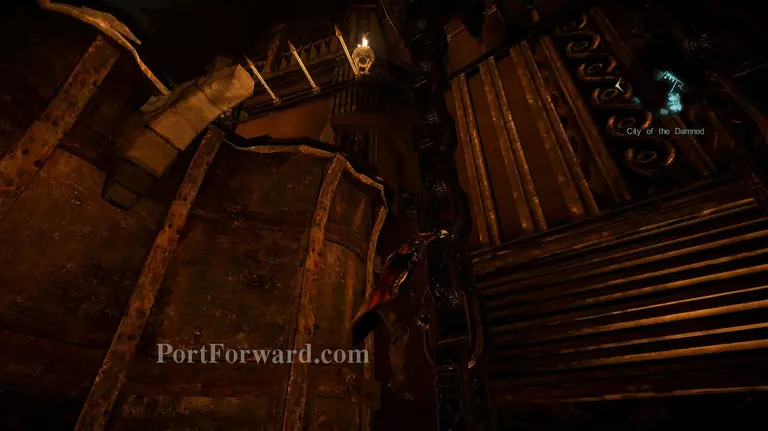
Drop down on the floor below and kill the jailer minions that will spawn there.
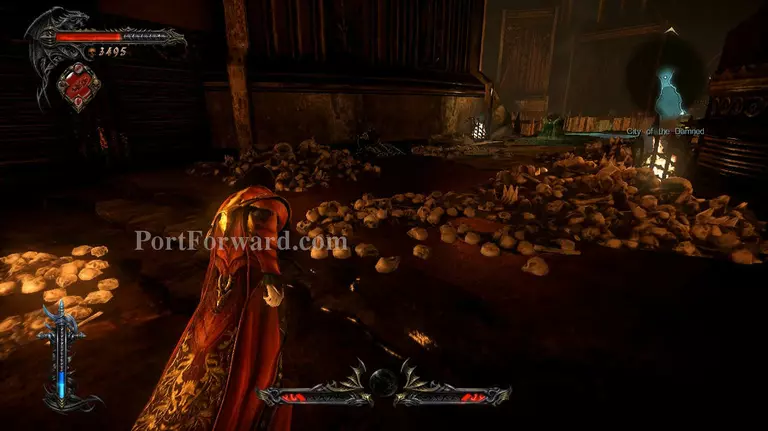
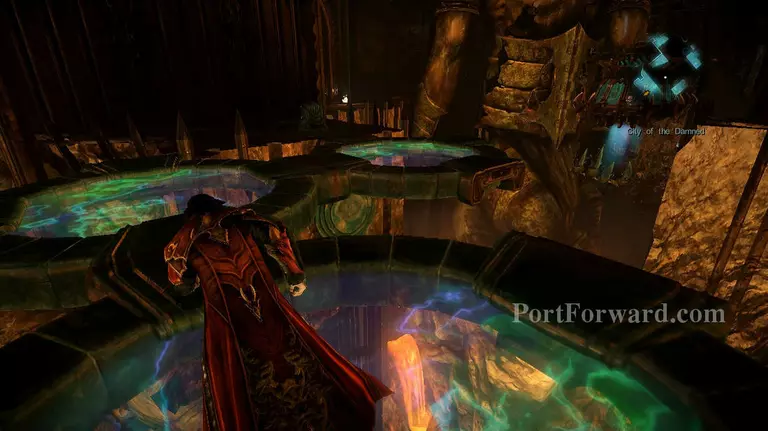
After killing them, climb back up the northern wall and proceed to the next area where you'll meet your old friend, the Chupacabra.
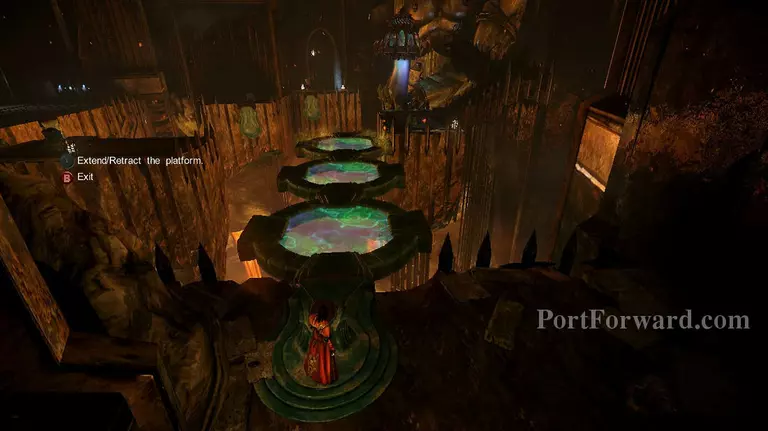
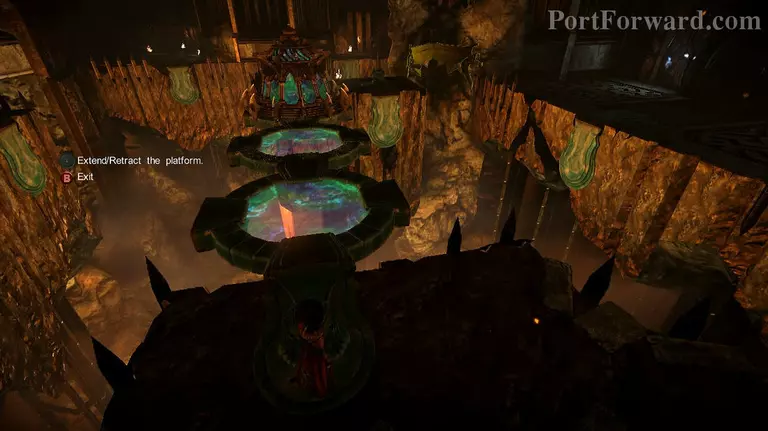
Activate the mechanism near the edge of the platform and move the magical platform 3 moves forward, then follow it to start a cutscene.
Go back downstairs and activate the second device, then move the platform 3 moves forward again and head across the bridge.
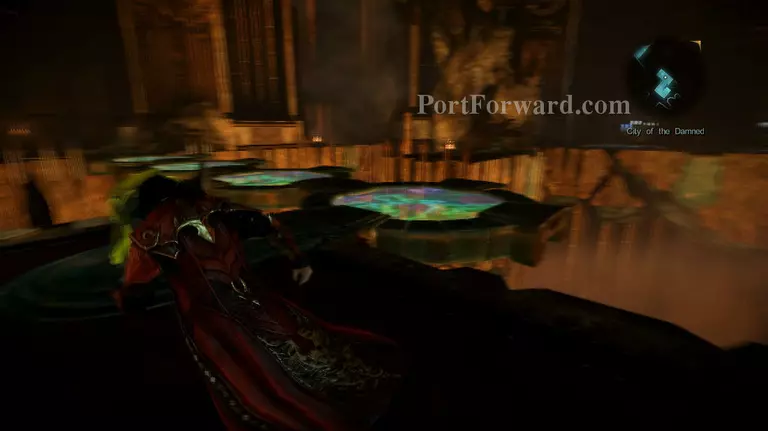
Now connect the bridge to the platform where the door is and head to the right side. Examine the glowing object to lower the Chupacabra's cage.
Head back across the bridge and connect it with the platform on the same side as the Chupacabra's cage and activate the mechanism there to connect the bridge with his cage.
Move the cage towards the platform on the opposite end of the one you're standing on and head over to that side.
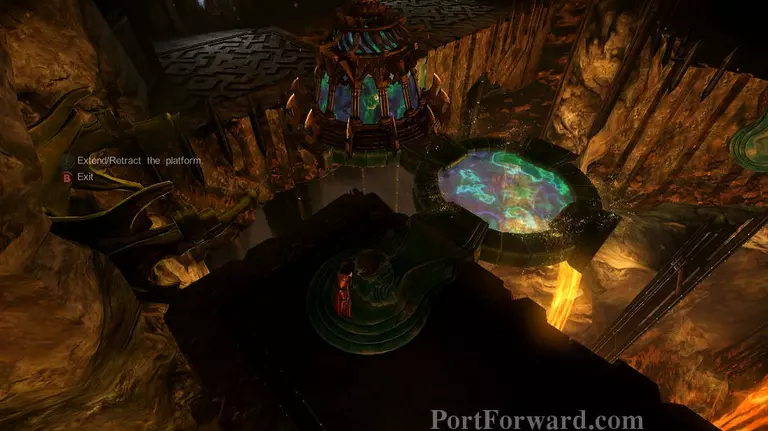
Now activate the mechanism on this floor and move the cage to the left side and down towards the cage breaker to free the Chupacabra.
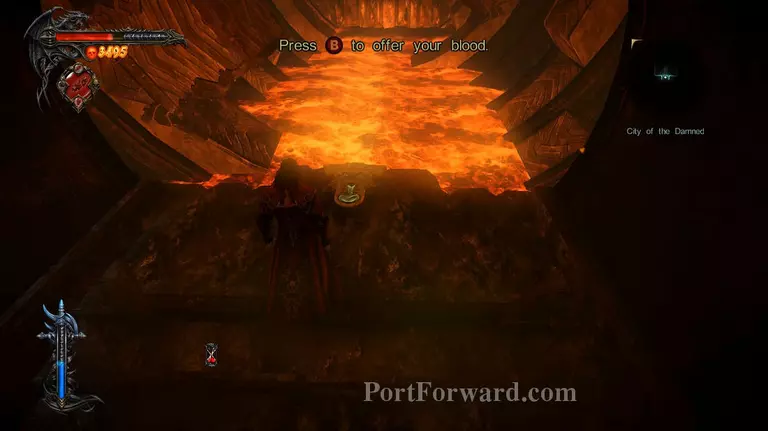
The Chupacabra will open the gate for you, head inside and offer your blood on the plate at the center near the edge. After offering your blood, head across the bridge that will appear and exit through the door on the opposite end.
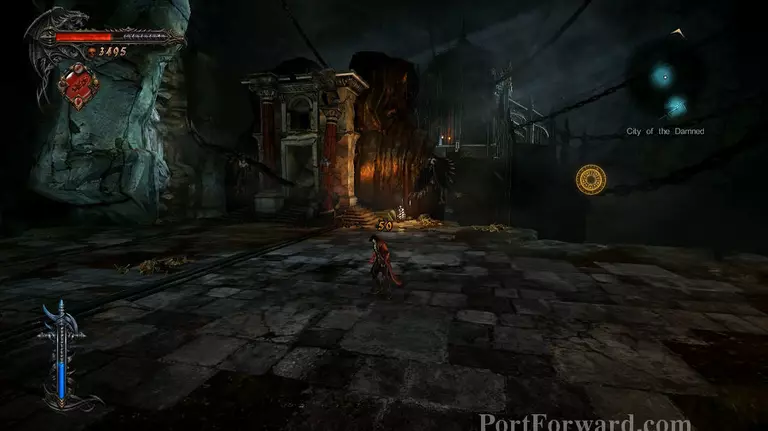
In the next room, head up the stairs on the left side and turn right at the top. There's gonna be a short cutscene, then you'll have to take on some Harpies. In the first LOS they were easy to kill since you can just spam grapple attacks and kill them instantly, which is unfortunately no longer available in LOS 2.
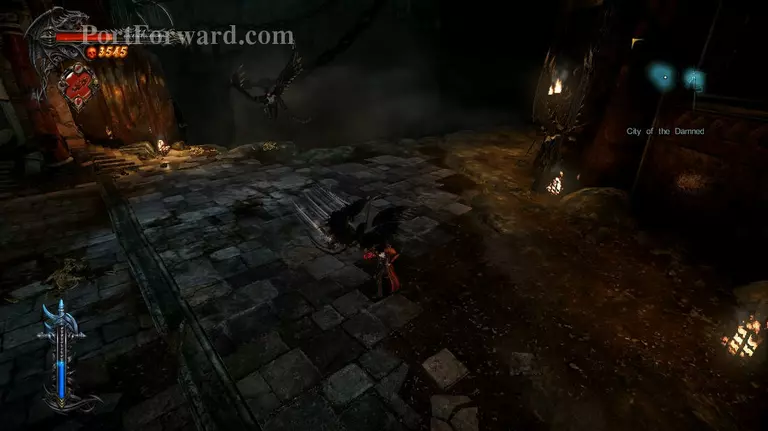
So you are now stuck with two ways of dealing with them. First you can wait for your chance, then block their attack and get them stunned for a very short time, or get up in the sky and start attacking them there. The former is a more safe method while the latter will kill them faster, but you'll get hit more.
After killing the harpies, make your way up the red pillar and get on top of the ruins. Use the chain at the top as a bridge to get to the other side.
On the other side you'll have to face more harpies, kill them and head over to the left side of the area and jump towards the pillar that bats are flocking on.

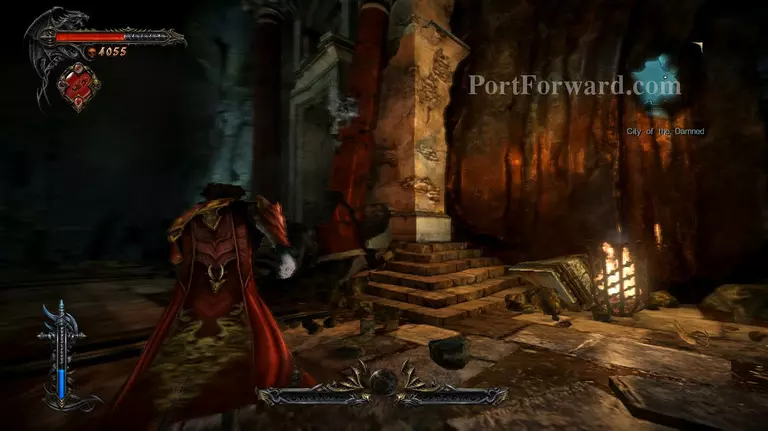
Make your way around the pillar and towards the left side, then climb up on the surface and you'll meet up with 2 jailers. Fortunately they aren't armored ones, making the battle a lot easier.
Focus on one at a time and be careful about the other one charging at you and catching you off guard. Once you kill both of them they'll drop a dungeon key, use it on the mechanism to open the gate.
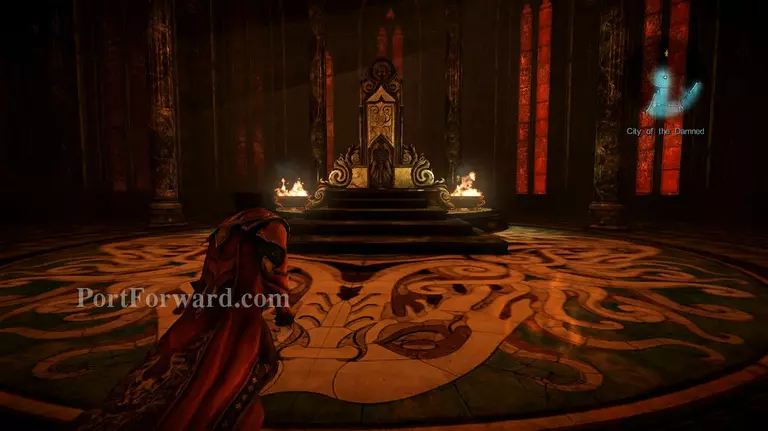
Head inside the gates and into the room. Examine the statue in the middle and it will reveal a set of stairs that lead down, descend using the stairs.

Head over the first corner that you pass and a cutscene will begin, followed by Dracula regaining his Chaos Claw and a boss battle.
More Castlevania: Lords of Shadow 2 Walkthroughs
This Castlevania: Lords of Shadow 2 walkthrough is divided into 39 total pages.


