
This Chaser walkthrough is divided into 18 total pages.
You can jump to nearby pages of the game using the links above.
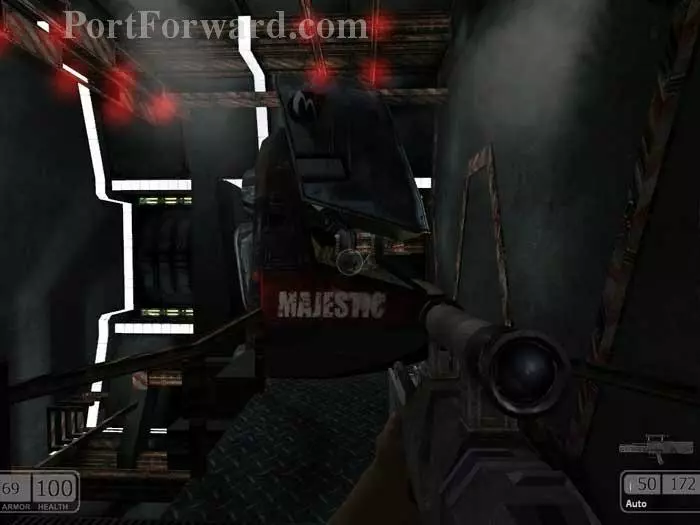
Majestic Station
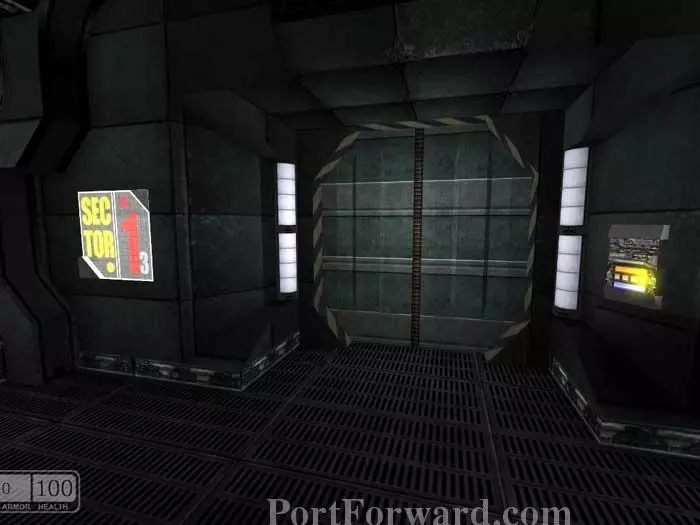
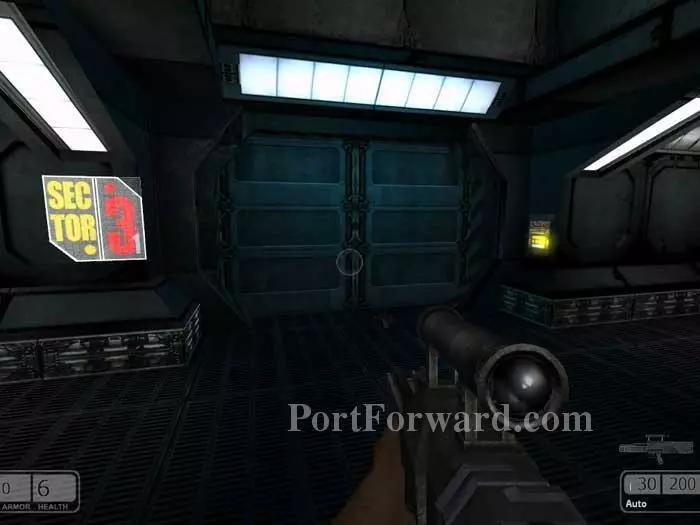
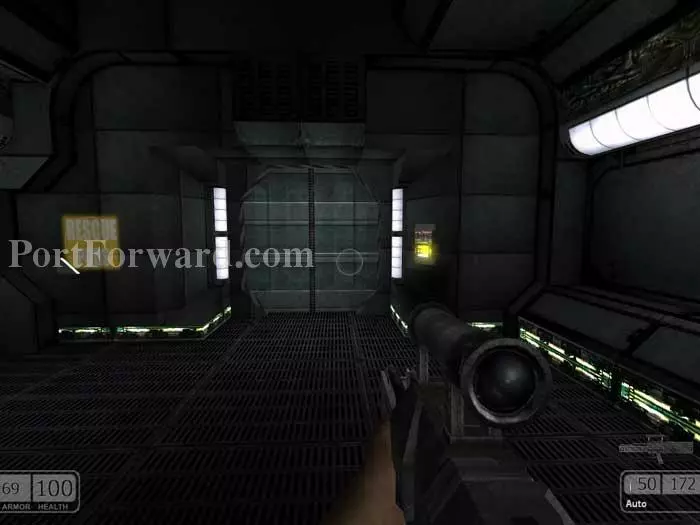
You begin on the Majestic station. Descend the stairs directly ahead. Follow the stairs all the way down. Proceed through doors with a yellow access panel like the one seen here to the right of this door.
Pause to watch this guard pass through the door ahead. He will fire if you get too close. The panel turns from yellow to red, locking the door.
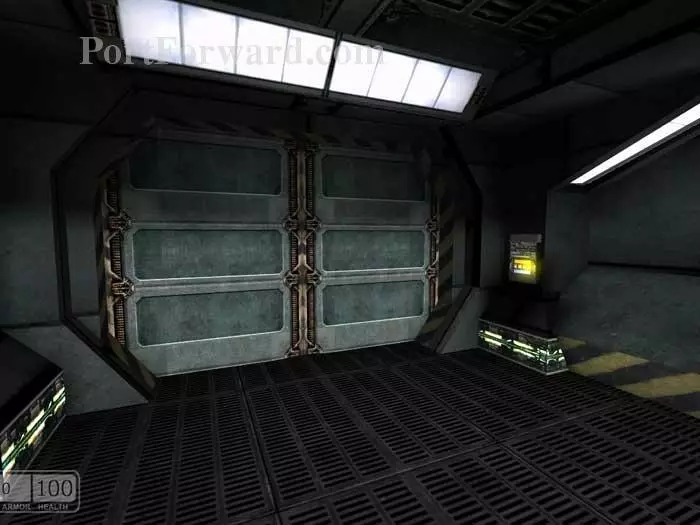
To the left is this yellow panel. Use it to proceed through the door.
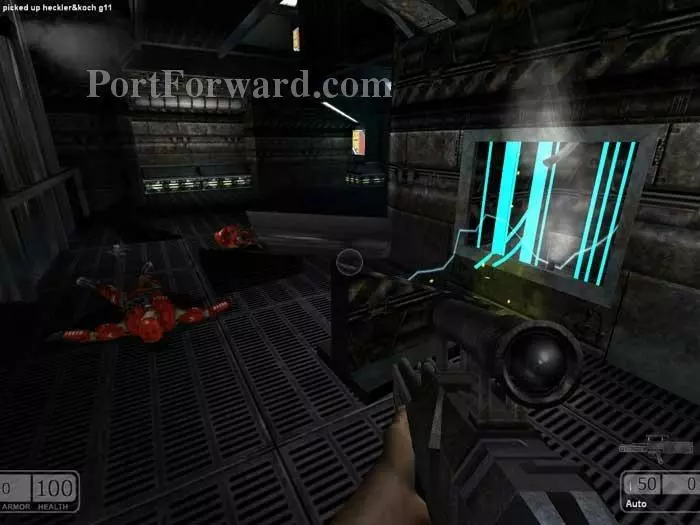
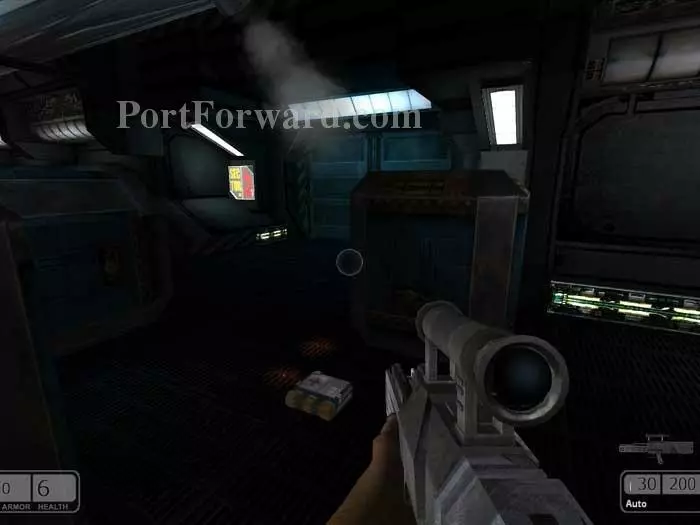
More guards, but this time they are knocked out by an explosion. Avail yourself of one of their weapons - the Heckler & Koch G11. Proceed through the door with the yellow panel beyond.
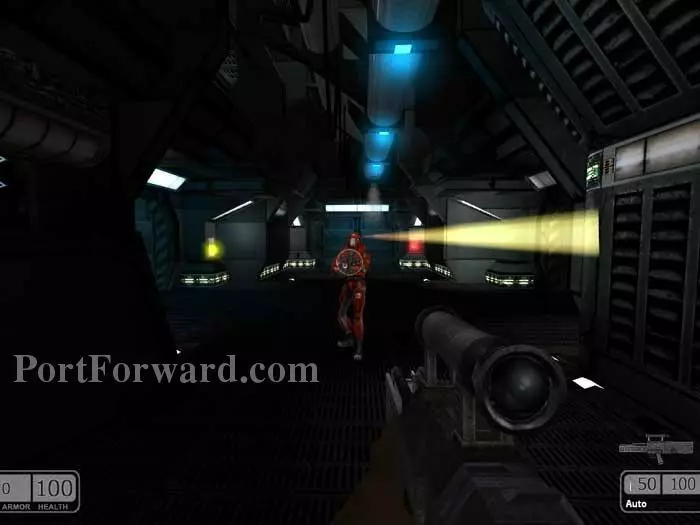
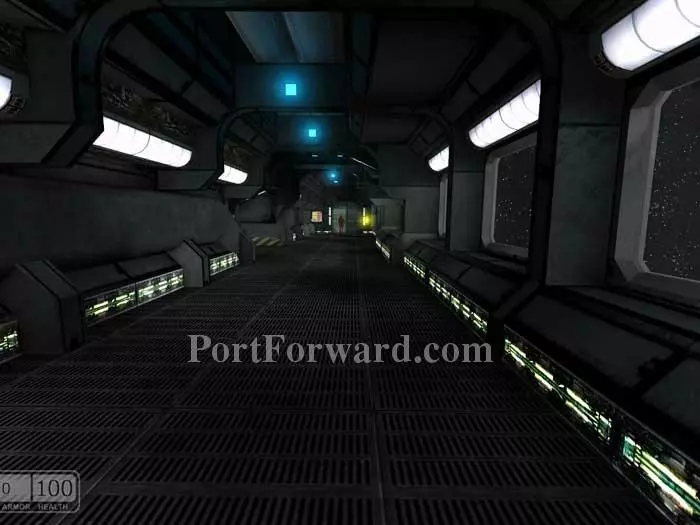
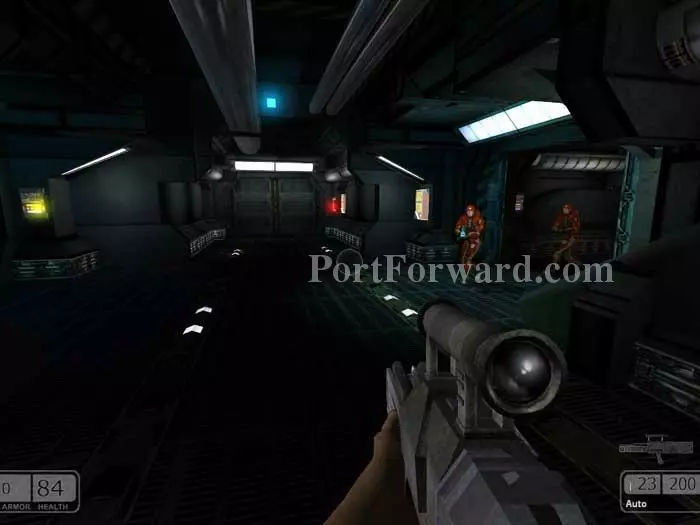
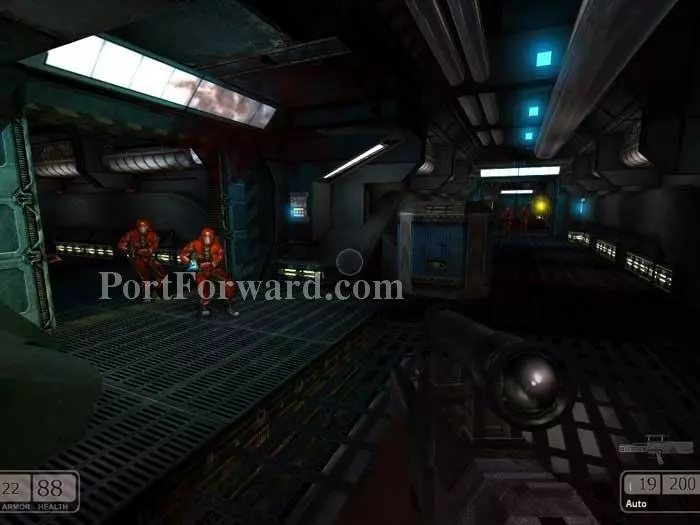
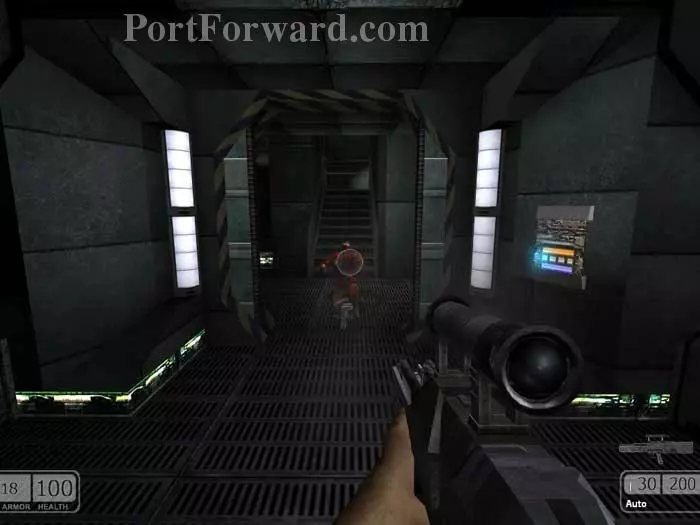
Two guards patrol the corridor. Take out this one easily with your G11's primary fire.
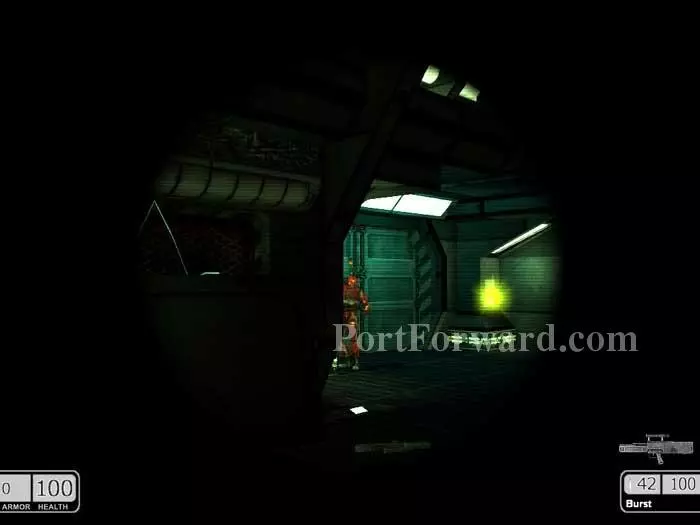
Alternate-fire activates the G11's sniper scope. Take out this second guard on the left then proceed through the yellow-panel door.
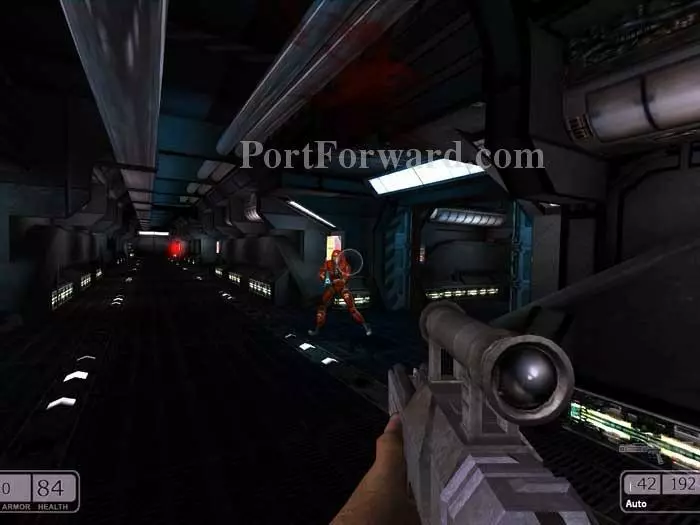
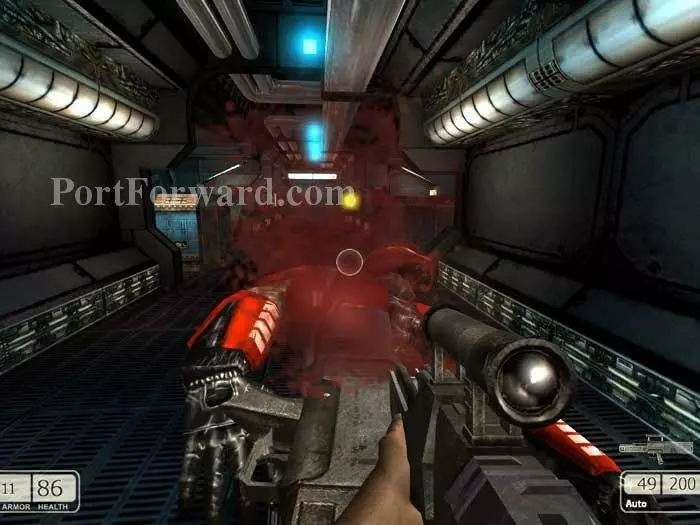
This guard attacks from the right, then two more straight ahead.
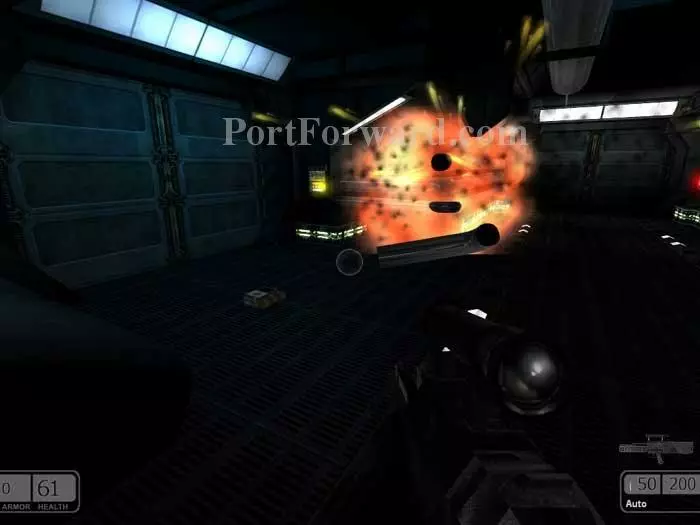
There are three doors with yellow panels in this corridor. Two lead to dead ends, and this one at the far end of the corridor where an explosion occurs is the one you want. Grab the medkit before continuing.
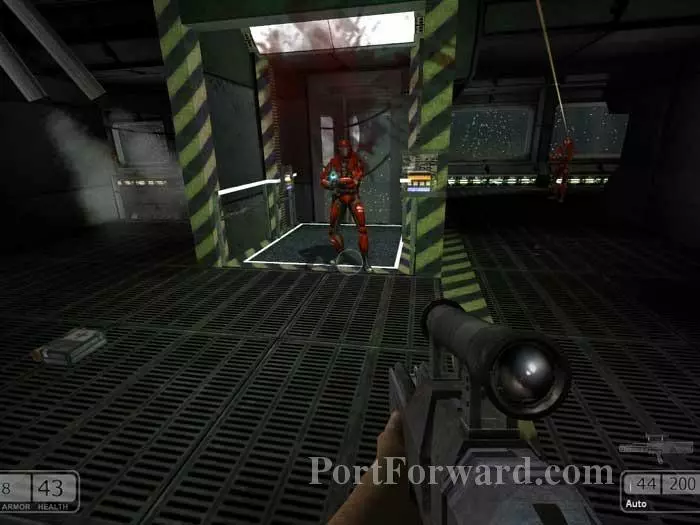
More guards attack from the left, then these guards attack from the right. Prepare for a fight then proceed through the door with the yellow panel seen here on the left.
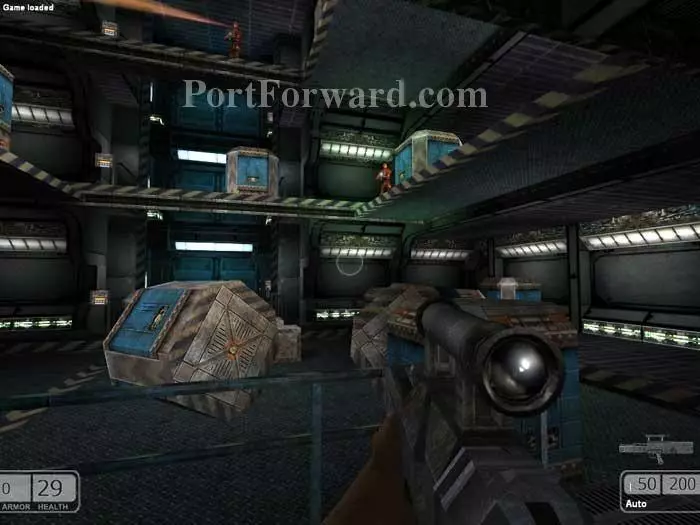
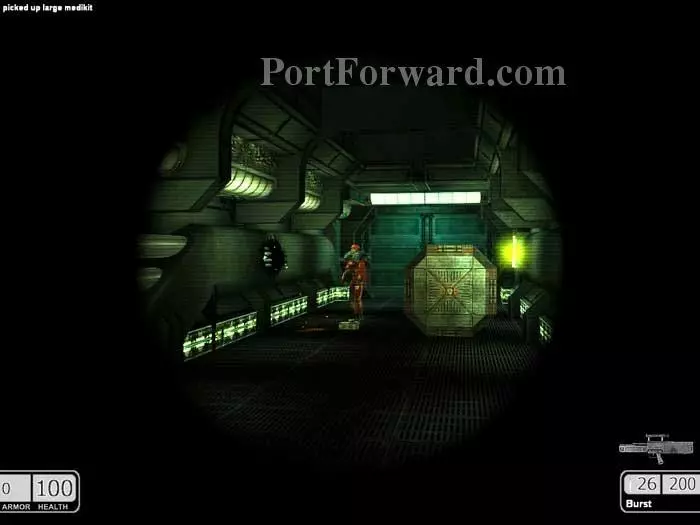
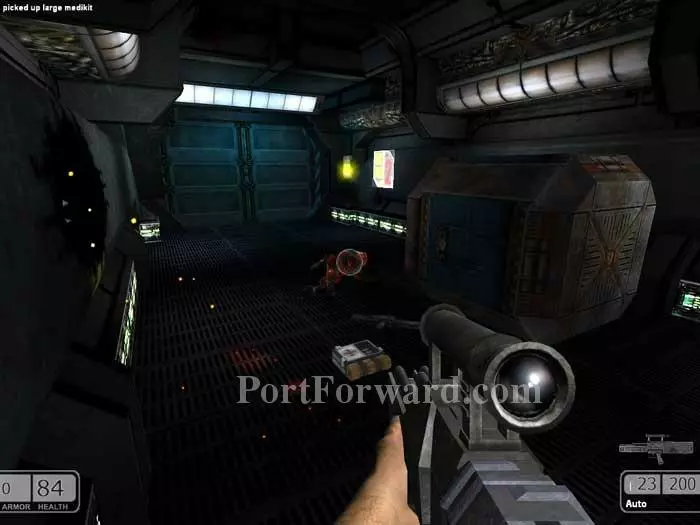
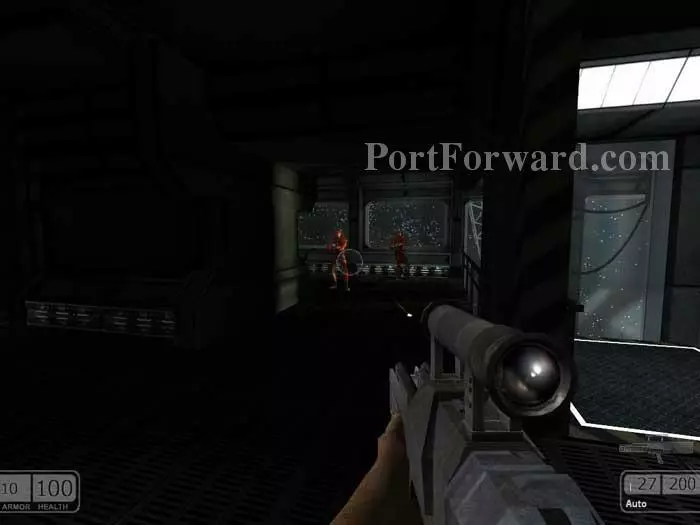
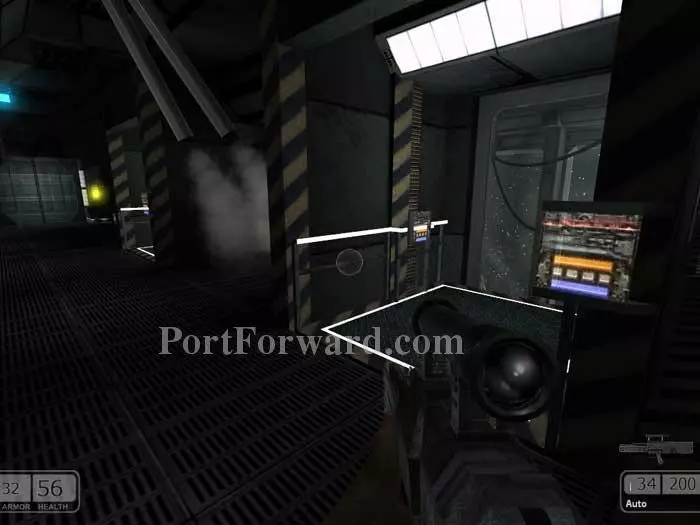
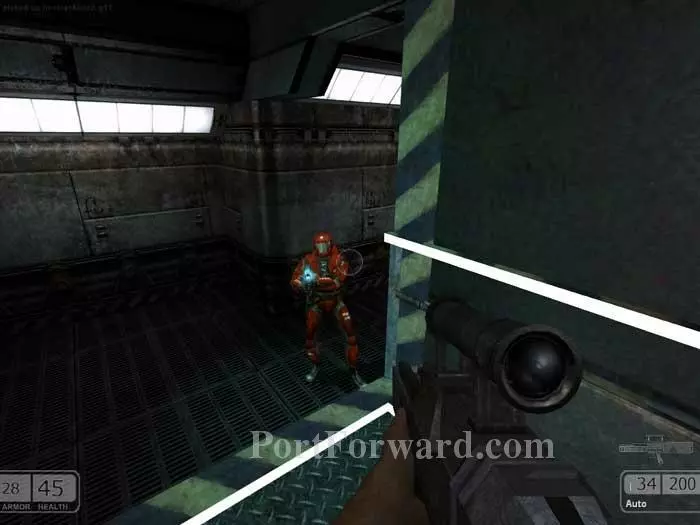
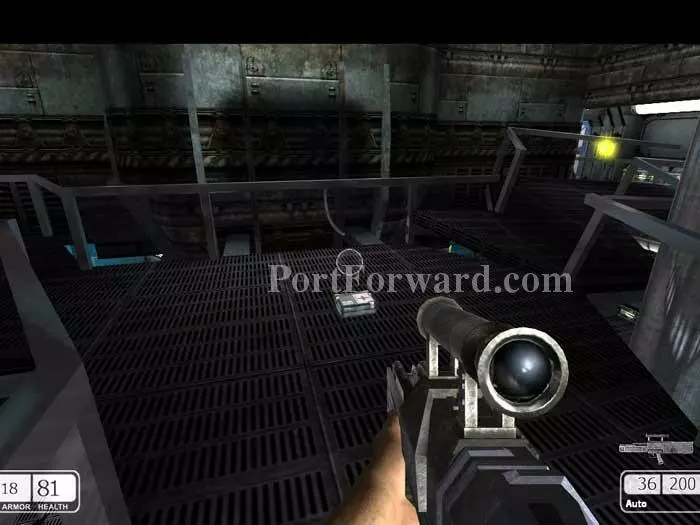
Immediately take cover behind the crate on the right. Use your sniper scope to take out the topmost guard seen here. More guards will enter the room from your left. Once you've dispatched them, take out the guard on the middle level seen here on the right.

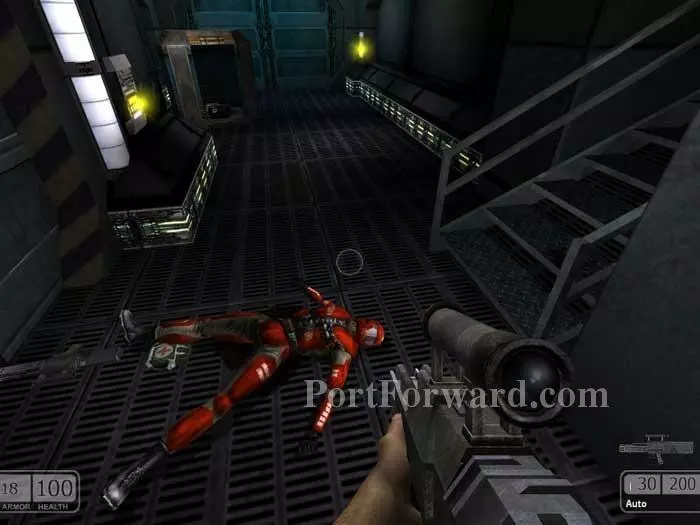
Bodies will randomly drop medkits. Always check fallen bodies for supplies.
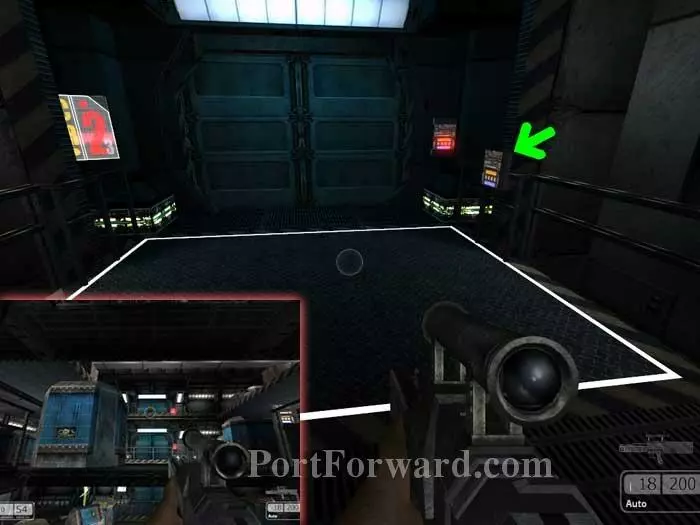
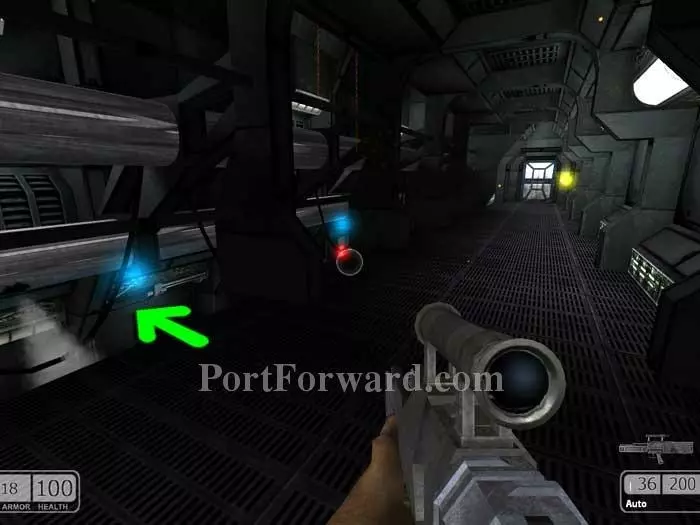
Activate the indicated switch and ride the lift up to the next level. Take out the guard patrolling the topmost level (inset).
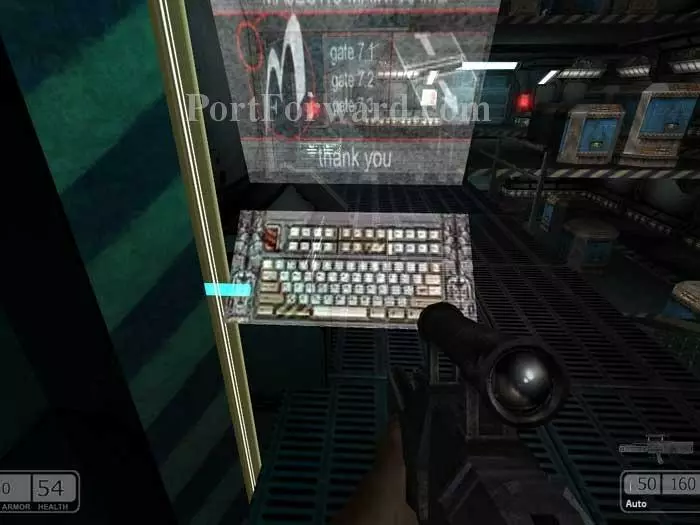
Use this computer.
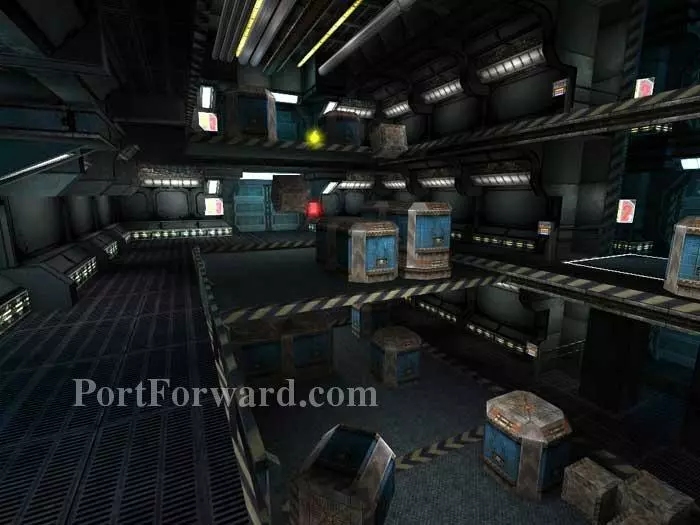
A brief cutscene shows some crates falling from above.
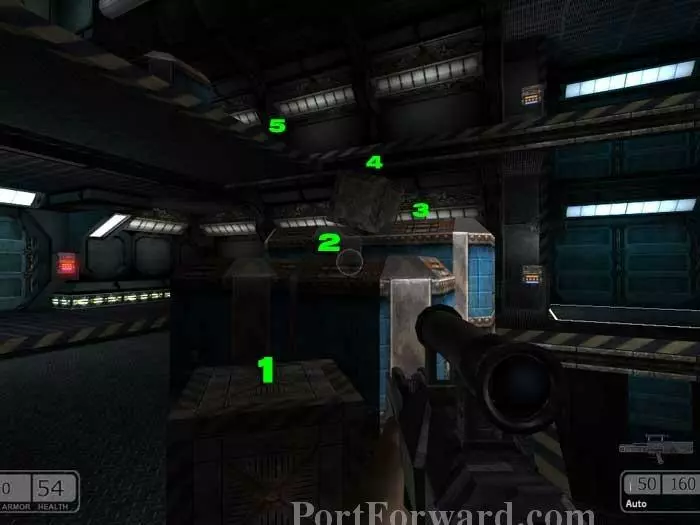
Jump by numbers. It looks simple, and it should be, but the jump from 4 to 5 is very difficult because of your short jumping ability. This is where many players get stuck.
The jump can be made to either ledge, but I find this ledge to be a bit easier. The trick is to do a running jump, then crouch immediately after you are air born. You may find it helpful to have 'Always Run' turned on under options/player setup.
To make matters worse, you'll immediately come under fire from this guard across the room, and more guards will enter the room from the door directly behind you.
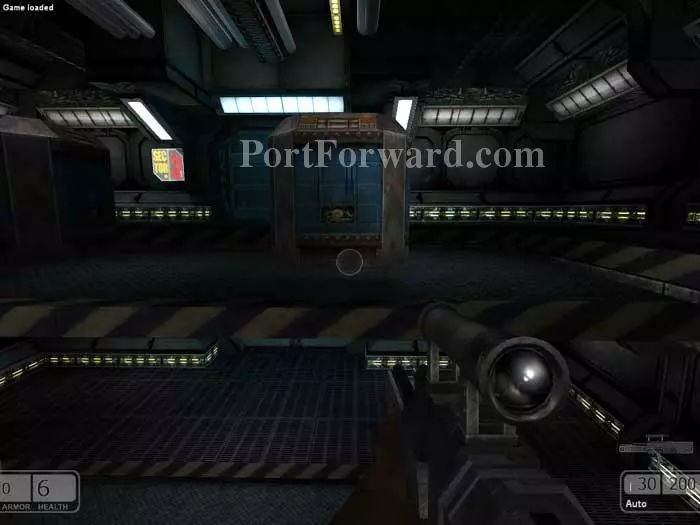
Continue through this door with the yellow panel.
Grab the medkit then pass through the door on the right.
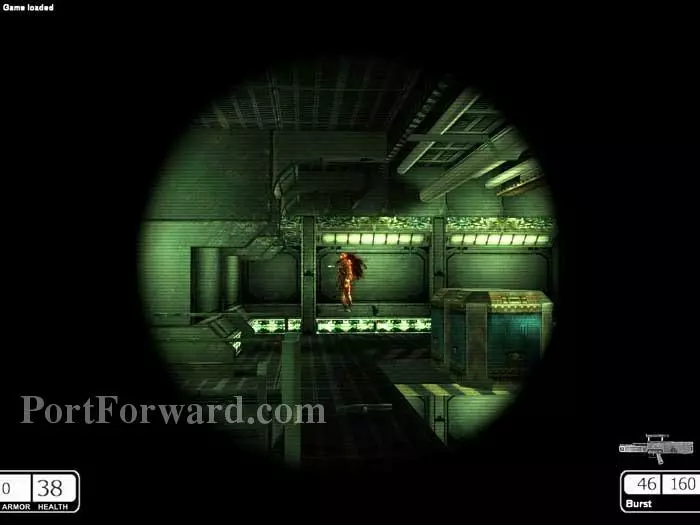
The lone guard in this corridor can be easily taken out with your sniper scope. Note that the G11 fires in burst mode while scoped.
Take down this guard and grab the medkit. Proceed through the door ahead and take down another guard just outside the door.
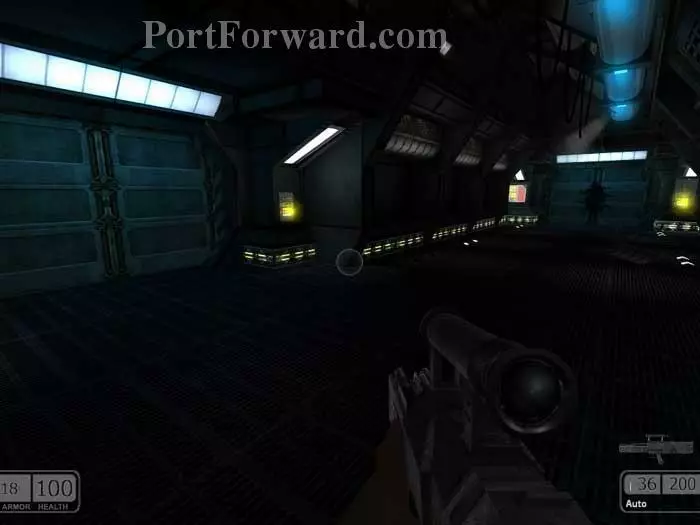
Turn left and guards pour in from these two doors. Continue through the door at the far end of the corridor.
Greet this guard just inside the corridor then continue through the door next to the yellow panel visible straight ahead.
Time for a moderate firefight against six guards, starting with these two seen here. Don't miss the medkit.
Two more guards patrol this corridor to the left.

Two more patrol below. Snipe them from this railing.
Hop over the railing or ride either of these lifts to the level below. The door visible to the left with the yellow panel leads to a dead end.
Drop in on this guard waiting at the bottom. Dispatch two more guards, one to the left and one to the right.

The view out the window is pretty cool.
Take the door on the left.
Through another door on the left you'll find this guard. Continue through a door with a yellow panel to the right.
Don't miss the medkit visible dead ahead. There are several ways to proceed at this point. I will walk you through the path of least resistance. Turn right and go through the door next to the yellow panel visible ahead.
Drop under the railing as indicated.
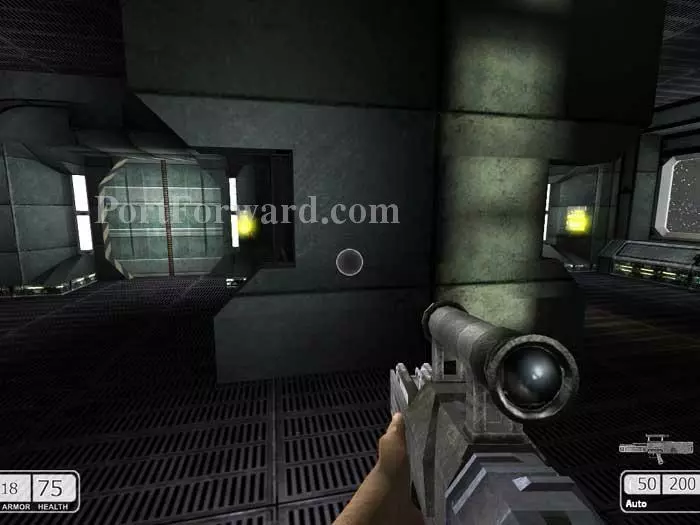
Continue through this door on the left. Use the burn marks on the other door for reference.
Next is this door on the left.
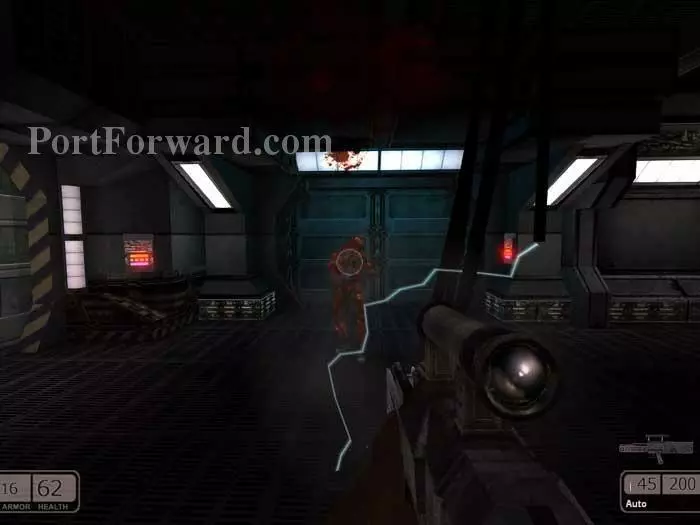
Open the door beyond and dispatch this guard waiting on the other side.
Ignore the stairs. Instead, grab the supplies (including an armor vest and medkit in the crate to the left) then proceed through the door visible next to the yellow panel straight ahead.

You'll be confronted by these two guards, plus a third on the right.
Continue through this door on the right.
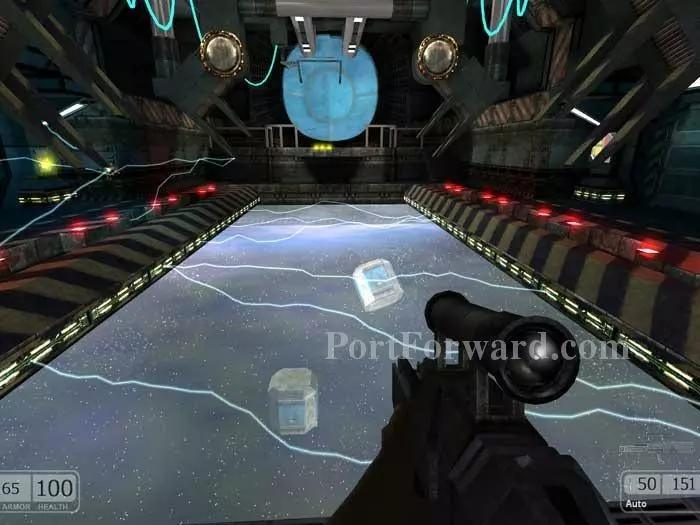
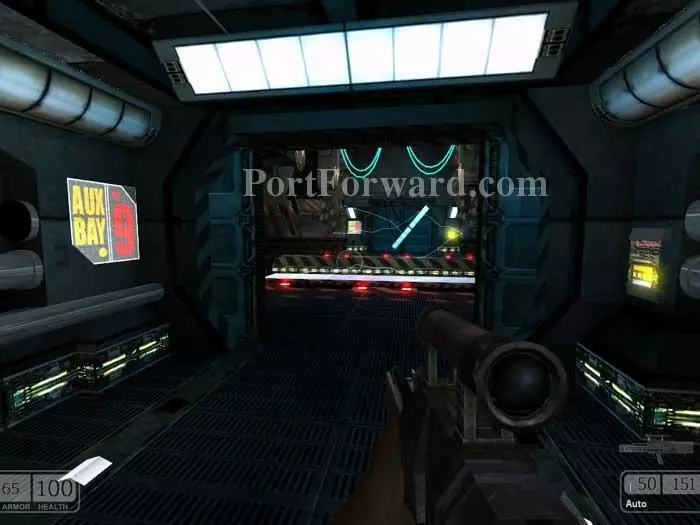
This room looks very cool. Just make sure to avoid the sparks. Head to that small balcony ahead.
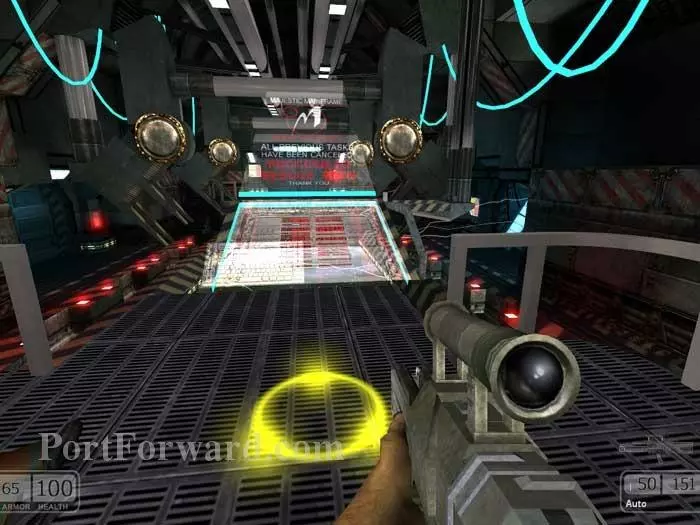
Stand on the yellow circle and this console lowers, instructing you to proceed to the rescue pods. Carefully approach the door on the right.
Crouch to avoid the sparks and proceed through the door.
This guard will be to your left and another will be to your right.
Proceed through the door seen here on the left.

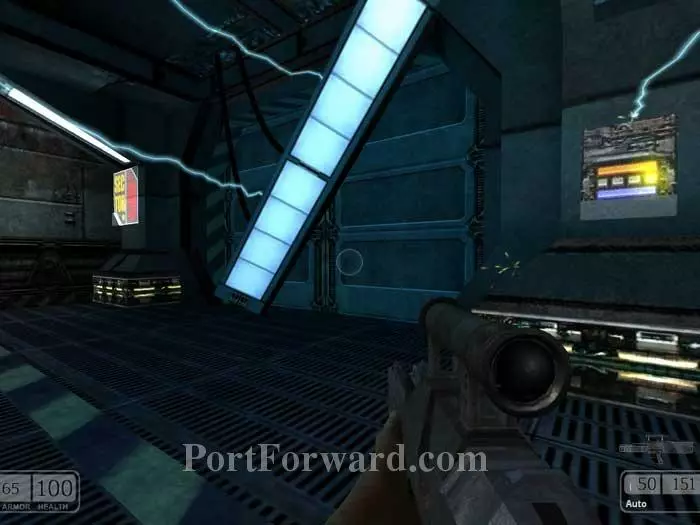
The station is breaking apart. An explosion sends this corridor tipping to the right. Continue through the door straight ahead.
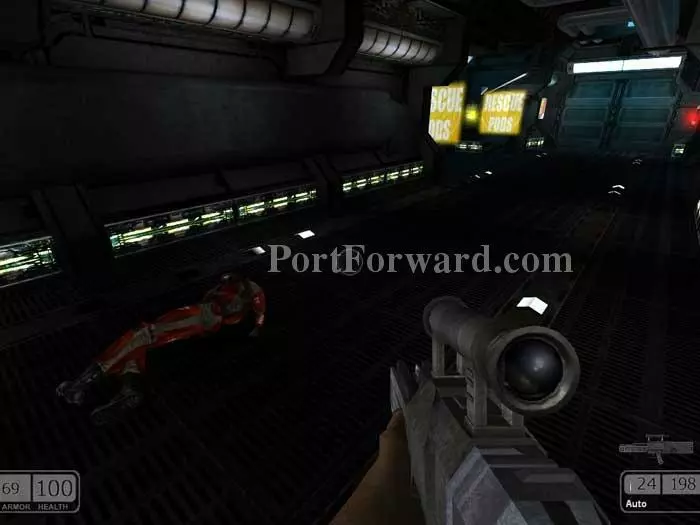
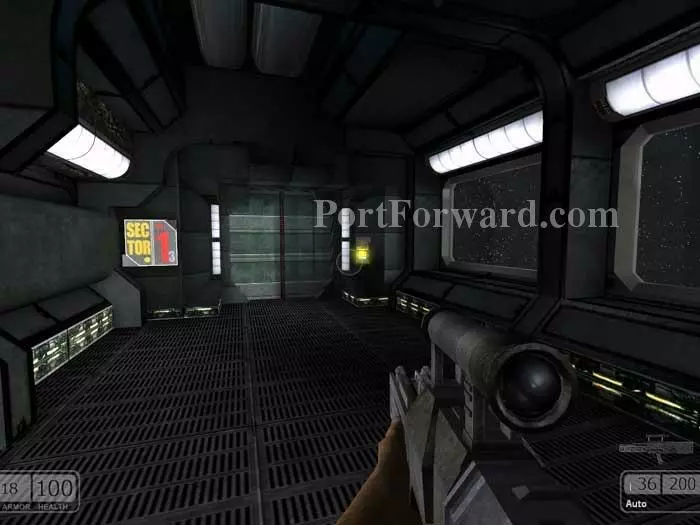
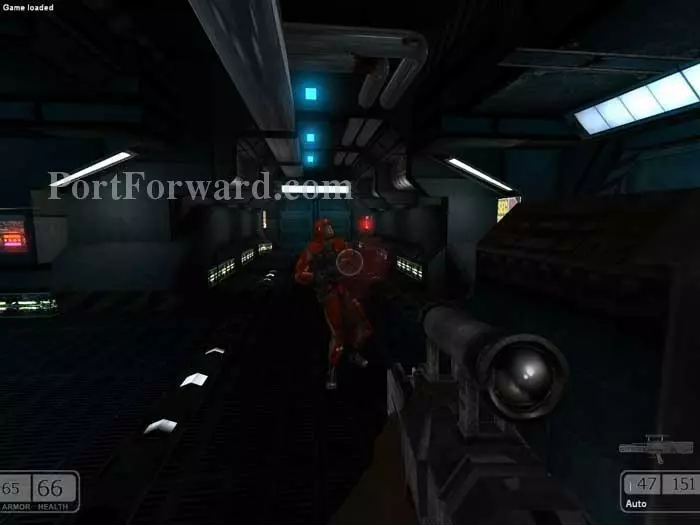
Take out this lone guard on the right, then follow the "Rescue Pods" signs.
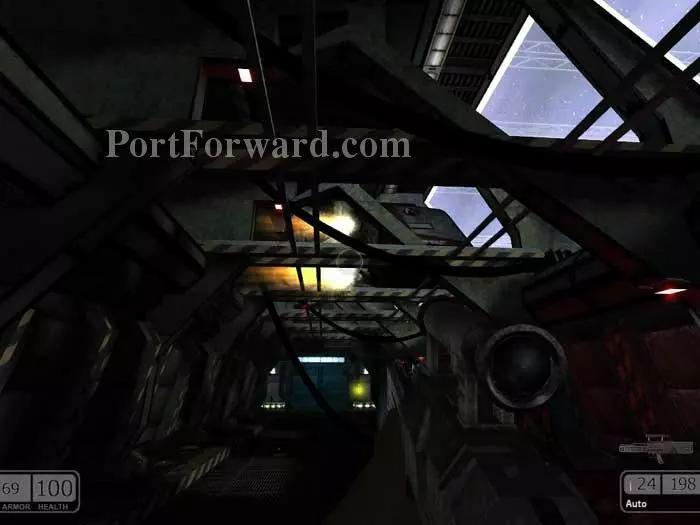
Look up to witness the pods fleeing the station. Continue through the door straight ahead.
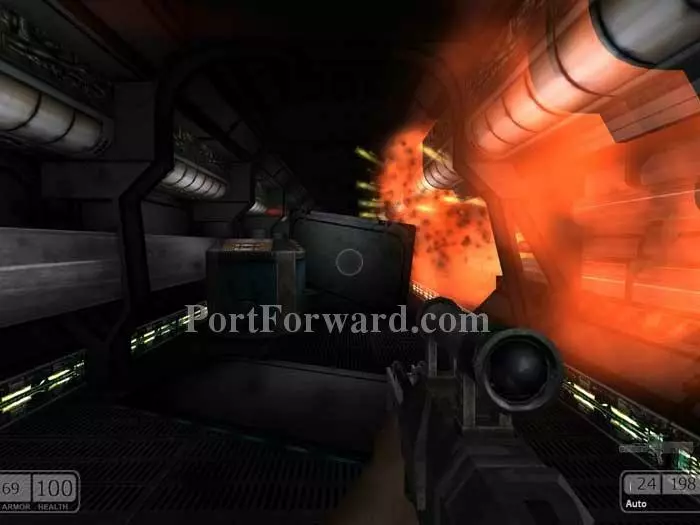
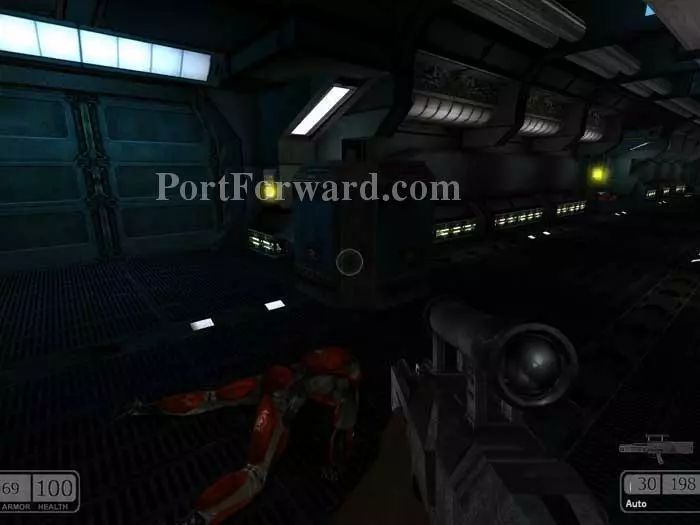
This explosion takes out the lone guard patrolling the hallway.
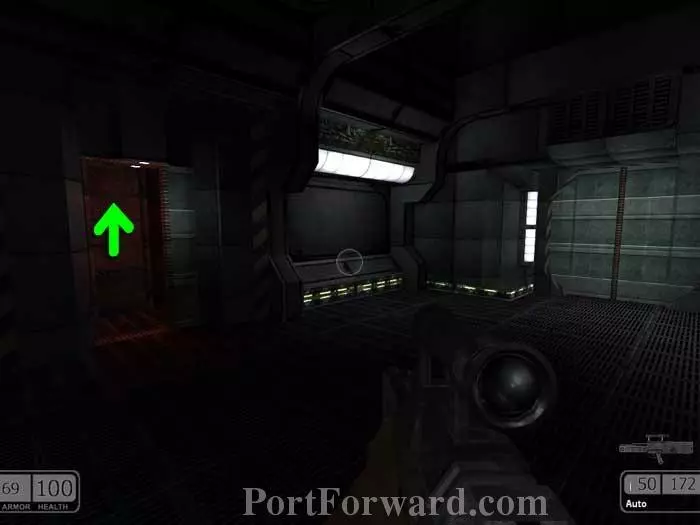
Pass through the next door then climb this long ladder.
Exit through this door marked, "Rescue Pods."
Follow the corridor left to your awaiting escape pod and end the level.
More Chaser Walkthroughs
This Chaser walkthrough is divided into 18 total pages.


