
This Chaser walkthrough is divided into 18 total pages.
You can jump to nearby pages of the game using the links above.
Nippon Hotel
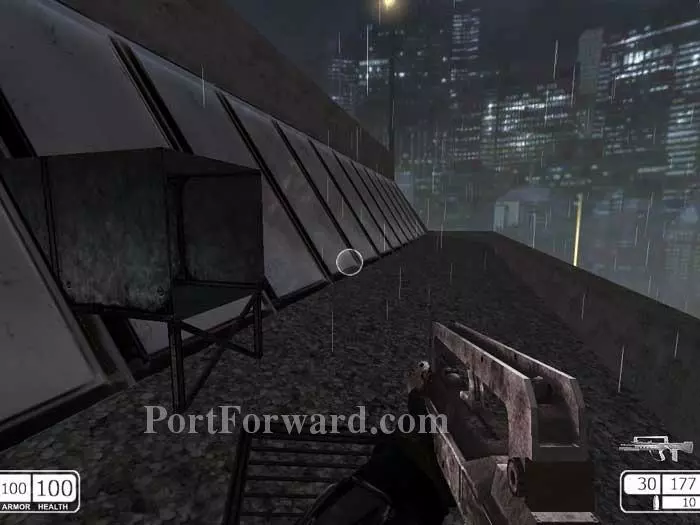
Walk along the rooftop to this open vent.
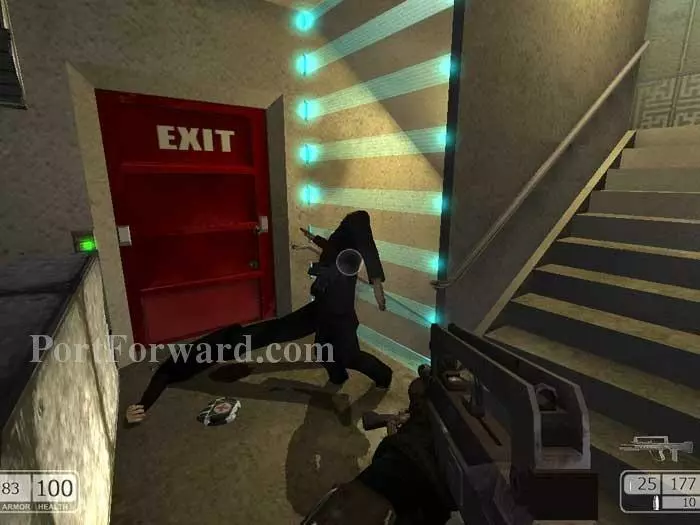
Crawl through the vent and it will collapse. Ready your weapon to take out this patrol immediately upon exiting. Ascend the stairs.
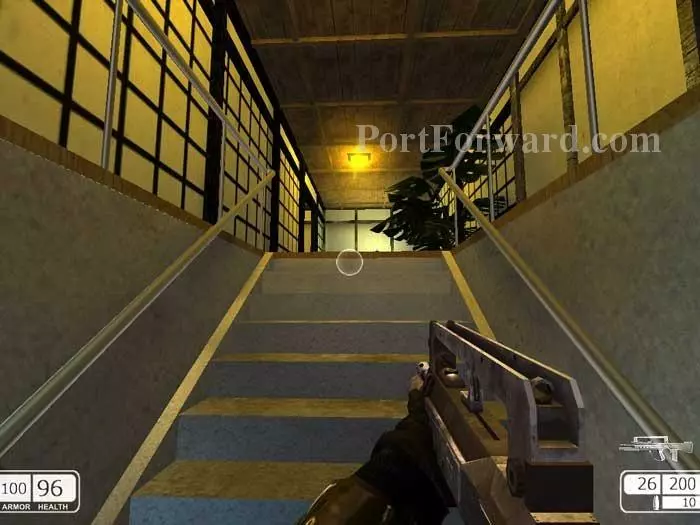
You'll need to go right to proceed through the map, but I recommend clearing out the area on the left first.
Here's the scene as you pass through the left doorway.
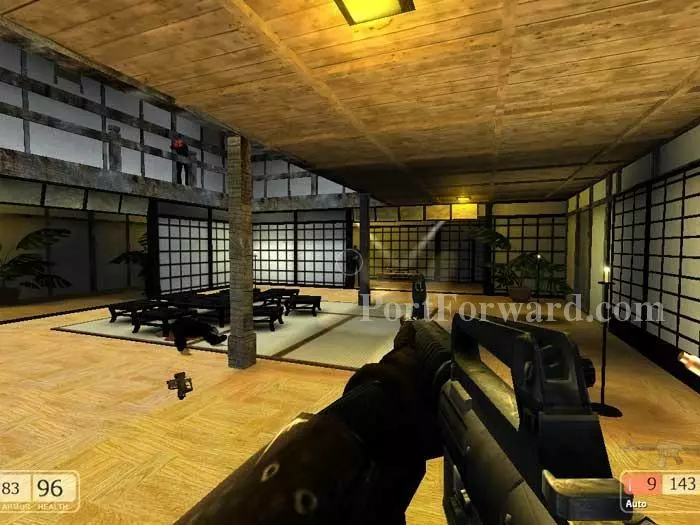
Make use of your MAC 10's medium-range capabilities in these dead-end corridors.
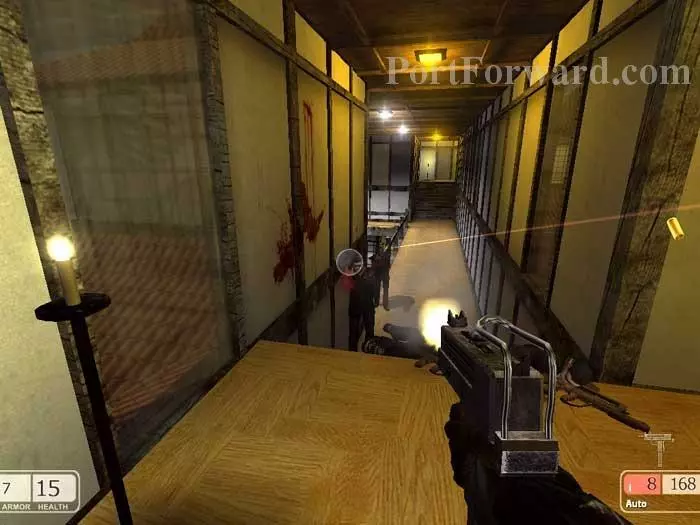
Once the area is secured, return past the stairway (visible ahead) and pass through the opposite door.
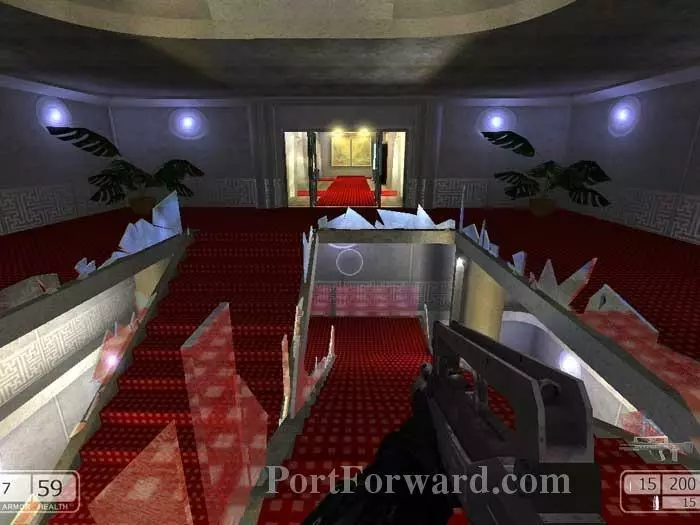
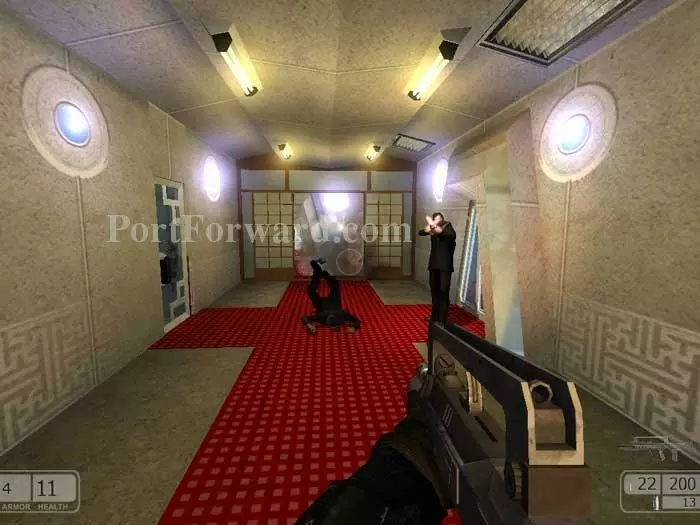
Here's what you'll be greeted with.
Ascend these stairs.
After this firefight, continue up those stairs ahead.
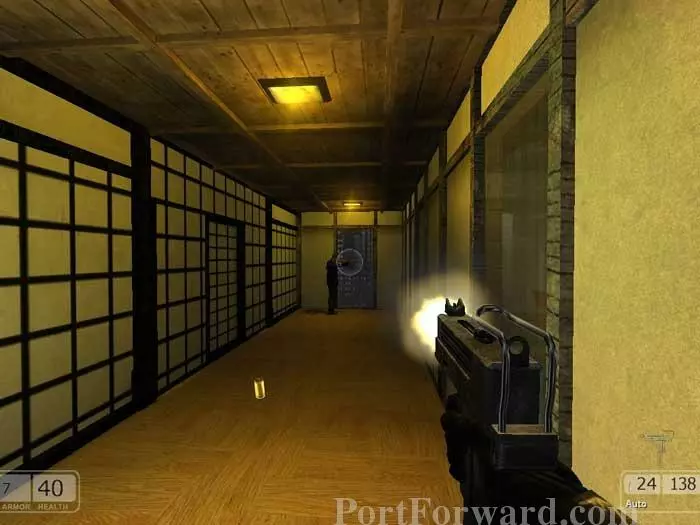
Defeat this guard before proceeding through the open window to the roof. Drop to the garden below.
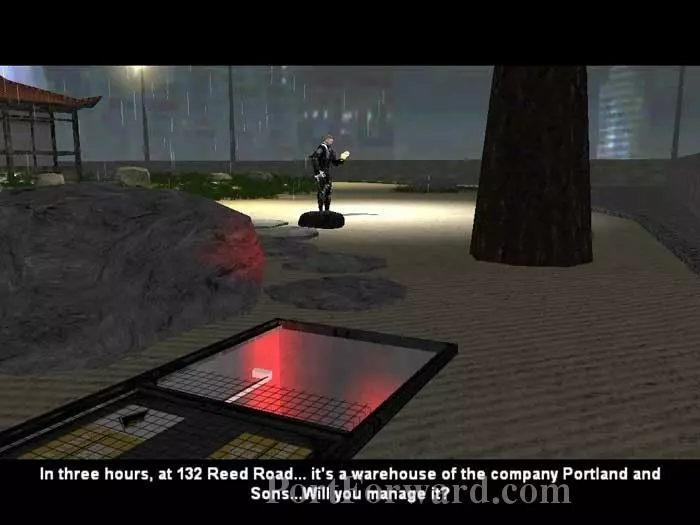
Approach your backpack (visible on the ground next to Chaser) to initiate this cutscene. Grab your bag and proceed down this opening.
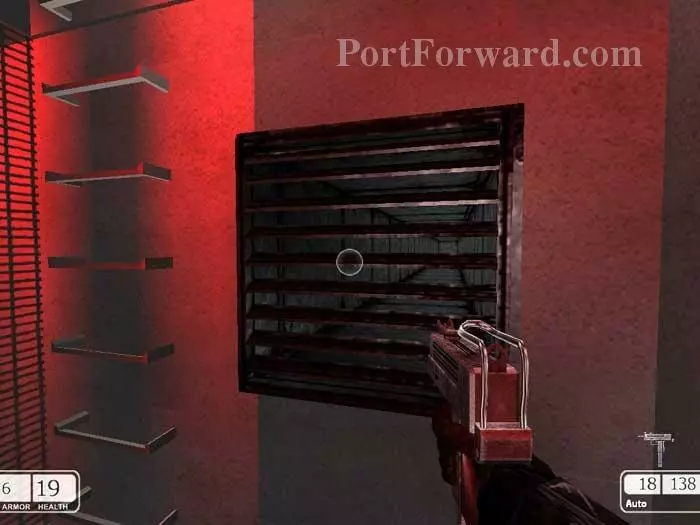
Open this grate.

Follow the vent to this room, seen earlier.
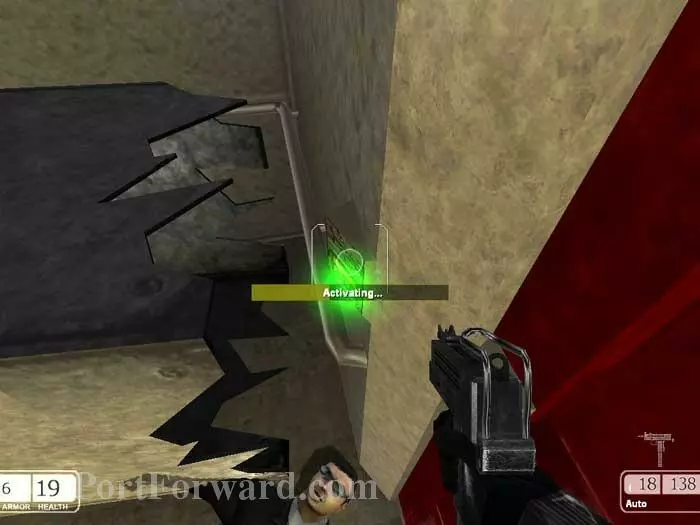
Activate this switch to load the next area and end the level.
Grab the armor vest and medium medkit on the right. Turn left down the corridor.
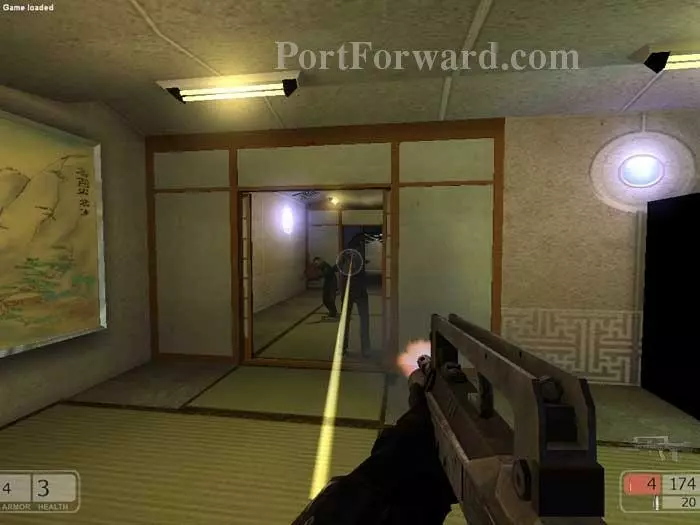
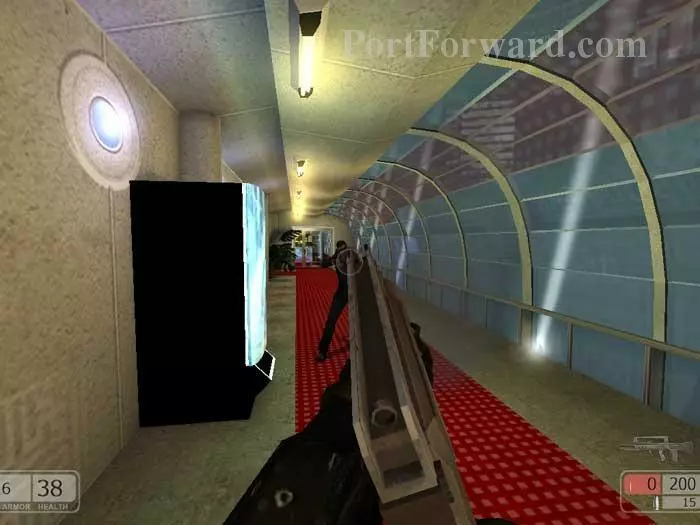
Battle through these doors down another corridor to the left.
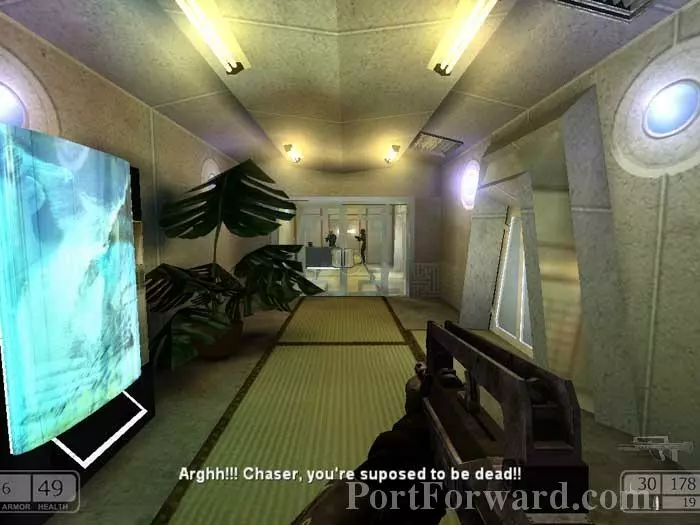
Battle your way down the corridor through this doorway on the left. We'll take the other door in a moment.
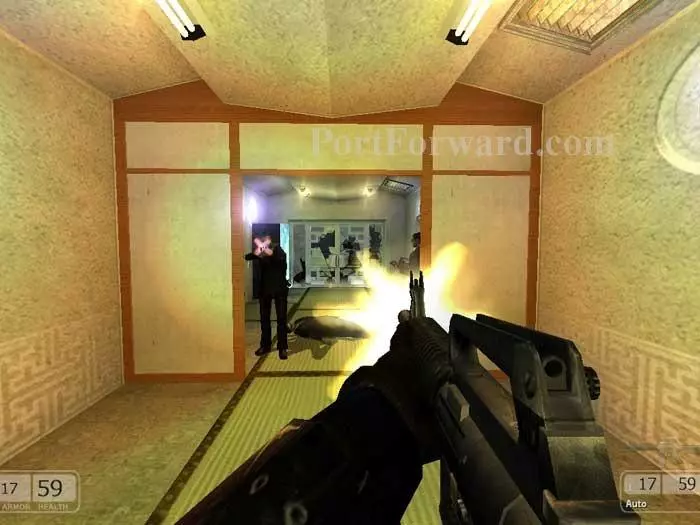
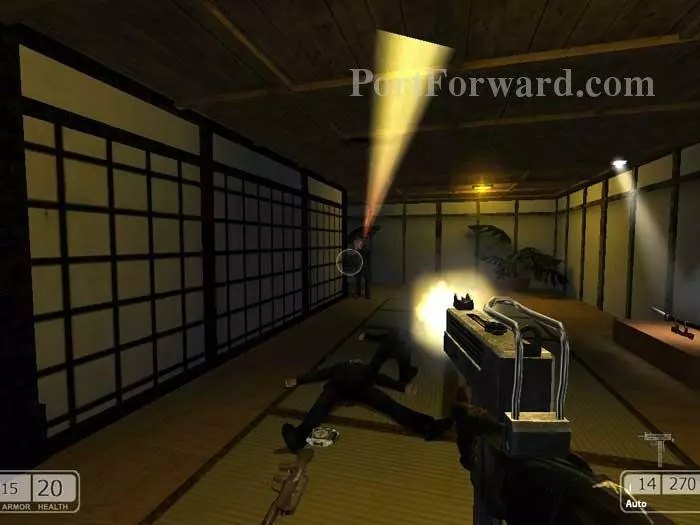
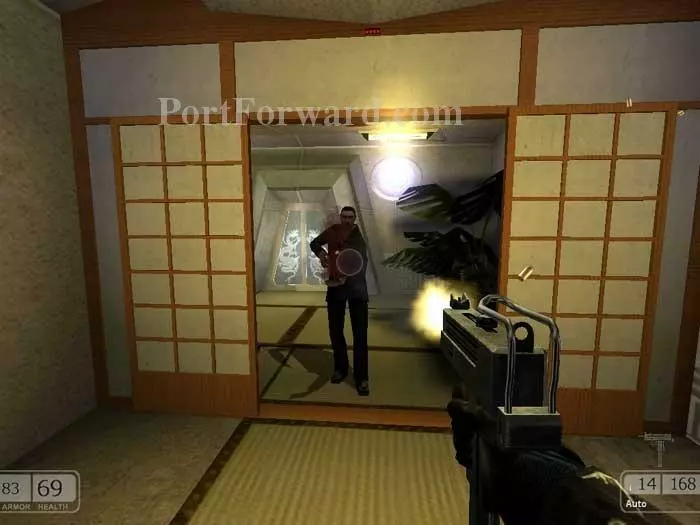
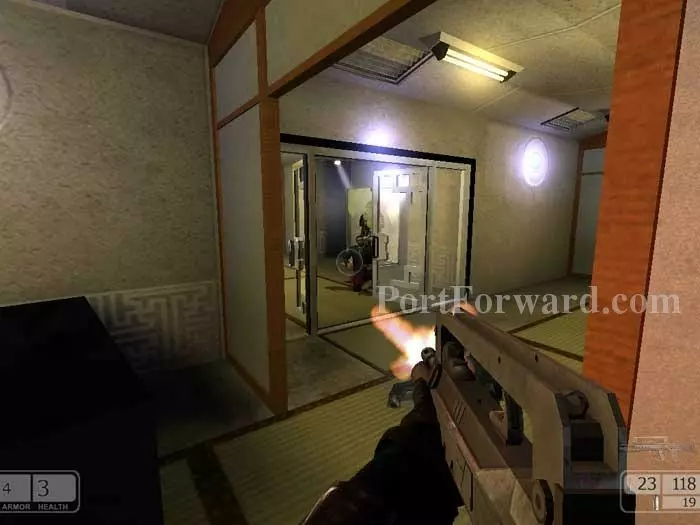
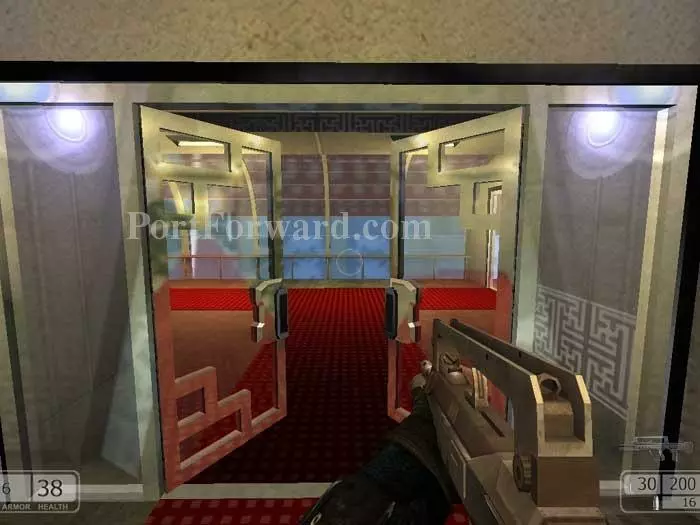
Lots of targets. Bring them down before approaching the broken glass door to initiate a cutscene.

At first, Valero's men think they are meeting Franklin, a comrade. They learn it's Chaser and declare you a dead man.
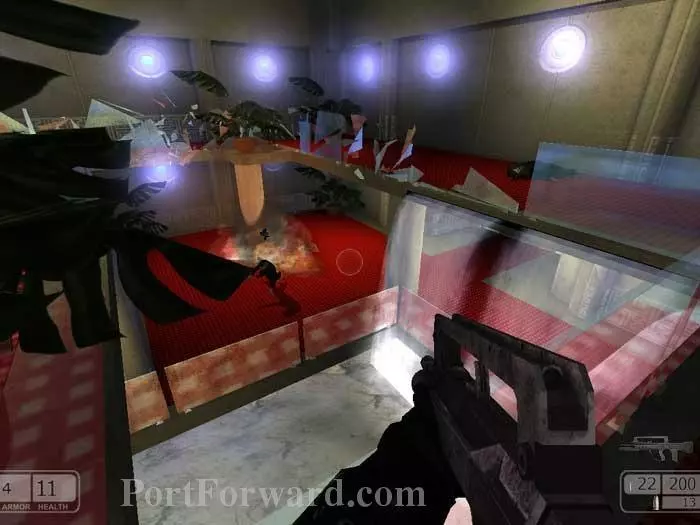
Prove them wrong. A few well-placed grenades go a long way.
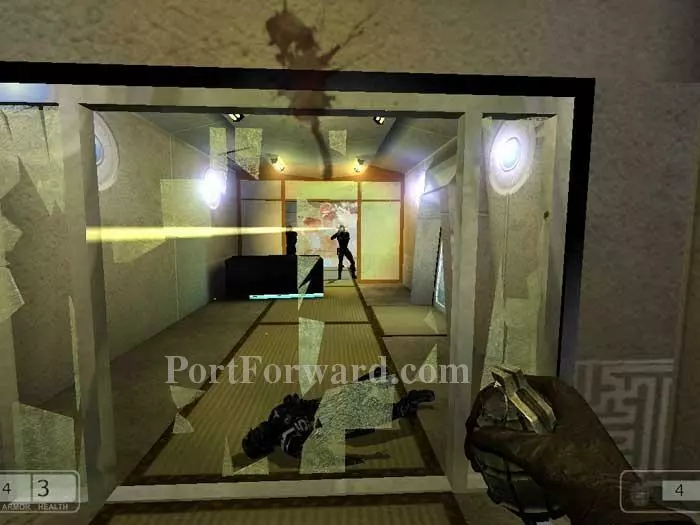
Once you've taken out all of Valero's men outside the glass door, backtrack here and proceed through the other door that you bypassed before. These guys have spawned around that desk ahead -- hold back as you hear a quickening beep. Approach after the explosion.
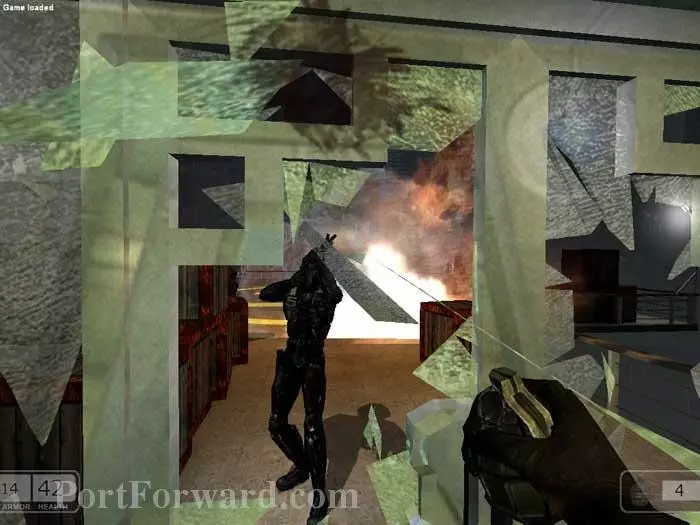
This can be a difficult firefight. Use grenades and adrenaline mode to assist. Shoot out the glass and proceed through what's left of the door.
Fight through another corridor on the left.
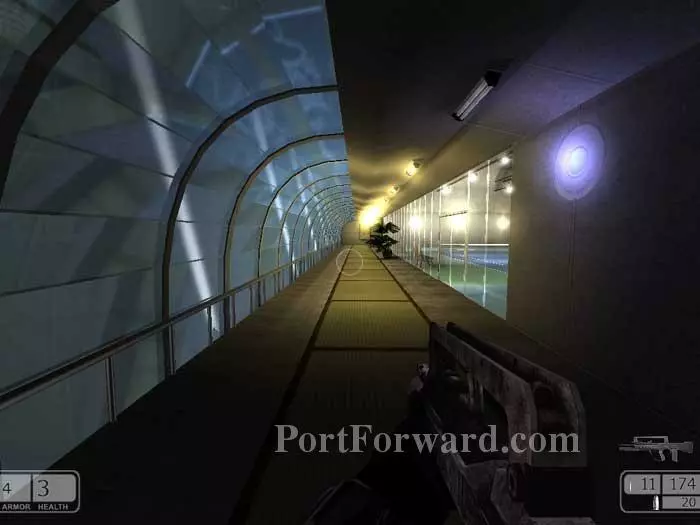
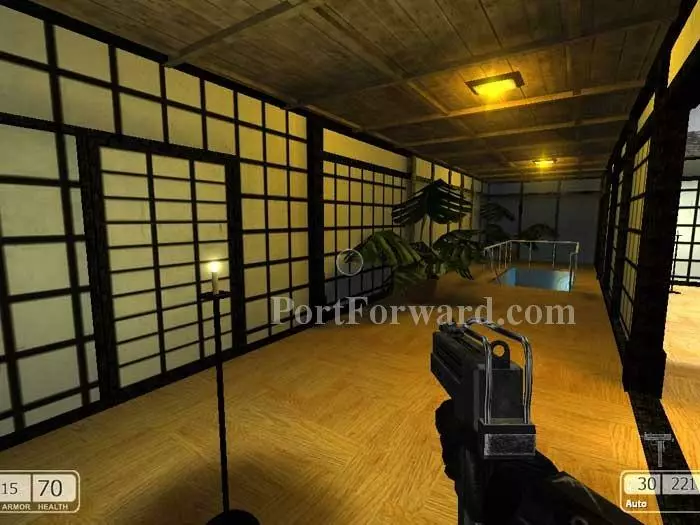
That brings you to this corridor alongside the tennis courts. You can either enter the courts through the broken glass (from your gunfire or theirs) or run full-sprint to a door at the other end, which is my preference.
Another gunfight through this door and you're almost out.
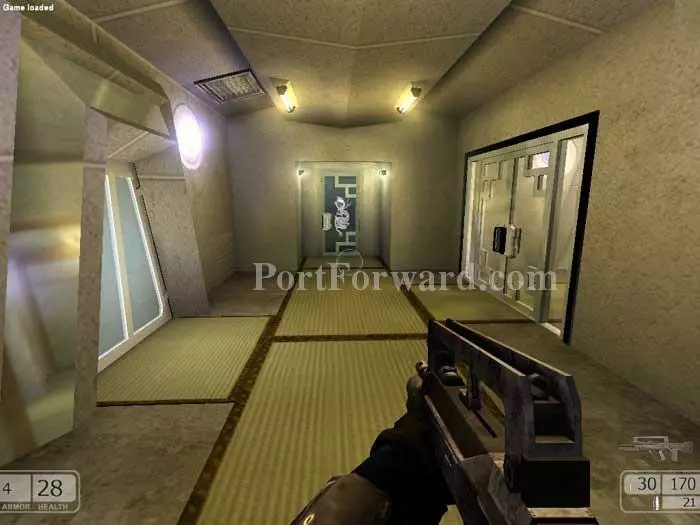
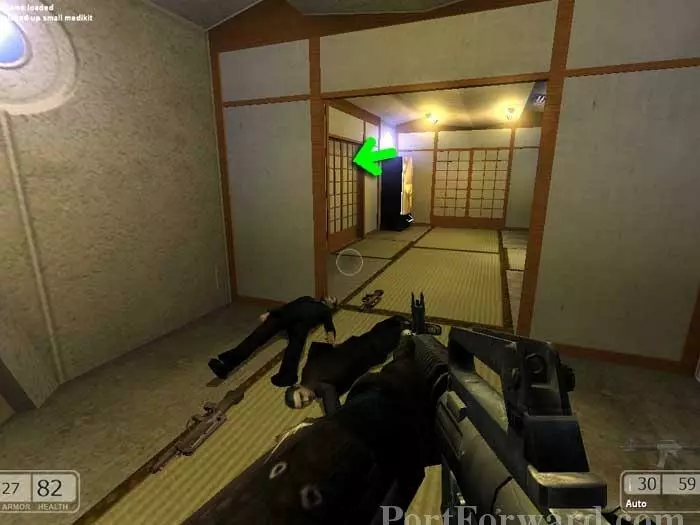
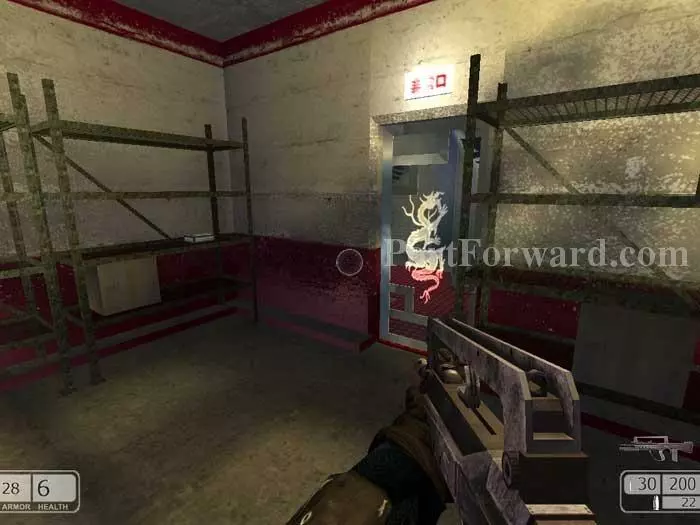
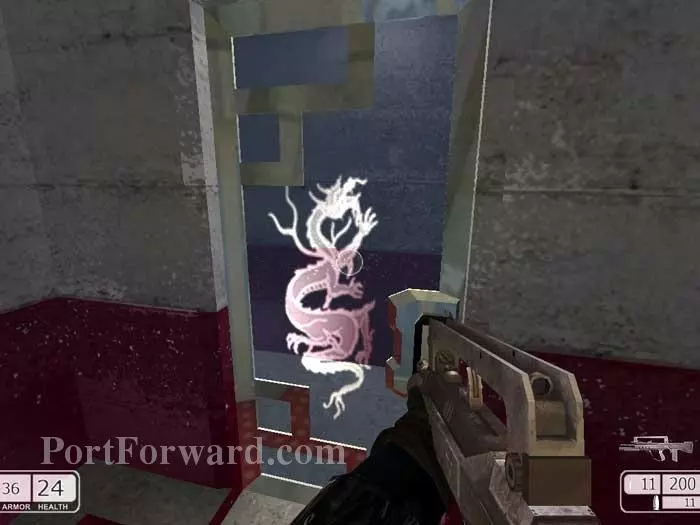
Don't go toward the tennis court. Instead, head left. Your way out is through that dragon-etched door straight ahead.
Drop these two then take the hallway on the right.
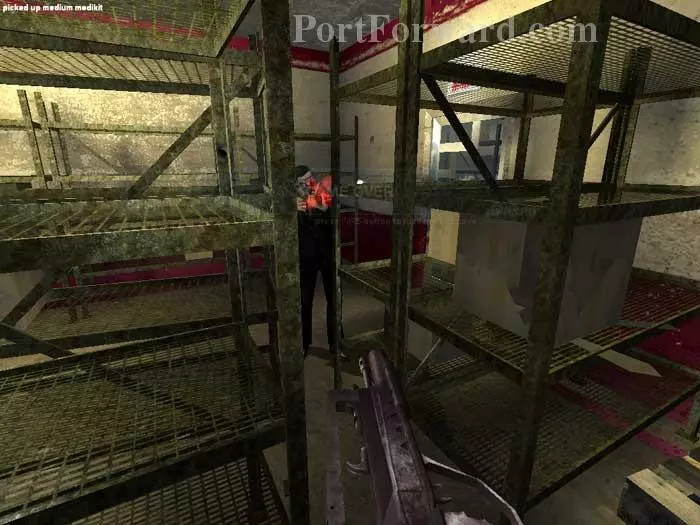
You'll find three on patrol behind these shelves.
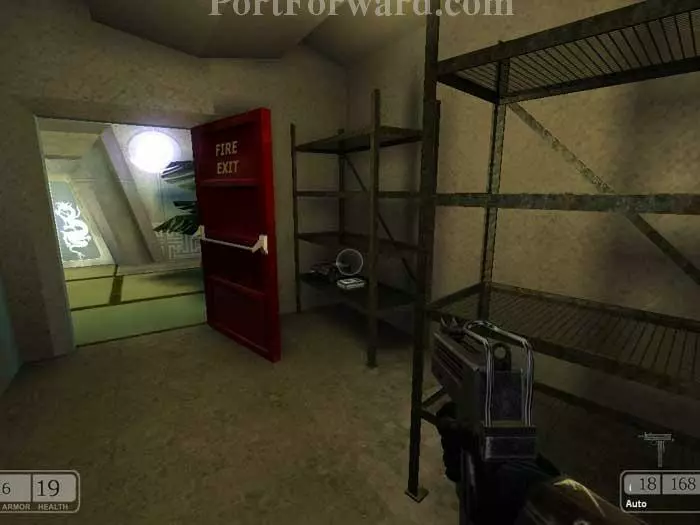
Grab the medkit from the left shelf before proceeding through this door.
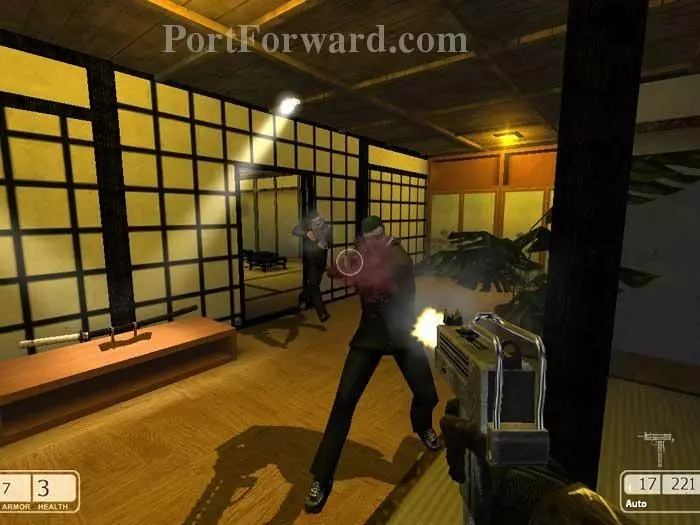
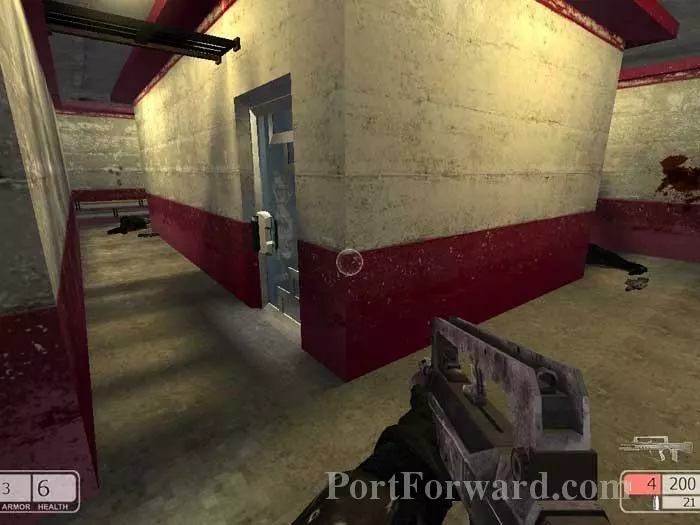
Enemies are on both sides of the door. The corridor to the right dead-ends, so continue down this corridor to the left, then through the doorway far-right.
You'll be met by immediate resistance. Keep an eye out for enemies behind these doorways.
Fight your way down the hallways to the door seen here on the right.
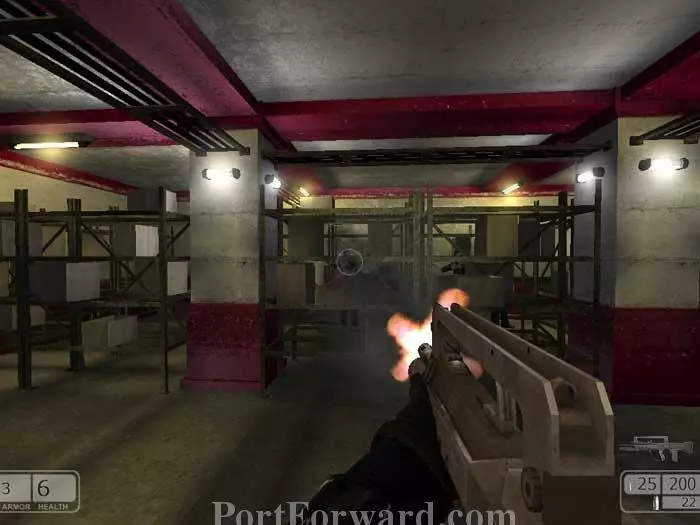
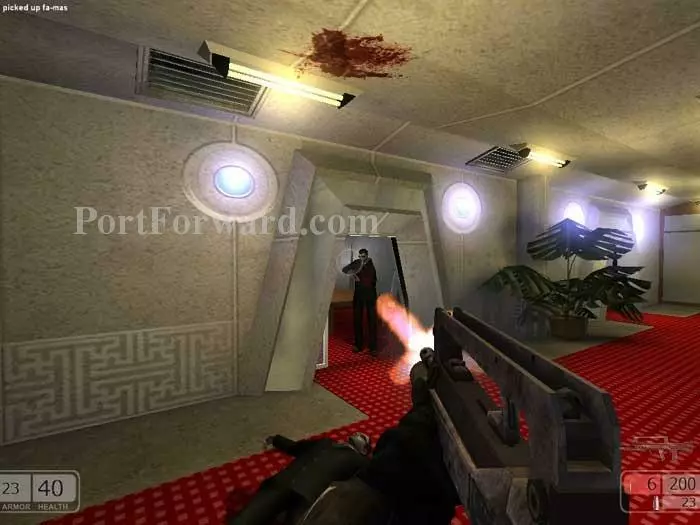
Once entering, you'll meet heavy resistance as seen here. Grab the large medkit on the left. Upon exiting through the door visible on the right you receive a new goal: kill Red Dragon and Sato Ogawa.
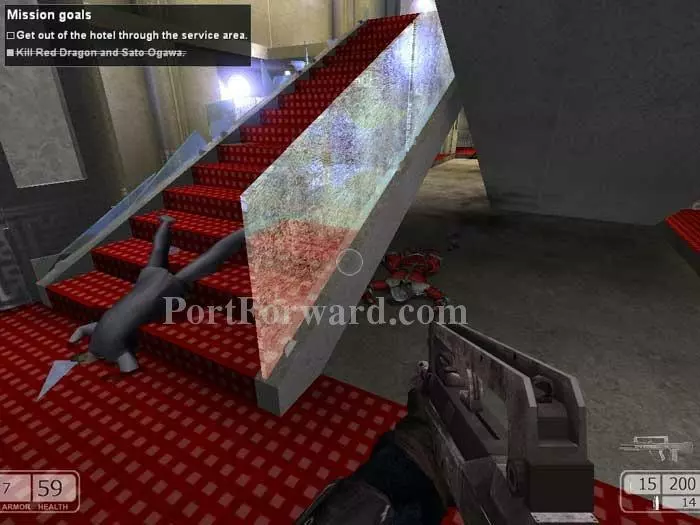
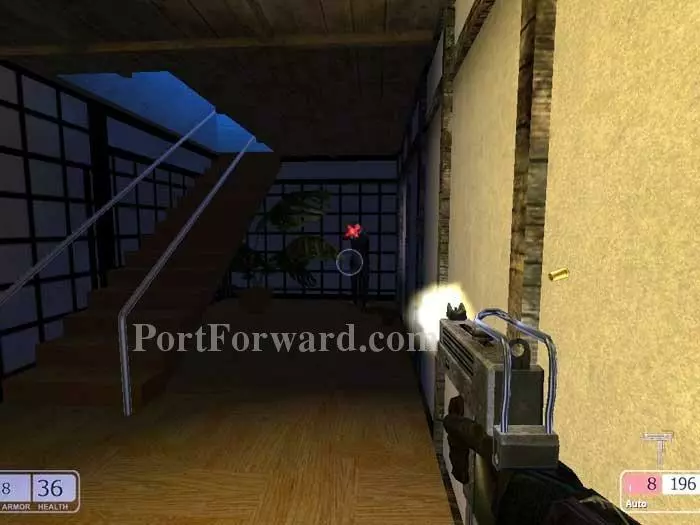
I recommend making an immediate left and taking shelter under these stairs. Let them come to you and use secondary fire from your FA-MAS to take them out.
Both sets of stairs lead up here. Continue through that door directly ahead.
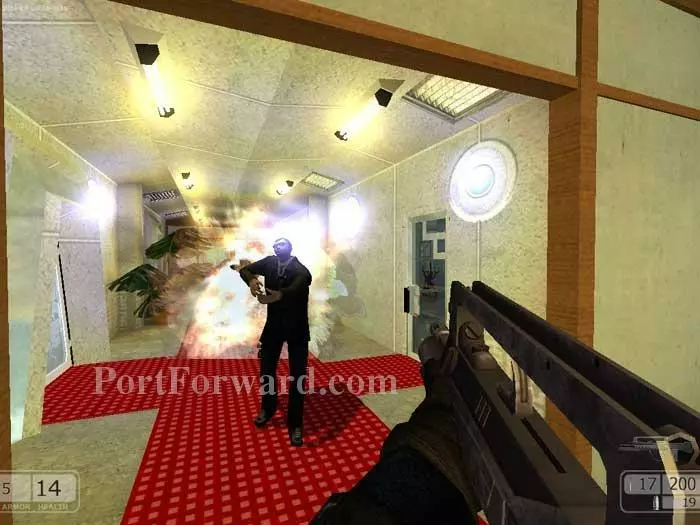
Fight your way down this hallway, continuing through the door far-left.
At this doorway you'll have a patrol on your left. Proceed through the door on your right to a room with indoor fountains.
You'll find a guard above (visible on the right) and another below.
Descend the stairs then head down this hallway. Continue through the door on the left.
Inside are two guards and a medium medkit. Exit through the door visible on the right. You'll find a medium medkit just outside the door.

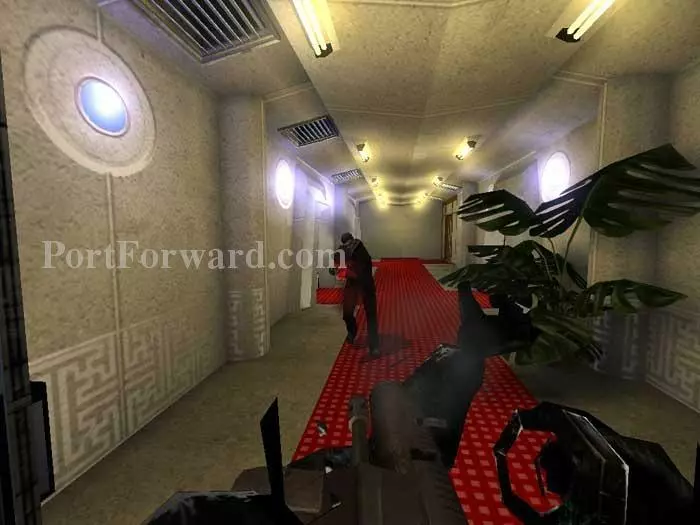
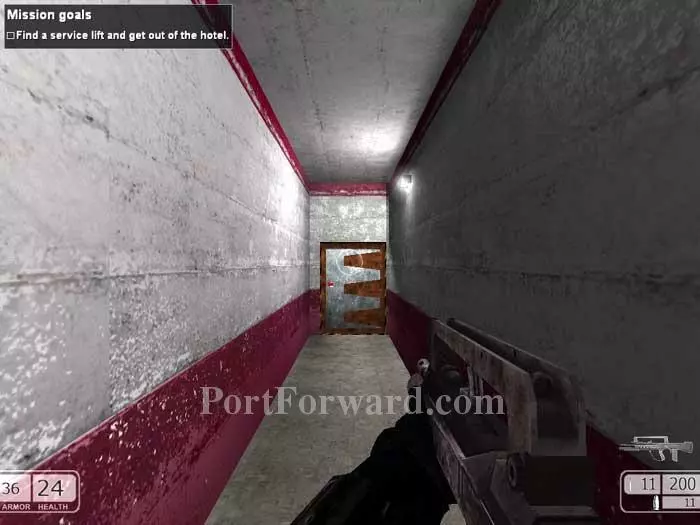
You're almost there. Fight your way down this hallway.
Exit out this door to load the next level.
Head through the door straight ahead.
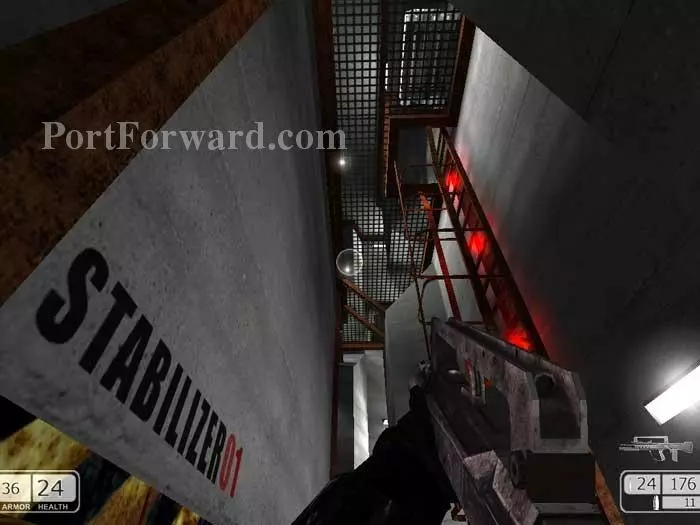
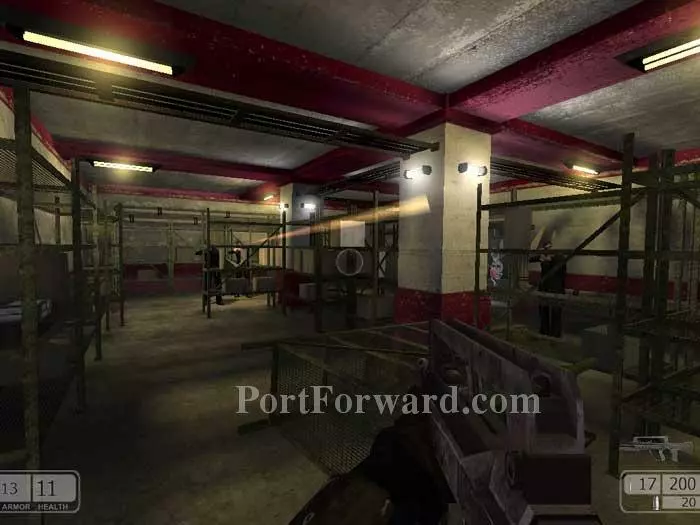
You begin here at stabilizer 01. Guards patrol above -- shoot them through the catwalk or climb the ladder on the right.
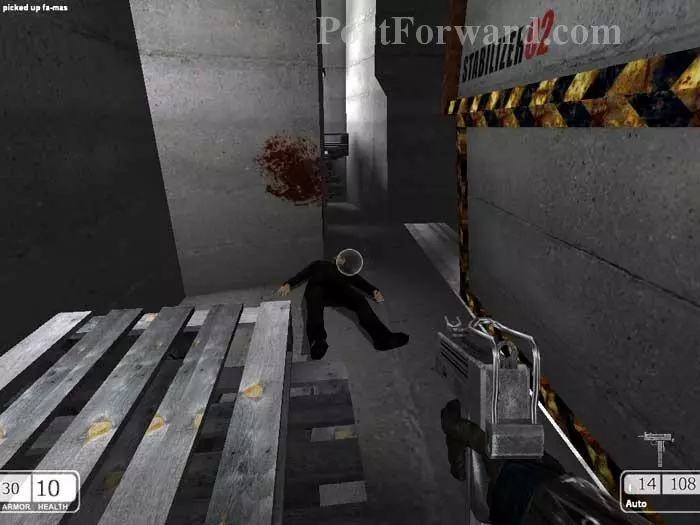
Past the ladder you'll find an open vent that will take you to stabilizer 02.
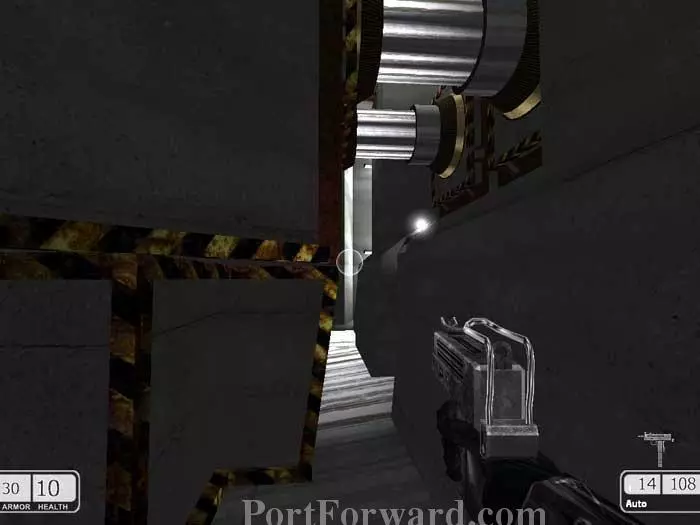
Dash across either side of the stabilizer, timing your move to synchronize with the oscillations. A small gap midway will allow you to safely traverse the distance in two segments.
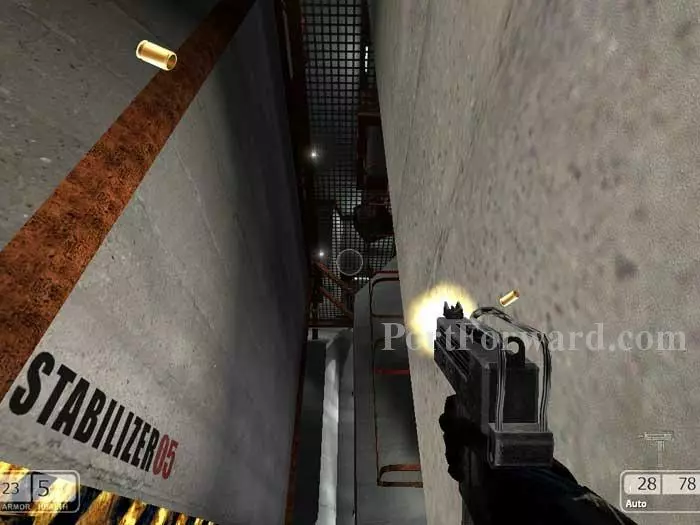
You are now at stabilizer 05. Another guard is on the catwalk above. Ascend the ladder on the right.
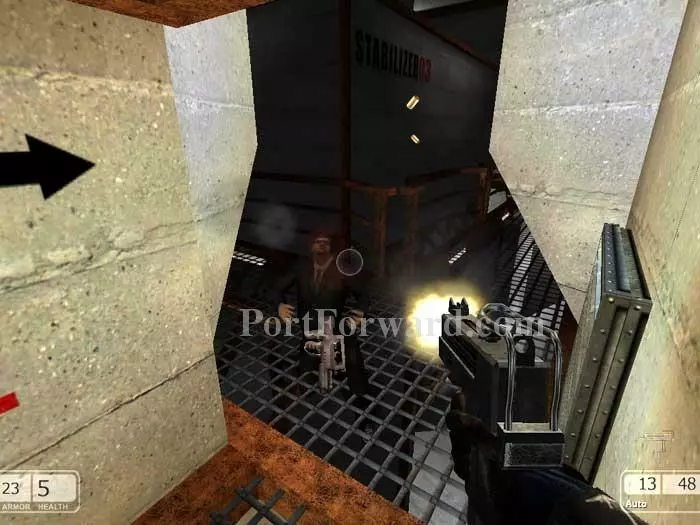
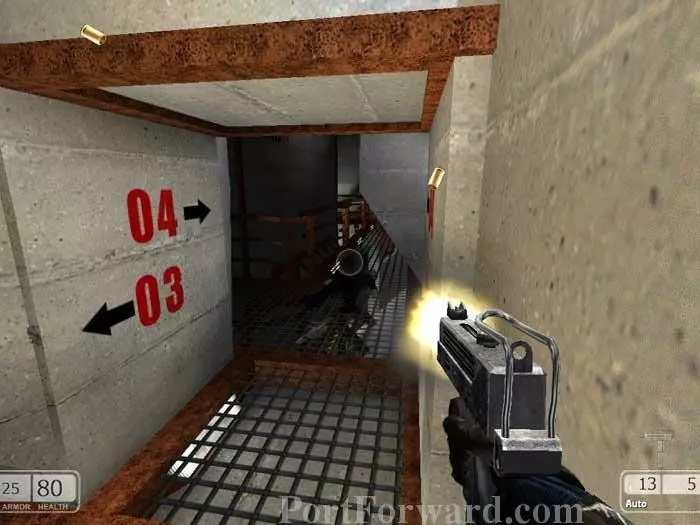
Defeat the guards above, passing through this opening to stabilizer 03.
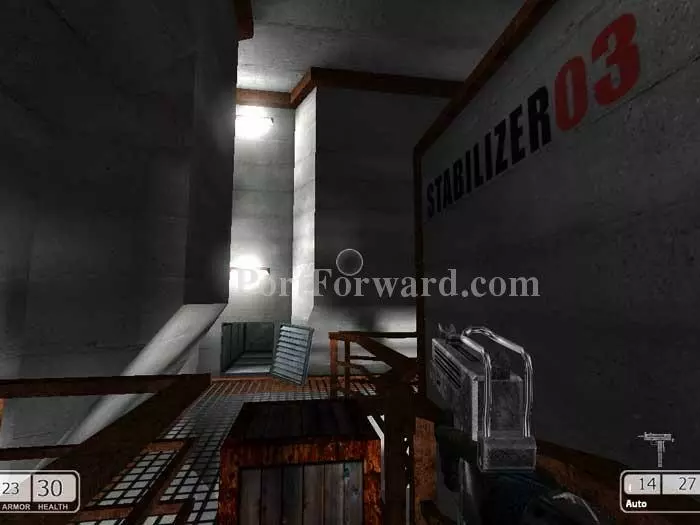
Crawl into that open vent.
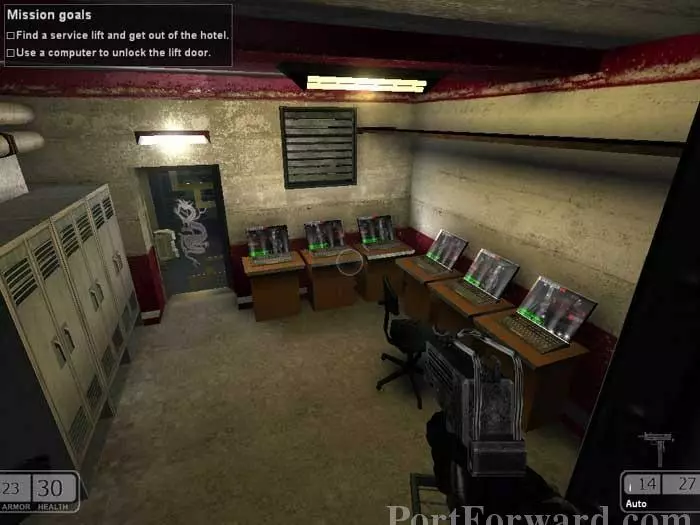
The vent leads to this computer room. Your mission goals are updated: use a computer to unlock the lift door.
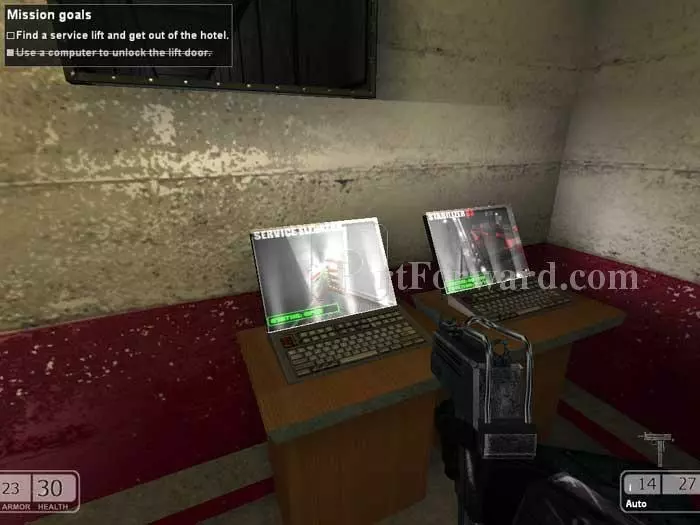
This computer, directly under the vent, is the one you need. Armor and a medium medkit are in the nearby lockers.
Crawl back through the vent then continue along the catwalk to stabilizer 04.

Fight your way further down the catwalk to stabilizer 05.

Lastly, make your way to stabilizer 06. Continue to the "Elevator" sign up ahead.
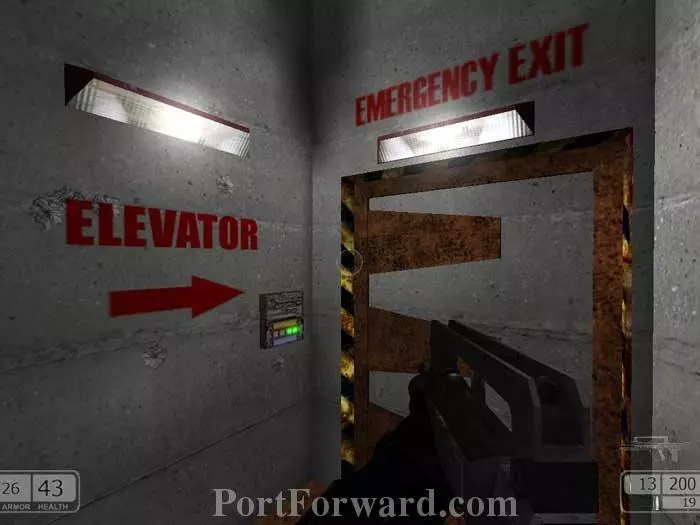
Activate the green panel to load the next level.
More Chaser Walkthroughs
This Chaser walkthrough is divided into 18 total pages.


