
This Chaser walkthrough is divided into 18 total pages.
You can jump to nearby pages of the game using the links above.
Little Tokyo
You'll find a patrol just inside this first right corner.
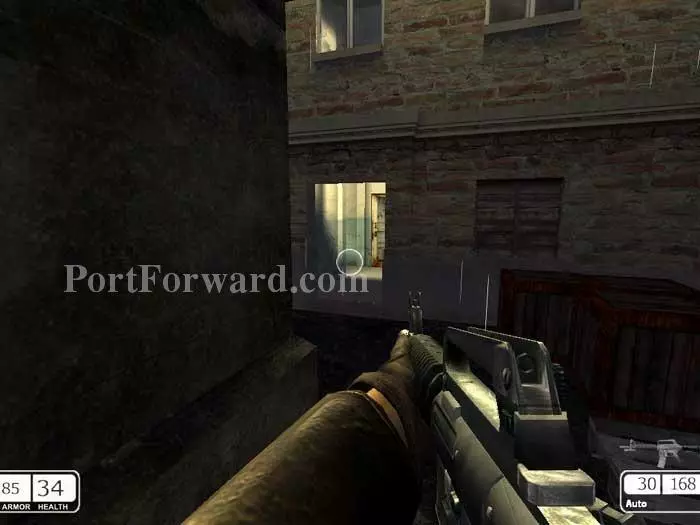
To your left you'll find the indicated opening. Note the floodlight and hole in the wall beyond -- that area is accessible by alternately following around to the right, but following the arrow is the more direct approach.
Take out the patrol on this corner.
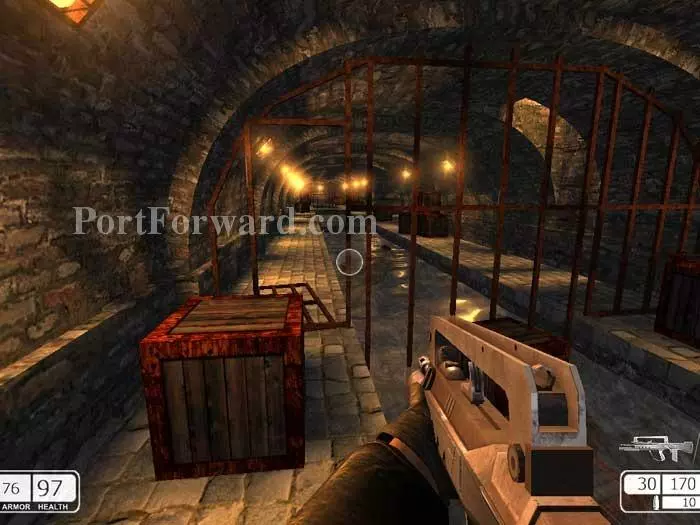
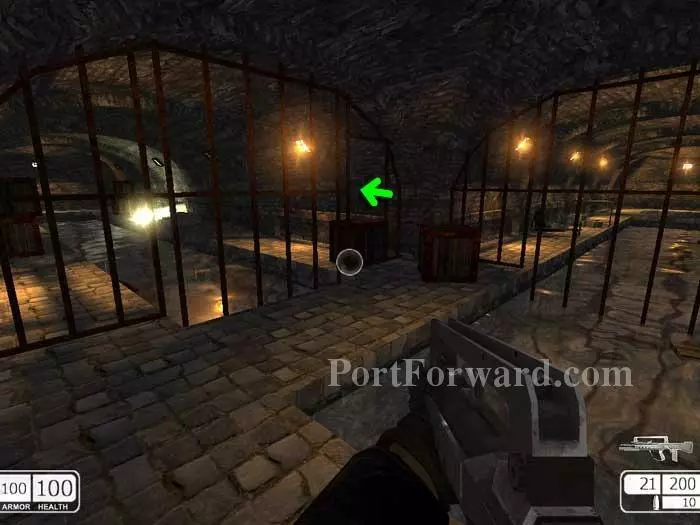
Continue around the corner and through this fallen gate.
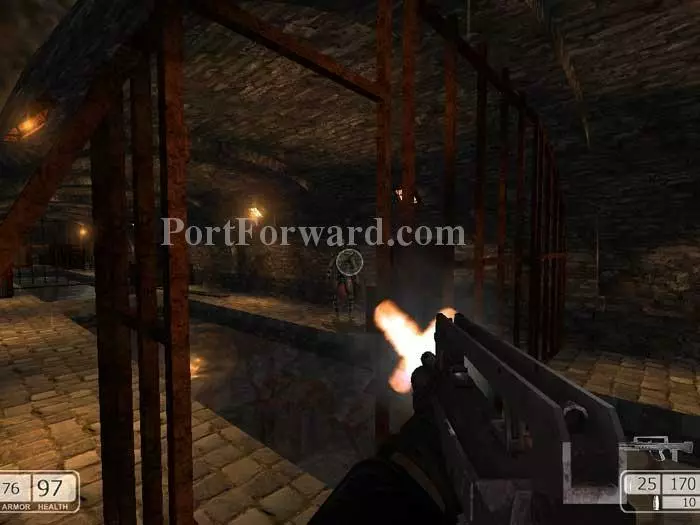
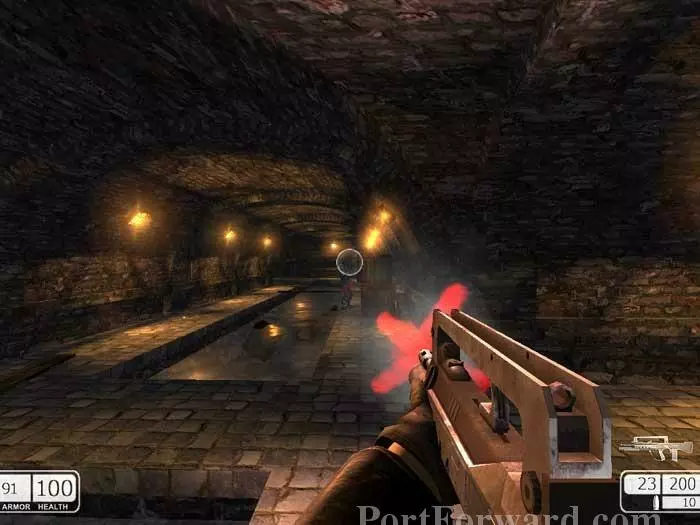
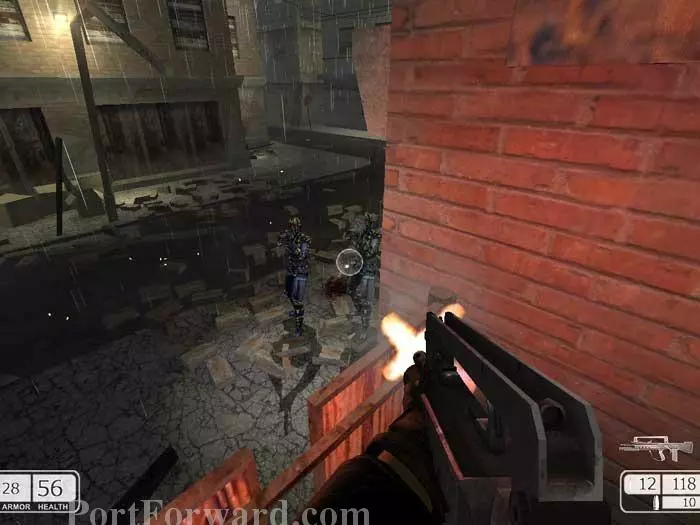
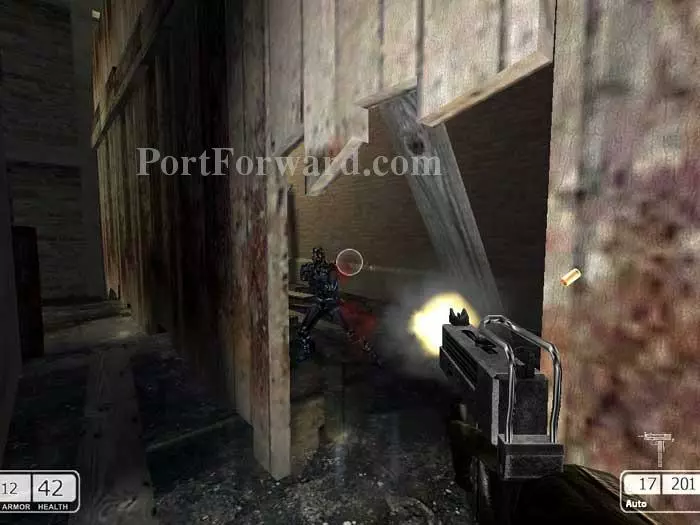
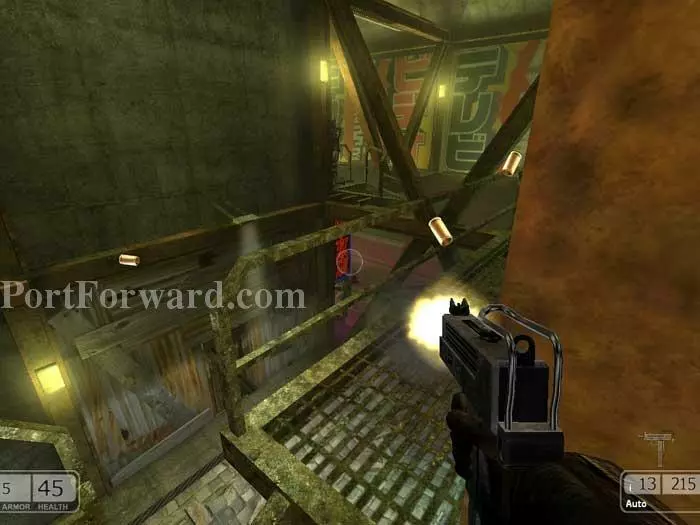
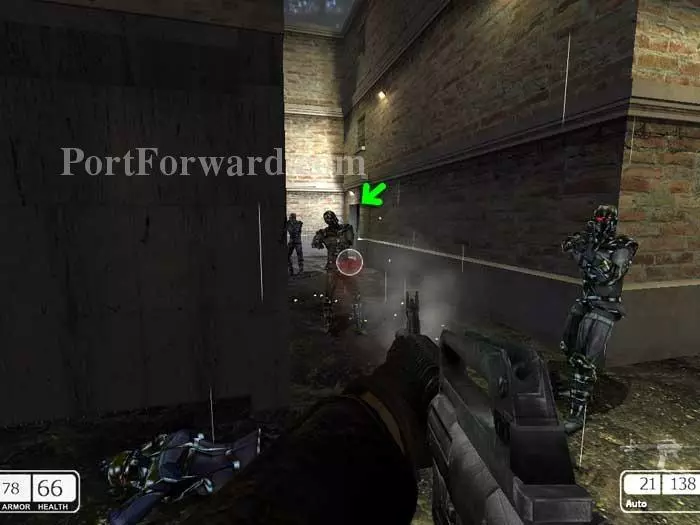
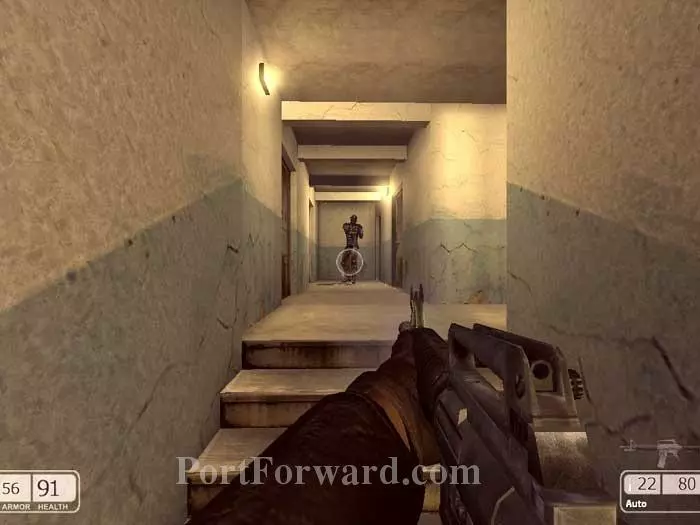
Take out this guard on the right before passing through yet another opening.
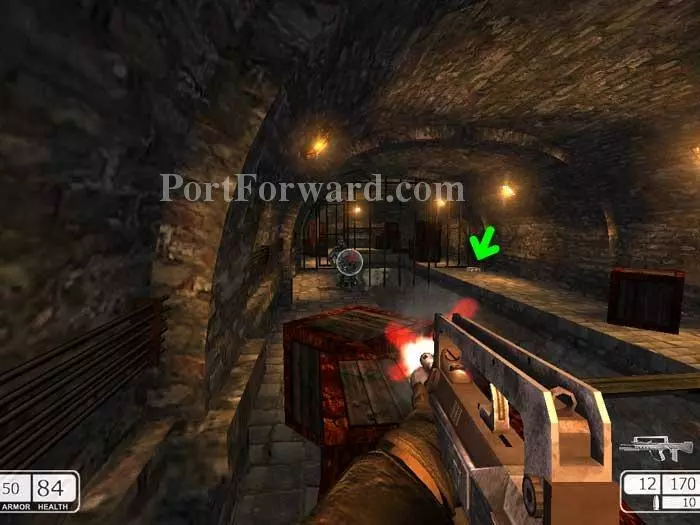
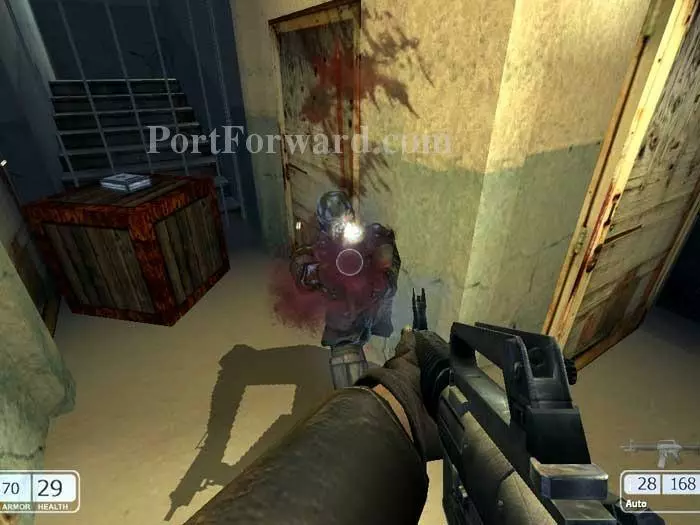
Take down this patrol and grab the indicated medkit. (I've knocked a crate out of the way so you can see.)
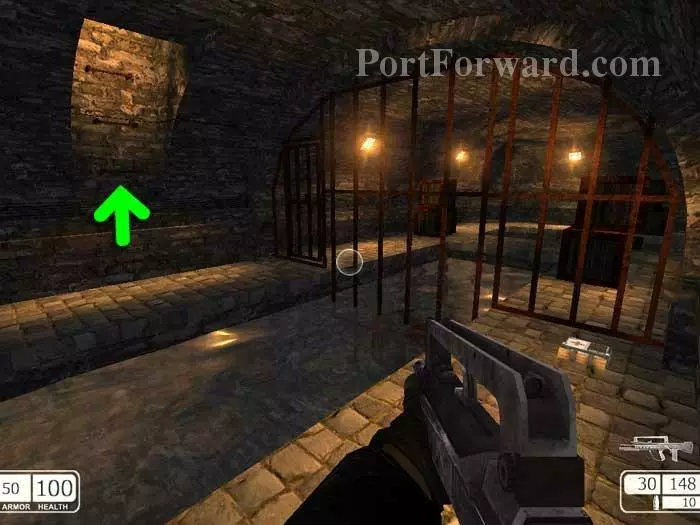
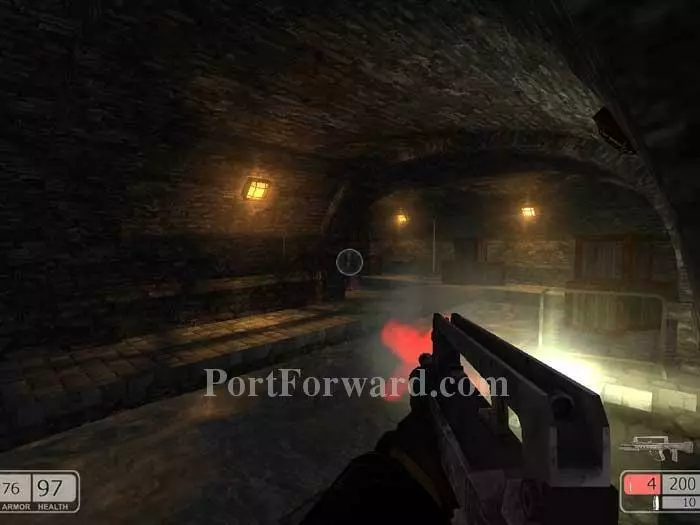
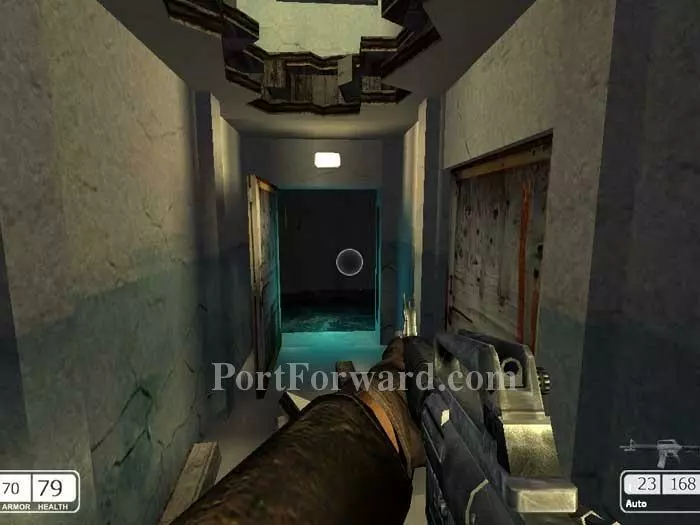
As you approach the medkit, notice the indicated ladder on the opposite side. Ready your weapon and climb the ladder to exit the tunnels.
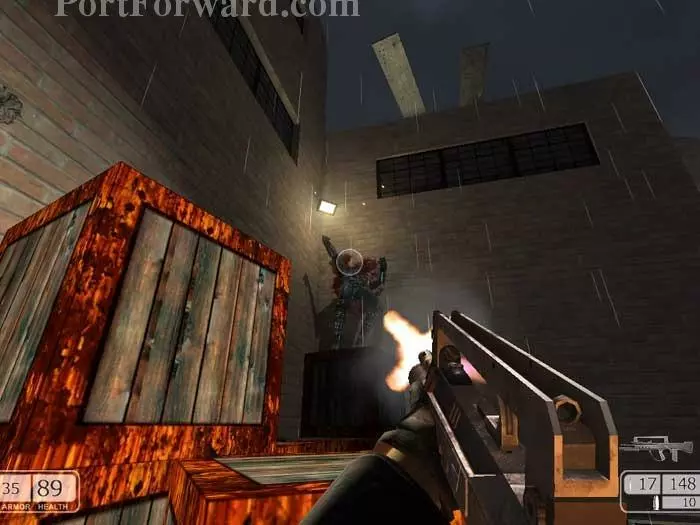
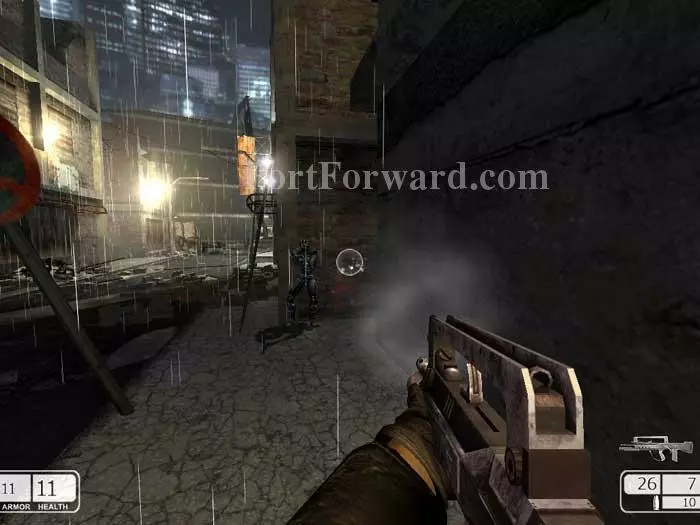
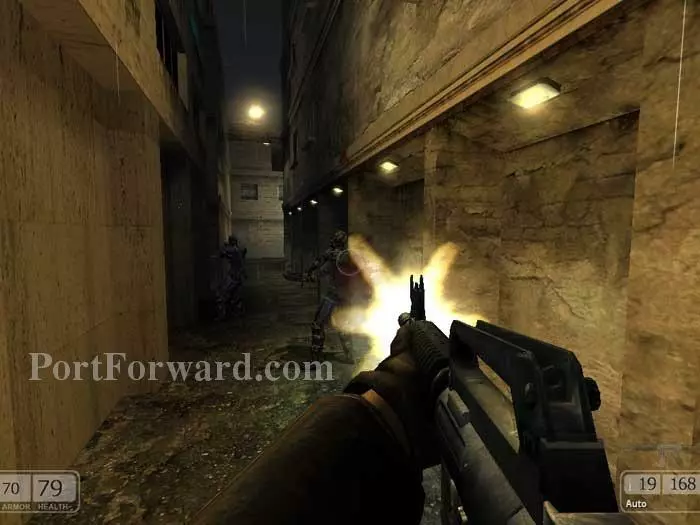
Be prepared for a fight. You'll immediately come under fire from this guard, plus two others across the street.
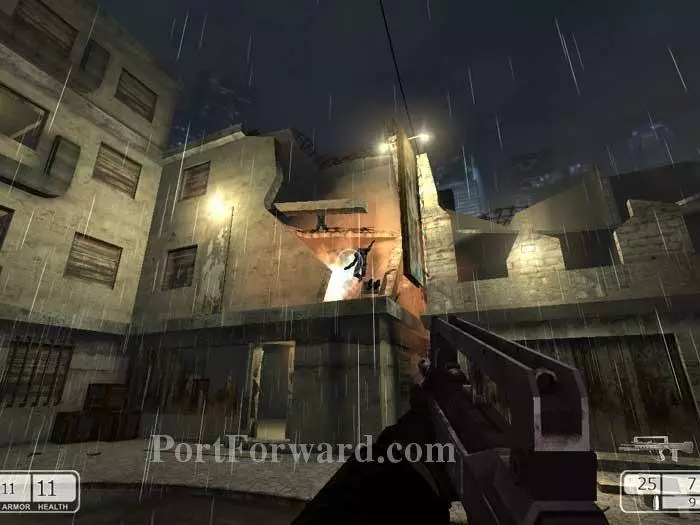
Climb the crates and battle these two before jumping over the fence.
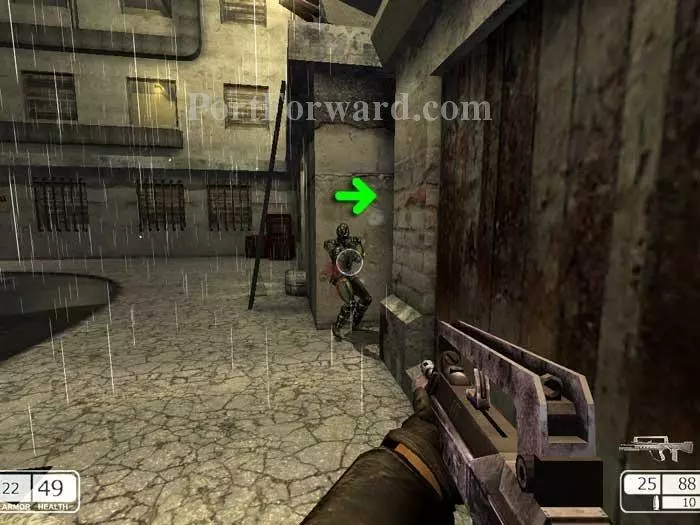
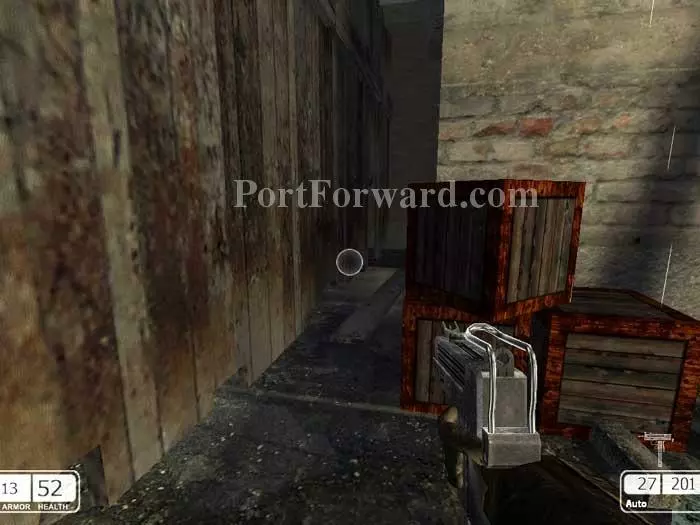
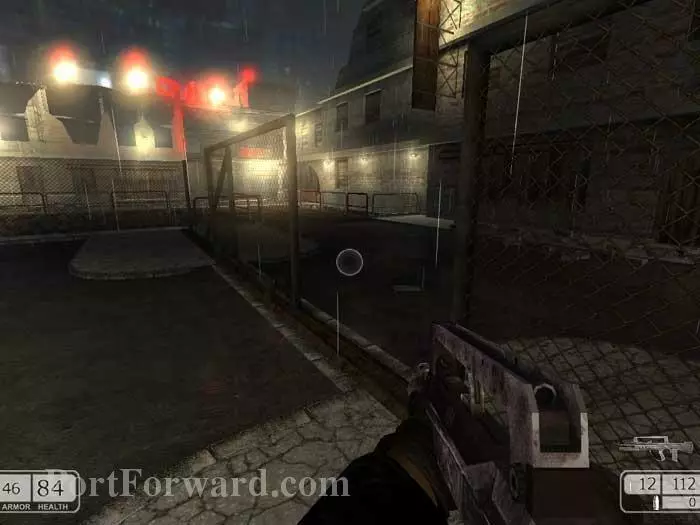
Head right then drop this guard before ducking into the indicated alley.
This area is tough, with lots of respawning enemies. Hold here for a moment and lay in wait for this guy. There are snipers on the rooftops across the street -- pop out briefly to bring them down.
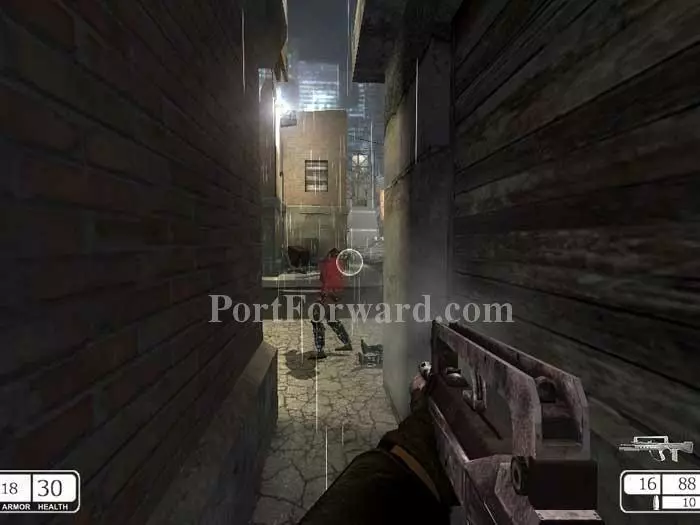
Carefully back out of the alley, addressing three snipers above, plus another gunman hidden behind the boarded-up windows on the lower-left.
Turn around and advance further up the street. More enemies spawn. You'll find a large medkit down the alley to the right, where you'll hear a woman scream.
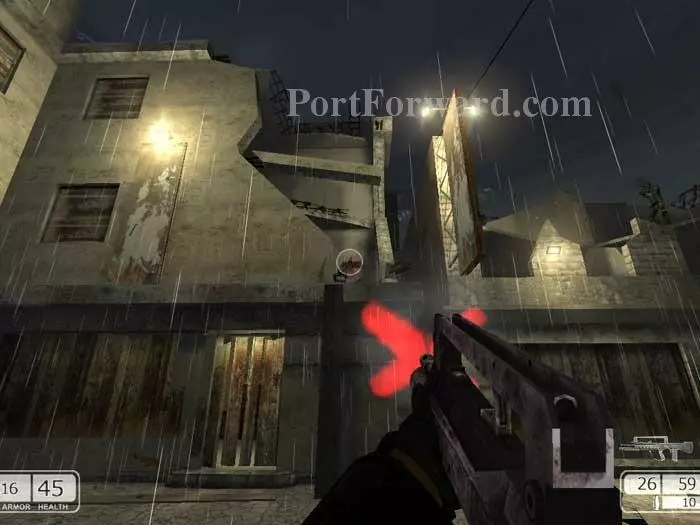
More enemies spawn on the rooftops behind you. Secondary fire from your FA-MAS dispatches them easily.
Resume your advance up the street. More enemies spawn from the left.
Advance down the road on the right, then down the alley behind this patrol.
Hug the fence to the opening on the left.
Slip through the hole in the fence after defeating this guard.
Drop through the hole to end this short level.
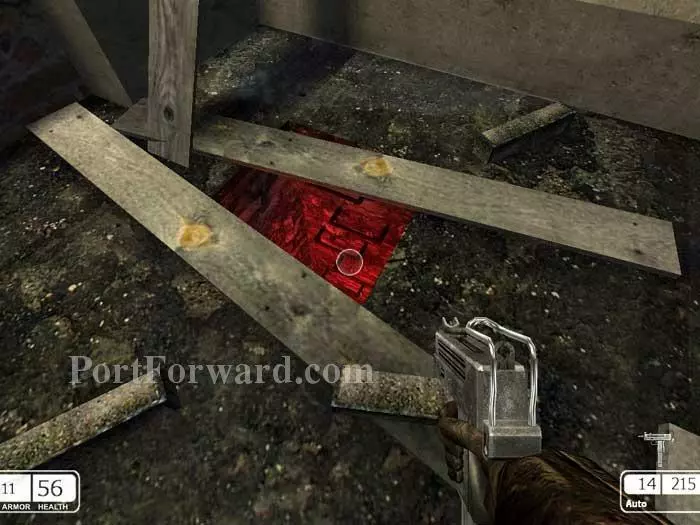
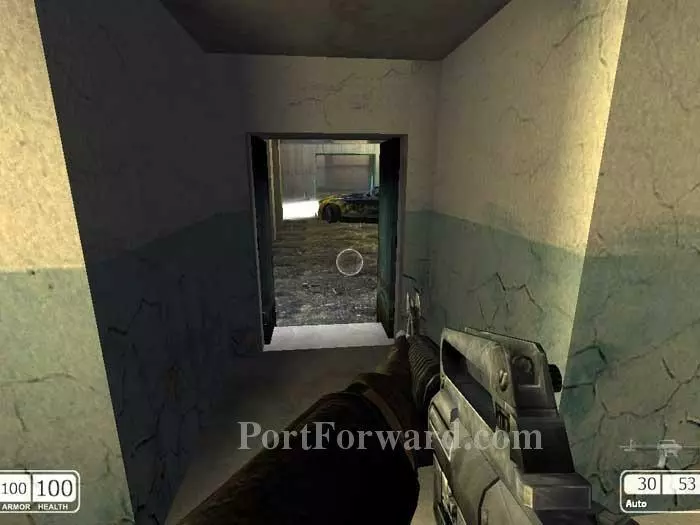
Grab the medkit before dropping through the opening in the floor.
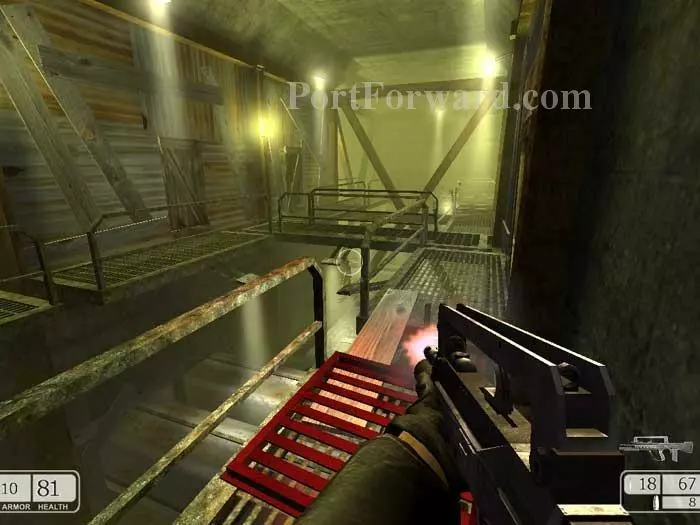
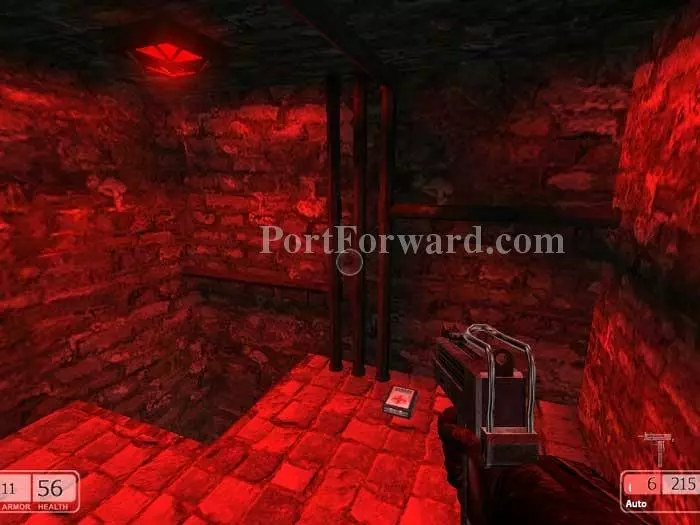
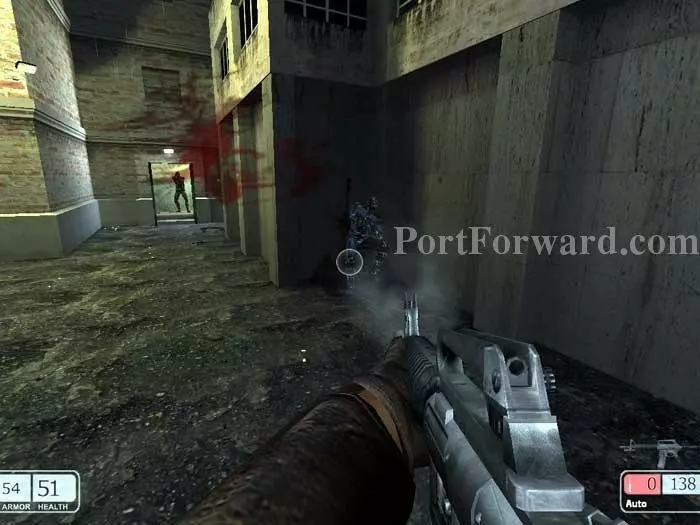
You'll land on a grate which will break open, allowing you to fall to this underground area (note the red grate). You can drop to the ground below or remain on the catwalks, it doesn't really matter. Take down this initial opponent seen here.
If you drop below you'll find a medium medkit here.
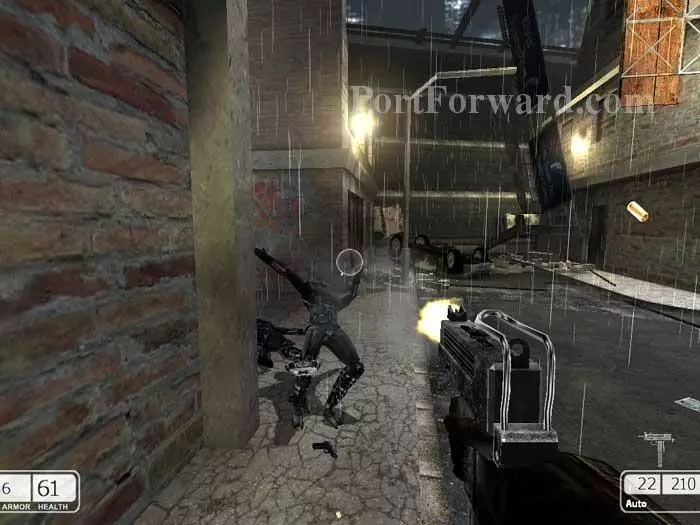
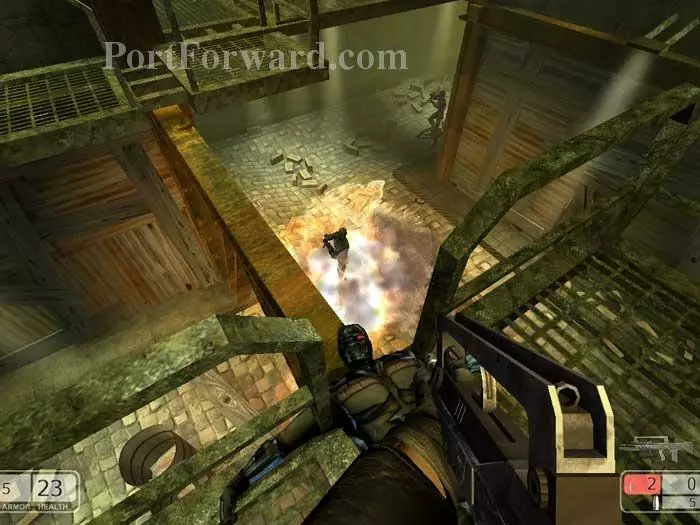
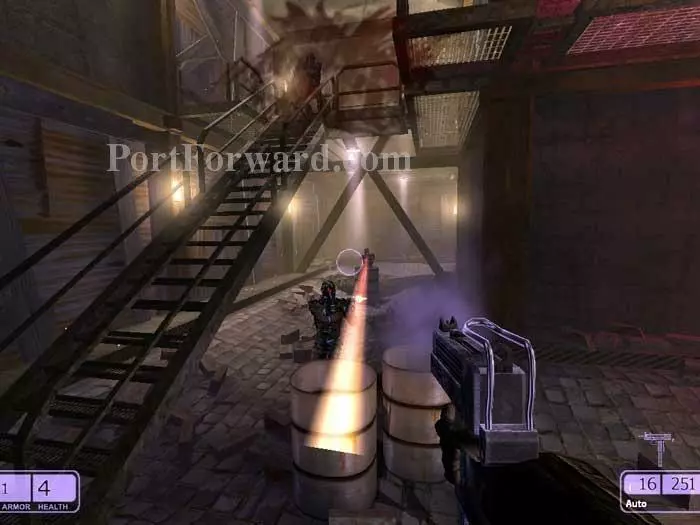
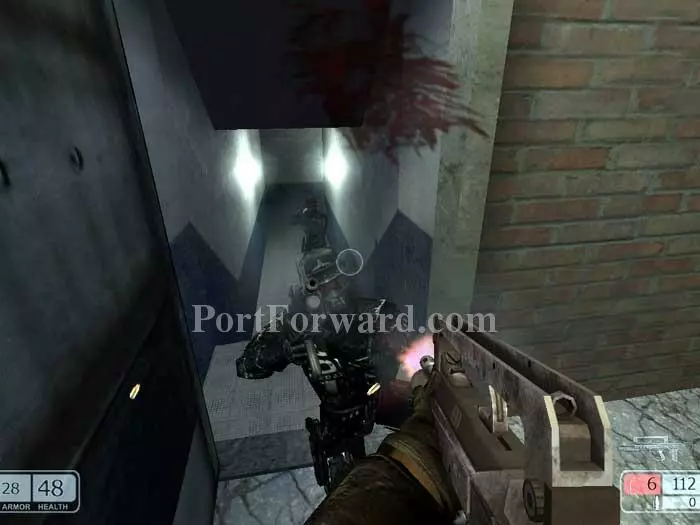
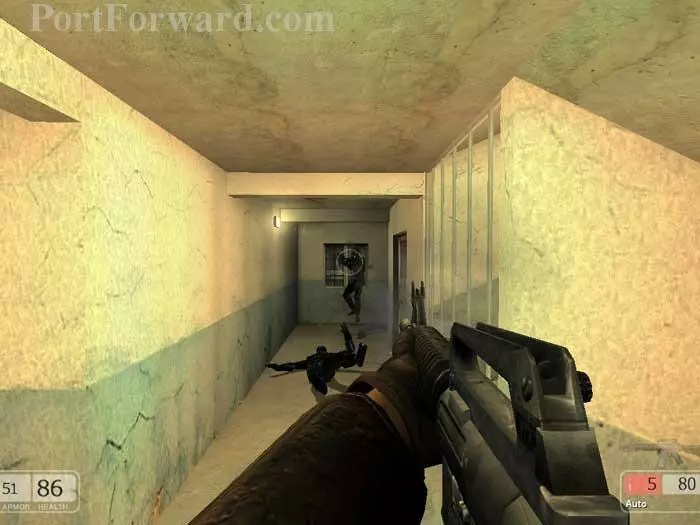
Advance to battle this ninja-like warrior on the right.
You'll also have this ninja to contend with below-left. Continue left to the end of the catwalk visible ahead.
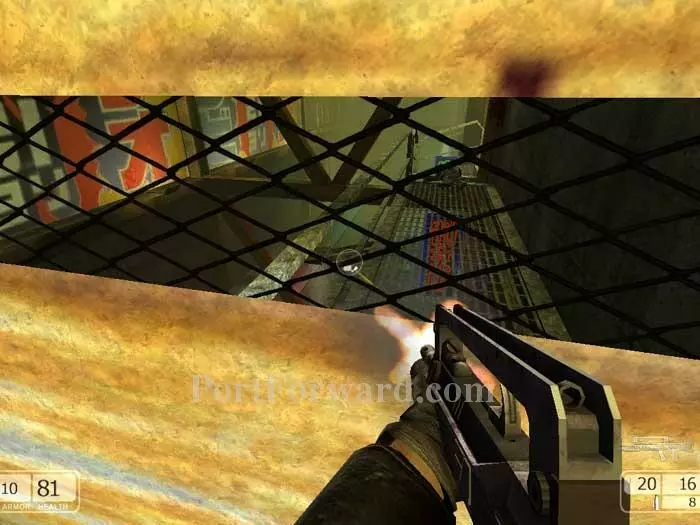
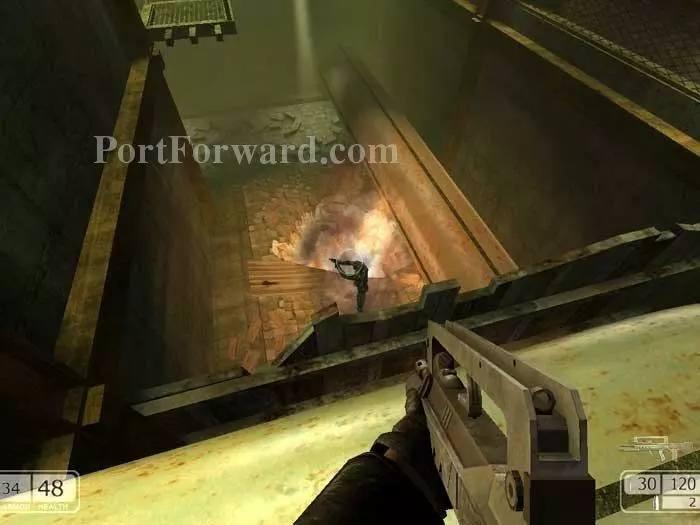
Peer through the boards and take down two more ninjas. This area is your ultimate destination.
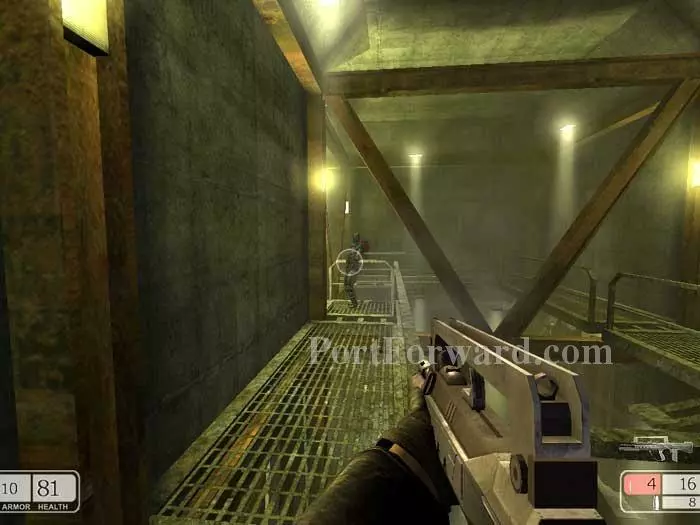
You can't get through the boards so we'll have to take the long way around. Head right and this ninja pops up from around the corner.
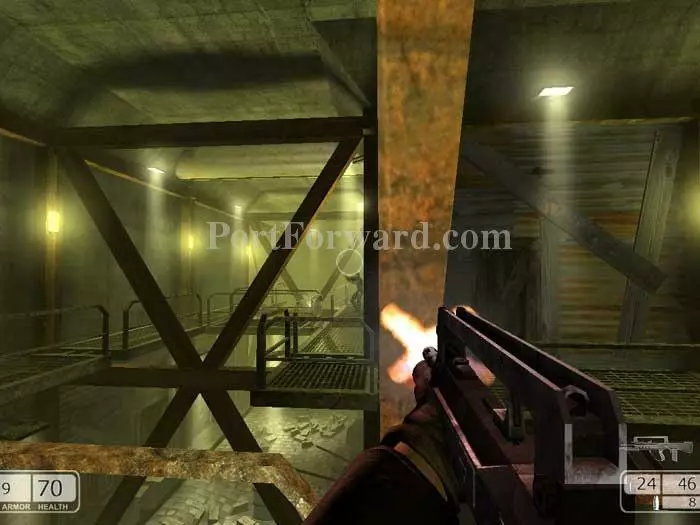
Around the next corner you'll have more ninjas, above and below.
Advance across this beam. If you've already dropped below, use the rotating sign as reference.
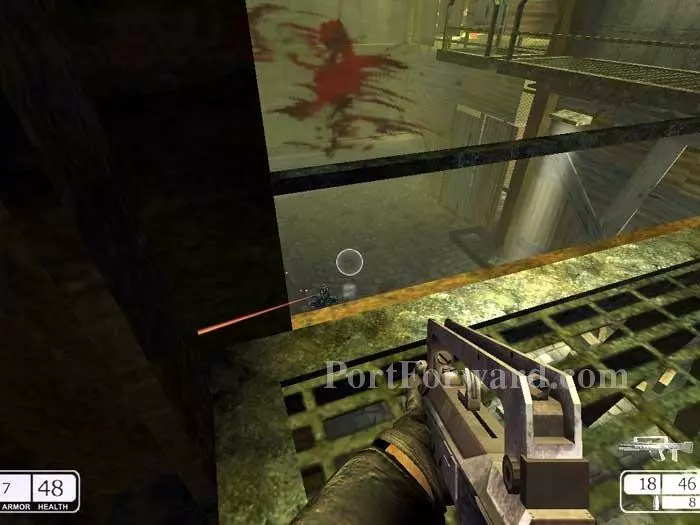
Advance ahead and you'll come under fire from a ninja above the red sign, a second below the red sign, plus a third to the right.
As if that isn't bad enough, you'll have these three respawn behind you.
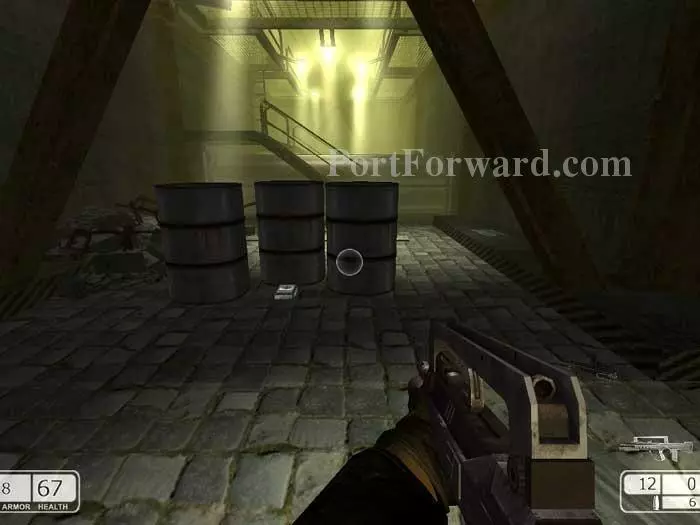
Drop below if you haven't already and finish off this final ninja of the area. Search for health and ammo before continuing.
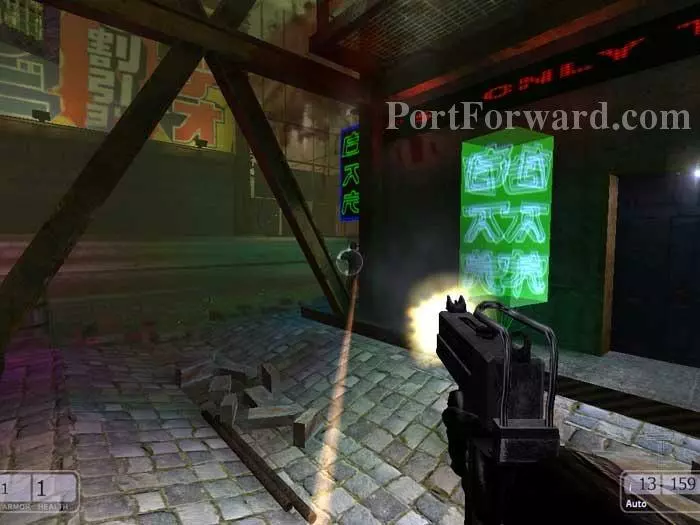
Climb through this opening on the right. Note the boarded-up fence on the left that we had fired through earlier.
Battle this trio of ninjas then ascend these stairs.
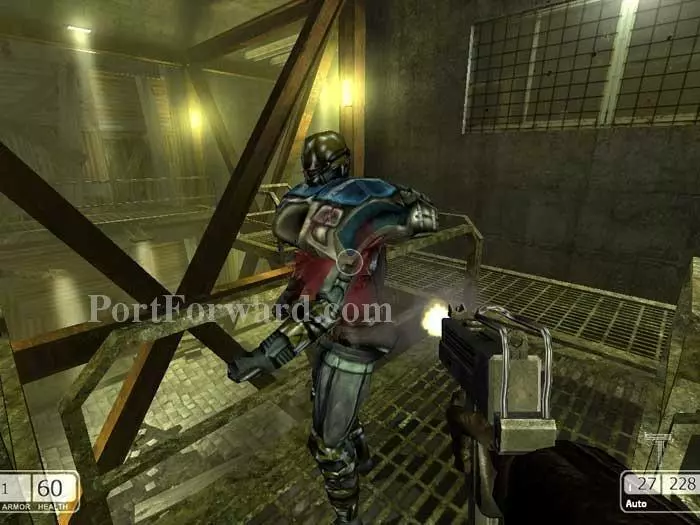
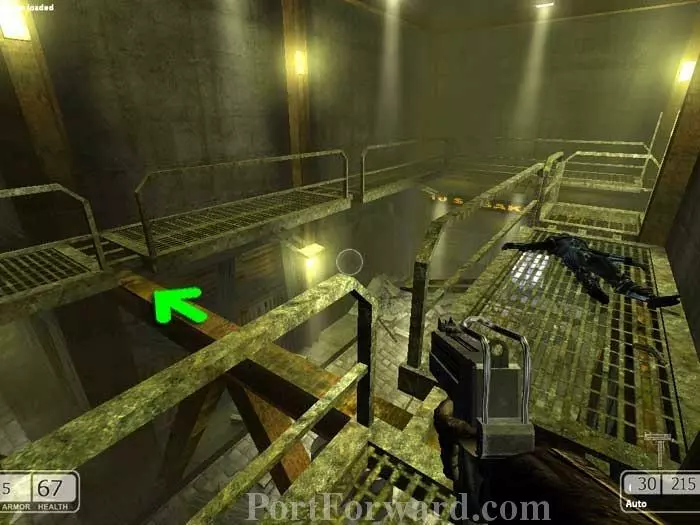
A fourth will spawn above. Here he is dropping an armor vest.
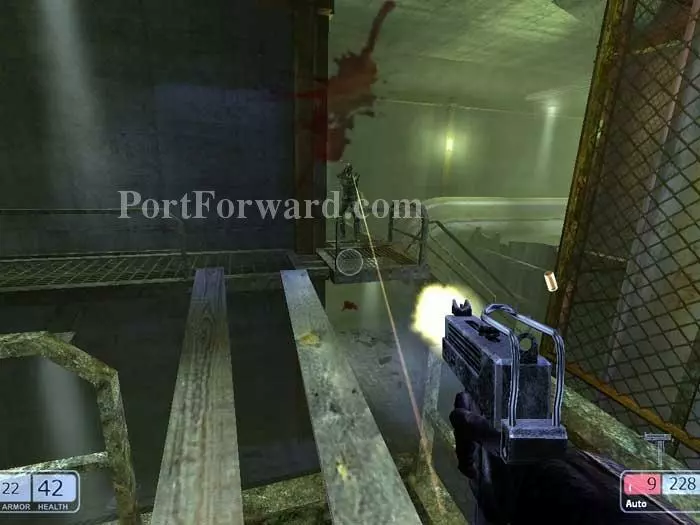
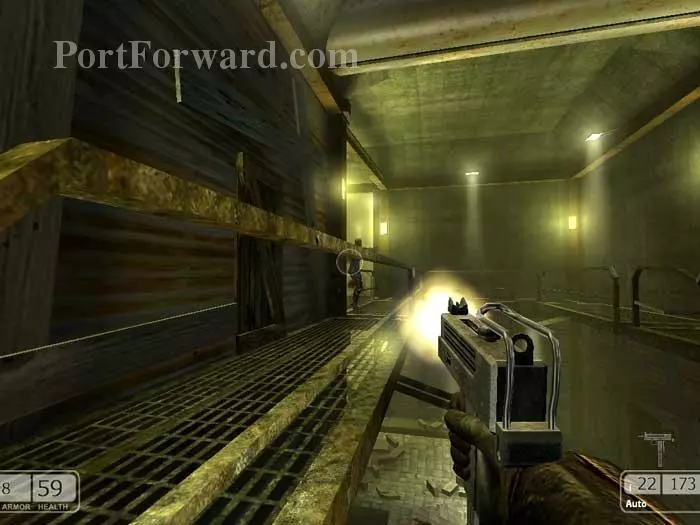
Two more ninjas up ahead. This one above and another below. Advance across the left board -- the right one is unstable.
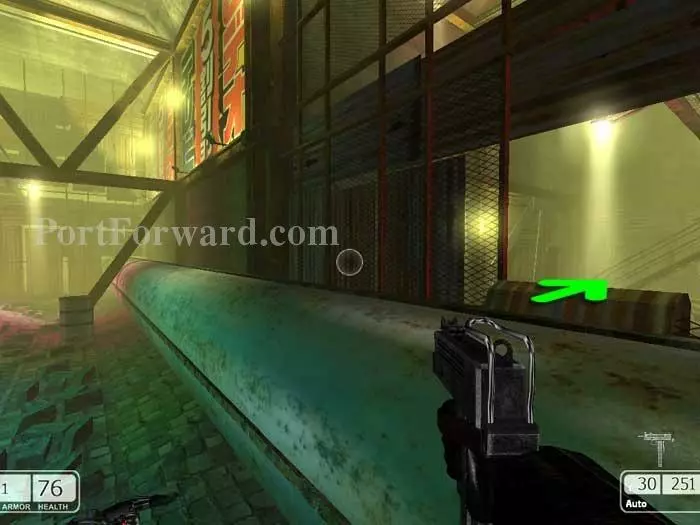
Here's a shot of some serious ninja jumping action. Follow the left ledge to the large pipe ahead.
A hole in the fence will allow passage to the other side, but you want to be on the pipe to drop over this fence up ahead.

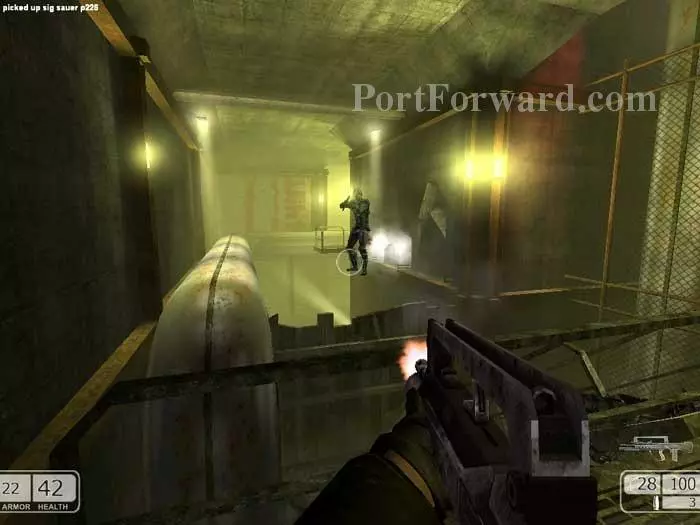
This area is tough. Clear out as many ninjas as you can before ascending those stairs.
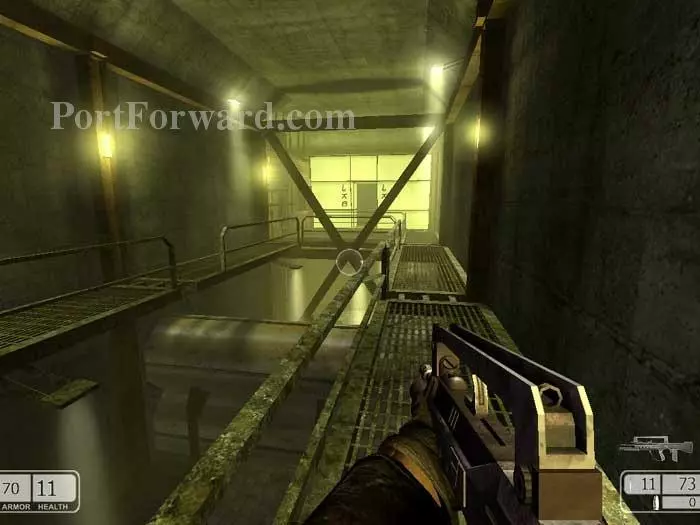
There are more ninjas behind those pipes, plus another behind the fence far-left. You don't have to deal with them, though -- just make a mad dash for that door straight ahead to load the next level.
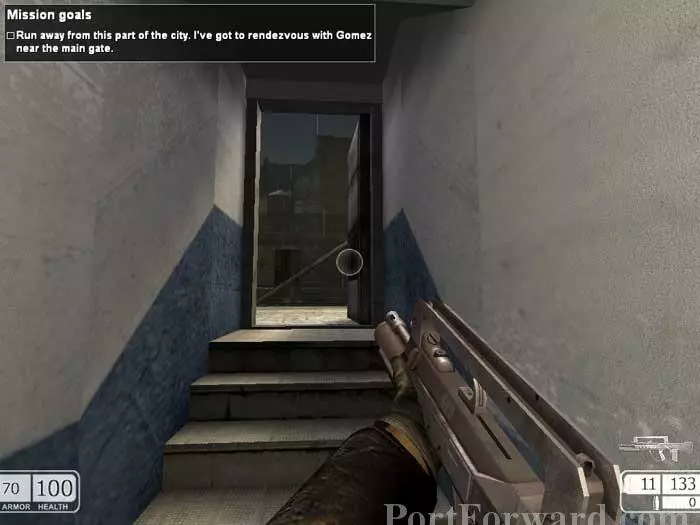
Here's your start position. Exit out that door - backwards.
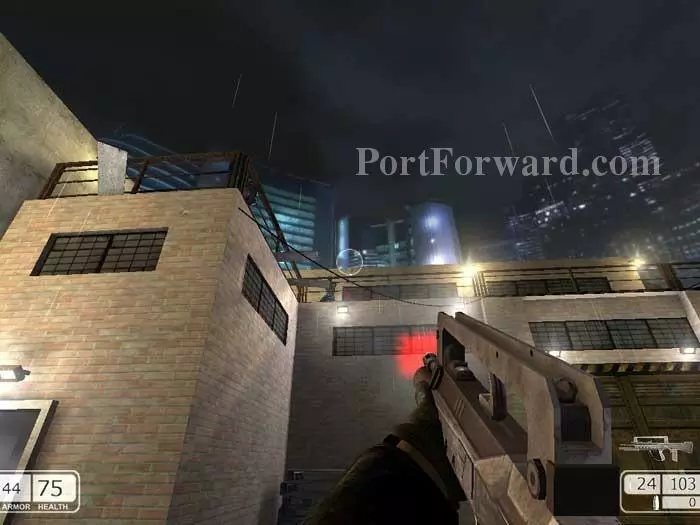
Look up to find snipers on the roof.
Reload your weapon and pass through this opening in the fence.
These two spawn in the initial doorway. Grab the Colt M4.
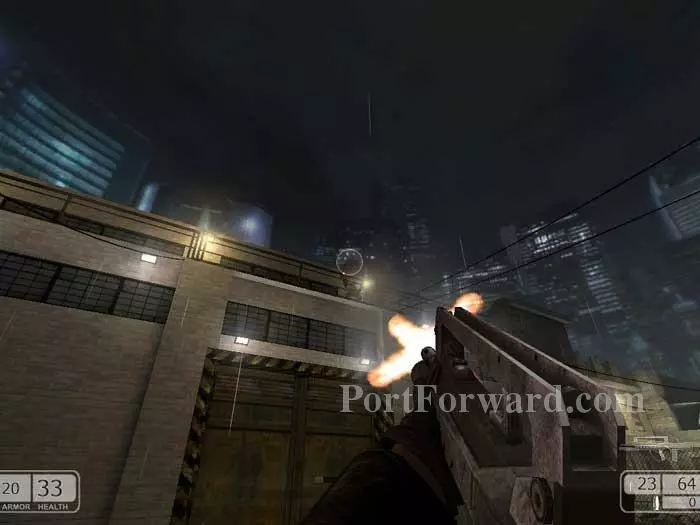
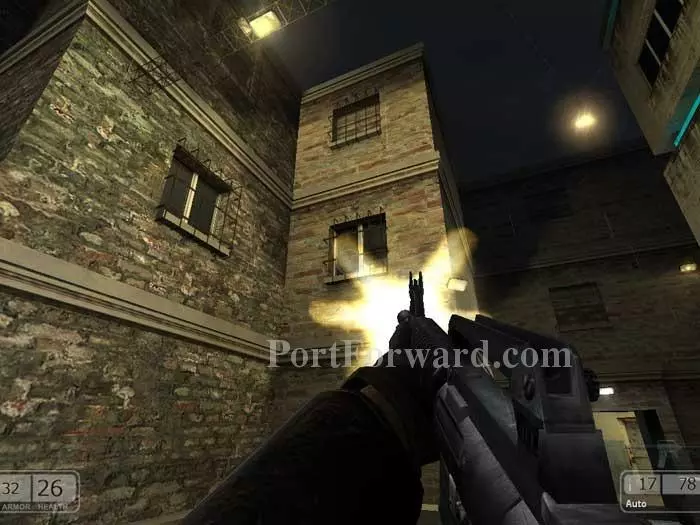
A sniper has spawned on the roof.
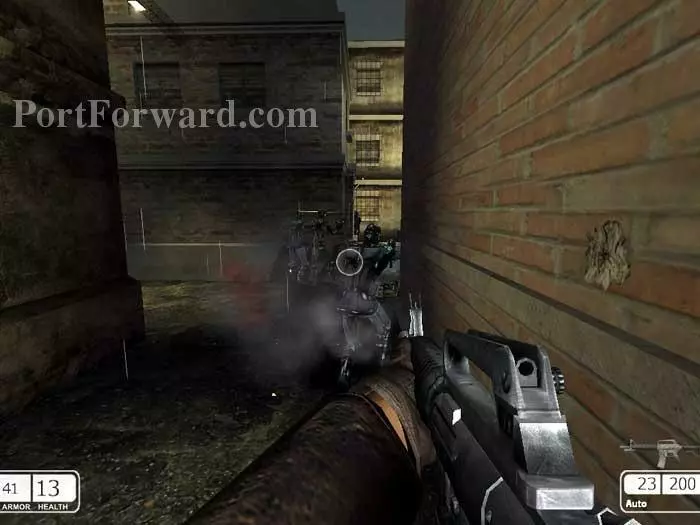
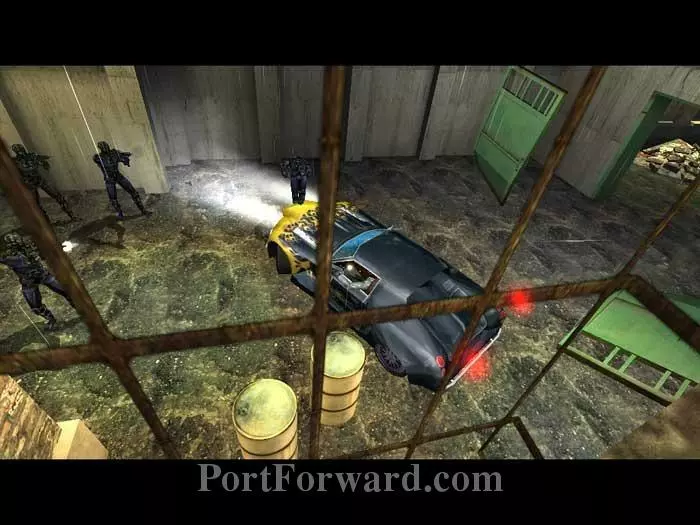
Once again pass through the gap in the fence. As you cross this small bridge a patrol will appear in this doorway. Another will target you from the rooftop on the right. Through the doorway ahead is another maze area.
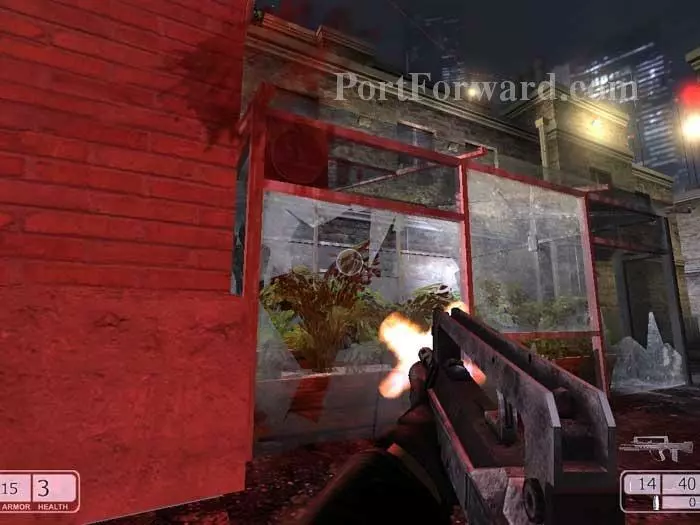
Soldiers are waiting in ambush inside this greenhouse, and a single sniper is on the roof above.
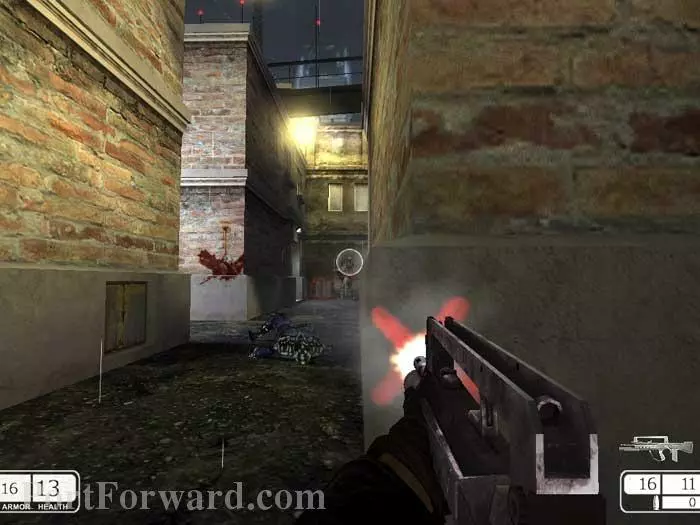
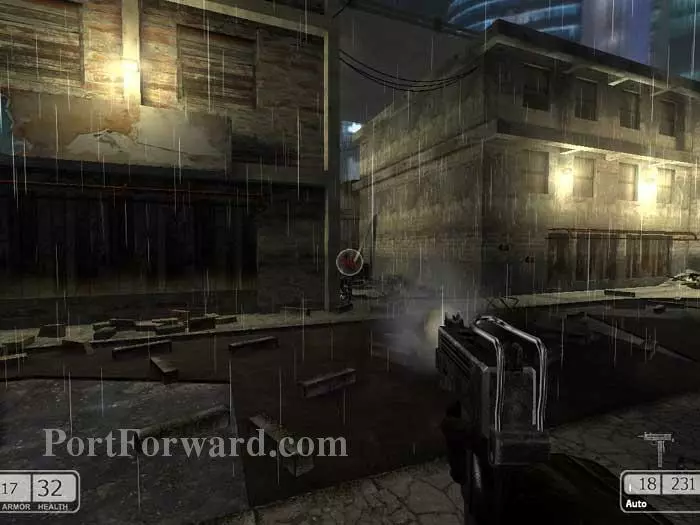
This corner provides cover as you clear the alley ahead.
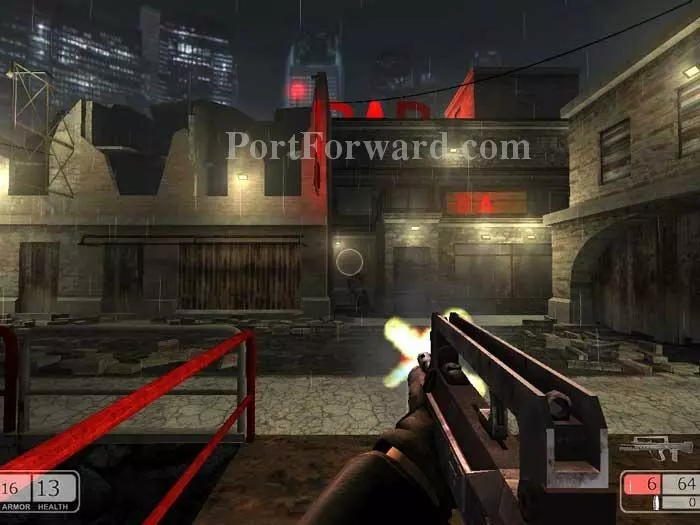
Around the right corner you'll witness this firefight. Open fire and catch them by surprise.
A patrol will be waiting in ambush here. Note the striped barricade for reference.
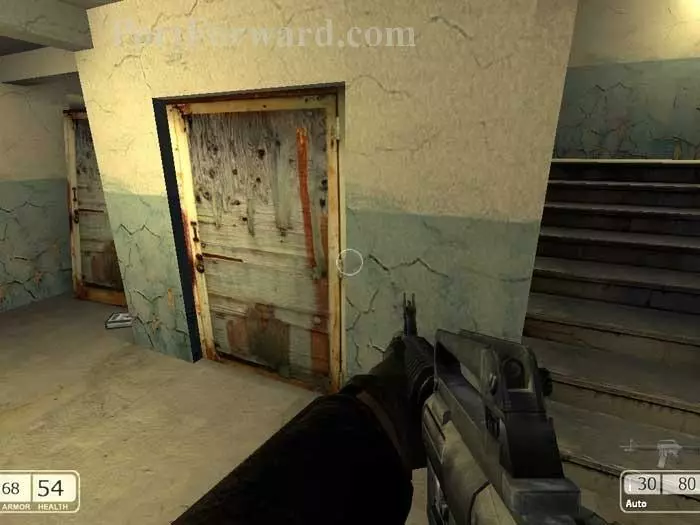
Turn away from the barricade and make a slight left around the corner to this door.
Inside to the right you'll find this guard and a medium medkit.
Exit out this door.
Fight your way down this alley to another alley on the left.
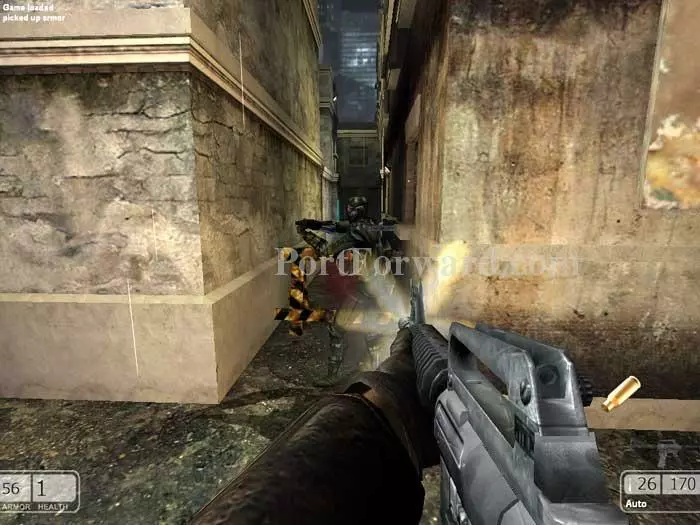
This is the alley you want, guarded by three more ninjas. The indicated blue door is your clue that this is the right alley.
Once you reach the end of the alley you'll find another ninja here on the right and the blue door swings open as more ninjas pour out.
Keep and eye out for a sniper in this window. Enter the now-open blue door.
Turn left. Grab the medkit seen here on the left before climbing the stairs.
This ninja is waiting for you at the top.
Plus these two are in the hallway to the right. Follow this hallway to initiate a cutscene.
Mike Gomez busts his hot wheels through the gate and orders you to get in.
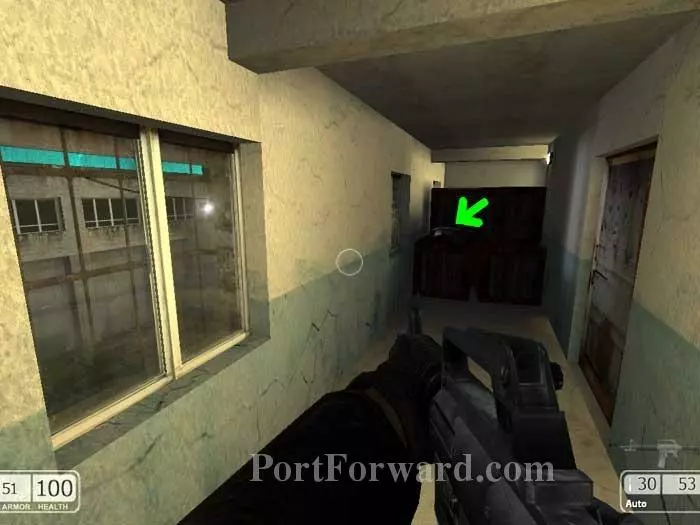
Grab the indicated armor vest.
Return downstairs and out the blue door.
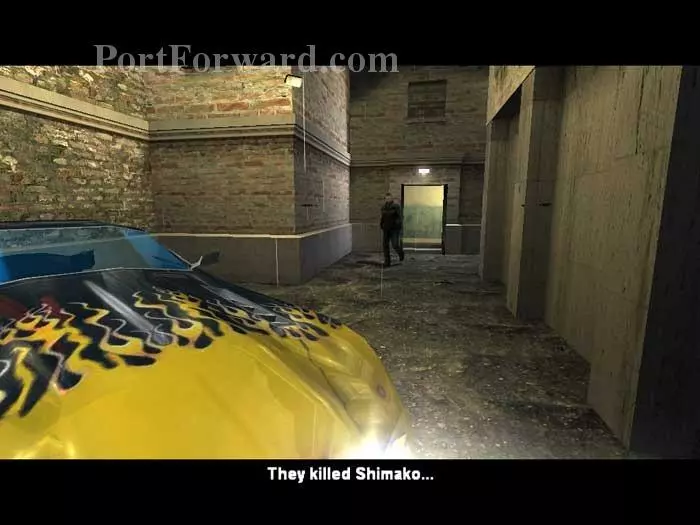
Approach the car to initiate the final cutscene.
More Chaser Walkthroughs
This Chaser walkthrough is divided into 18 total pages.


