This Crysis 3 walkthrough is divided into 8 total pages.
You can jump to nearby pages of the game using the links above.
Post-Human

Follow your crew on to the enemy.
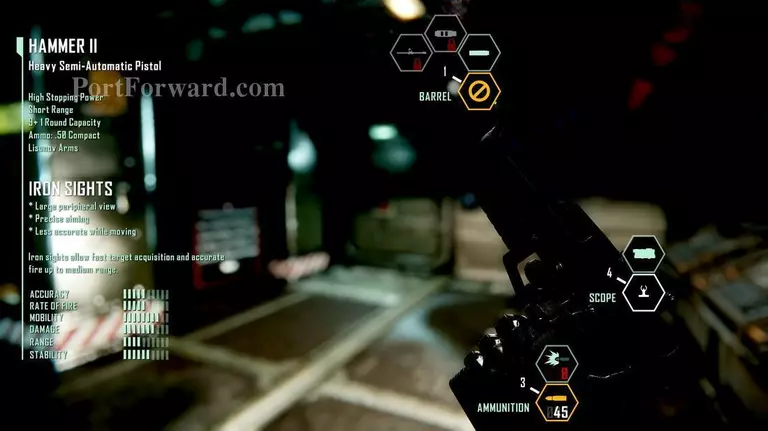
When you are shown to press X select your silencer from Barrel.
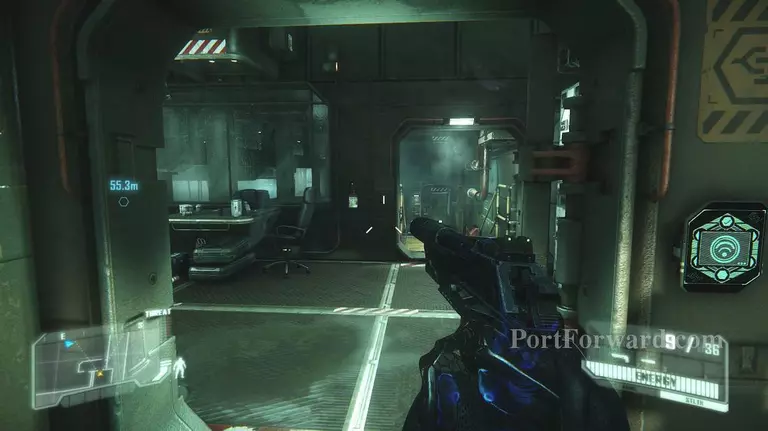
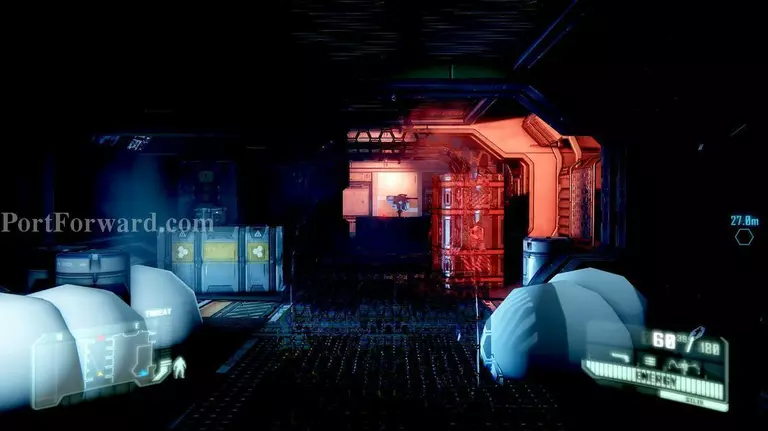
Only walk or crouch in Cloak Mode it keeps it from draining too fast.Go down and clear the area of enemies.
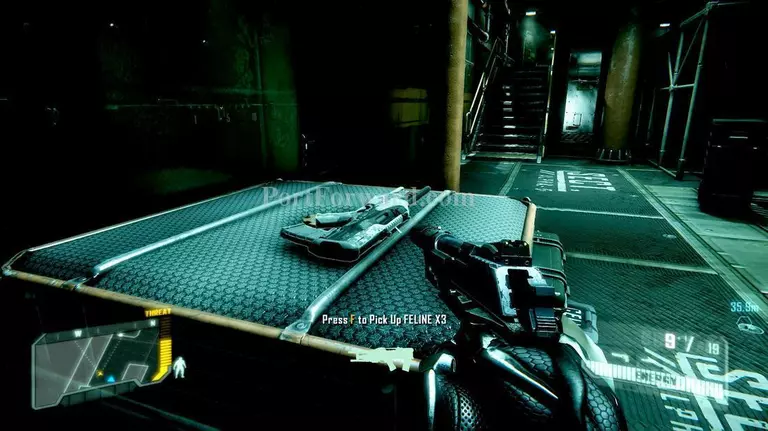
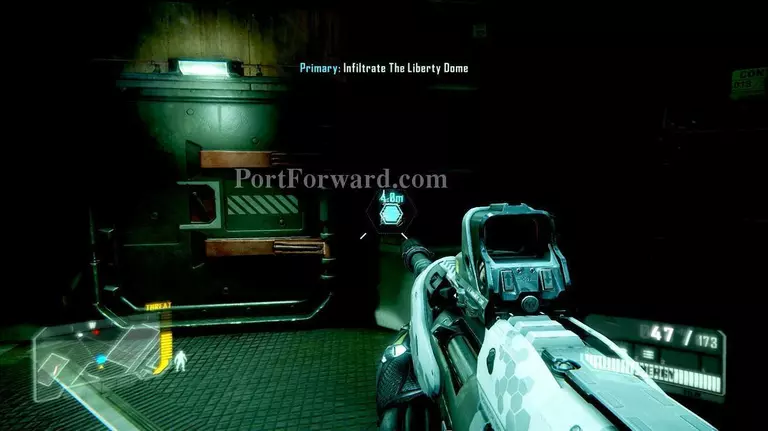
Search for a primary weapon dropped from the enemies.
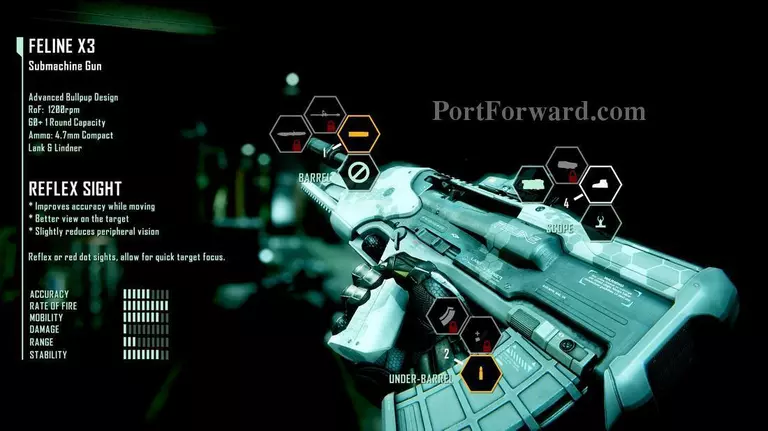
Equip your Silencer and Reflex Sight on your primary weapon.
Proceed to the checkpoint and unlock the door.
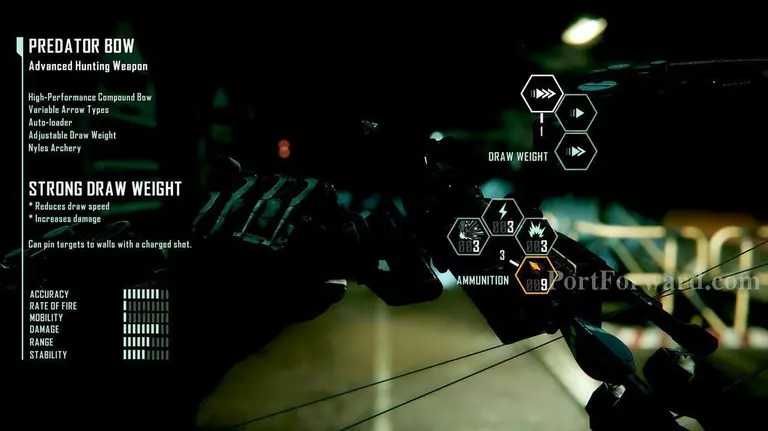
When you get your bow,Press X and equip STRONG DRAW RATE for alot of power and funny ragdolls.You also have some other type of arrows and remember to recollect your arrows.

Proceed to clear out the area and move to the next checkpoint.
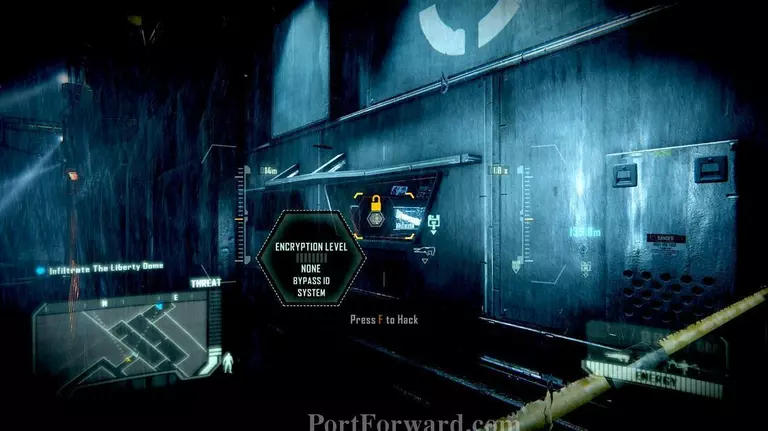
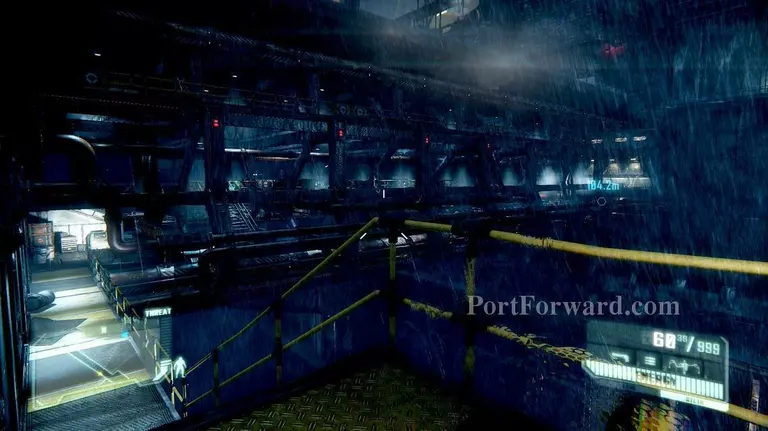
When you cleared you will run over a bridge and to your left will be a window.aim at it and press B and the F to hack the door.
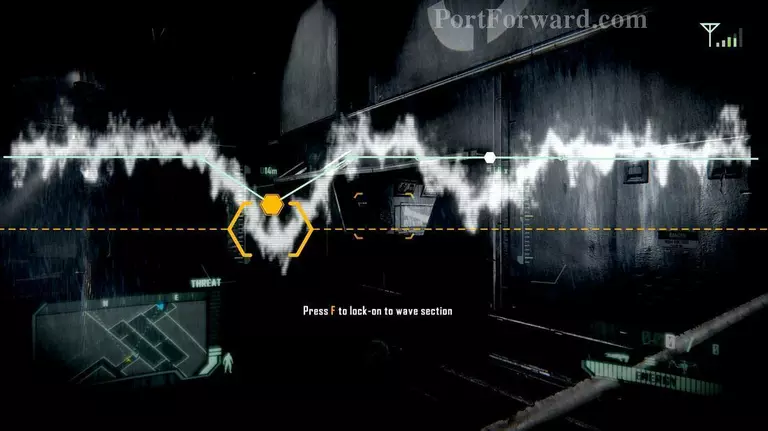
Time correctly as you only get a limited time.
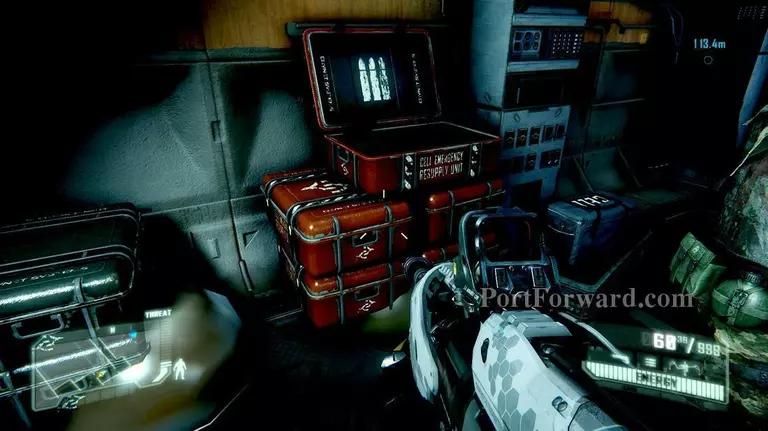
Resupply from these boxes.
Keep your eye on the enemies positions as they easily try to flank you.
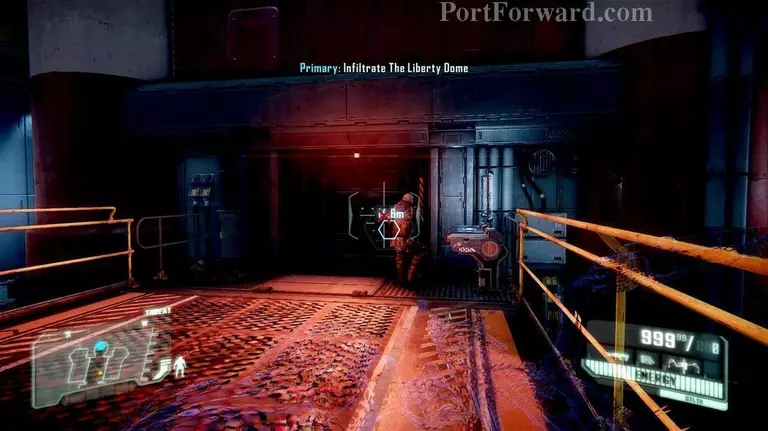
Move on to your next objective.
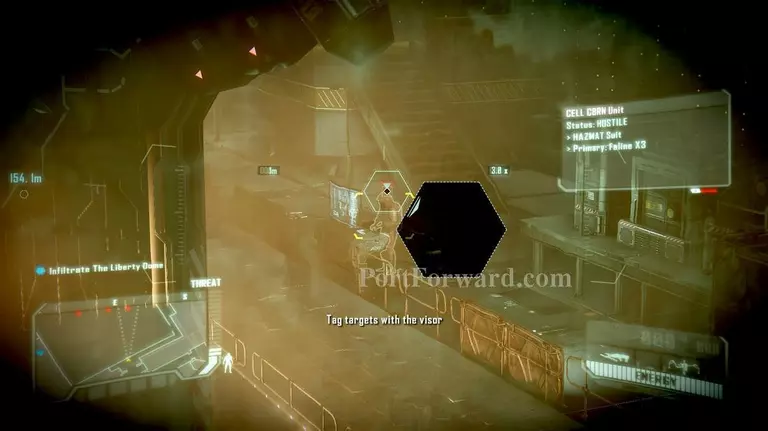
You can use your visor (B) to lock on to enemies positions and keep it there for easy location.
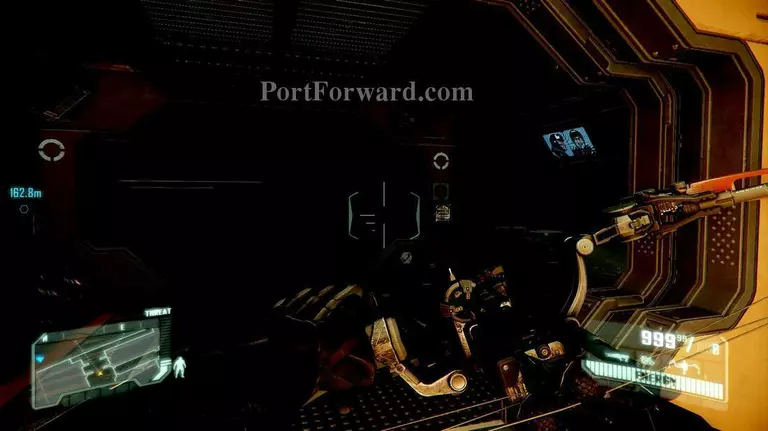
When you get to the turret just run back and hack it.
Follow Psycho into your next area.
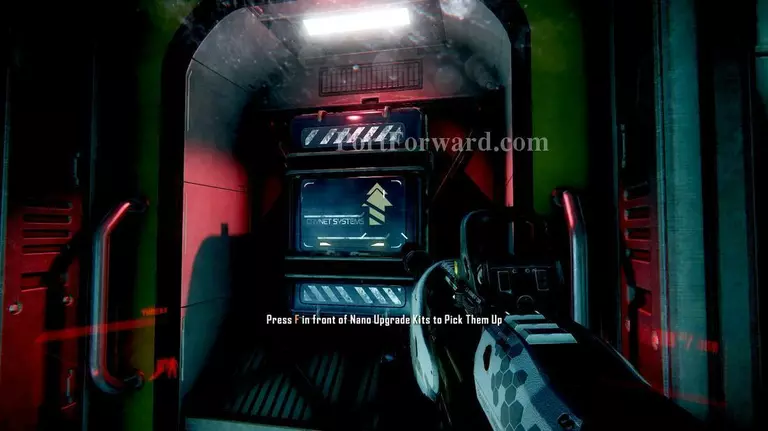
Take the upgrade node from the wall.
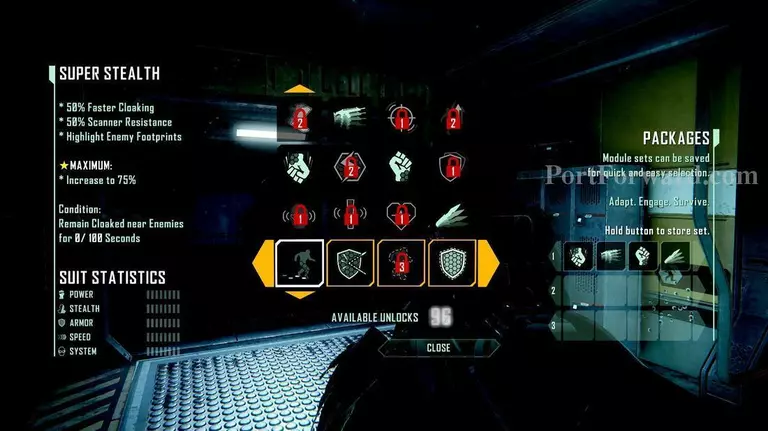
Press H and choos your upgrade.
More Crysis 3 Walkthroughs
This Crysis 3 walkthrough is divided into 8 total pages.