This Dragon Age - Origins: Awakening walkthrough is divided into 8 total pages.
You can jump to nearby pages of the game using the links above.
Chapter 04: Shadows of the Blackmarsh
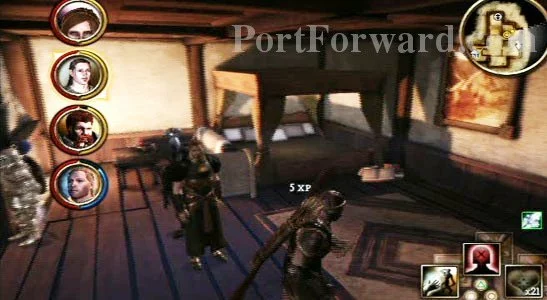
Head to The Crown and Lion tavern and inn where you must speak to the innkeeper. Procure the key to Kristoff's room from him so that you can access the missing Grey Warden's lodgings and get a clue as to where to find him. Head upstairs to find Kristoff's room. Search a crate in his room to find his mementos and get the scoop on where he went. Navigate out to the world map and direct your party to the deadly Blackmarsh.

As you enter the Blackmarsh you are almost immediately assaulted by a pack of marsh wolves led by an alpha marsh wolf.

Just after your encounter with the wolves is an opportunity to grab some easy approval points with Nathaniel. Simply approach the edge of the marsh indicated by a floating message labeled 'The Blackmarsh to initiate a conversation with Nathaniel about how he had always hoped to rid the marsh of evil. Use the dialogue choice 'You're doing it now, aren't you?' to ensure that you get the maximum amount of approval points.

Kill a few more marsh wolves before finding a dead body. No sooner do you find the unfortunate soul are you attacked by a pack of blighted werewolves.
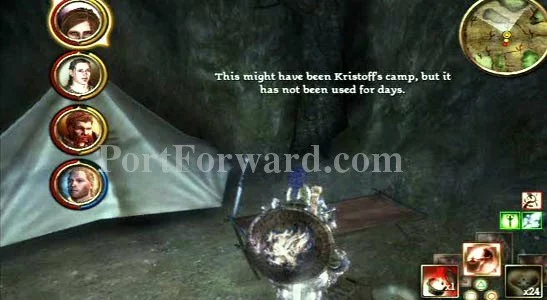
"Explore the encampment to look for clues into Kristoff's whereabouts. Kristoff isn't here, instead there's a pack of werewolves waiting for you. Take them out hastily and head toward the estate where you are bound to find something.

As you enter the estate's walled in area, spot a soldier's body lying on the ground. This is Kristoff and he doesn't look to be showing any signs of life. His name is The First and he goes on and on about how he is the reason you are there before transporting you and your party to The Fade.

Speak to The First and find out why you are in The Fade with him. Any dialogue option works here. As soon as the conversation is over, a group of genlocks and Childer Grubs attack.

As soon as the battle is over speak to Oghren and reassure him that everything is going to be ok but tell him you need him to keep his wits about him before proceeding further into The Fade. You'll run into some Shades that can knock you and your companions down but using Oghren's sunder arms attack move is an easy way to handle these enemies.
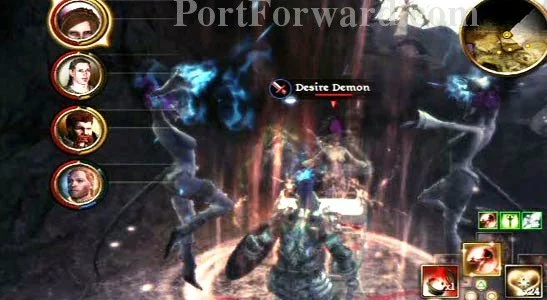
The first step you need to complete in your efforts toward exiting The Fade is killing the Desire Demons posted up at various locations throughout the area. You can find them standing in a circle around podiums. Take out the first group atop a small hill near where you fought the Shades just a little bit earlier. Once you've killed a group of Desire Demons activate the Veil Tear Apparatus to get you one step closer to returning to the real world.

Take care of some more Desire Demons before you reach a circle of runestones. The key to getting past this puzzle is activating the runestone at the top of the circle as you approach it first followed by the one one directly across from it. Once you activate a straight line across move one stone to the right and activate it, only to go activate the one directly across. Repeat this until every stone is lit to proceed.
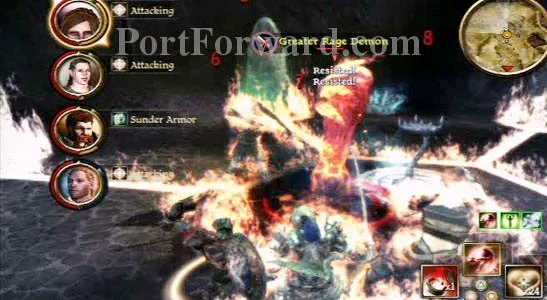
As soon as you've lit every runestone a group of greater Rage Demons make their presence known. They have strong fire magic attacks that they use against you but hold fast and they'll be out of the way in no time.

"Keep an eye out for glowing combat training dummies as they yield permanent increases in skills. Activate each dummy with the character you want to give the skill point to.

When you reach the gate to the baroness's estate you find a transparent looking fellow and two companions who are planning to strike against the baroness. To keep Anders happy, make sure to use the '(Persuade) We could defeat her and make her use her magic to help us.' dialogue choice before telling the ghostly knight you will help him. Get ready as once you enter the estate a battle ensues.
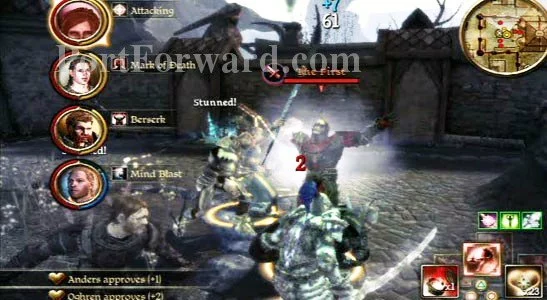
Inside the estate's walls the baroness makes her case to you and sics her servant, The First on you. In your short conversation there make sure to utter 'There must be some way we can resolve this peacefully.' to earn some approval points from all those in your party before The First and his minions attack. Focus on The First while letting your companions deal with the rest of minions and you'll finish him off easily. Once he's down you're taken back out to the real world where a new party member is available, Justice.
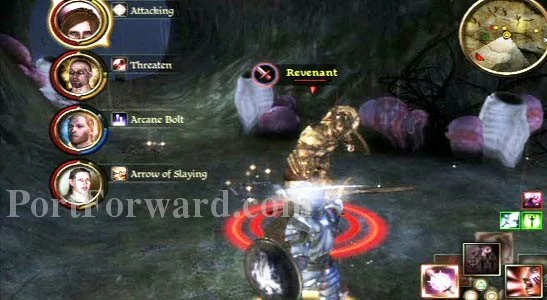
As you explore the swamp you'll run into enemies such as Revenants that appear near Fade portals. Destroy the Fade portals before killing the enemies as they keep spilling out enemies for as long as they are active.

Have your companions use slowing attacks such as crippling shot to immobilize the baroness as much as possible during this battle. When you see an opening go in and take as many swipes as you can at her before she retaliates as her hits take a great deal of your health away.

Once you've taken the baroness down it's time to have a quick chat with Justice before officially ending the quest.

After the battle, speak with Justice and if you want him to join your party let him know. Once you've finished speaking to him and he's joined your party you are free to exit the Blackmarsh and continue on your journeys.
More Dragon Age - Origins: Awakening Walkthroughs
This Dragon Age - Origins: Awakening walkthrough is divided into 8 total pages.


