
This Dragon Age - Origins: Awakening walkthrough is divided into 8 total pages.
You can jump to nearby pages of the game using the links above.
Chapter 06: The Last of The Legion
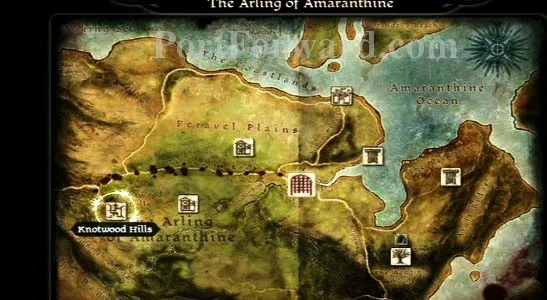
Speak to Colbert at the entrance to Amaranthine. He is standing with an elven companion. He informs you that you must head to the Knotwood Hills area to continue on your way. From Amaranthine, or wherever you've decided to go once you've acquired the quest, navigate to the Knotwood Hills zone on the world map.
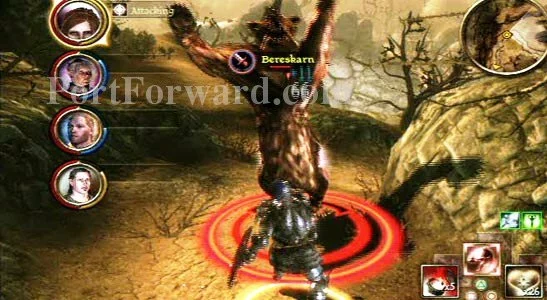
As soon as you enter the Knotwood Hills a ferocious Bereskarn appears to make your life just a little more difficult. Once you've finished him off it's time to find the Dwarven fortress.
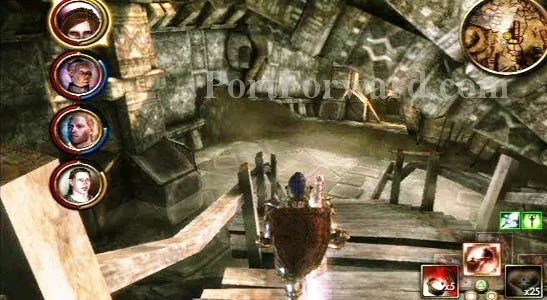
Getting to the fortress is decidedly simple, just follow the designated paths, walkways, and bridges to reach the canyon floor below where you entered the Knotwood Hills area.
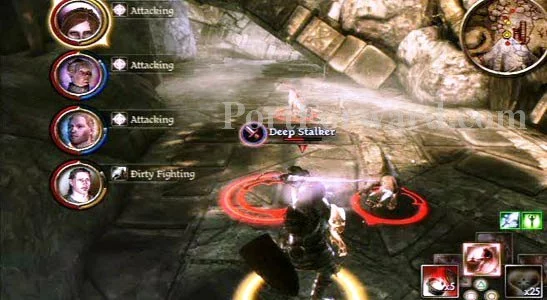
Once you reach the canyon floor you'll find some deep stalkers lurking about. Once you've dealt with them keep moving to find your next objective.
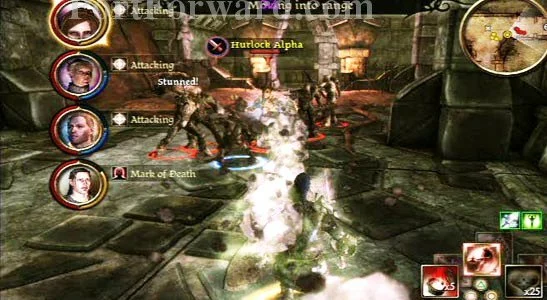
As you dig deeper into the canyon and it starts looking more built up around you, you and your companions encounter a pack of hurlocks making off with a female dwarven soldier. Focus your attention on the hurlock alphas first as they do the most damage, going after the less dangerous regular hurlocks afterwards.
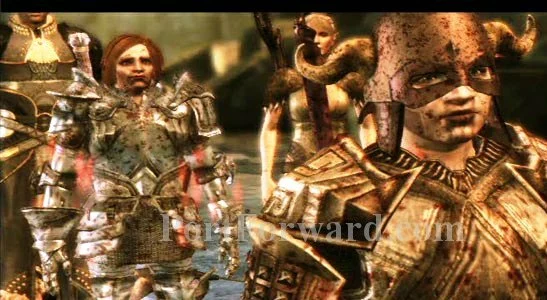
"After defeating Sigrun's hurlock captors speak to her, using encouraging and positive dialogue, so that she will join your party. She's a ranger so she's got some unlocking skills as well as being a formidable warrior. The fortress contains some chests that even her skill can't unlock so if you want to open everything you're going to need to bring someone more skilled at unlocking.

Proceed further into the next area where you'll meet one of Sigrun's Legion of the Dead comrades lying on the ground. Speak to him and use the 'There must be something we can do.' dialogue option to ensure that Sigrun continues liking you.
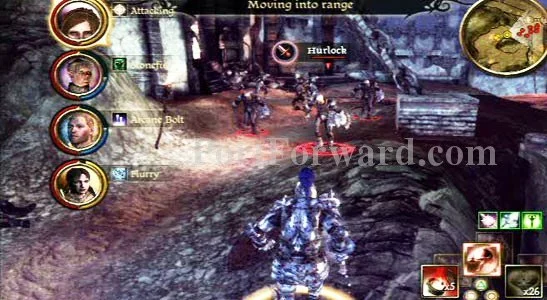
This area is absolutely littered with deep stalkers, deep stalker leaders, shrieks, hurlocks, and hurlock alphas so be on the lookout for danger around every corner. All of these enemies deal a good deal of damage per hit so having a healer in your party is essential to keep your entire party in good health.
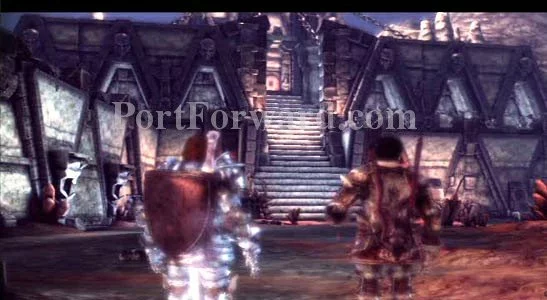
As you approach the gates to the fortress speak to Sigrun to find out about an alternate entrance since the forces of evil are likely to be waiting in full-force behind the main gate. Reiterate your intent to find the alternate route by using the "Is there another way in?' line.
As you look for the secondary entrance in the courtyard, a pack of childer grubs attacks. Once they've been eliminated you can resume your search for the hidden entrance.
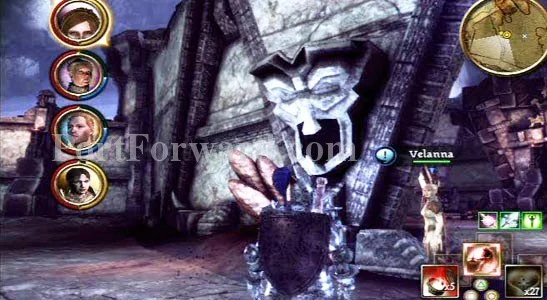
"The secret entrance is located to the left of the main gateway, behind a stone slab to the right of a face carved into the stone wall. Simply investigate the stone slab to uncover the hidden passageway and access the Kal'Hirol main hall.

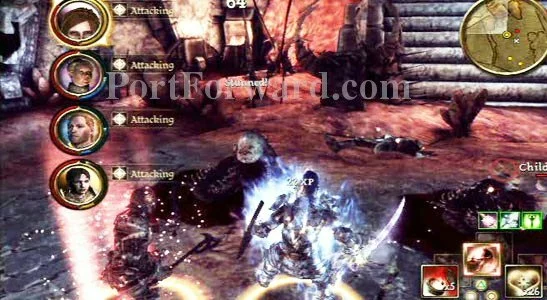
As soon as you set foot in the confines of Kal'Hirol you are bombarded with an onslaught of attacks from hurlocks, hurlock archers, hurlock alphas, and most importantly a golem master. This enemy's loot yields a golem control rod which comes in handy when you encounter an actual golem in just a little.
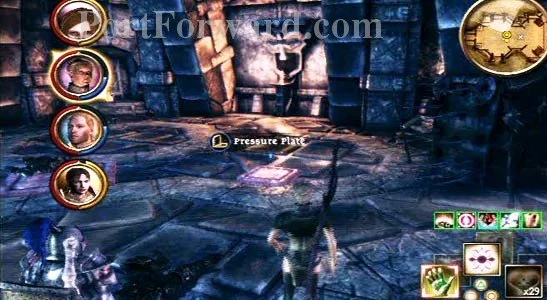
As you continue further into the Kal'Hirol fortress you'll find a series of pressure plates which spring traps when walked over. Have Sigrun deactivate them as to eliminate the danger. Keep venturing deeper into the fortress to locate a golem that's ripe for the picking (and controlling).
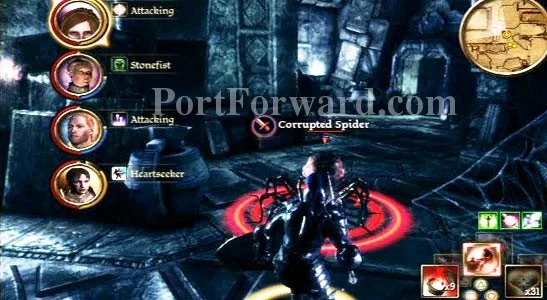
Once you've found the golem you can take control of activate it and lead it to the area where the spirits of the fallen Legion of the Dead are gathered. They are speaking but there's no incentive to listening to what they have to say except for story purposes. As you progress through the labyrinth that is Kal'Hirol you'll encounter hurlocks, corrupted spiders, and other nasties.

"As you enter the trade quarter you see another one of those talking hurlocks leading the charge on the Kal'Hirol fortress. There are two factions of hurlocks battling but both want to kill you. You can pass by them unscathed but it's worth the experience points and time to take them out.

As you reach the end of the curving hallway you'll enter a room full of golems. These golems don't lend themselves to being taken over by control rods so you must battle them. Luckily they attack two at a time so if you disperse your team to take them out at the same time they shouldn't be too much of a problem.
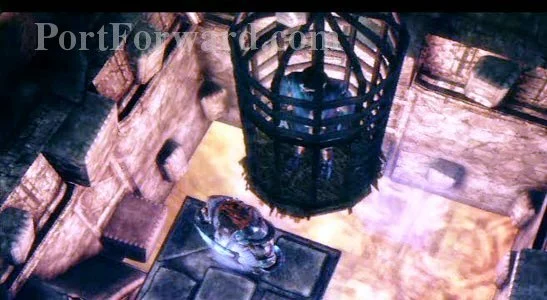
"Head further into the Kal'Hirol fortress and you'll find a man locked away in a cage. He gives you an item if you let him go, so it's to your advantage to free him without penalty.
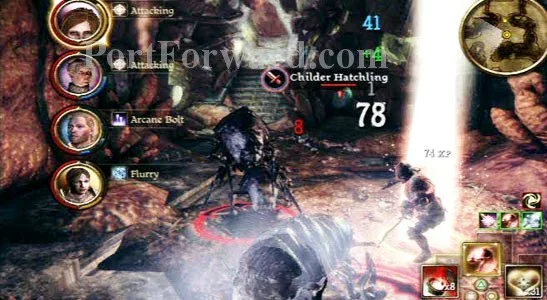
Just past the prisoner in the caves are a new form of enemy, the childer hatchling. These wretched creatures have powerful physical attacks and area of effect attacks that deal a great deal of damage on you and your party. Keeping your distance is essential in keeping your companions (and yourself) alive in these battles. Use ranged attacks from your mages and Nathaniel to take them out.

As you reach a large chamber you'll meet the Inferno Golem, a behemoth with powerful physical attacks that is aided by the talking hurlock, The Lost. The Lost acts as a buffer for the Inferno Golem as well as dealing out damaging spells on your party. Make taking him out your priority as the Inferno Golem's attacks are much easier to handle than an ongoing magic attack. Once The Lost has been finished off lay into the Golem to destroy him once and for all.
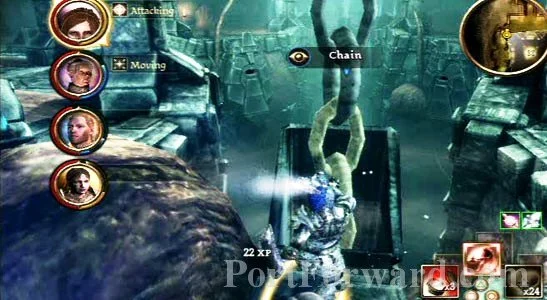
"Once you finish the golem off head into the next area and destroy two of the chains suspended from the ceiling to kill the creature below.

After destroying the creature speak to Sigrun and reassure her about the Joining to end the quest.
More Dragon Age - Origins: Awakening Walkthroughs
This Dragon Age - Origins: Awakening walkthrough is divided into 8 total pages.


