
This Dragon Age - Origins: Awakening walkthrough is divided into 8 total pages.
You can jump to nearby pages of the game using the links above.
Chapter 07: The Darkspawn Attack

Speak to the craftsmen in town and deliver the supplies you've collected throughout your adventures. These supplies are essential to maintaining the health of your troops and the structural integrity of the keep itself thus making the battle through Vigil's Keep easier or more difficult depending on how you've stocked up.

Once you've finished everything you have set out to do, it's time to speak to your advisors in the main hall. Approach the Senechal to initiate a conversation that changes the outcome of the oncoming battle.

Your first order of business is reassuring your constituents that you will achieve victory, whatever the cost. No sooner do you do that will you be faced with an important choice, to defend the city of Amaranthine from attack or remain in the Vigil to protect those inside.

Next, you must select the three companions that you'll be taking with you to defend the city and, if you choose to do so, the keep, but that choice is made later on.

As soon as you finish selecting which of your companions to bring you are jettisoned to Amaranthine where the darkspawn are already laying waste to everyone and everything in sight.
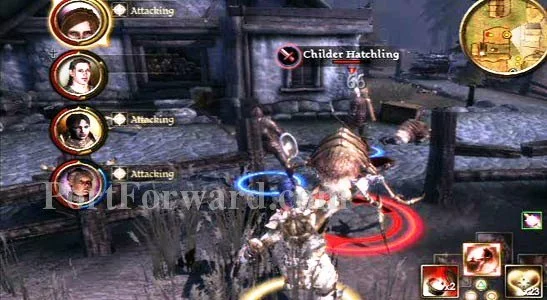
"In Amaranthine, fight with all of your might against the vicious childer hatchlings and hurlocks brutalizing the city. The small band of villains is really no match for the strength of your party so an all-out attack is your best bet to finish them off.

Once you defeat the relatively easy group of enemies at the entrance to Amaranthine you are informed that there is a massive group of darkspawn headed to Vigil's Keep. Back at the keep, inspire your troops by reassuring them about the choice you made back at Amaranthine before selecting which party members you want to take with you.

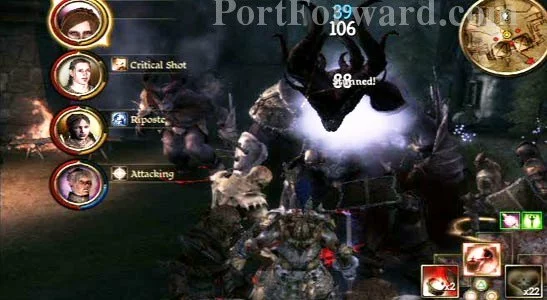
Your objective during this section of the siege on Vigil's Keep is to defend it from attack; better put, you are killing every enemy in sight. As you make your way through the vigil you can always find your way by locating Captain Garevel; he always leads you to the next area and is actually required to be interacted with to initiate the next area's enemies. The enemies you encounter in the first few stages of the battle are simply more childer grubs, genlocks, and hurlocks. Keep following Garevel through the keep.
As you reach the gates to Vigil's Keep a group of ogres emerges. Playing a game of distance is the way to defeat them, managing health and attacks. Make sure to keep your health topped off as the ogres have a grab attack that can nearly decimate your health bar. The number of ogres that appear here depends on how strong the keep's walls have been made due to your donations of supplies.

With the ogres defeated you find the Seneschal injured and dying. Choose whatever words you feel most appropriate for the situation; I chose to reassure him that everything would be alright by saying 'Hold on Varel. Healer! Healer!' and then told him that he would be remembered.
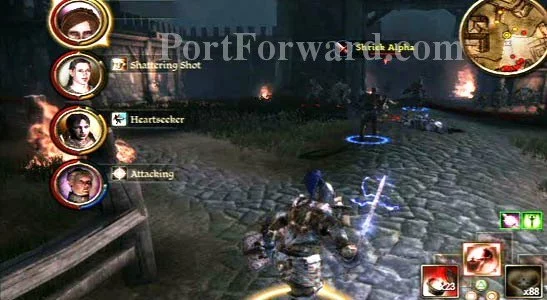
After saying goodbye to the faithful Seneschal it's time to do some more hurlock killing, but not without a brief respite from the violence. Use this opportunity to buy and sell items and restock on health poultices as this is pretty much the last time you can do it in the game. Look out for shrieks, shriek alphas, and various hurlocks as you proceed forward.

Head further into the fray until you meet an Armored Ogre Alpha. This guy is a toughie and takes a lot of hits before he goes down. Use your ranged party members as much as possible and wear away at him on the inside to finish him off and initiate a conversation where you find the location of the Mother. Finish the conversation to end the quest.
More Dragon Age - Origins: Awakening Walkthroughs
This Dragon Age - Origins: Awakening walkthrough is divided into 8 total pages.


