
This Far Cry 3: Blood Dragon walkthrough is divided into 7 total pages.
You can jump to nearby pages of the game using the links above.
Mission #5 - I don't deal with psychos. I put'em away
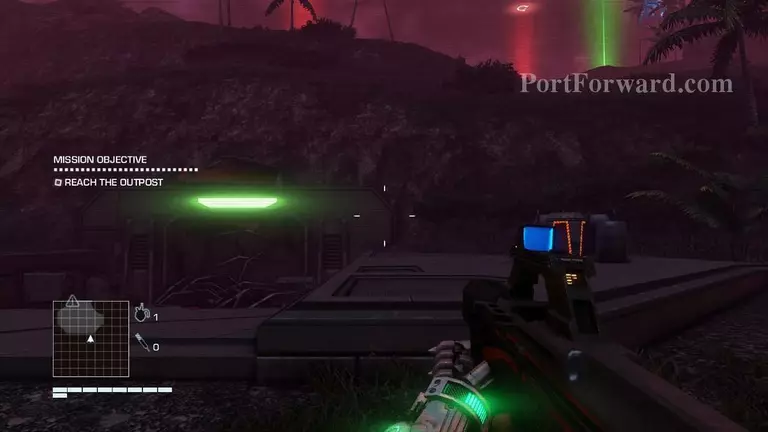
You will begin the mission on the shore right after escaping from the complex in the previous mission. You will have to reach the outpost.
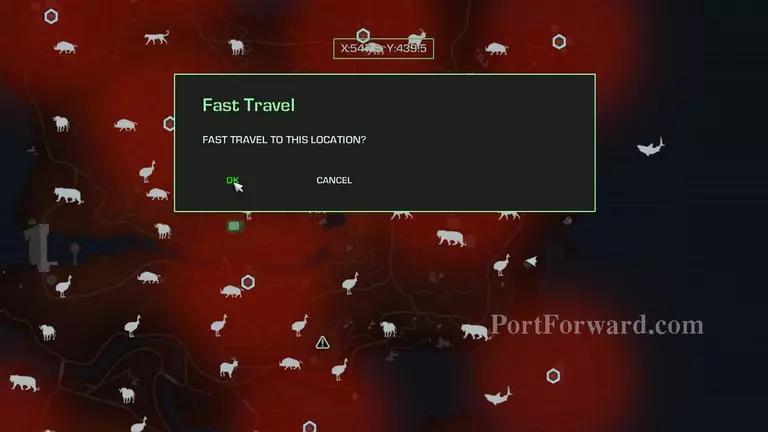
In order to reach the outpost faster, you can fast travel to the liberated garrison and get the vehicle inside.
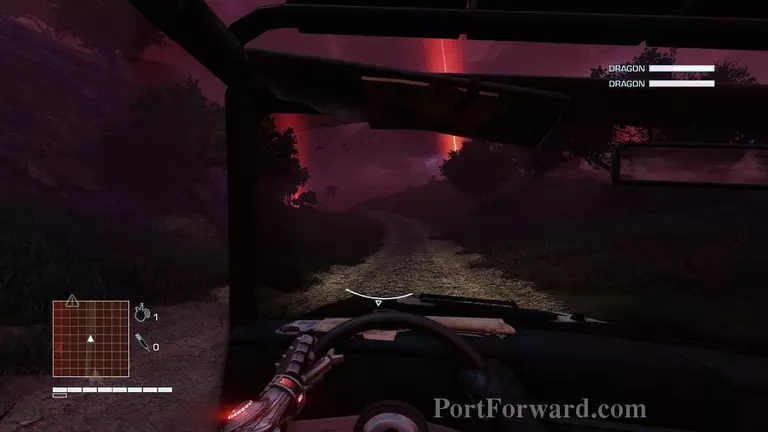
Once you've grabbed a vehicle. head towards the outpost which is marked on the mini-map and avoid getting to close to the blood dragons on your way there; they will going to attack you, even though you're inside a vehicle.
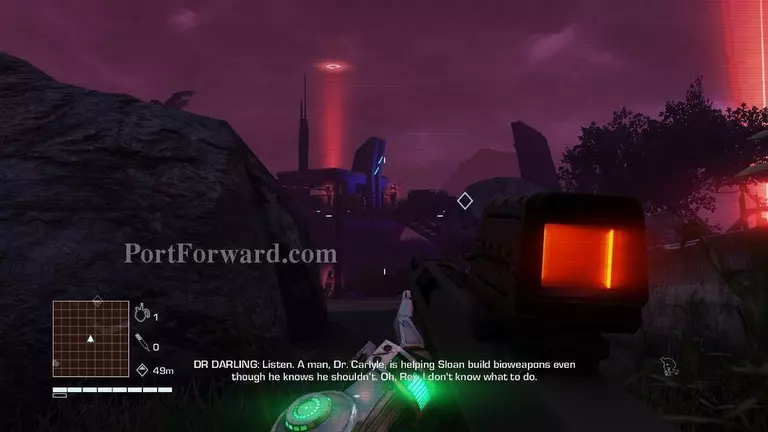
When you've finally reached the outpost, you can go ahead and attack the enemy soldiers guarding it.
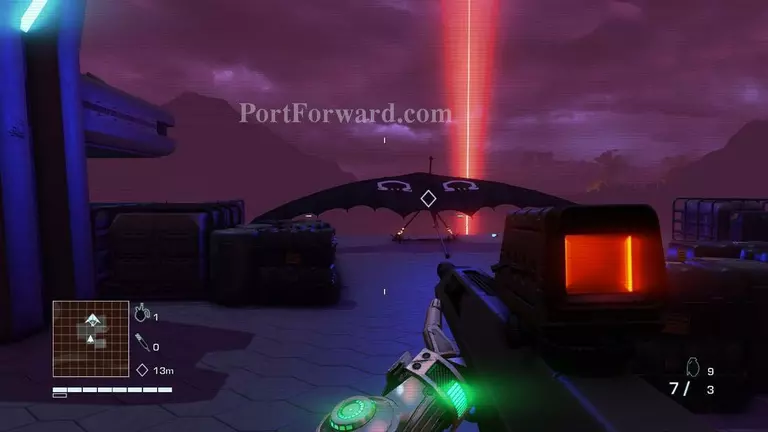
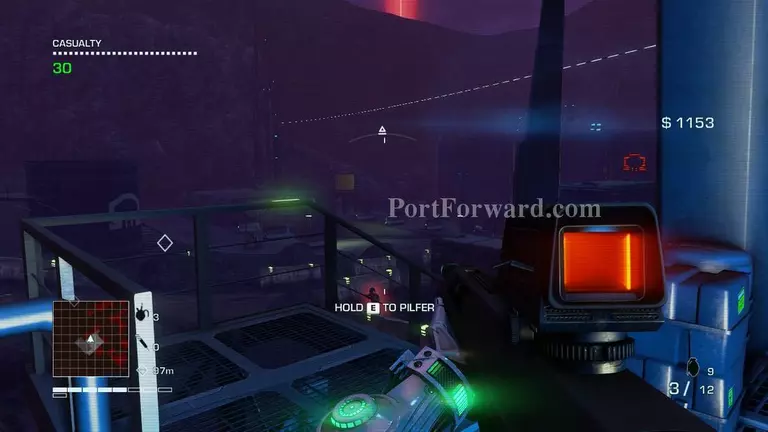
After dealing with all the enemy guards at the outpost, you will have to use the glider to fly on an island full of enemy soldiers.
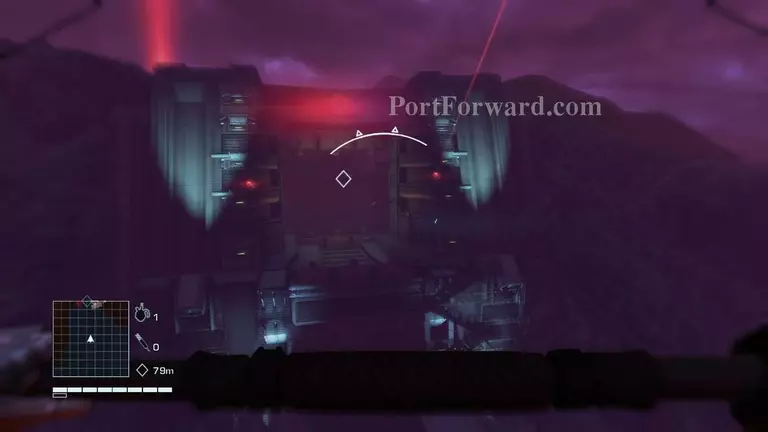
As you make your way towards the island, you will have to make it through a large gate guarded by two enemy snipers and continue heading towards the island.
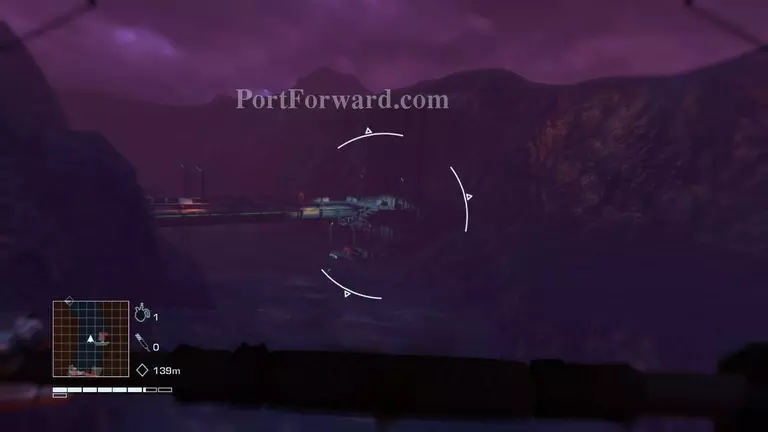
Once you've made it through the large gate, you will have to get past a river and avoid getting shot by the enemy soldiers you'll encounter on your way to the island by turning left and right, but be careful not to do it too much or else you will start losing speed and end up in the river full of cybersharks.
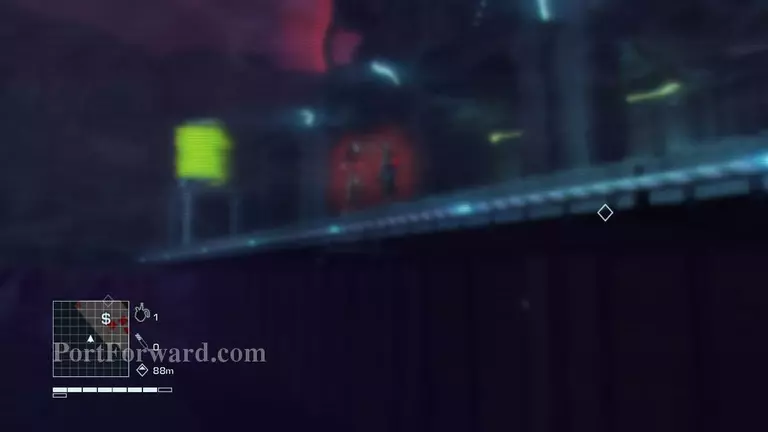
Now that you've reached the island, carefully approach the two enemy guards without getting spotted and perform a silent takedown on both of them.
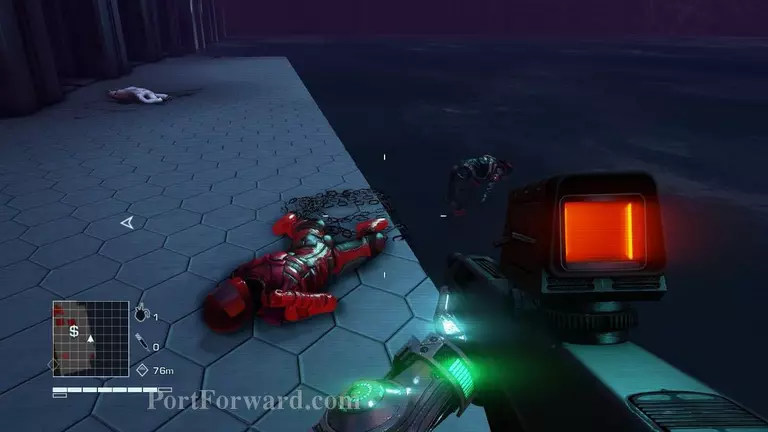
After getting rid of the two enemy guards, you will have to make your way further inside the island that is full of enemies and get to the computer marked on the mini-map in one piece. The fastest way to do reach the computer, is to make a run for it and avoid bumping into too many enemies on your way there; or you can also try to reach the computer in a stealthier way by silently taking out enemies that'll you come across and avoid getting spotted by snipers and Robo dogs.
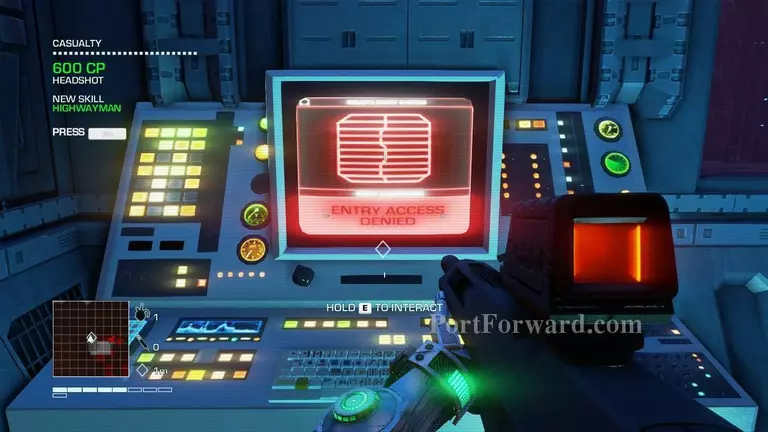
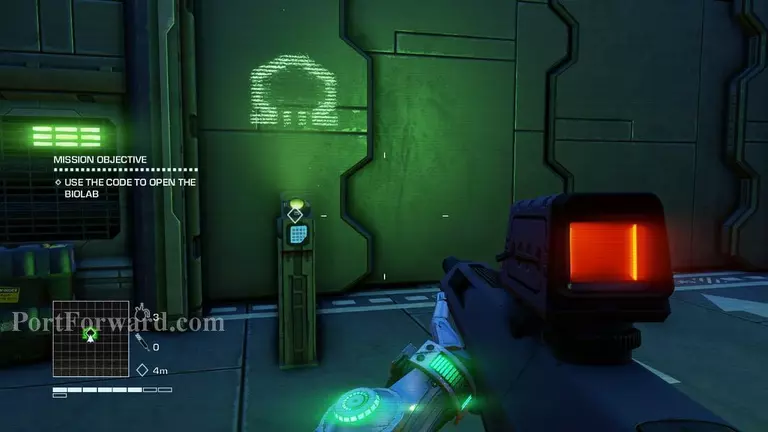
When you've reached the computer, press 'E' to enter the code and open the Biolab.
Once you've opened the Biolab, make a run to the entrance before the remaining enemies spot you and start shooting at you.
After entering inside, you will come across another door. In order to open it, you will have to press the button right in front of it.
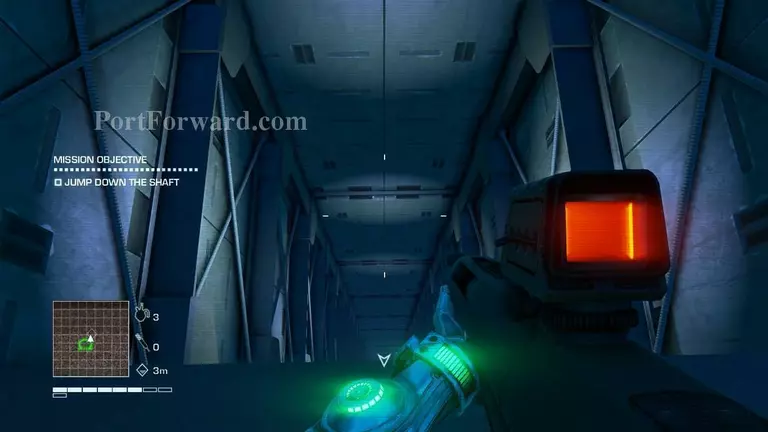
Right after opening the door, you will have to jump down the shaft; don't worry about getting hurt, you are not going to get fall damage in this game.
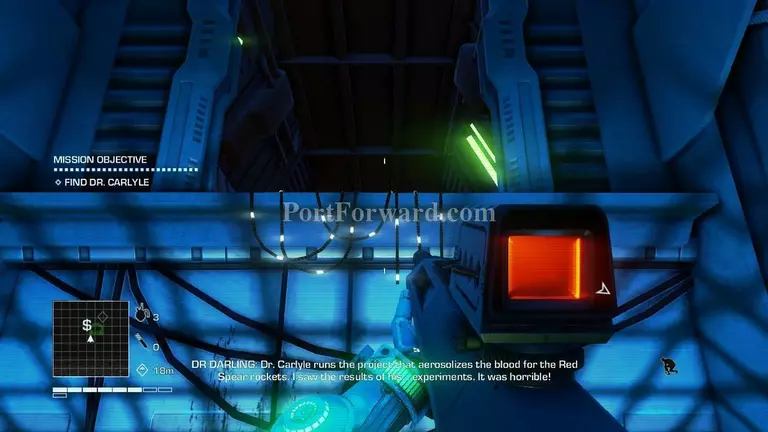
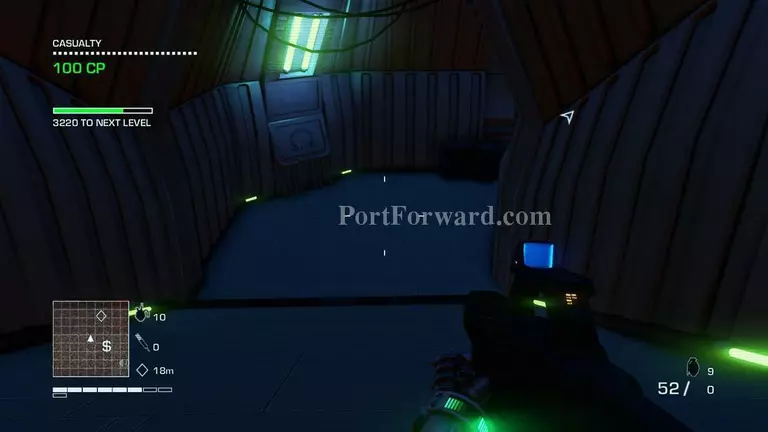
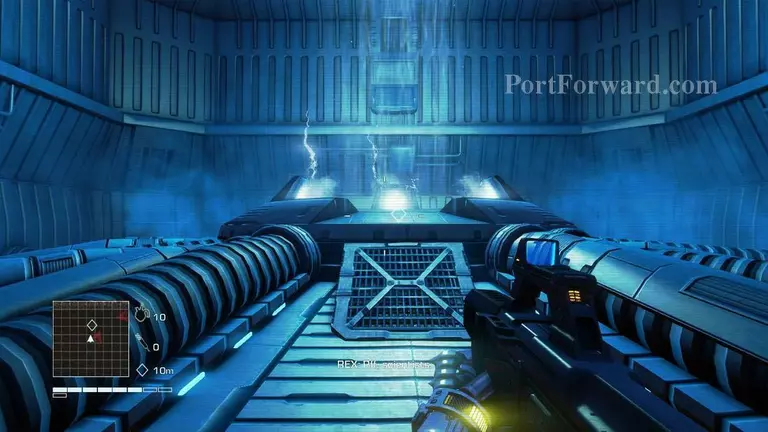
Climb up the ropes located at the bottom of the shaft by pressing 'Space' and start making your way through the laboratory to find Dr. Carlyle.
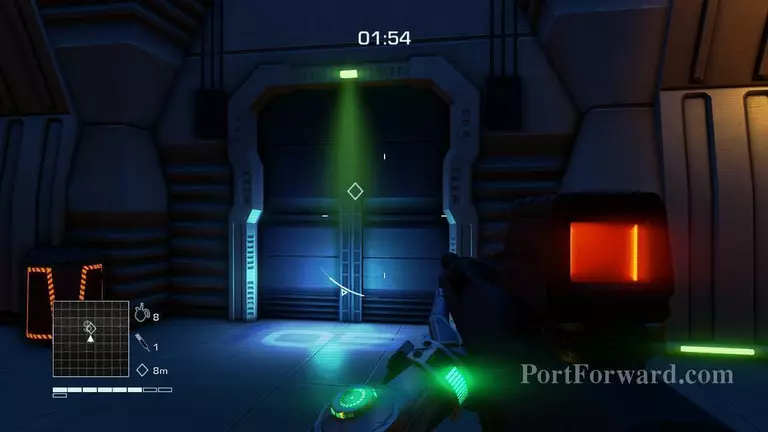
At some point, you are going to come across a locked door, preventing you to go any further.
Hold out against the incoming waves of enemy soldiers for two minutes while Dr. Darling unlocks the door for you. In order to take out larger groups of enemies at once, start shooting the explosive barrels around the laboratory when they get close enough to them.
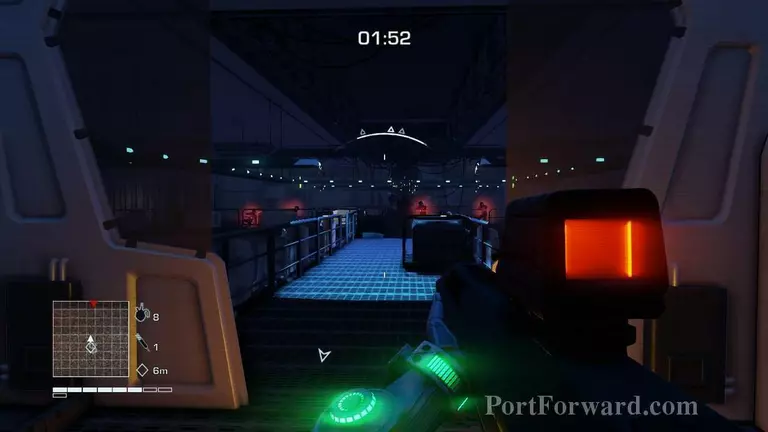
Keep making your way through the laboratory after getting past the door that has been locked.
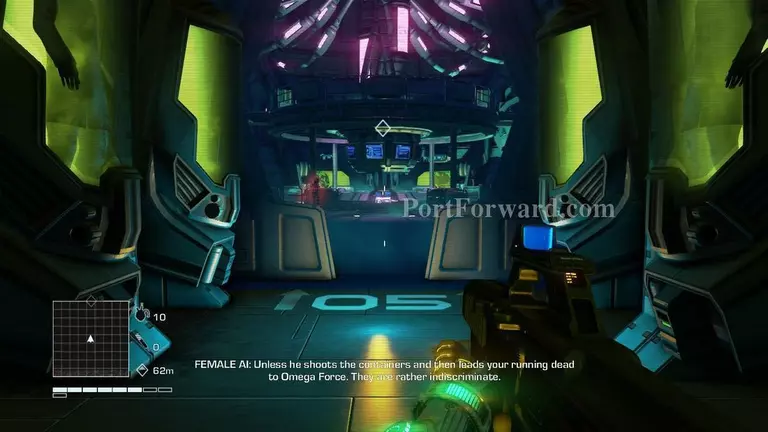
At some point, you will come across the last room inside the laboratory, which is unfortunately occupied by enemy soldiers.
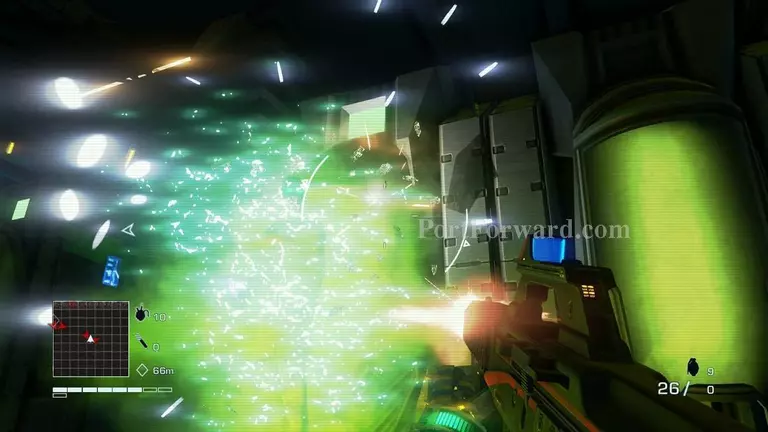
If you don't feel like fighting against a large number of enemy soldiers, you can shoot down the tanks to free the undeads and let them fight against the enemy soldiers.
While the enemy soldiers are busy fighting against the undead, get to the exit as fast as possible.
After making your way past a few corridors, you will come across a gravity elevator. Use it to get back to the surface.
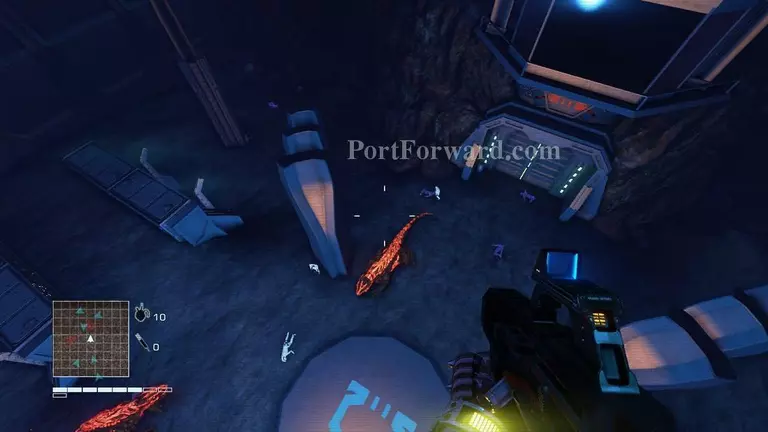
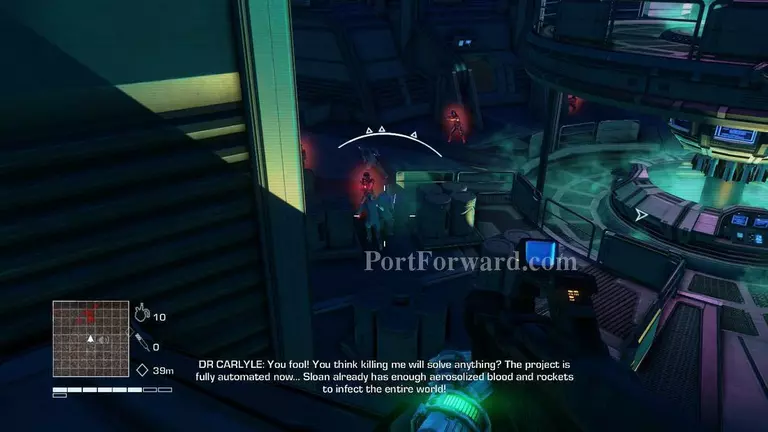
Unfortunately, the gravity elevator will throw you in an area with two blood dragons.
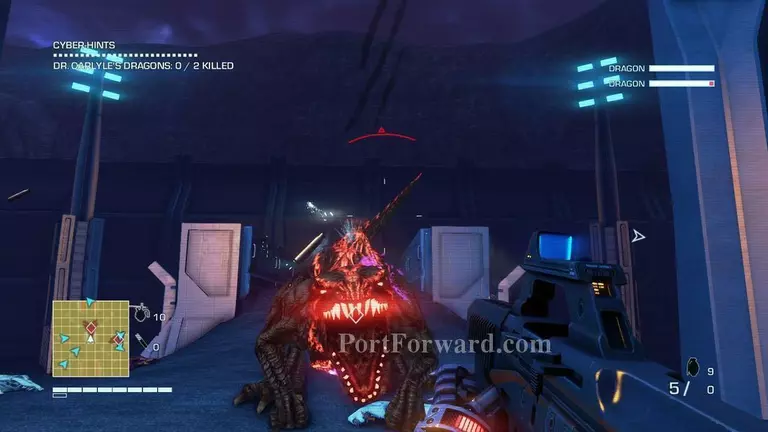
Your main objective is to take out the two blood dragons. In order to do it, you will have to find one of the miniguns and aim for their chest to do more damage.
The minigun is going to be located in an underground tunnel. Once you've grabbed it, go ahead and take out those two blood dragons as fast as possible and use some cyber-hearts to distract them, if needed.
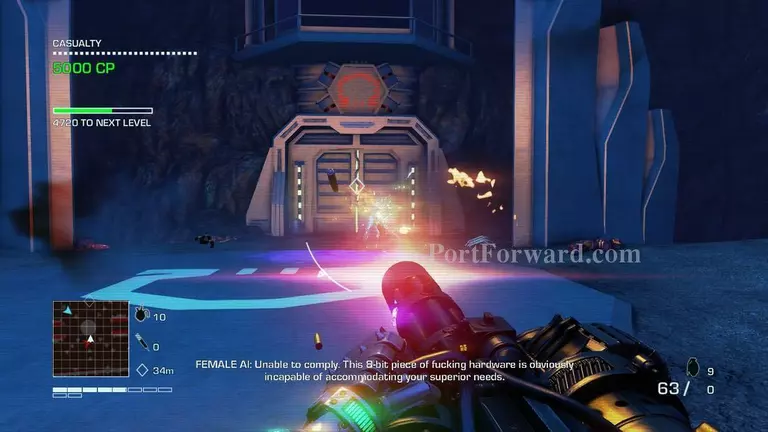
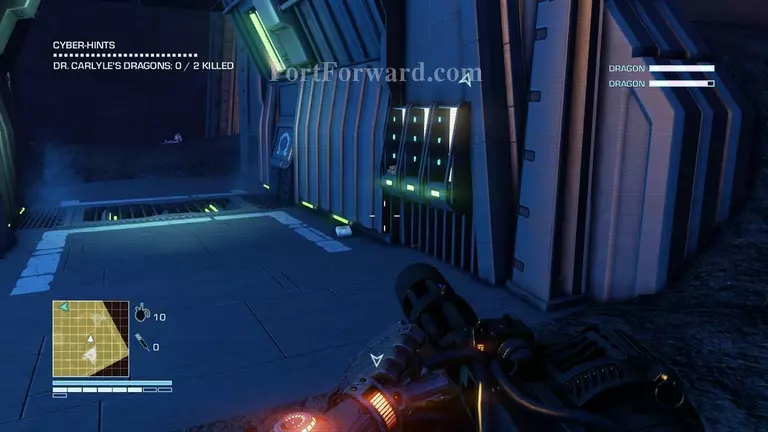
After dealing with those two blood dragons, take out the remaining enemy soldiers in the area.
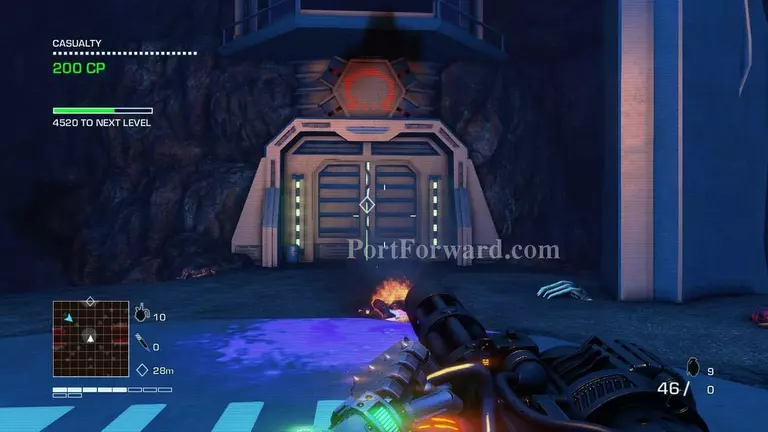
Once you've successfully dealt with all the enemies, head inside the passage through the large door that will be open now.
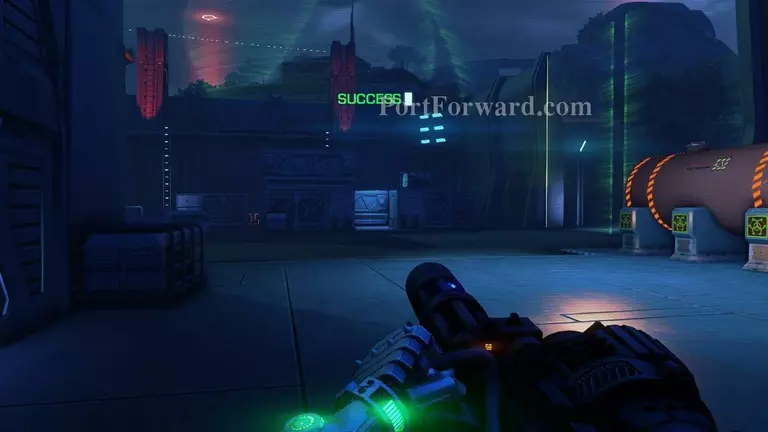
The mission will come to an end after entering inside the passage and you will get teleported back to the liberated garrison.
More Far Cry 3: Blood Dragon Walkthroughs
This Far Cry 3: Blood Dragon walkthrough is divided into 7 total pages.


