
This Hitman: Blood Money walkthrough is divided into 14 total pages.
You can jump to nearby pages of the game using the links above.
Mission 1 - The Death of a Snowman
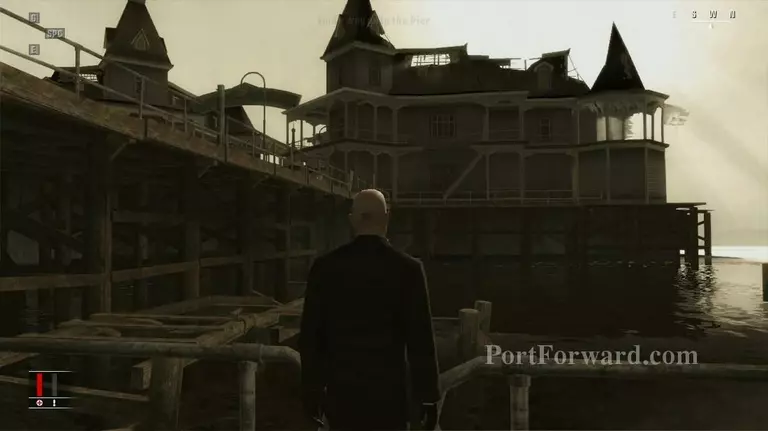
This is how the mission start. The building to the left is the place that you need to go.
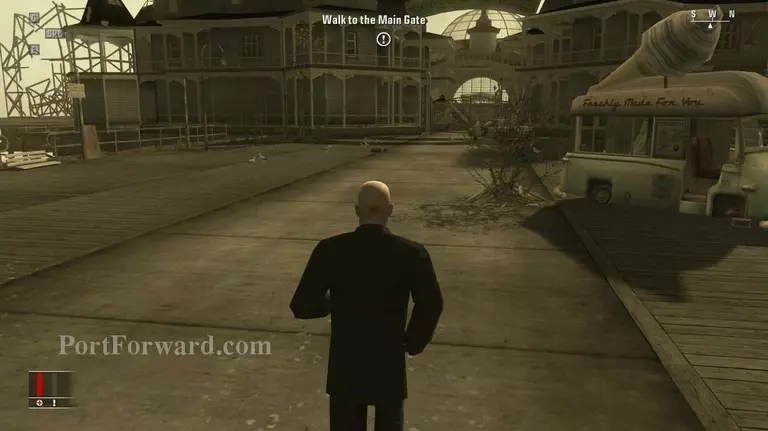
Go straight towards the gate.
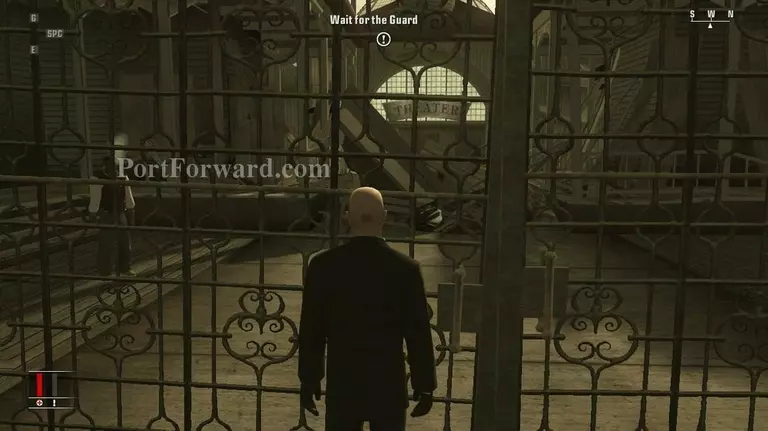
When you reached the gate. Wait for the guard to come closer and watch the short cutscene.
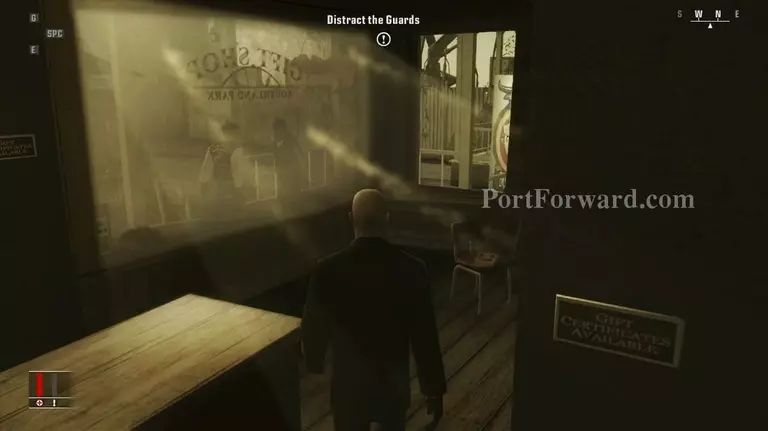
You will reach here. There are two guards talking outside the room. You can distract them by tossing a coin through the opened window or you can simply kill both of them (optional).
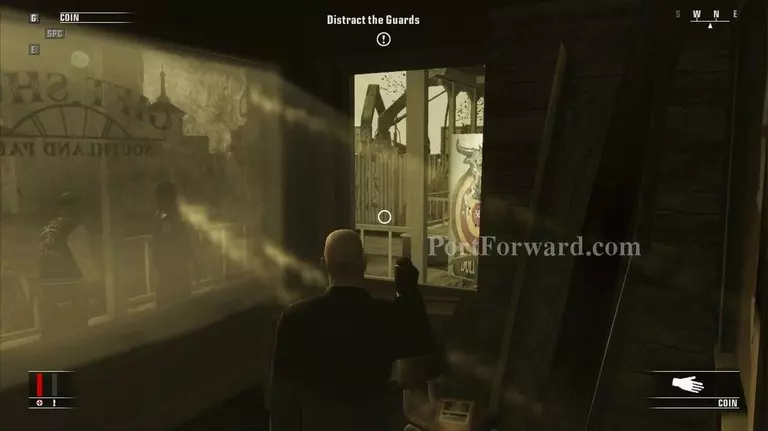
Remember the projectile motion of the coin. Adjust your angle before tossing it to ensure that the coin fall not too far from both men so that they will notice the coin.
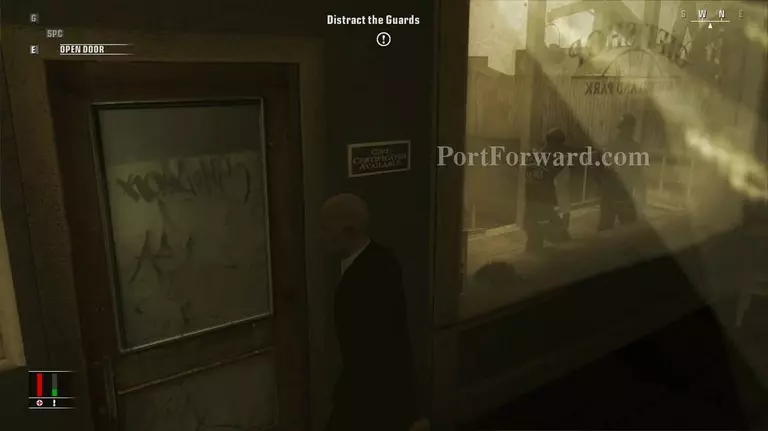
Quickly open the door when the guards look for the noise.
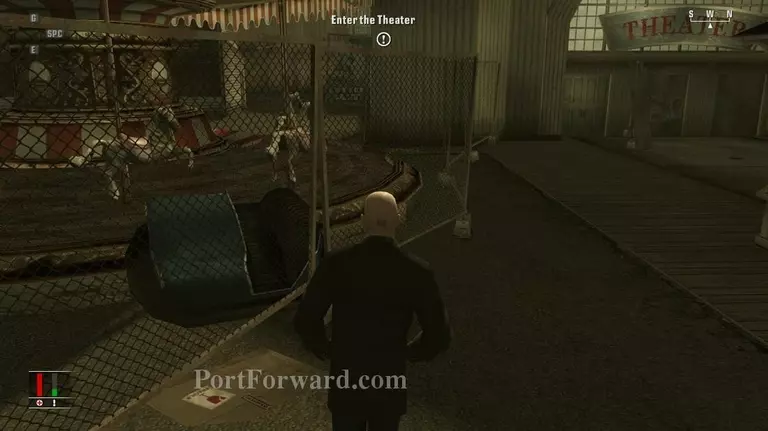
Enter the Theater.
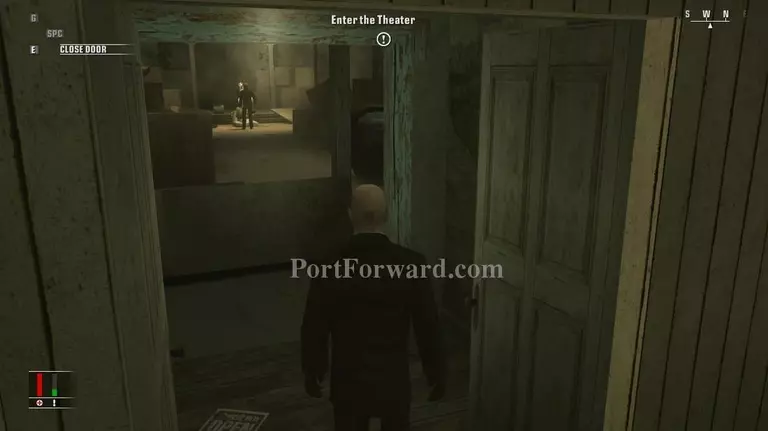
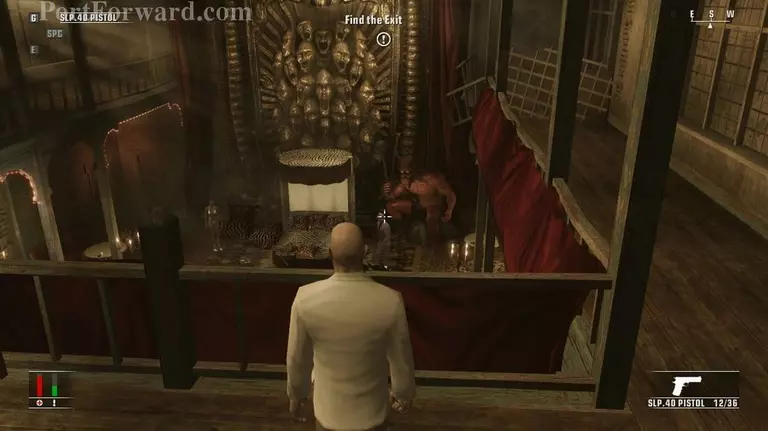
Once you open the door, you can see a man torturing his hostile. Use anything you like to kill that man.
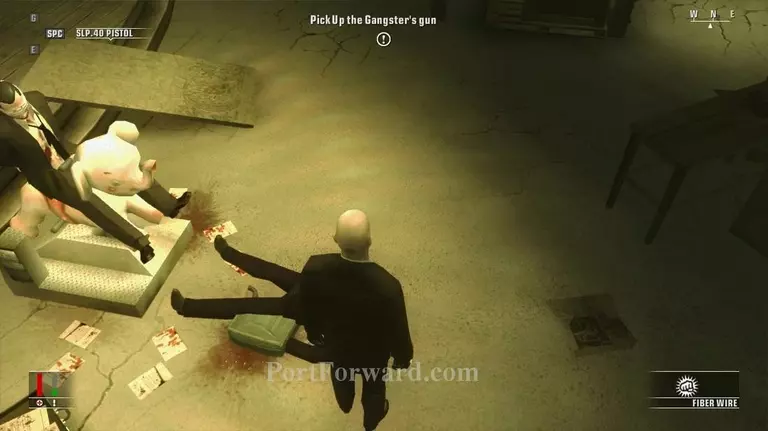
Take SLP .40 Pistol from the man you killed.
Go to the boxes and climb the Red Trellis
This shotgun is optional. Take it or leave it. Get ready to kill guards next room.
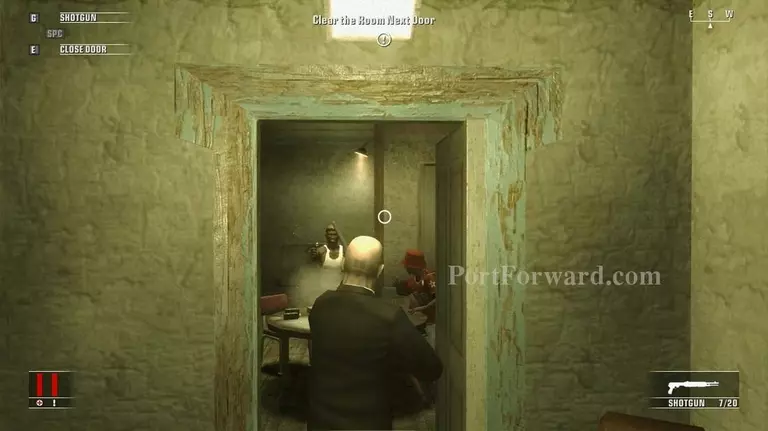
Kill em' all.
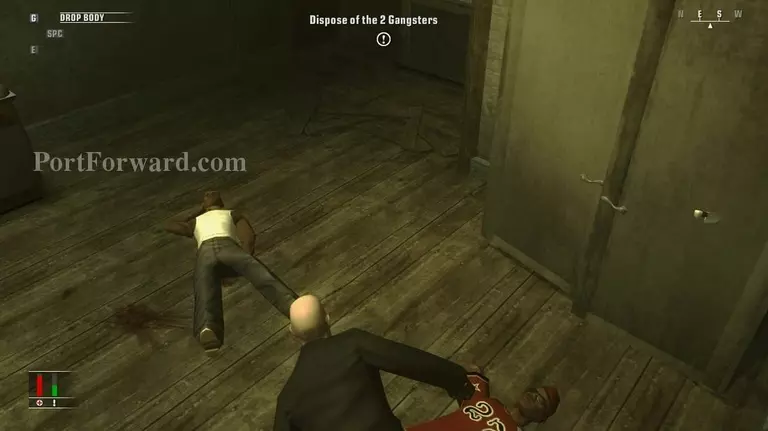
Dispose all bodies in the containers.
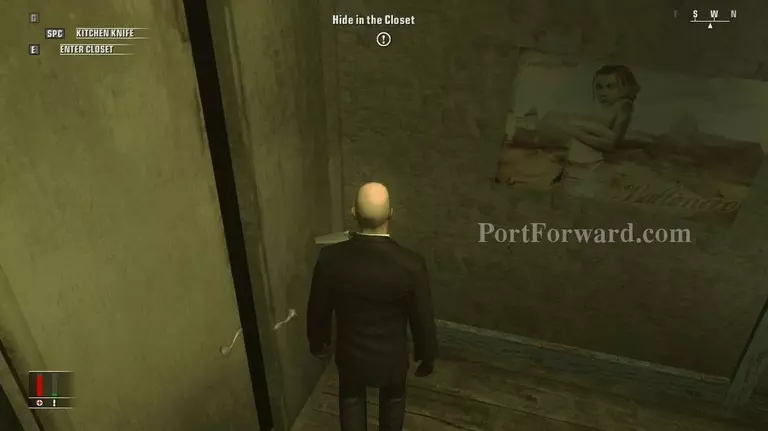
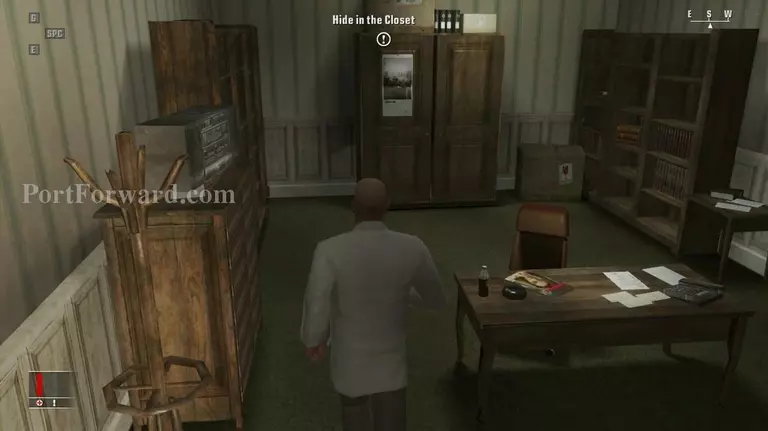
Hide in the closet.
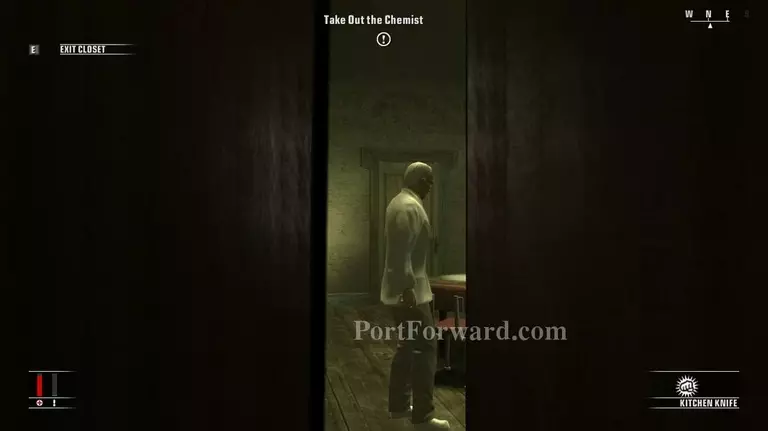
Once you hide in the closet, a chemist will break into the room. Now you can take out this man or wait for a while.
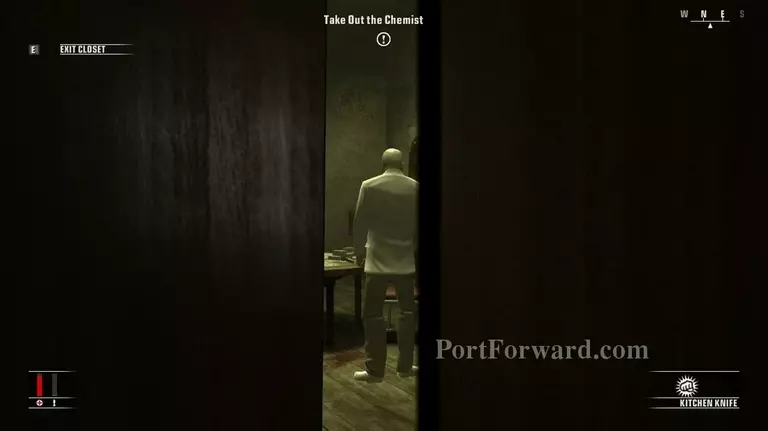
If you wait, the chemist will try to steal the money on the table.

Let's kill that greedy guy.
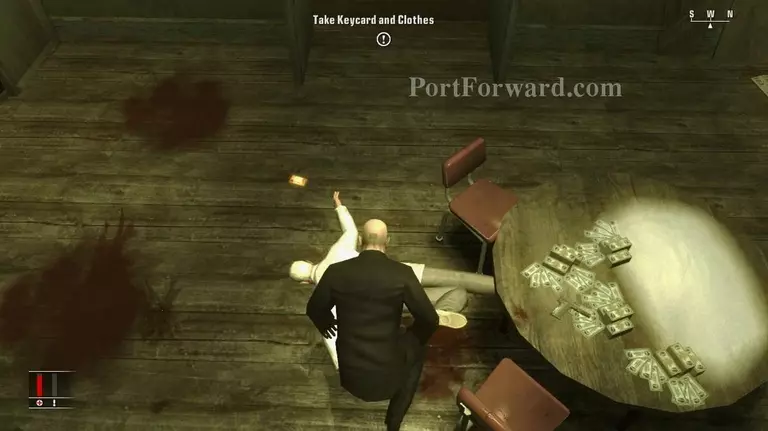
Disguise as a chemist and take the keycard on the floor.
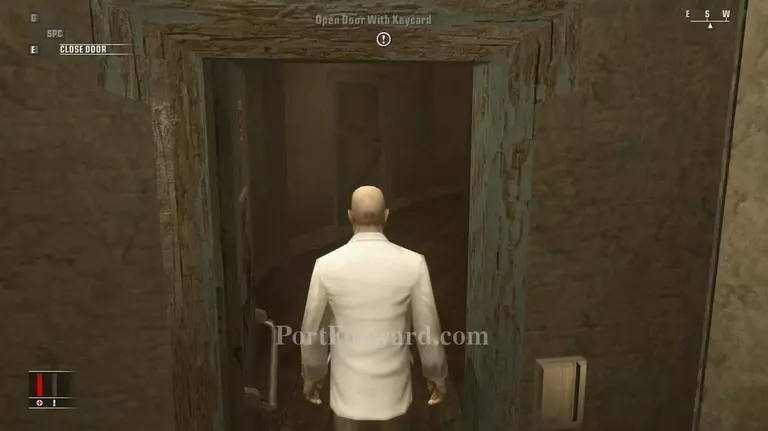
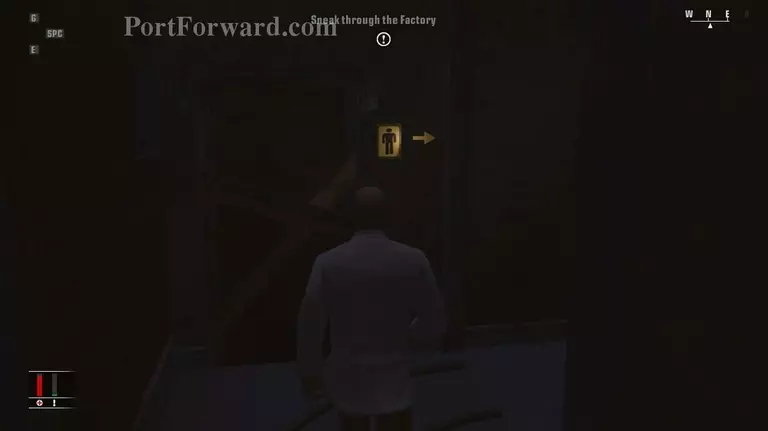
Use the keycard to unlock next door. Follow the path until you reached a small room.
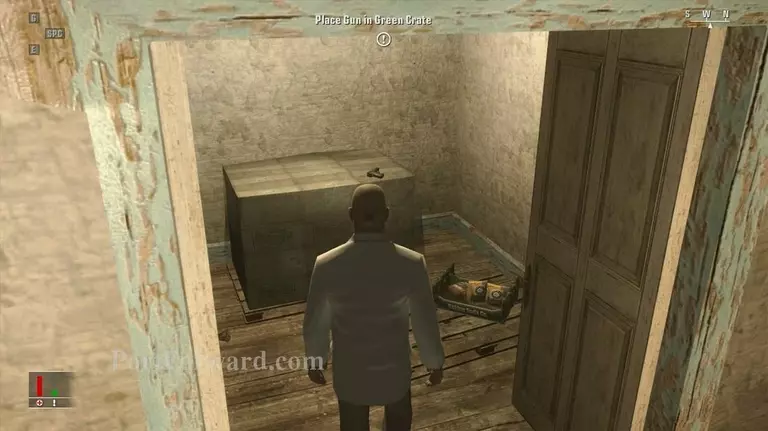
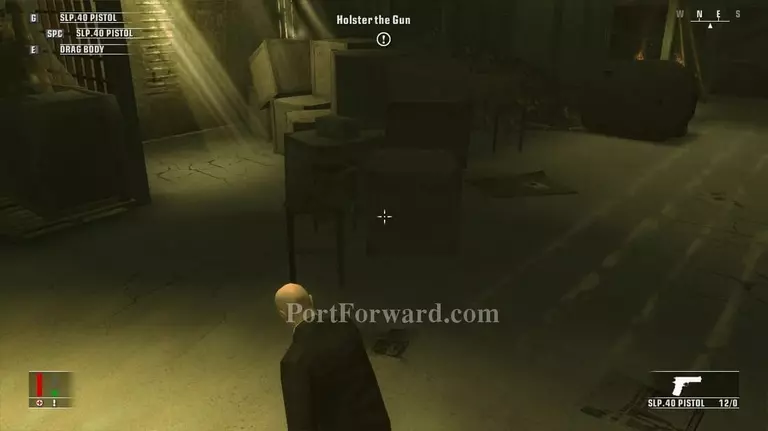
Take the pistol and put it in the crate.
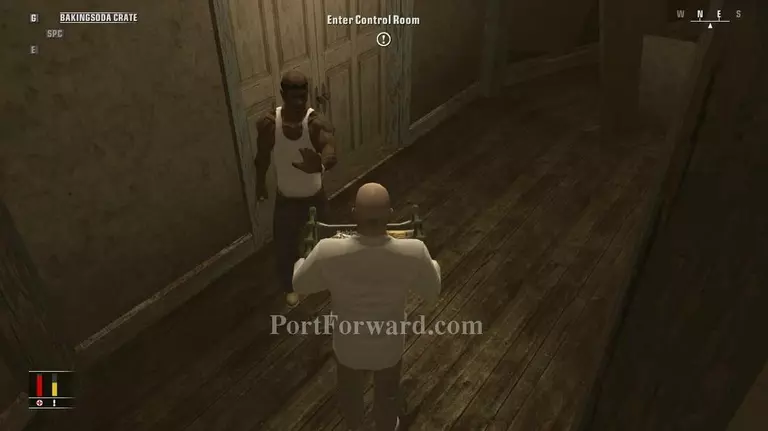
Stop at the guard to allow him scan for weapons. He will asked for weapons, and you should surrender your weapons to avoid high suspicion.
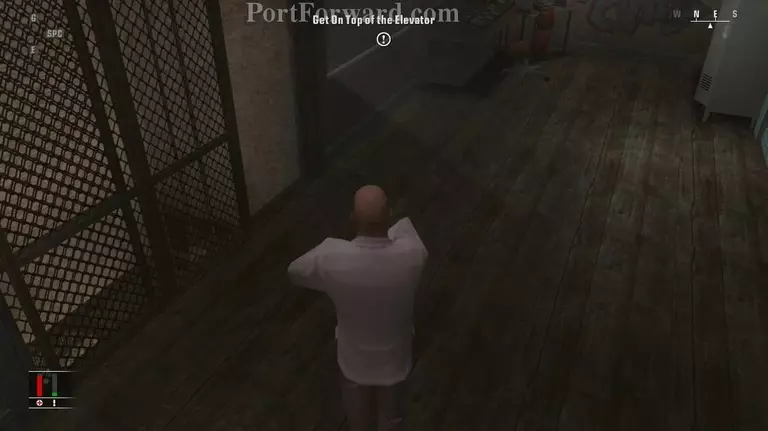
Retrive back your pistol and go to the elevator.
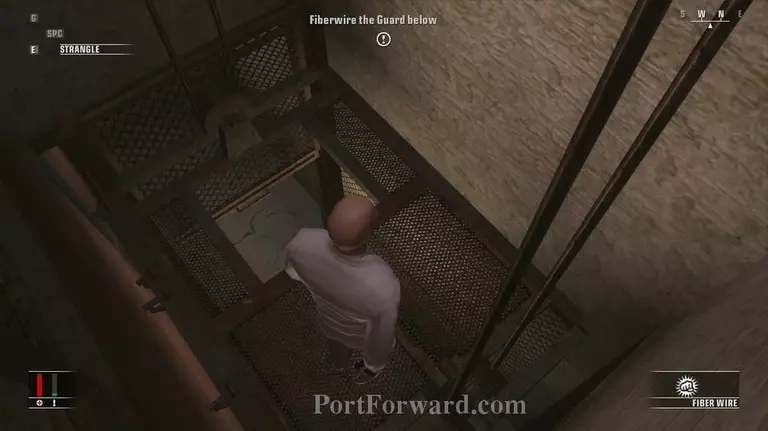
Strangle the man below.
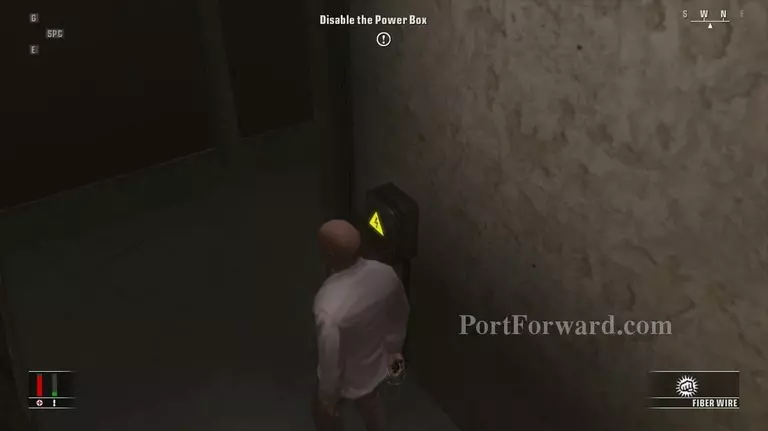
Climb down the elevator and disable the power box.
Go into the toilet.
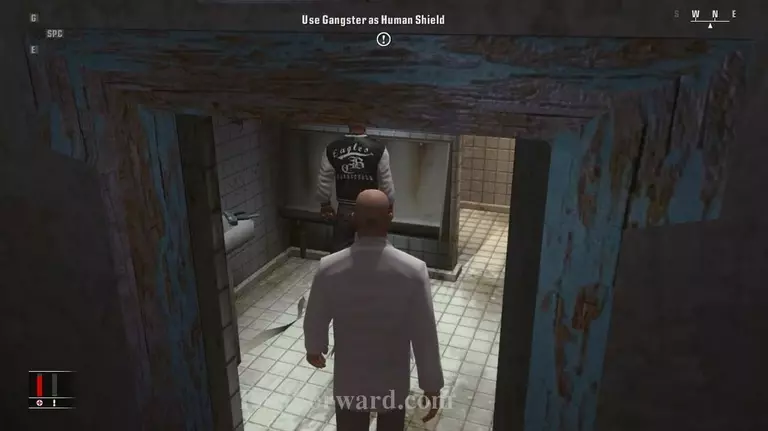
Walk slowly near him. Take his TMP or take out your pistol and use him as human shield.
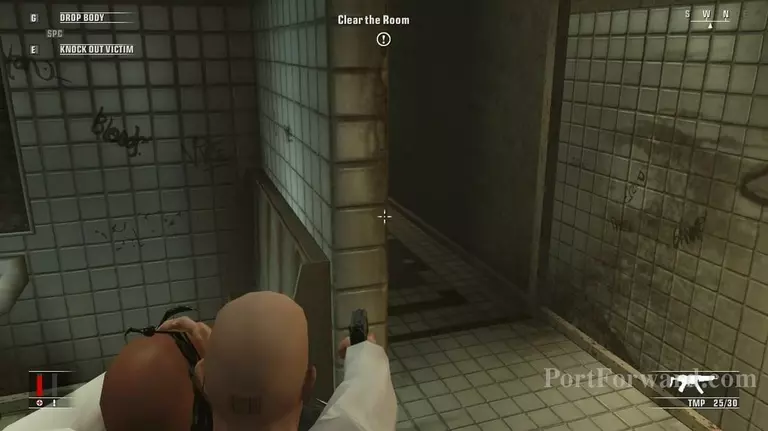
Move behind the toilet. Be prepared to kill severals guards.
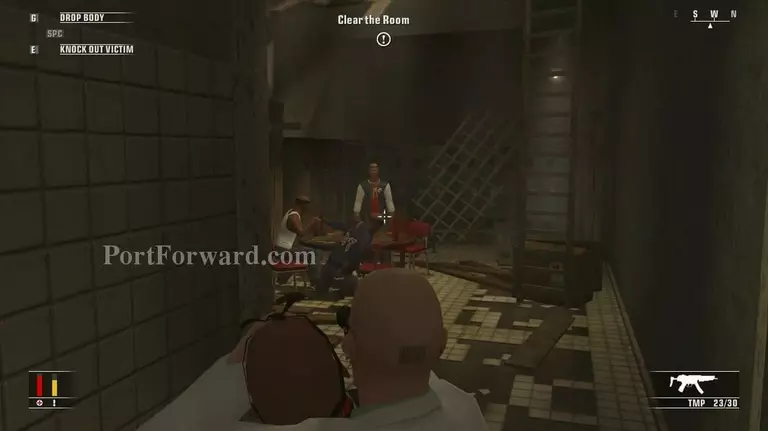
Kill all the guards.

Climb up the ladder.
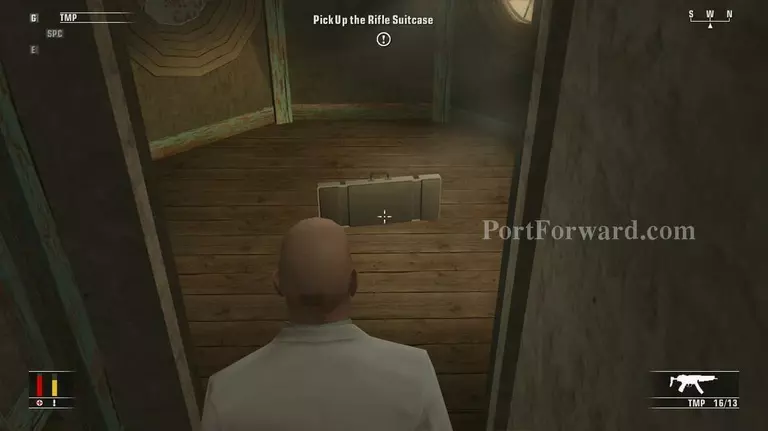
Take the sniper case and equip the sniper.
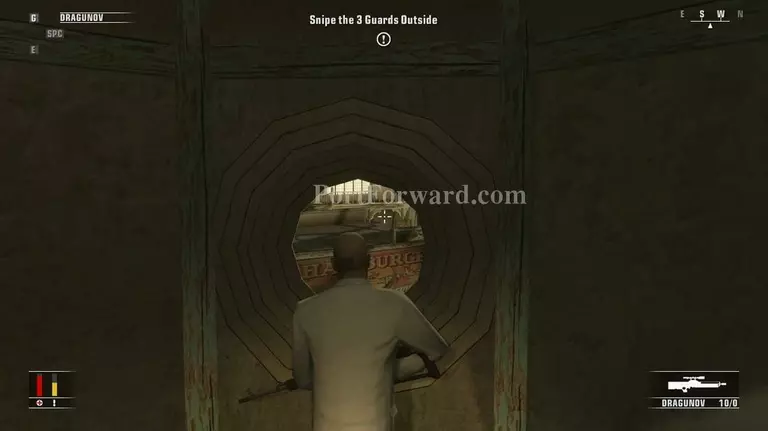
Three guards need to be taken down.
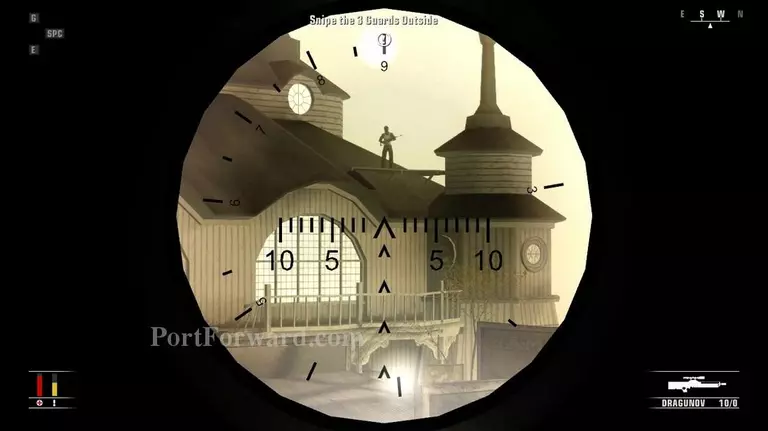
First guard on the roof.
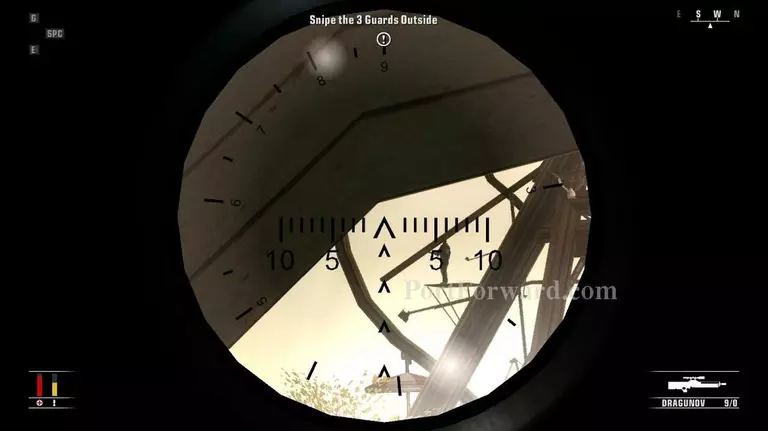
Second guard.
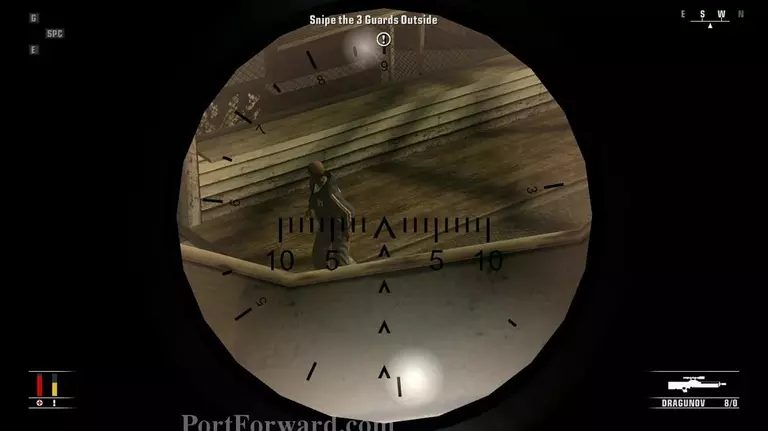
Lastly, one at the ground.
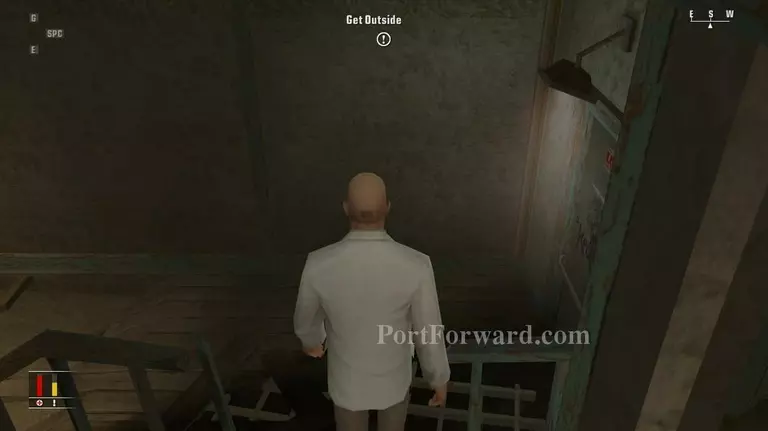
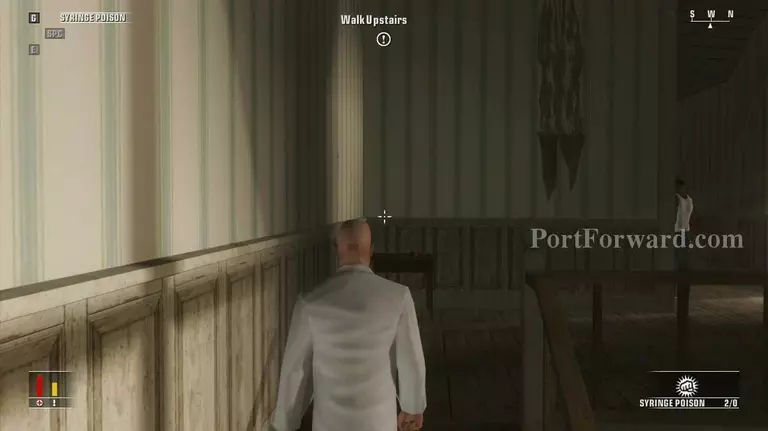
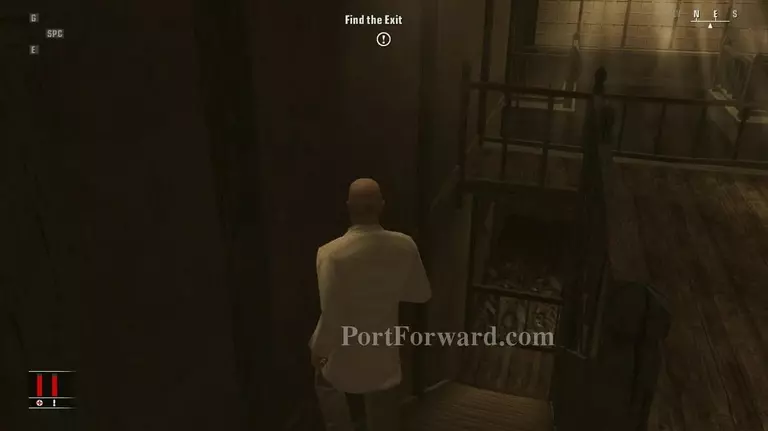
Walk out from the room and turn right. You will see a door. Open it and go outside.
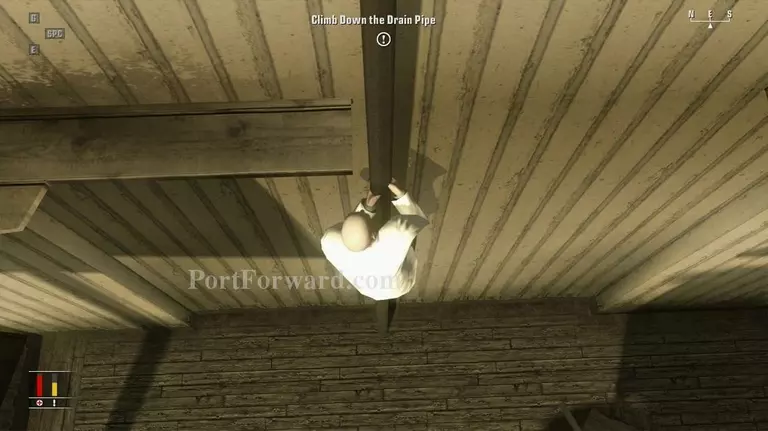
Climb down the pipe.
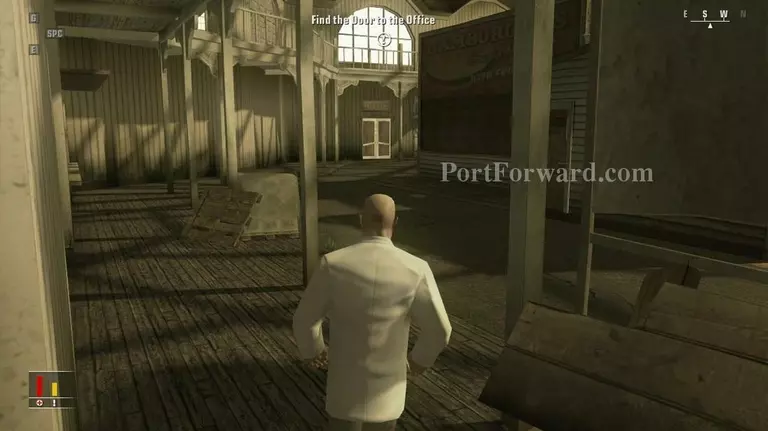
Go to the left and you will see a door.
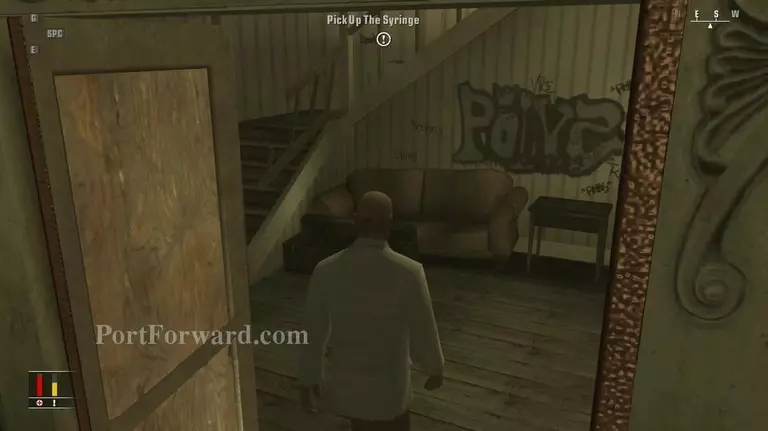
Enter the room and take the syringe in the box in front.
Wait until the guard finished talking to the girl.
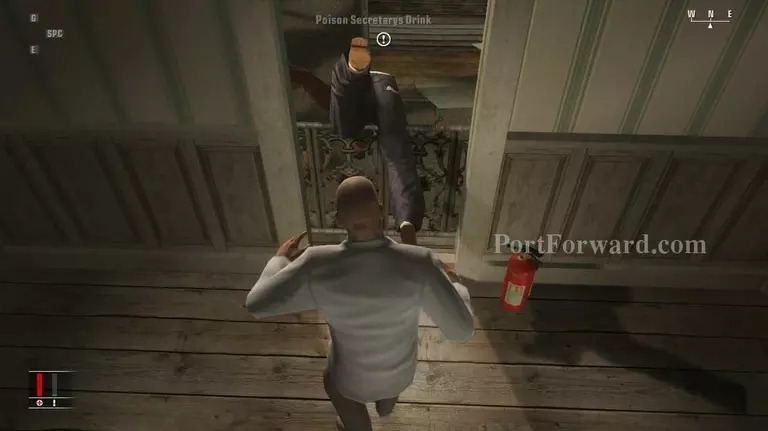
Push the guard from the window.
Then, wait for the girl to enter her boss's room.
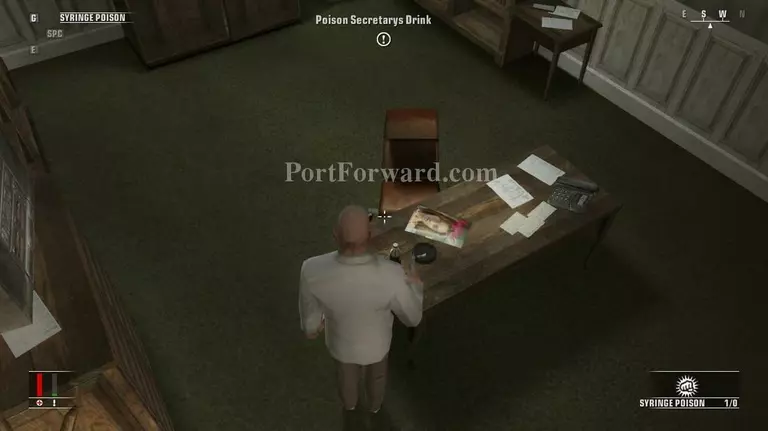
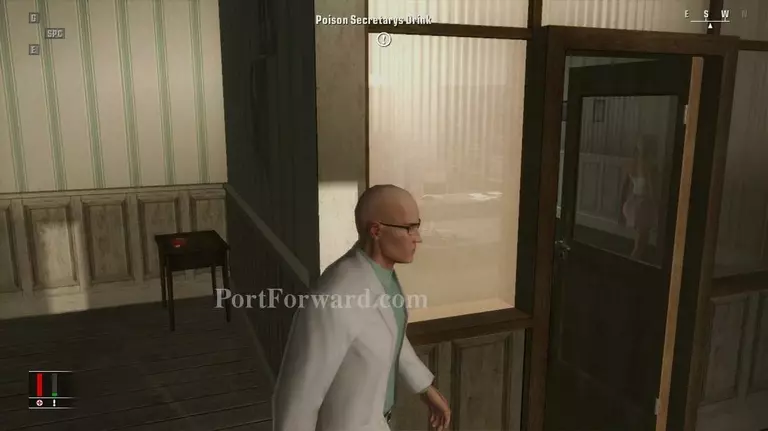
Quickly move into the room and poison or sedate her drink.
Hide in the closet.
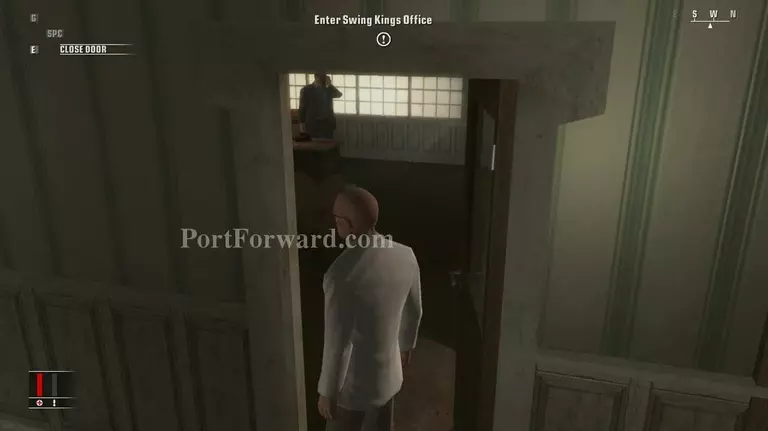
Ather she lost concious, enter Swing Kings' office.
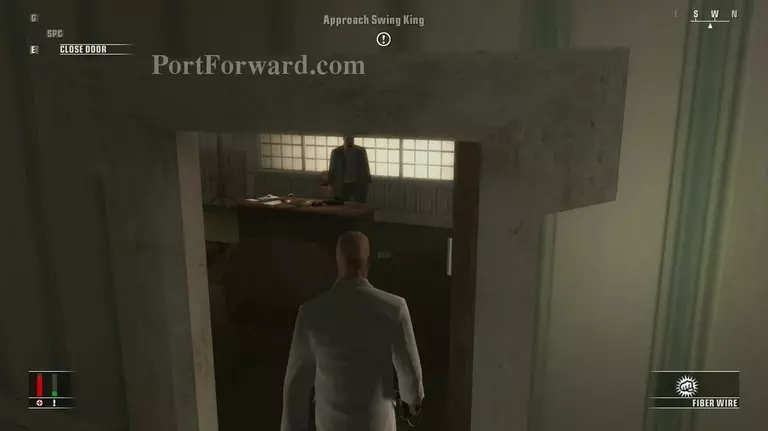
This is the man that you are looking for. Walk close to him and cutscene will be played. Then, kill that guy.
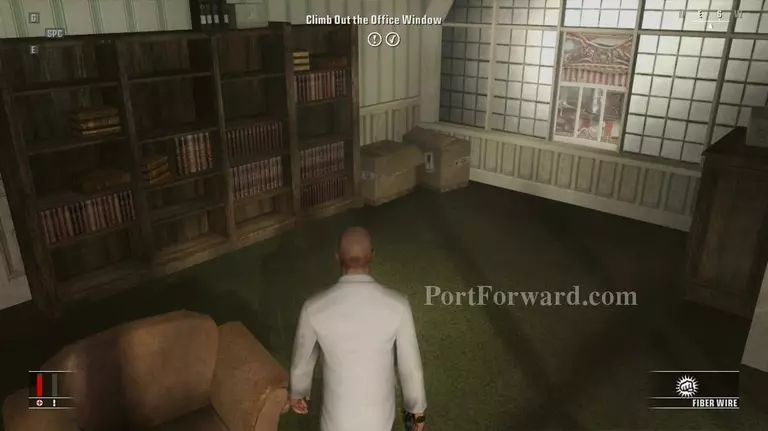
Climb out through the window.
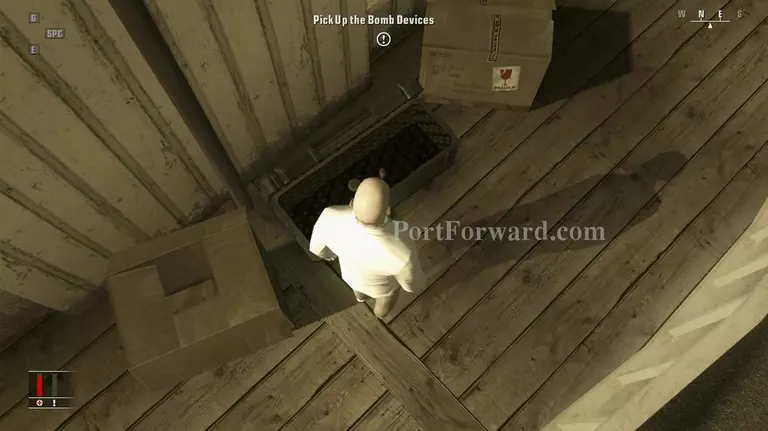
Take a bomb and detonator in the box.
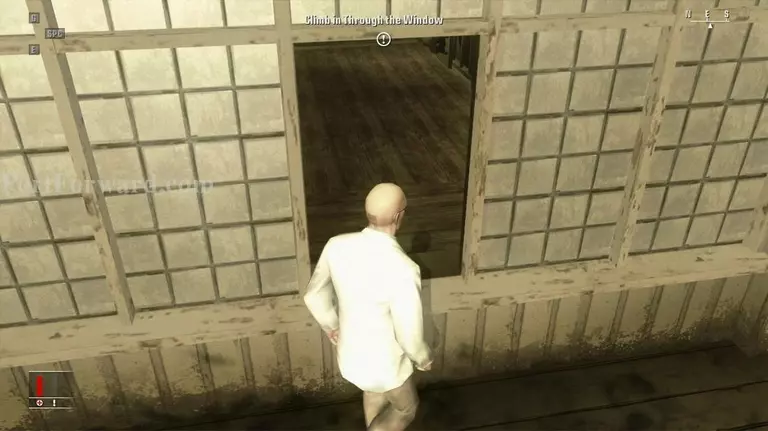
Climb in through the window in the next building.
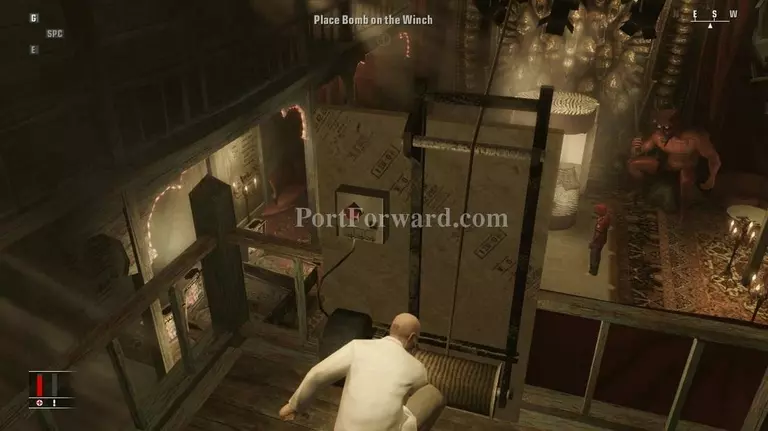
Place the bomb on the winch.
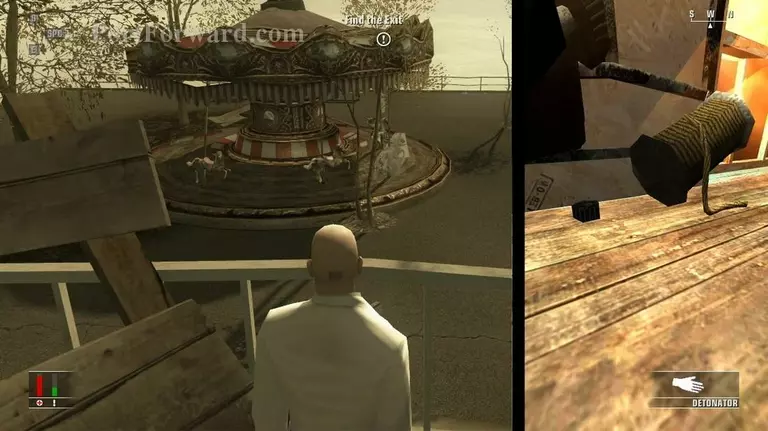
Take note your distance before detonating the bomb.
You can kill the remaining people down there.
Go downstairs and head to exit door.
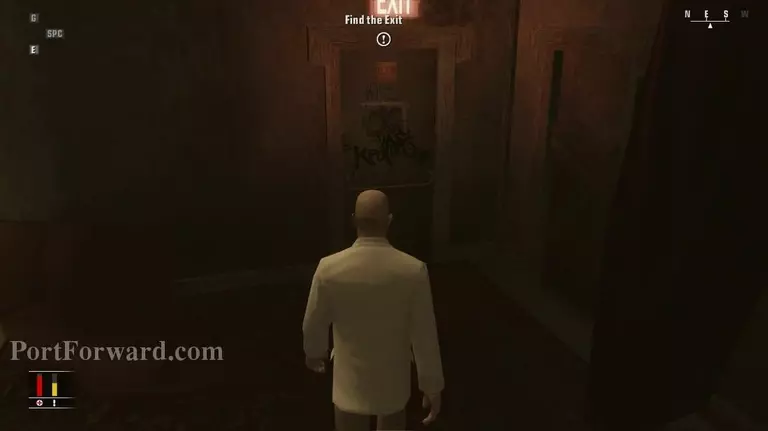
Last thing to do, escape. Mission completed.
More Hitman: Blood Money Walkthroughs
This Hitman: Blood Money walkthrough is divided into 14 total pages.


