This Kane & Lynch Dead Men walkthrough is divided into 16 total pages.
You can jump to nearby pages of the game using the links above.
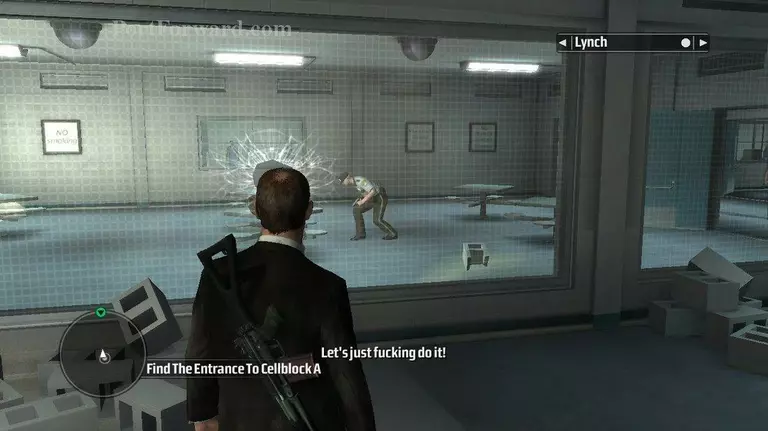
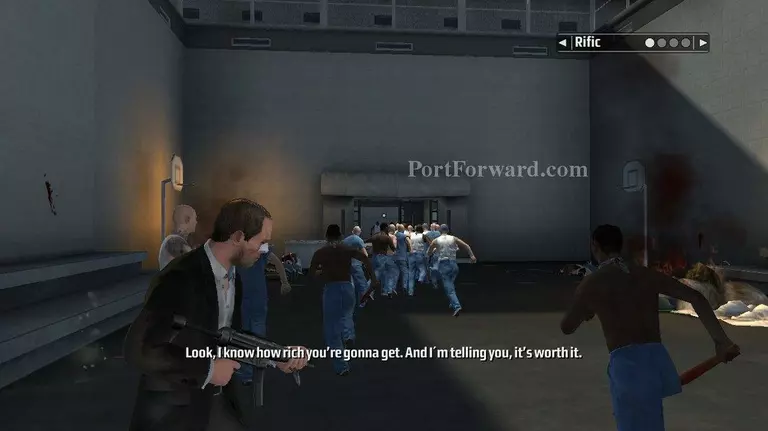
Breakout
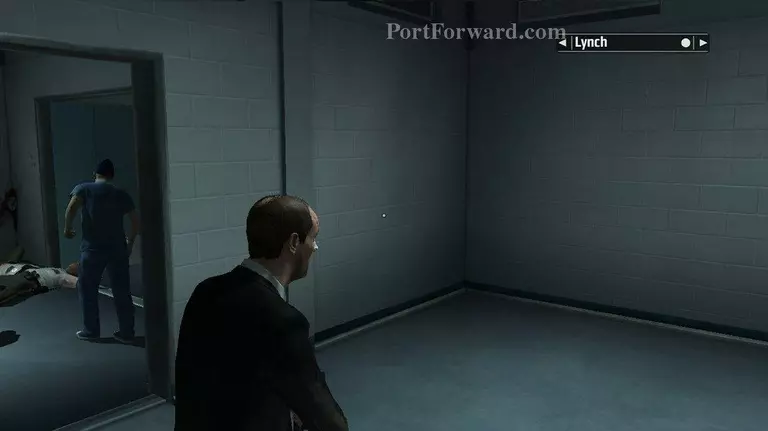
Equip your gun and shoot the guard through the window.
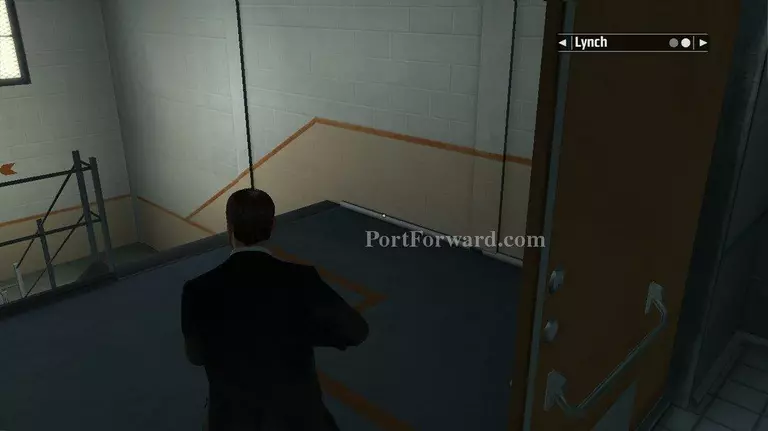
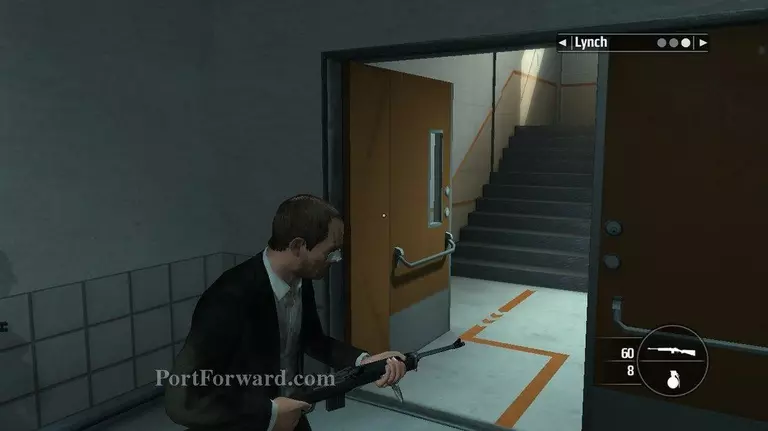
Go through the doors and to the left.
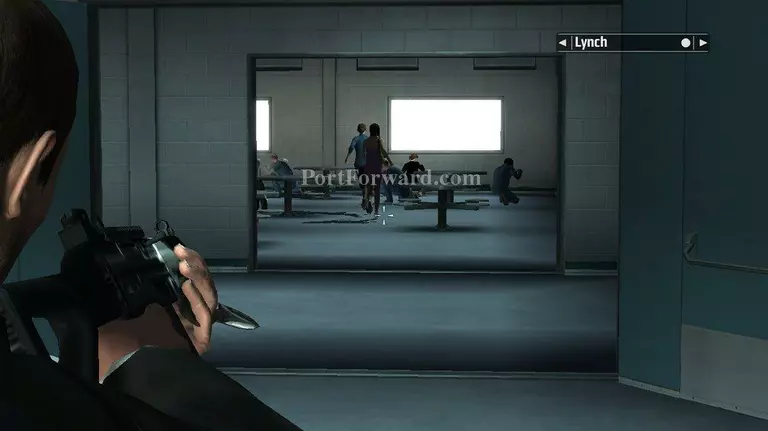
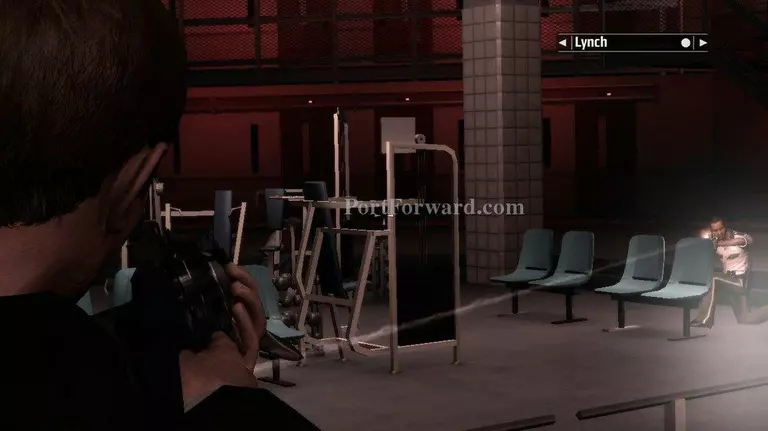
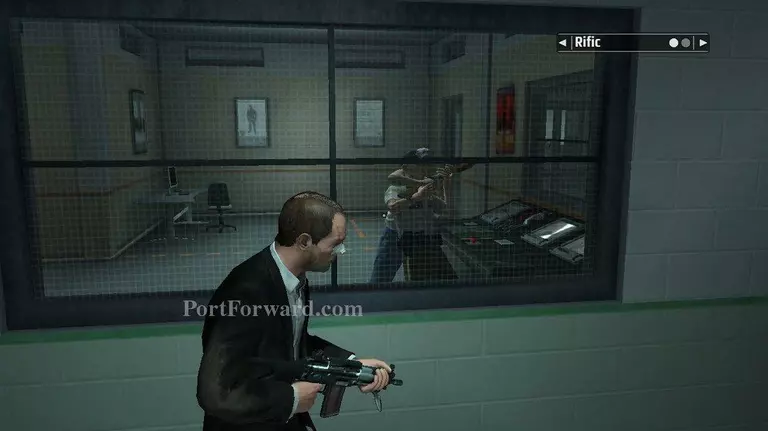
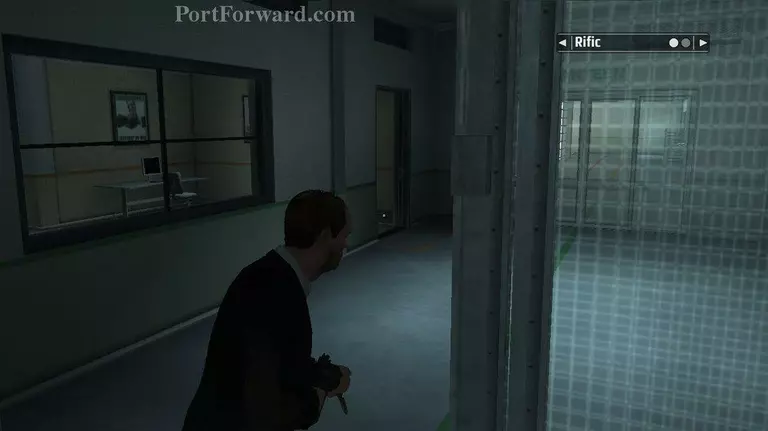
Straight ahead will be two guards behind a window.

In the room to the right will be two more guards.
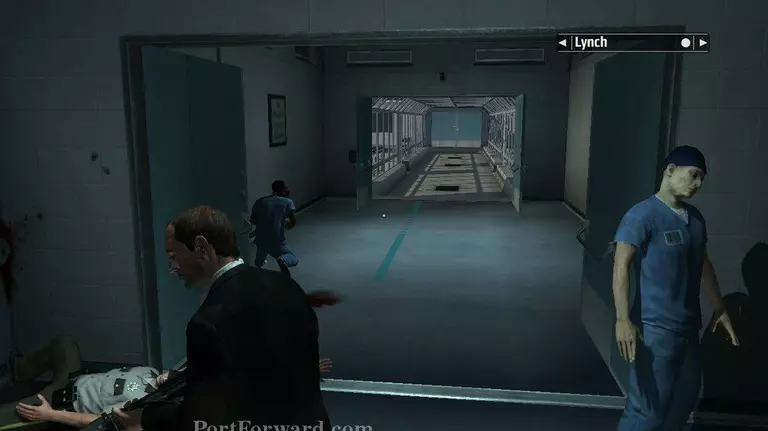
At the guard station go in to the room on the right and shoot the glass.
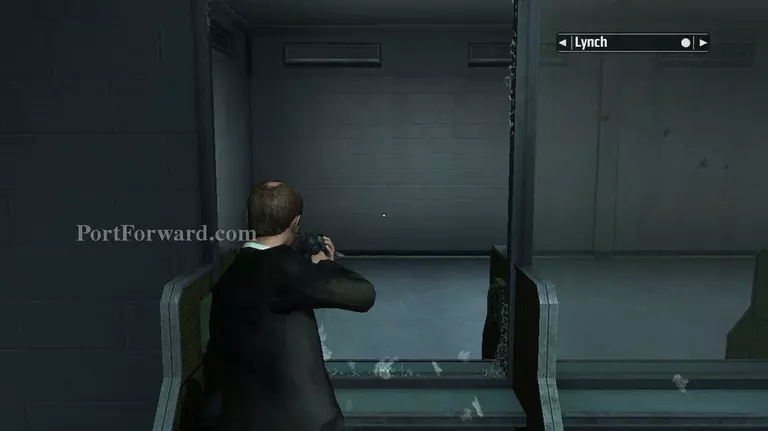
Climb through the window.
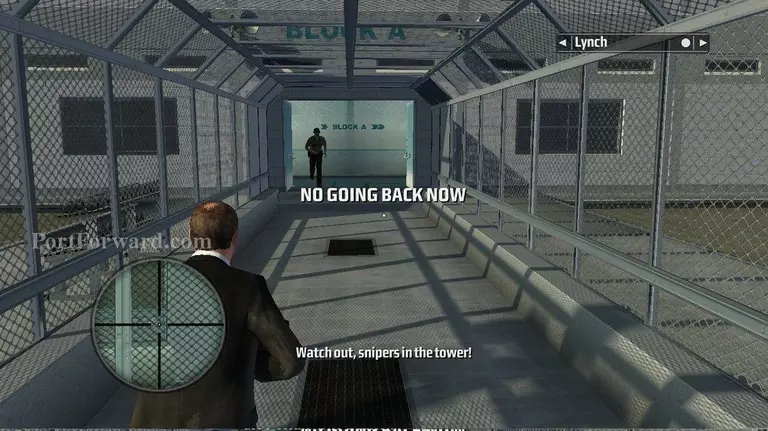
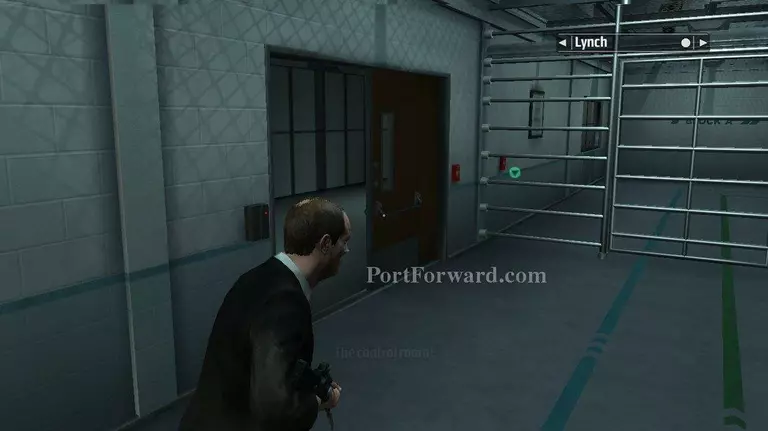
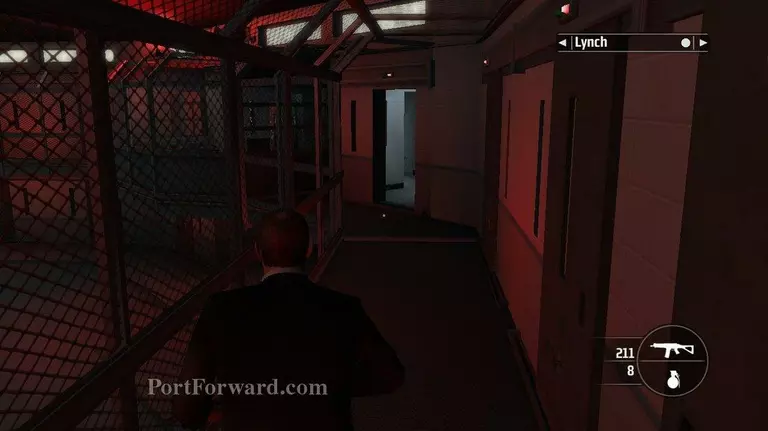
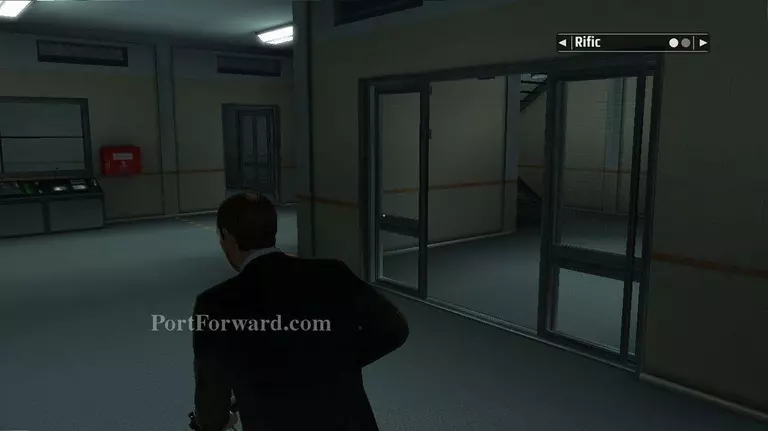
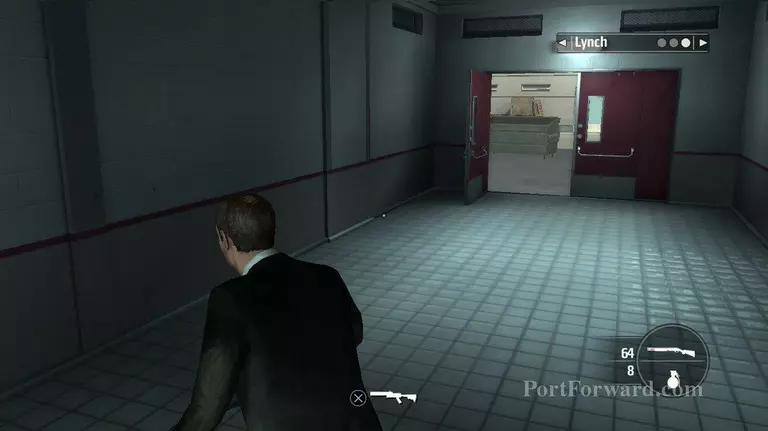
Go through the door in to the hallway. Then turn right and go forward to the open double doors.
Run across this hallway, as there are guard snipers. As you near the doors at the other end of the hallway, the doors open and two guards come out.
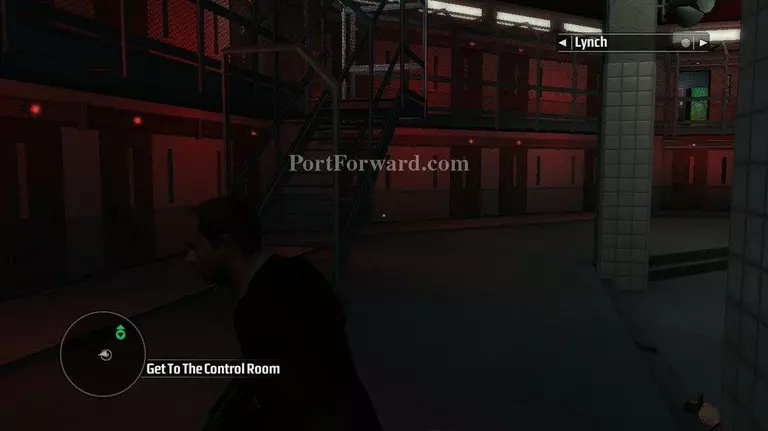
Follow the hall to the right and then to the left.
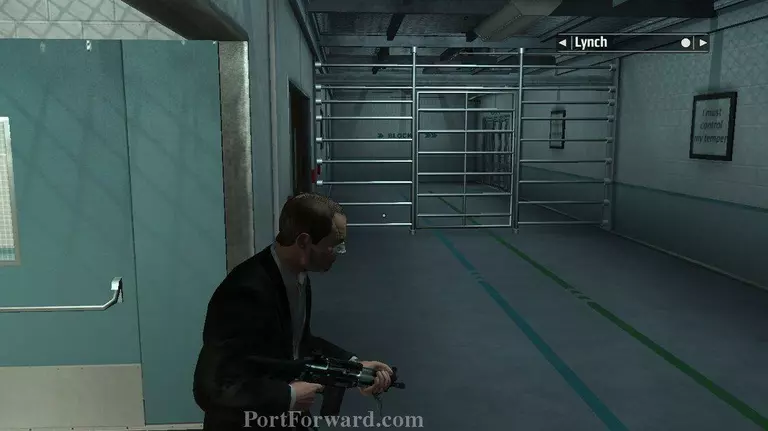
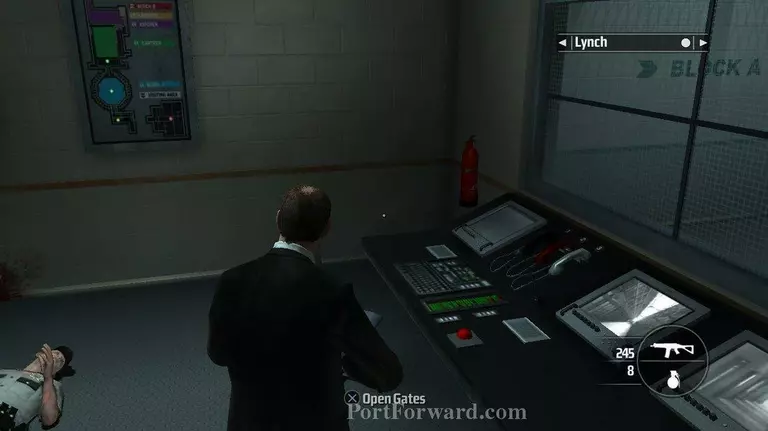
The door on the left leads to the control room.
There is one guard in the control room. After the guard is dead, run up to the red button and open the gates.
When you come back out in the hall, there will be some guards above you. Shoot through the catwalk to kill them.

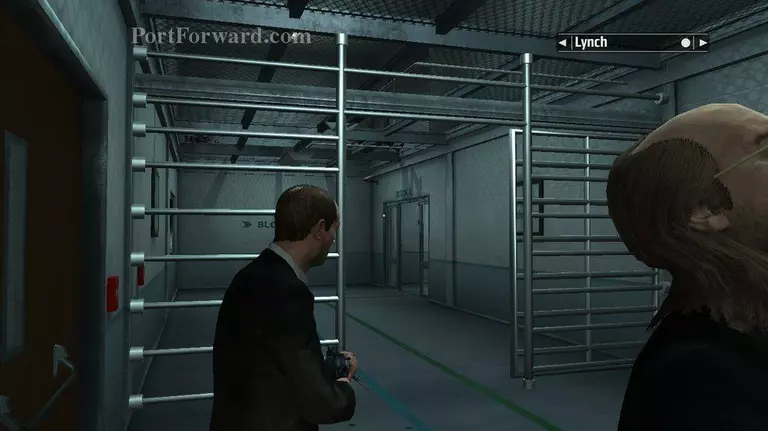
Go through the open gates.
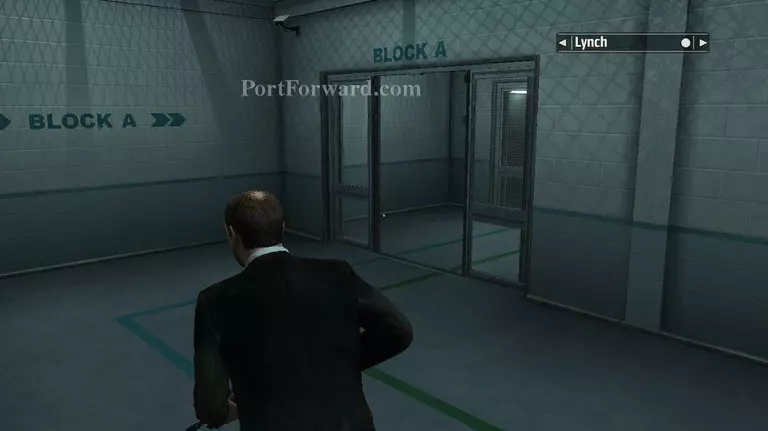
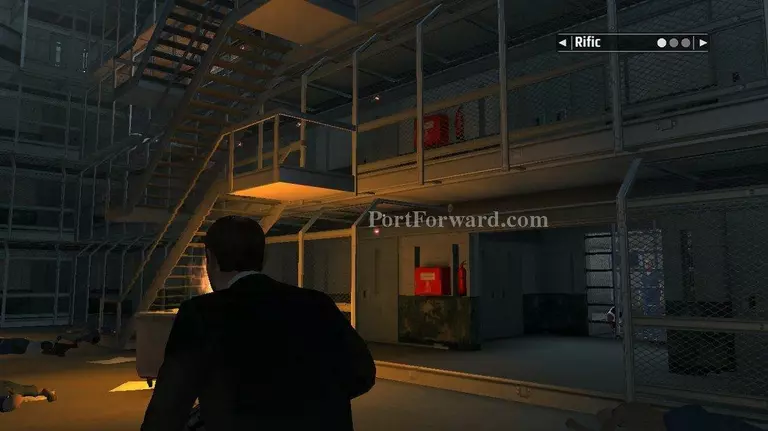
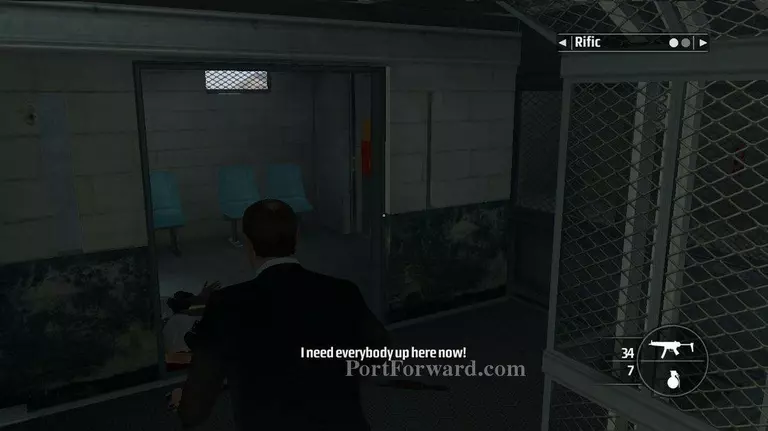
Go through the doors in to the cell block. Then take cover behind a pillar.
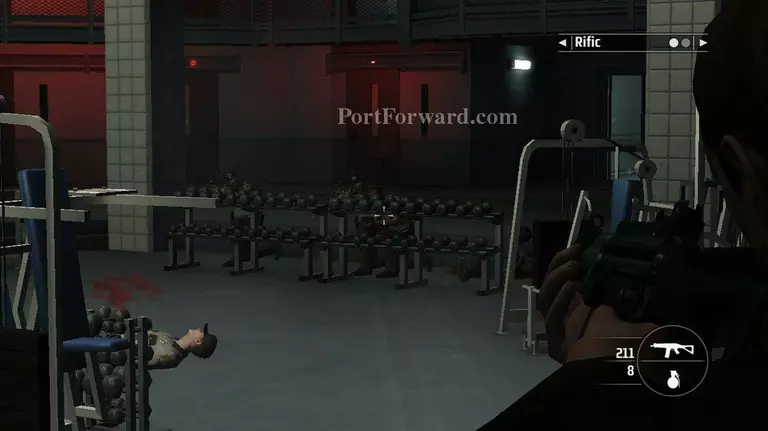
Shoot the guards on this floor before moving to the stairs.
Climb the stairs and kill the guards on this floor.
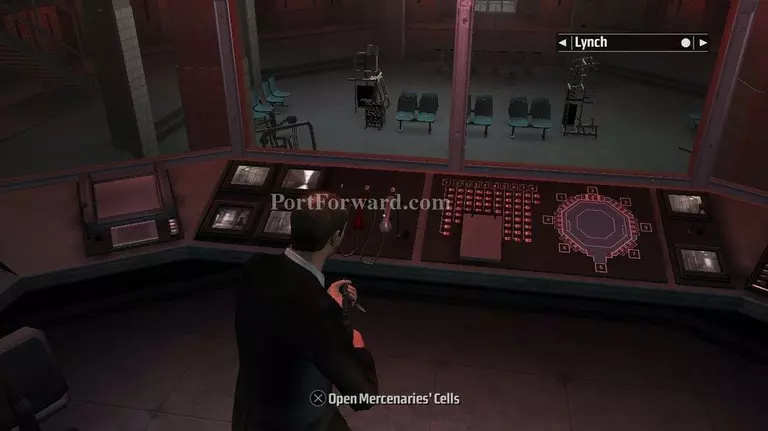
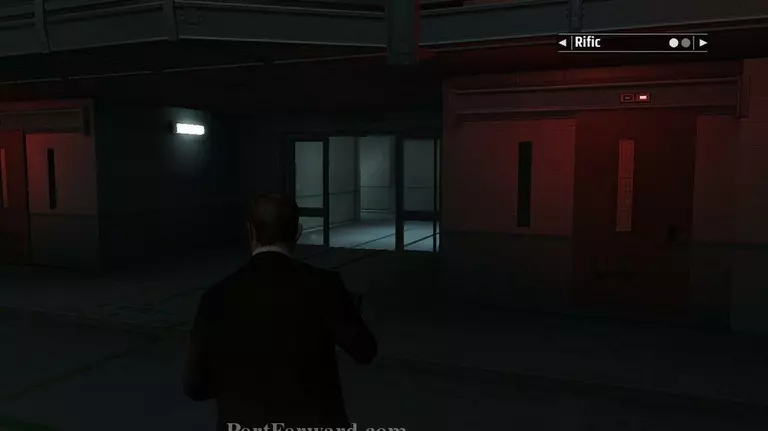
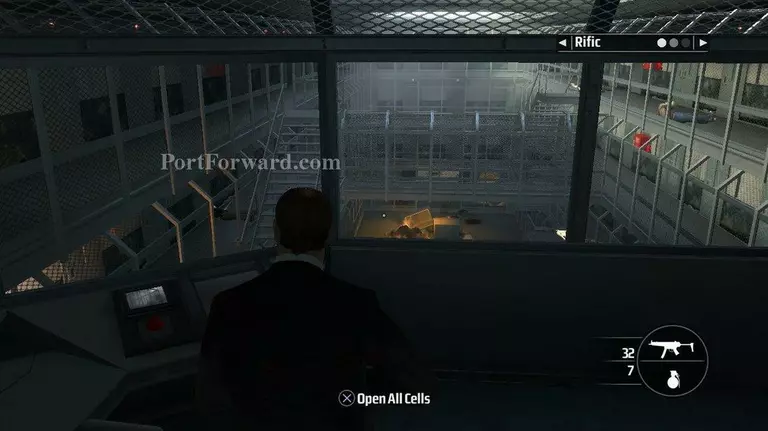
When the guards are dead enter the control room.
Use the console to open the cells to the mercenaries.
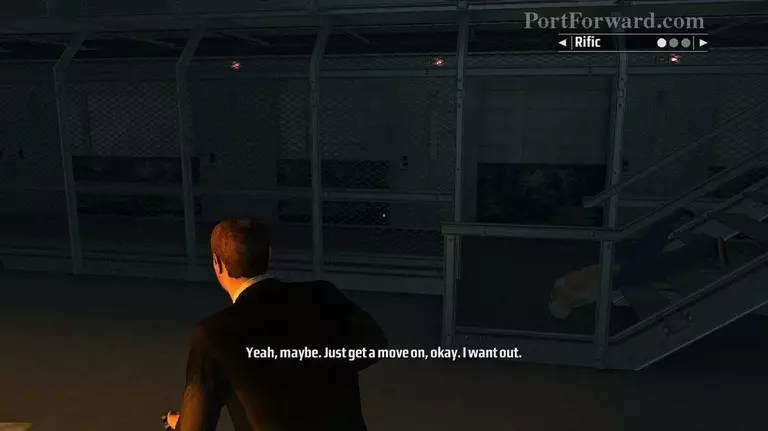
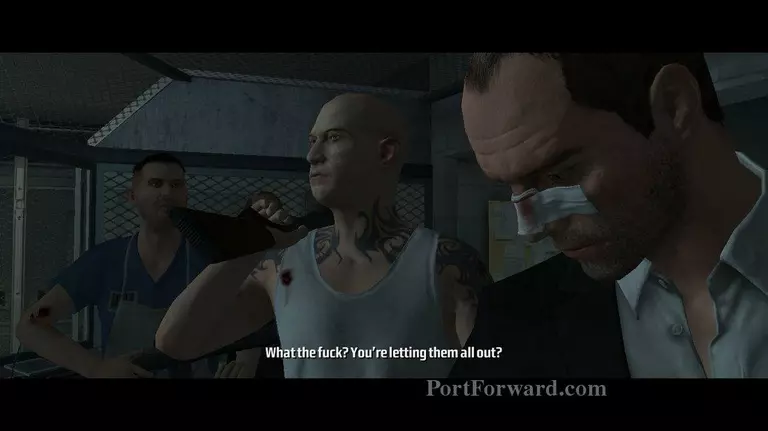
Go back downstairs and to the left of where you entered the cell block will be a cell with a green light.
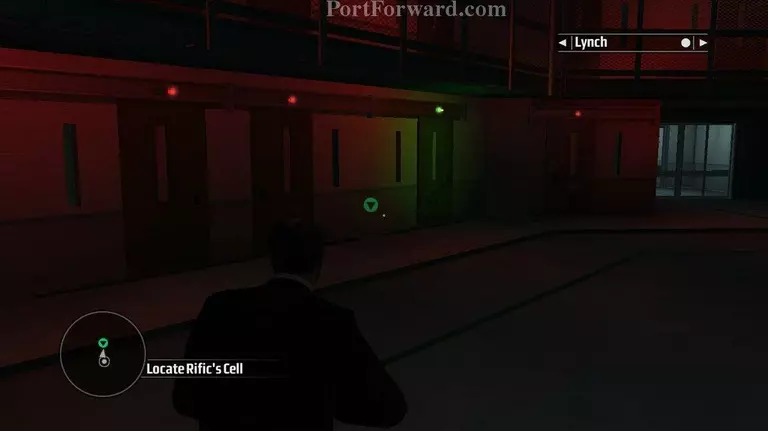
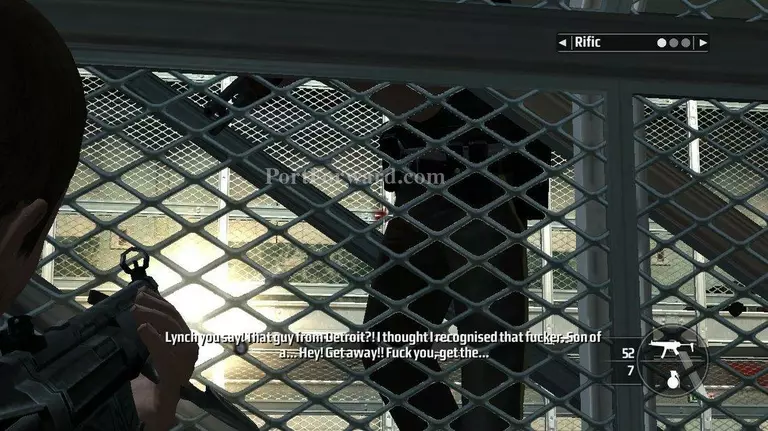
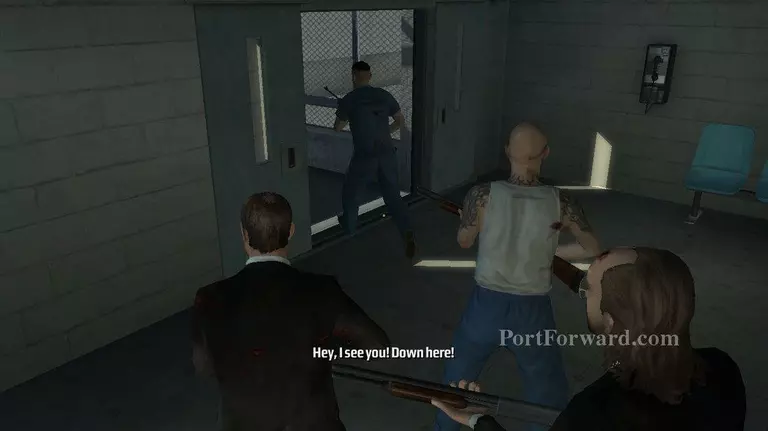
Open the cell door and a cut scene will begin. After the scene more guards enter the cell block.
Go through the doors the guards used to enter the cell block.
Go to the right. You will see an inmate kill a guard and open the door for you.
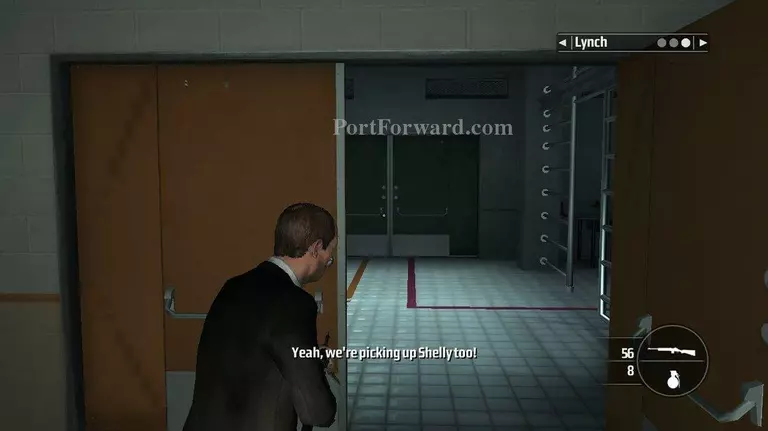
Go through the door he opened and then the door to the left.
In the center of this guard station is a hallway leading to the mess hall.
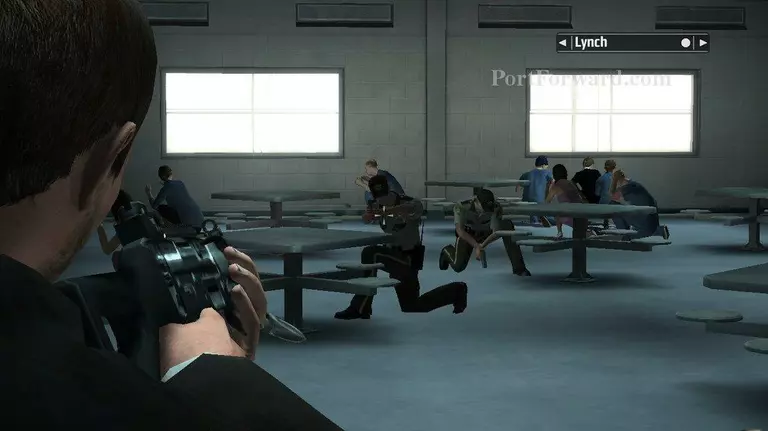
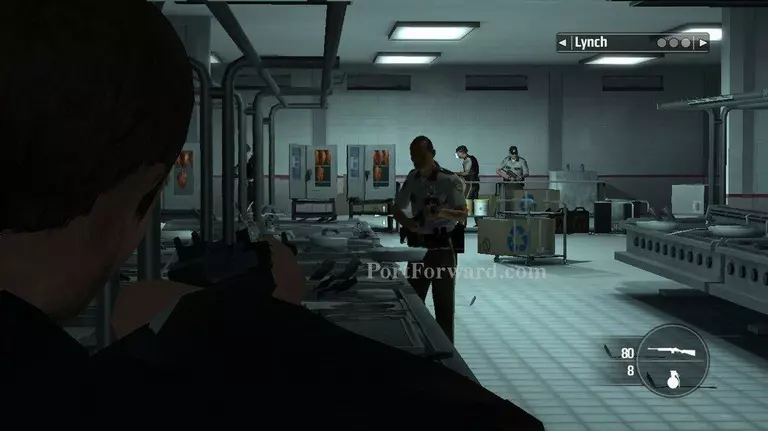
Go through the door and shoot the guards in the mess hall.
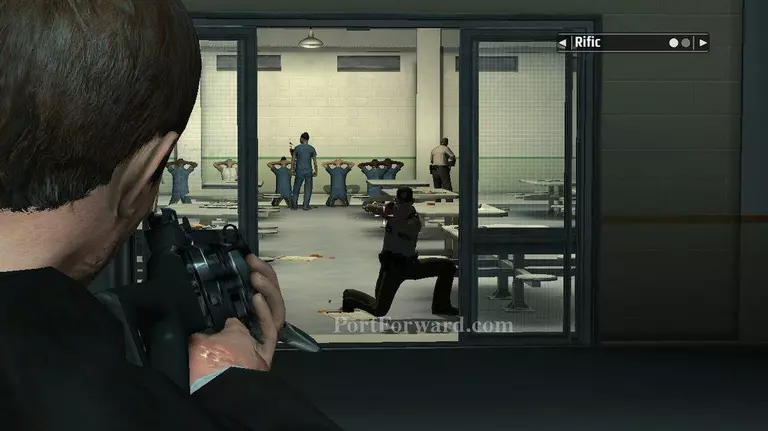
Once the guards are dead, follow the orange line.
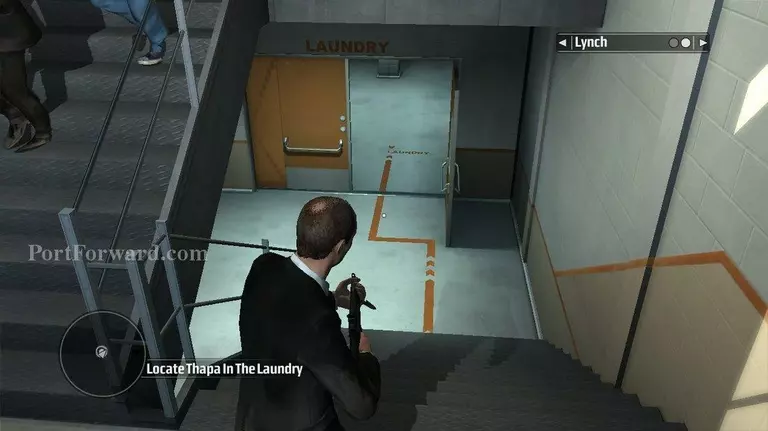
Go around the corner to the left. Go through the doors and down the stairs.
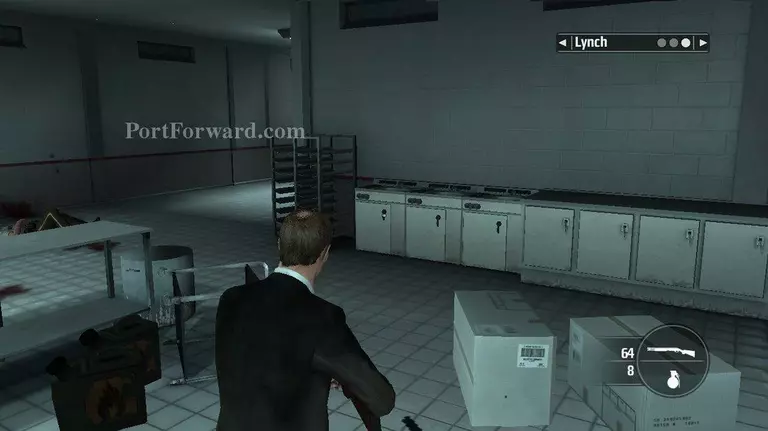
At the bottom is the laundry where Thapa is located.
In the laundry room go to the right. The double doors at the end of the hallway are locked.
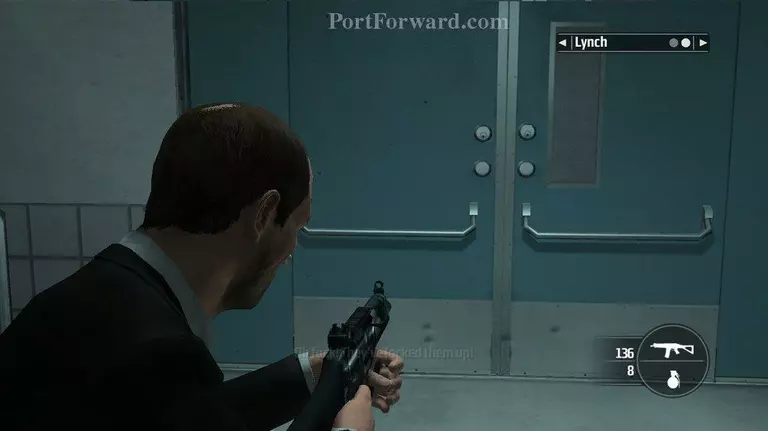
Open the door. A cut scene will begin. There will be guards back at the entrance to the laundry.
Go back to the door and then up the stairs.
At the top of the stairs the gate to the right will be open.
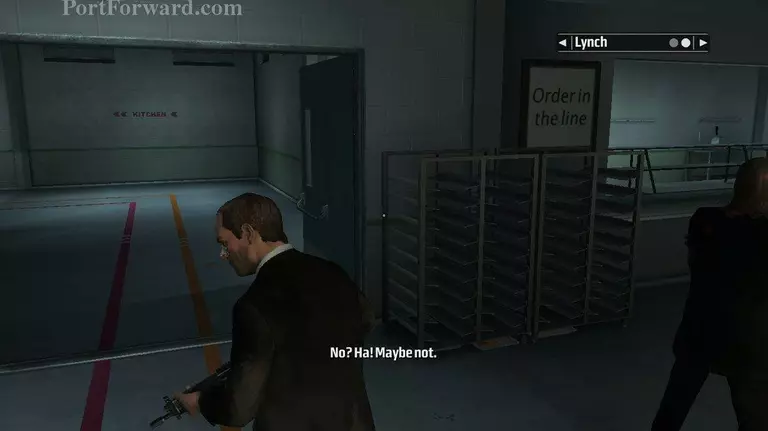
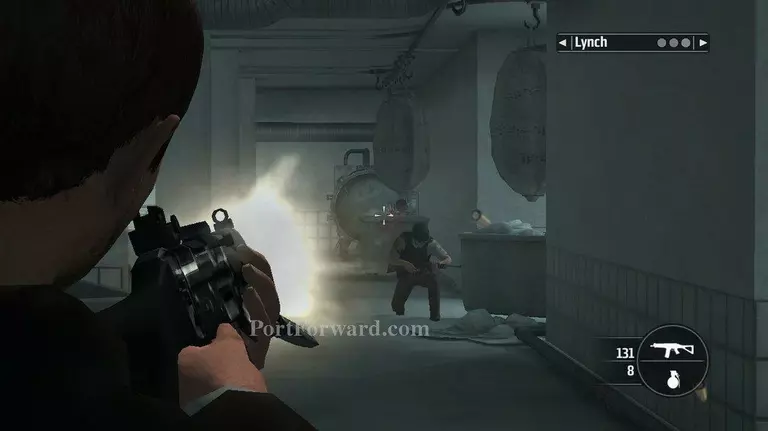
Guards will rush in to the kitchen.
When the guards are dead, go through the kitchen and to the right.
There is a door to the outside here.
There are snipers outside. Go forward and to the right.
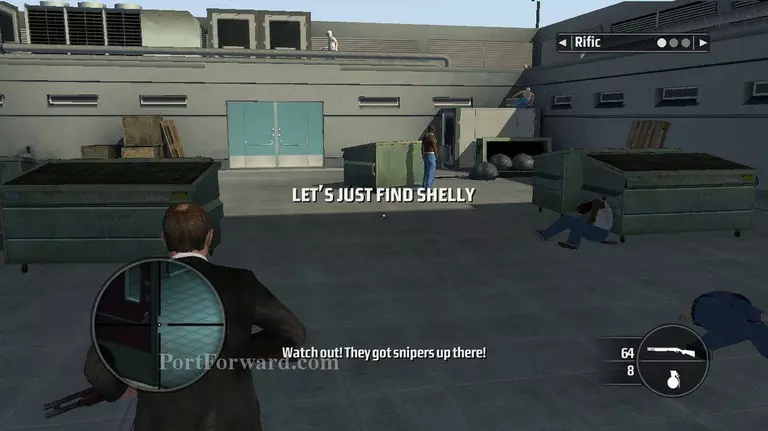
Climb the boxes and dumpster to reach the roof.
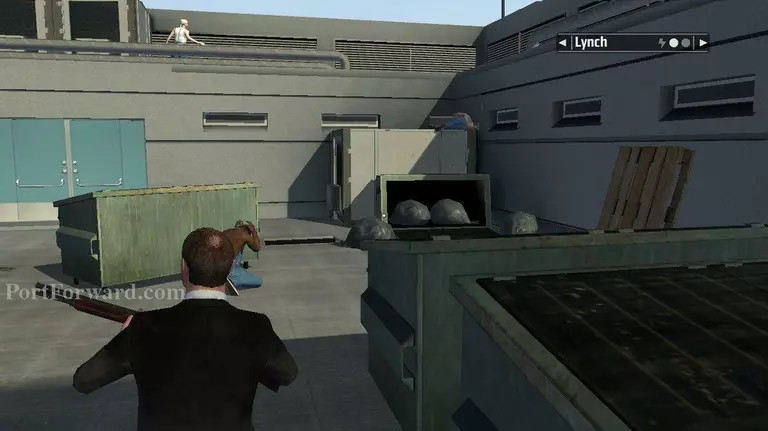
Head to the right and around to the left.
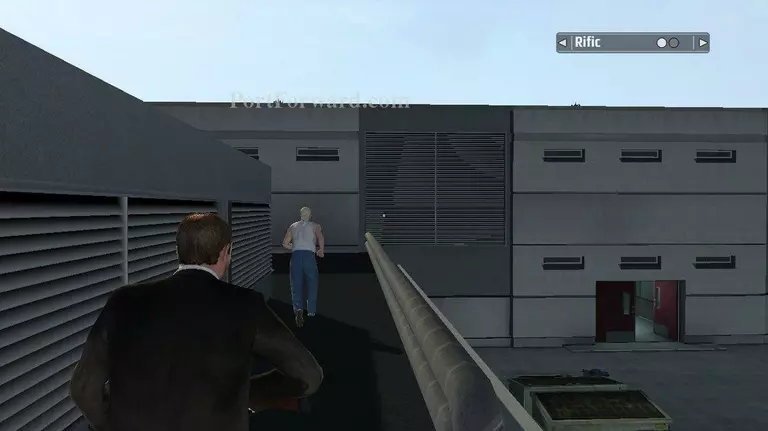
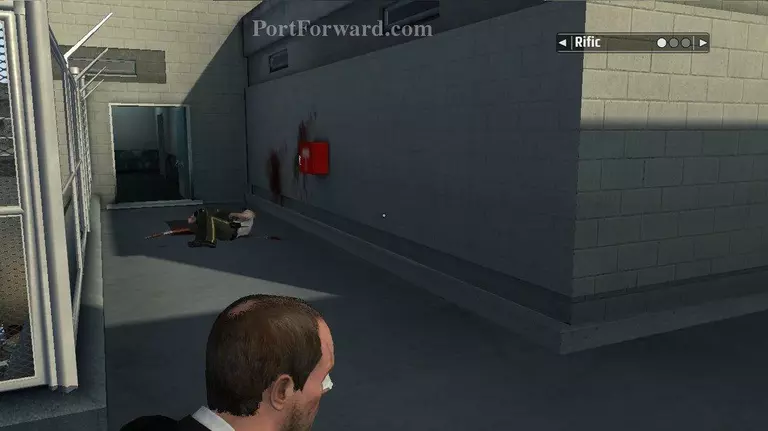
Kane will find cell block B on fire.
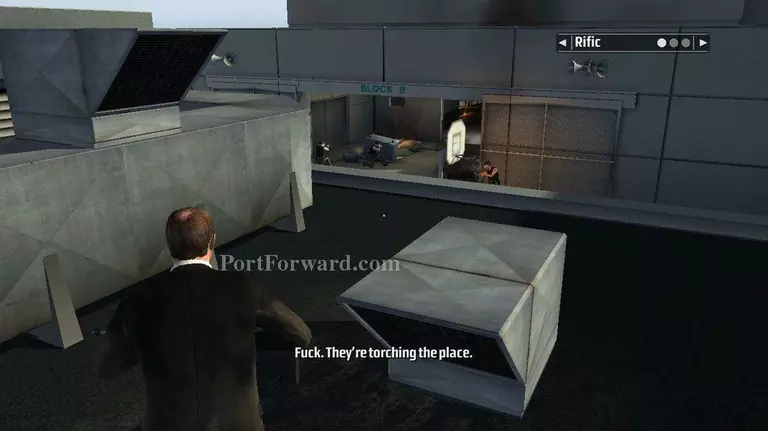
There will be like five guards in the yard of block B

Enter the cell block.

Shelly will be to the right behind some bars.
Back out in the main area climb the stairs to the top floor.
There will be several guards in the upper floors.
The door in to the control room is on the left side.
On the left side of desk is a red button.
Press the button to open the cells.
The door to your left will open.
Follow the path to a covered walkway. After a scene with Shelley the door will open.
Wait for the door to open in the next room.
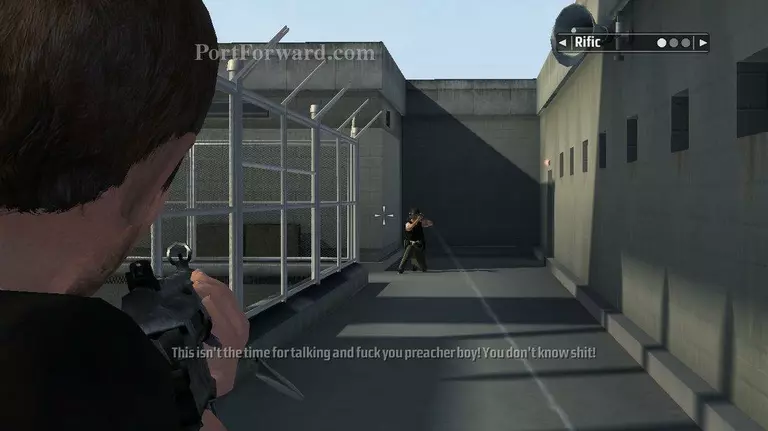
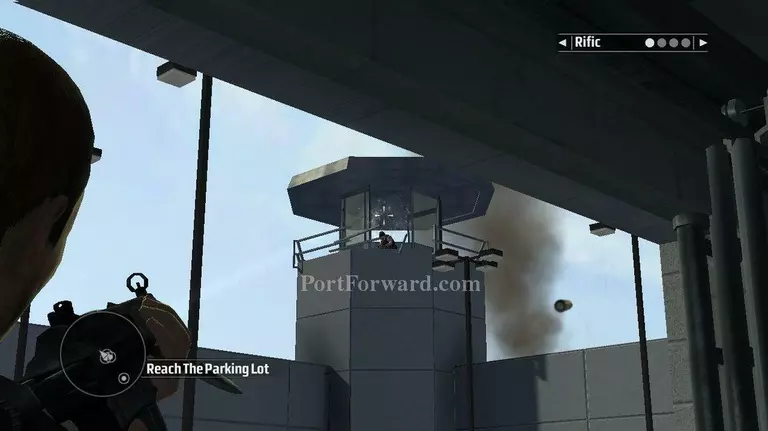
Go to the right. Make your way around the fenced section to the door to the tower.
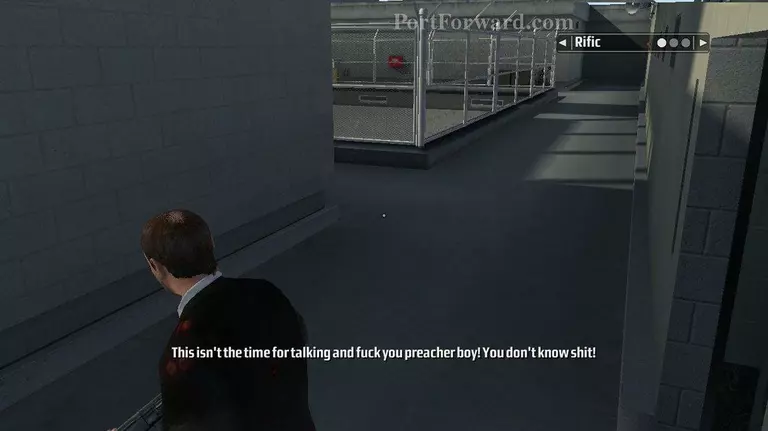
There will be five guards on the way.
Go through the door.
Then go up the stairs all the way to the top.
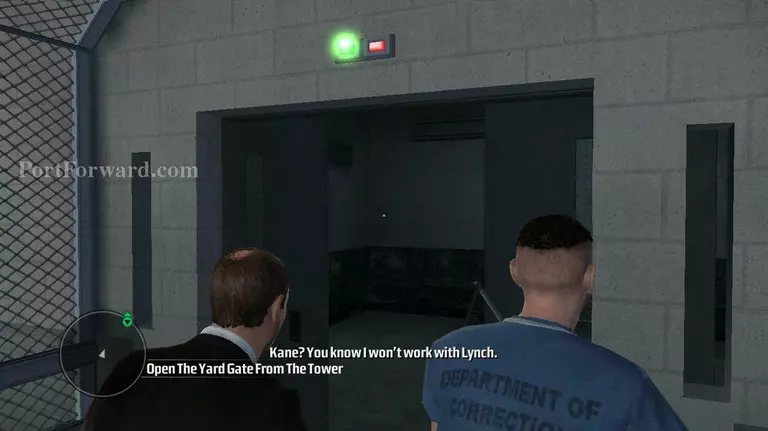
At the top of the stairs will be the control room and some guards.

To the left will be the yard's gate control.

Open the yard gates.
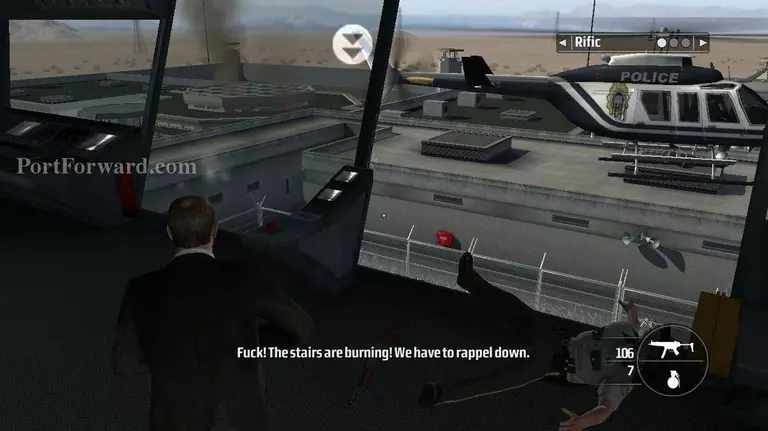
Once the gates are opened, repel down to the yard.
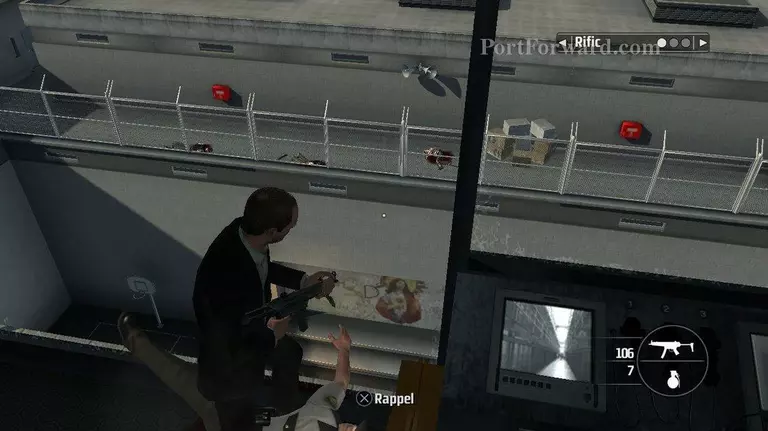
At the bottom, turn around and go out the gates.
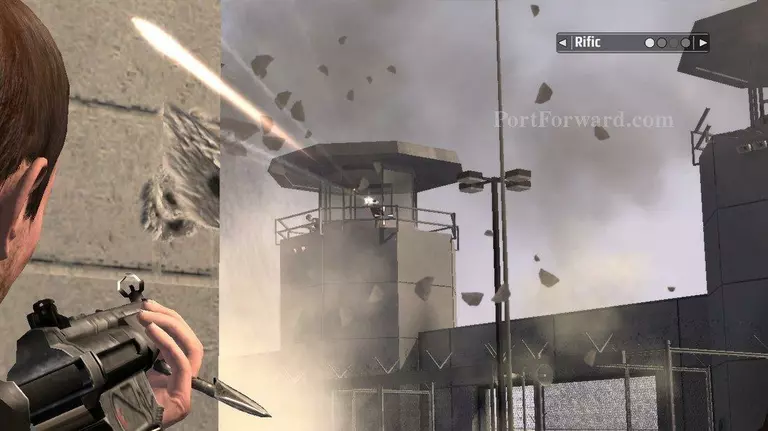
There will be a sniper in the tower to the right. Also the helicopter will fly around sniping you as well.
To the left of where you came in is the parking lot.
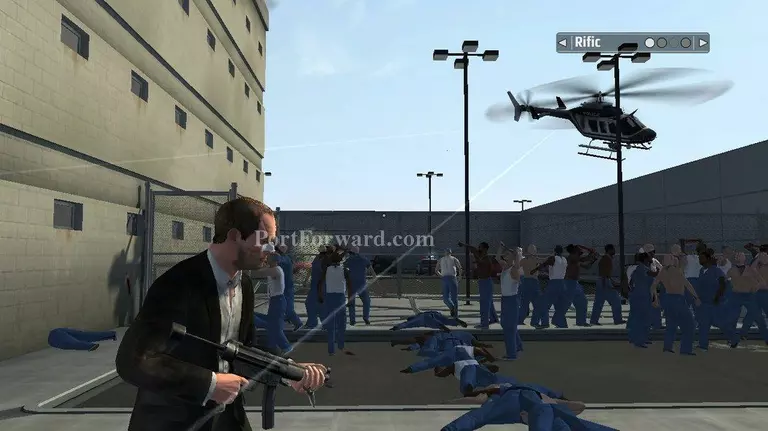
There will be several guards in the parking lot as well as two snipers in the tower to the left.
Father to the left is another tower with snipers.
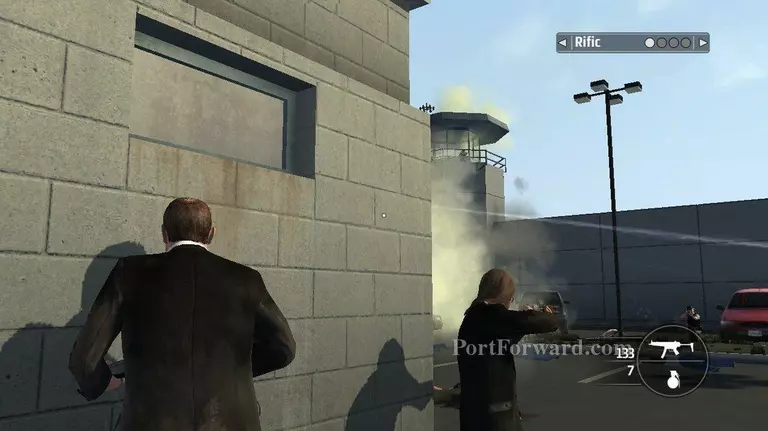
At the far left end of the parking lot is the prison transport.
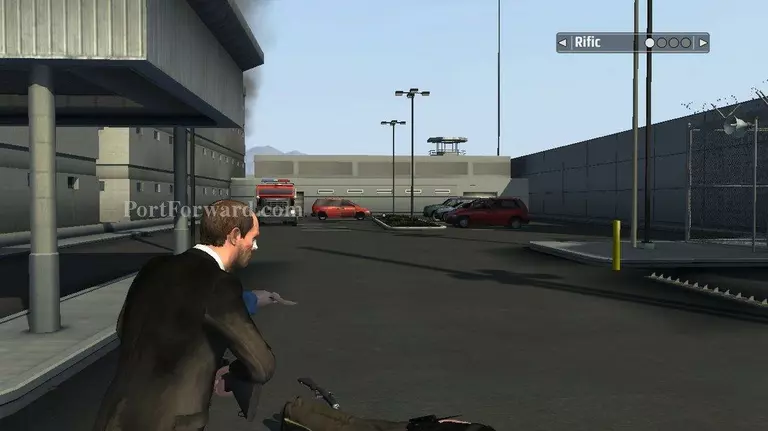
Run to the prison transport. The crew will get in the transport.
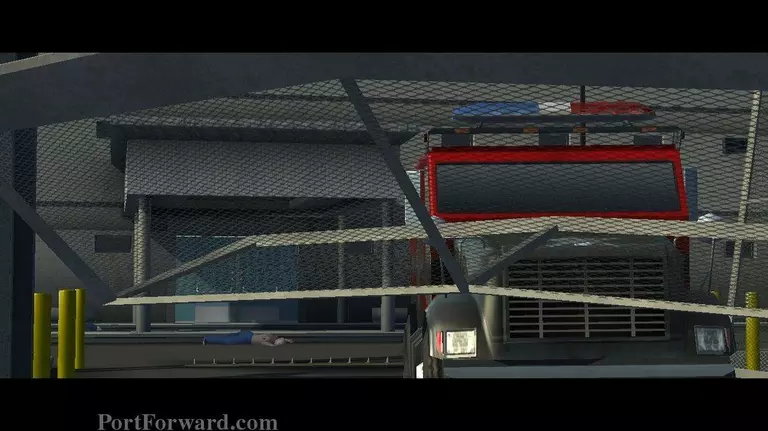
This will end mission 8 for Kane and Lynch.
More Kane & Lynch Dead Men Walkthroughs
This Kane & Lynch Dead Men walkthrough is divided into 16 total pages.