
This Kane & Lynch Dead Men walkthrough is divided into 16 total pages.
You can jump to nearby pages of the game using the links above.
Retomoto Tower
Go around the corner to the right.
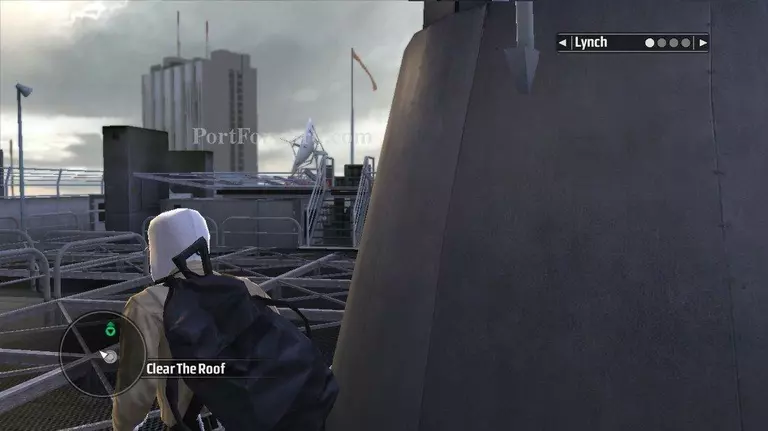
Shoot the guards at the helipad.
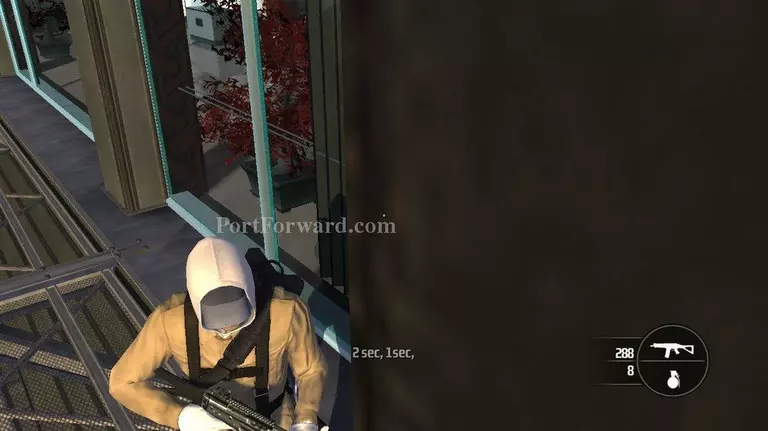
Go down short stairs for a cut scene. Then repel down to a window.
Set the bomb and run to the corner.
Wait for the bomb to go off.
Run in to the building through the now blasted window.
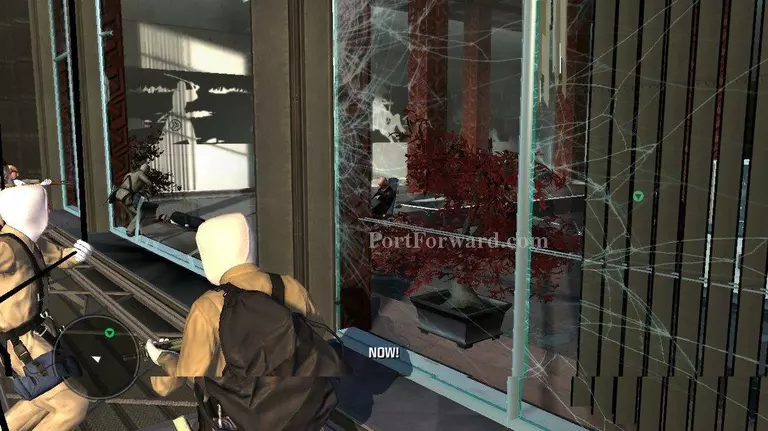
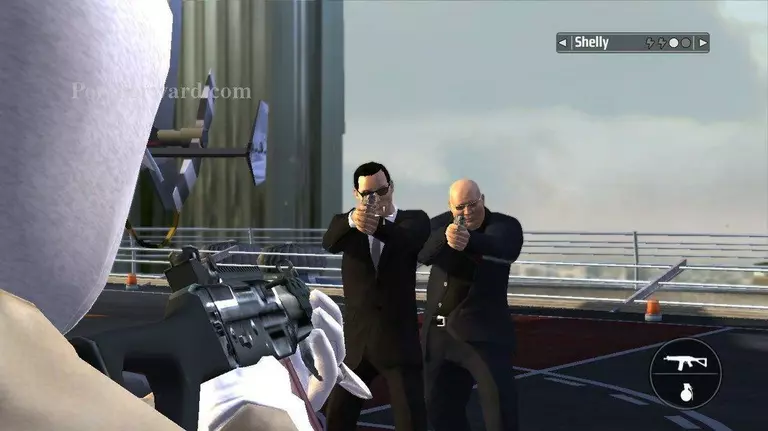
There will be like five guards in the room.
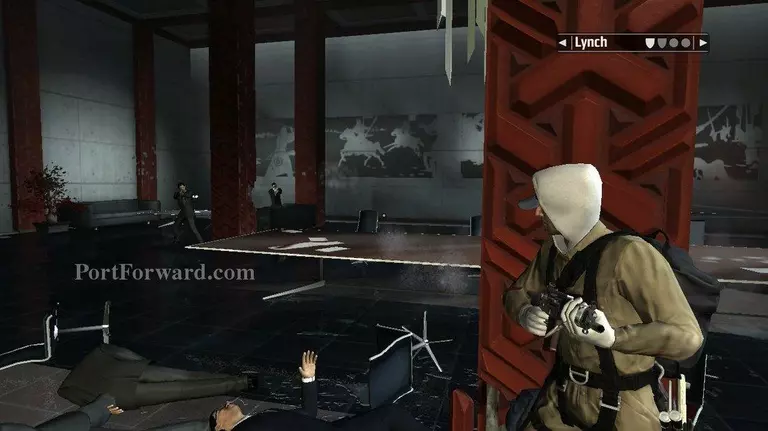
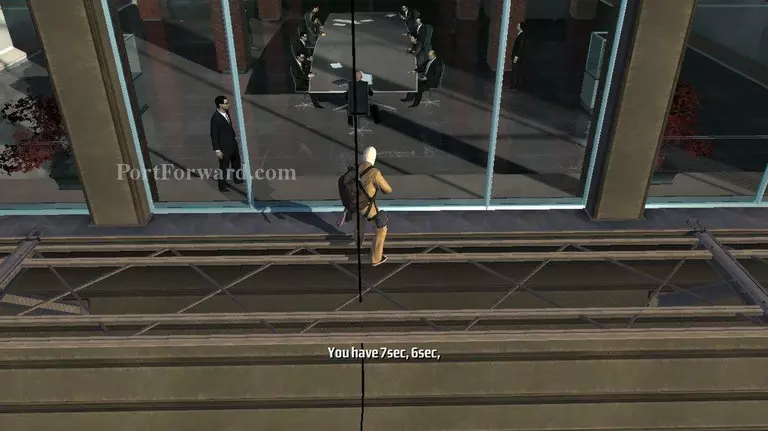
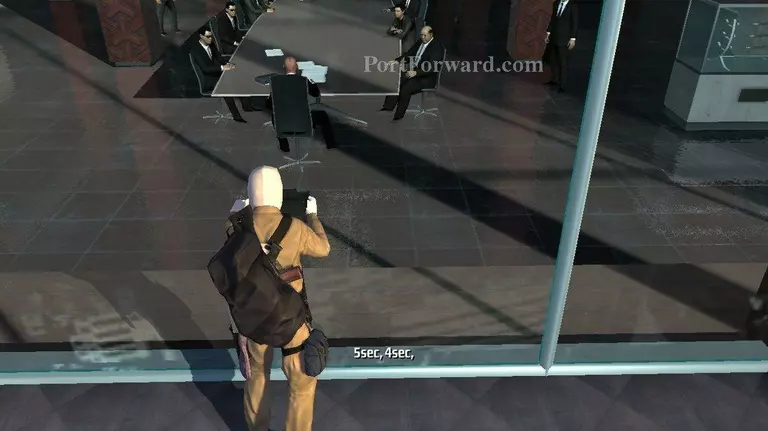
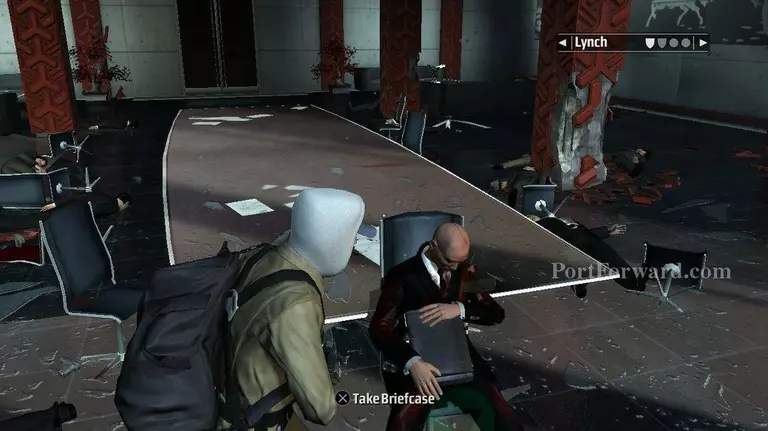
Walk over to Retomoto.
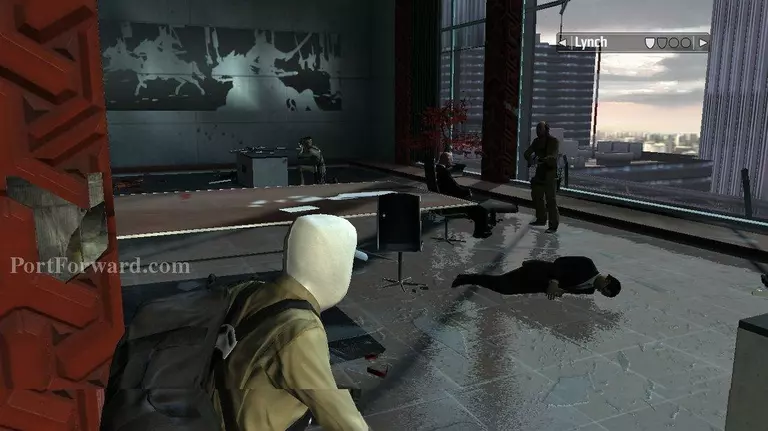
Grab the briefcase from Retomoto's corpse.
After the scene take cover behind anything close. Because the door is about to busted open.
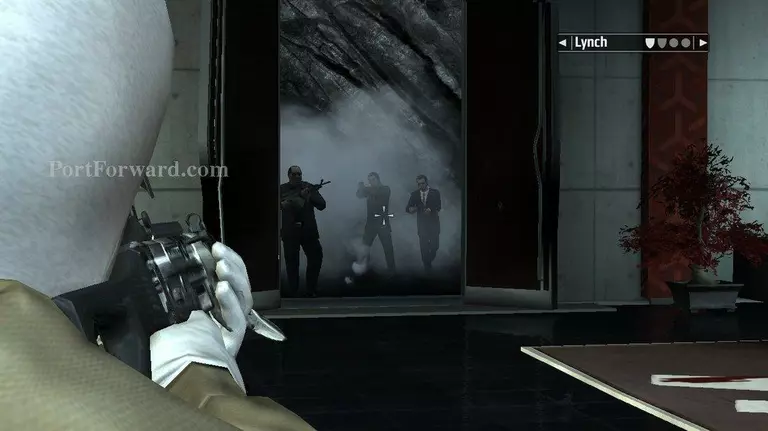
Kill the guards that come through the door. Concentrate on the big guard. His gun will kill you fast.
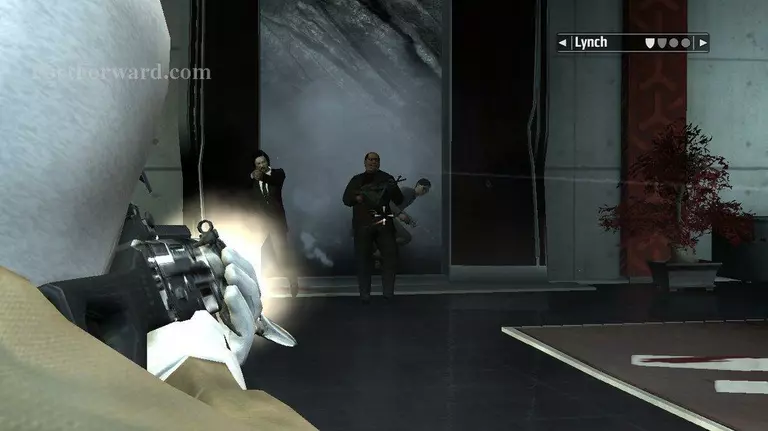
When you go through the door, there may be a guard on either side of the door.
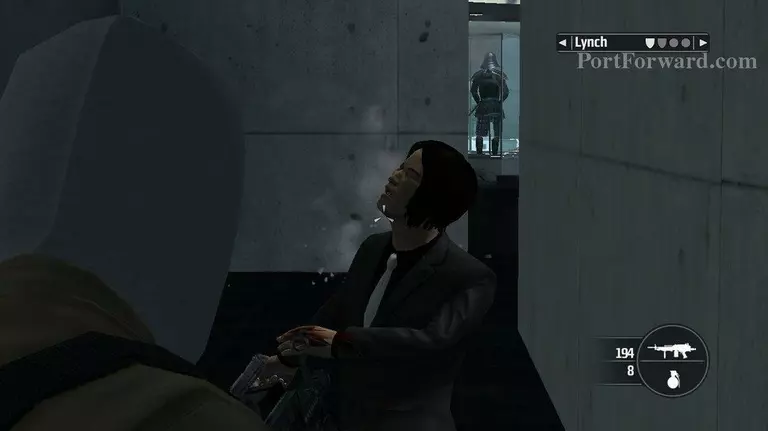
Go around either side of the wall in front of you. On the other side take cover behind the reception desk.

Kill the guards as they come at you.
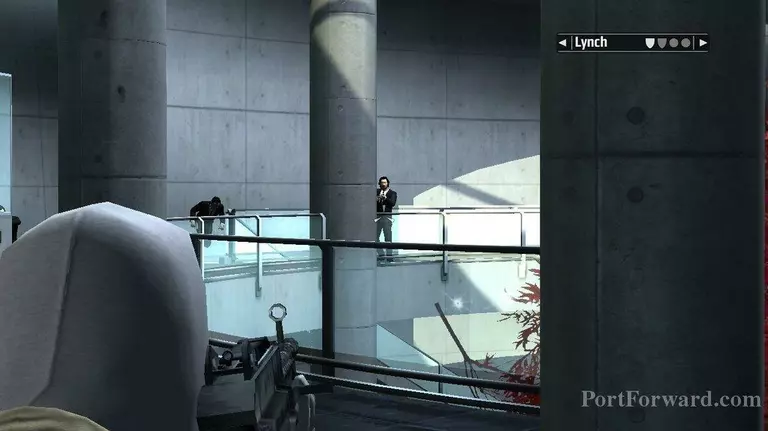
Start down either walkway to the stairs down.
Kill any guards on the way down.
When you go down the first set of stairs, hang over the railing and shoot the guards on the floor below.
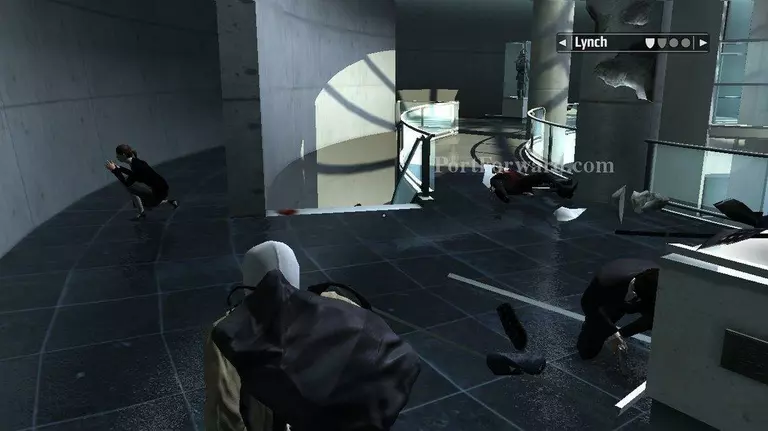
Continue down the atrium floor. On the atrium floor, the Elevators are past the rocks in the center of the room.
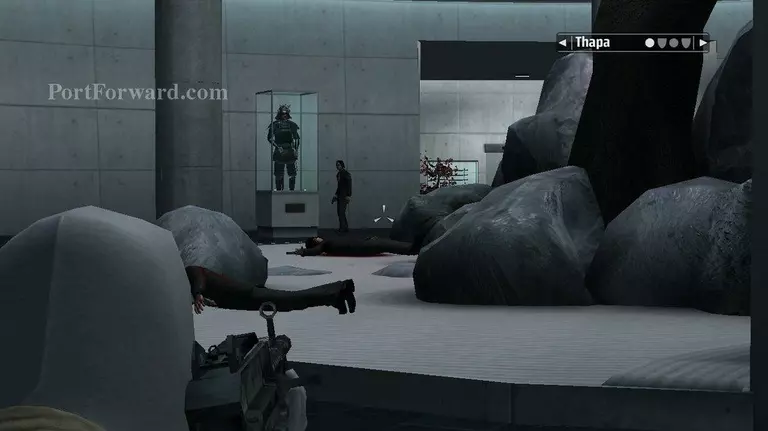
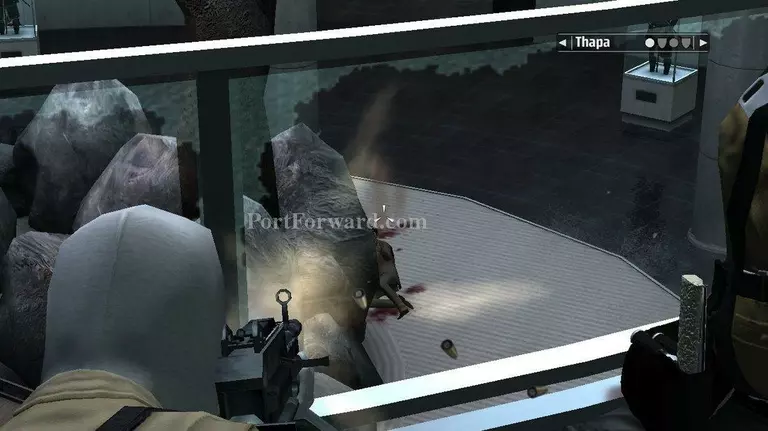
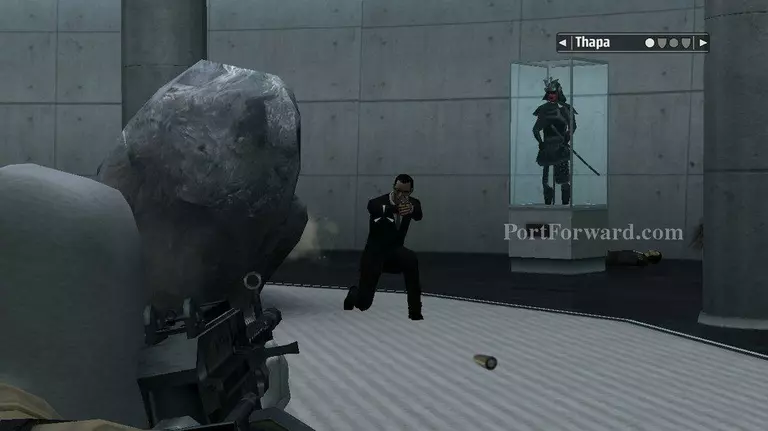
Make your way through the rocks, clearing out the last of the guards.
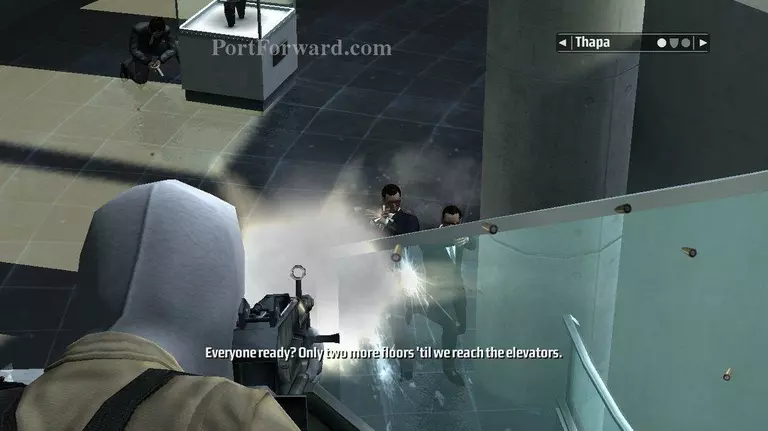
When you get near the elevator, guards come out and attack.
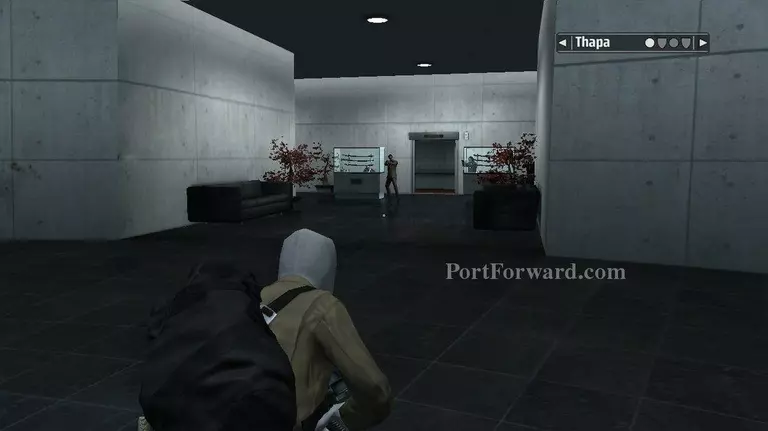
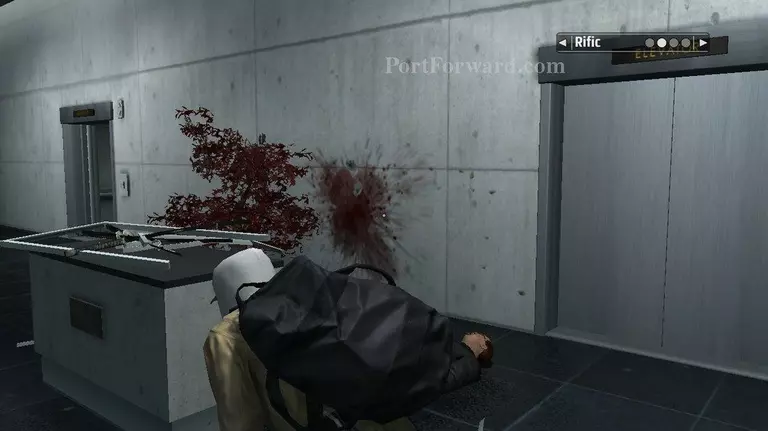
After all the guards are dead, the elevator on the left is open.
This will bring Kane and Lynch to the end of mission 9.
More Kane & Lynch Dead Men Walkthroughs
This Kane & Lynch Dead Men walkthrough is divided into 16 total pages.


