
This Kane & Lynch Dead Men walkthrough is divided into 16 total pages.
You can jump to nearby pages of the game using the links above.
Withdrawal
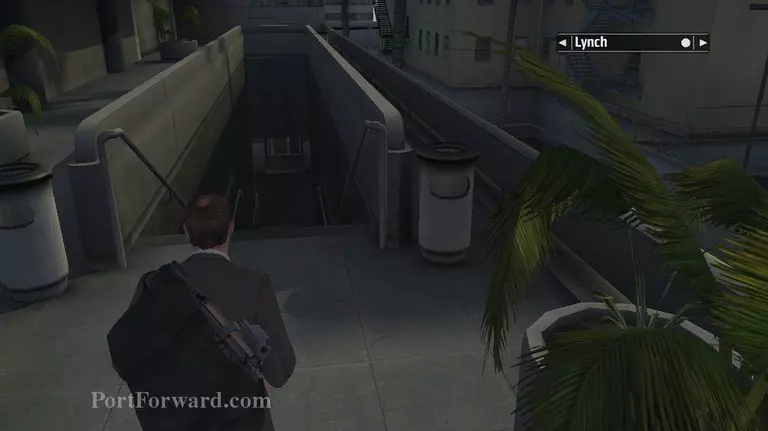
To your left is some stairs down. Take them.
Go to your right, and then walk up to the black van.
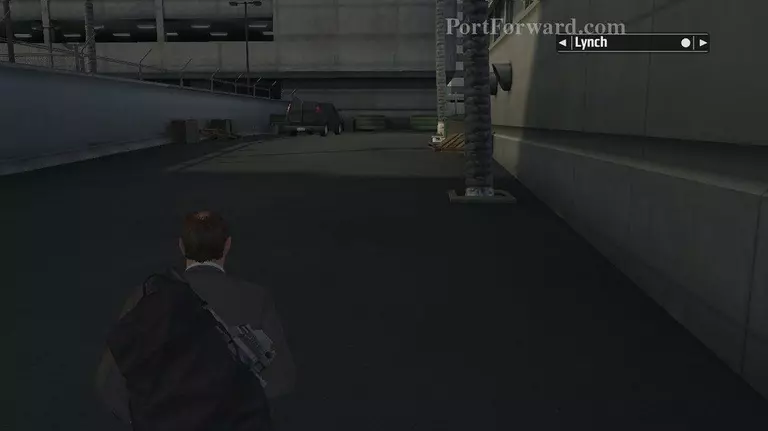
A small cut scene will start. After the scene, go in front of the van and climb the dumpsters.
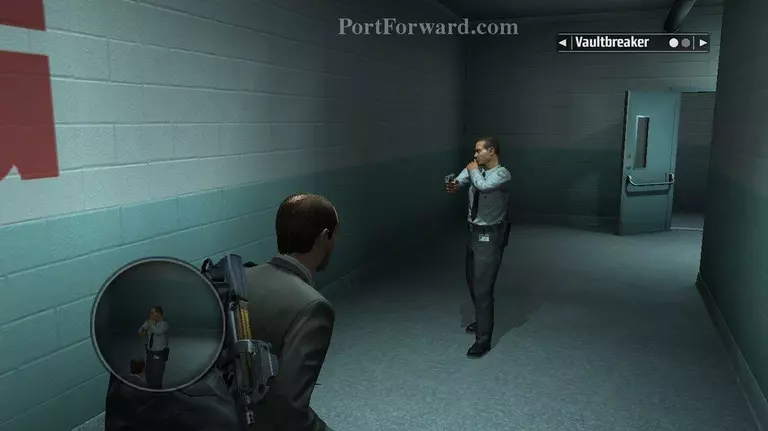
Run up to the guard and press the X button to do a melee attack to him.
Run inside and to the left to get to the second guard. Kill him.
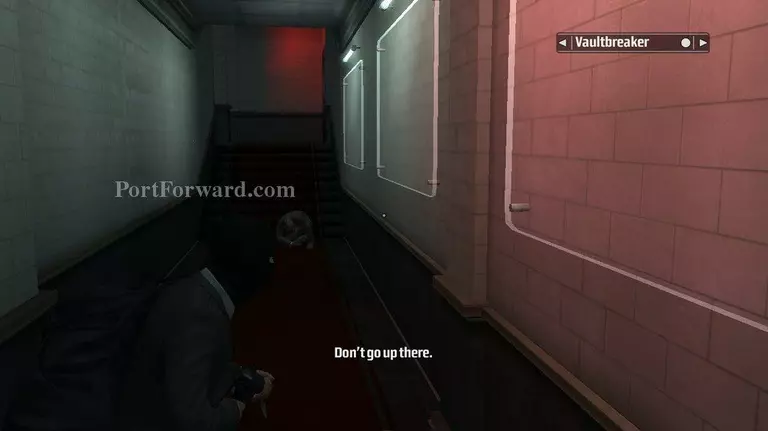
Go through the door and up the stairs to the left. A small cut scene will begin of the gang putting on their ski masks.
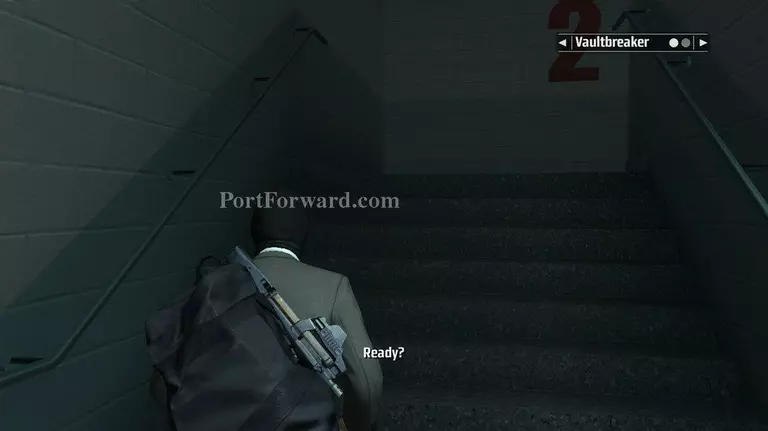
Continue running up the stairs. On the way up you will run in to one more guard.
Finish going up the stairs. Go outside using the doors to the right.
Climb up the small ledge.
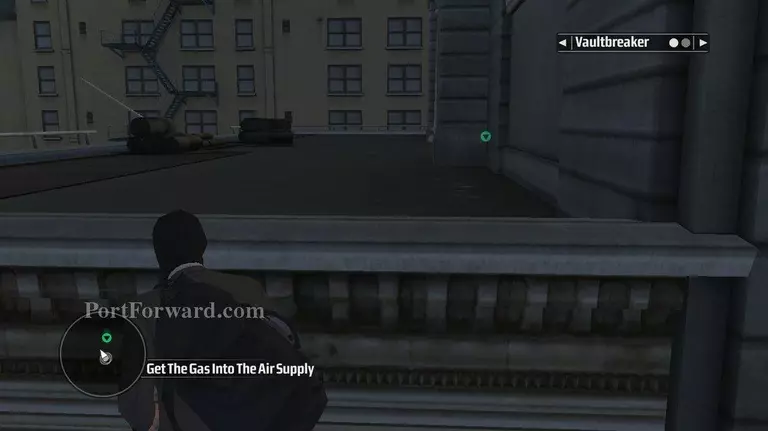
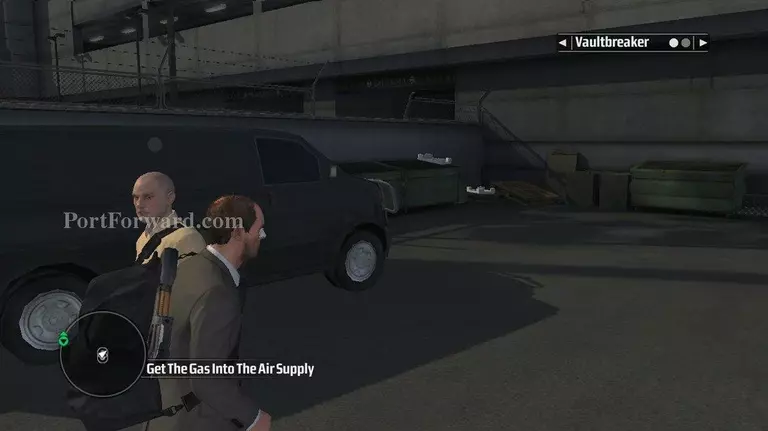
To the right is an air-conditioning unit.
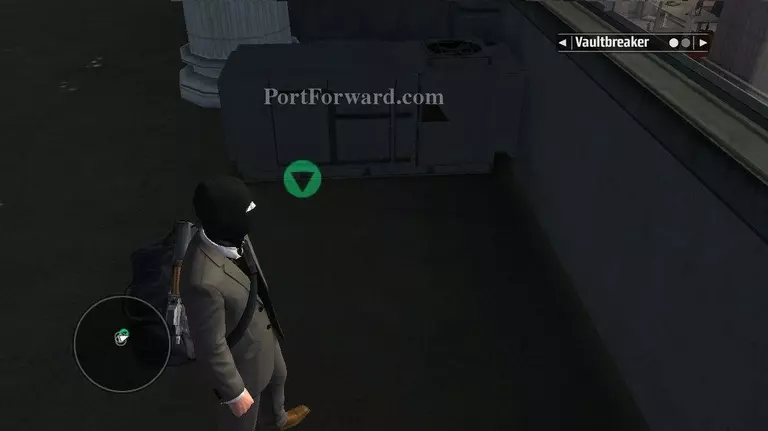
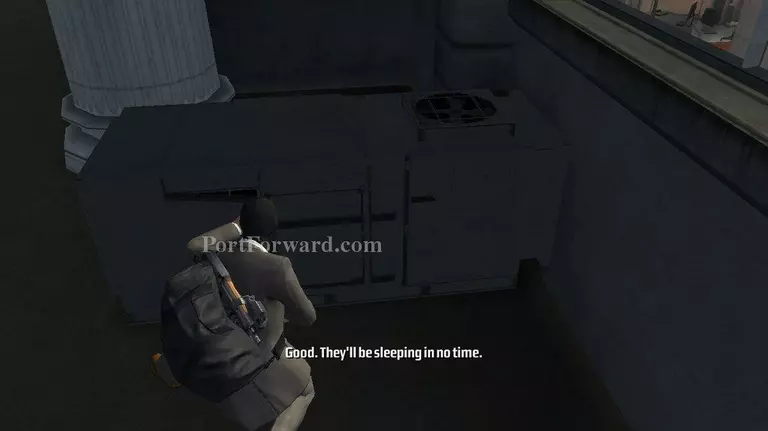
Walk up to the AC unit and press the X button to release the gas in to the vent system.
Turn around and look at the side of the building. You should see a green nav beacon.
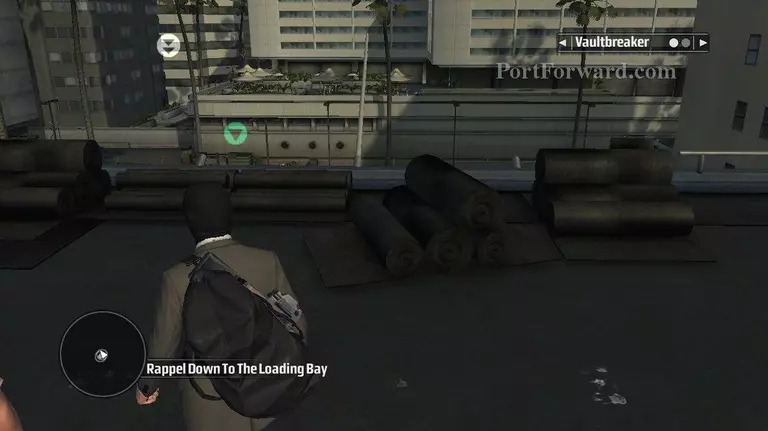
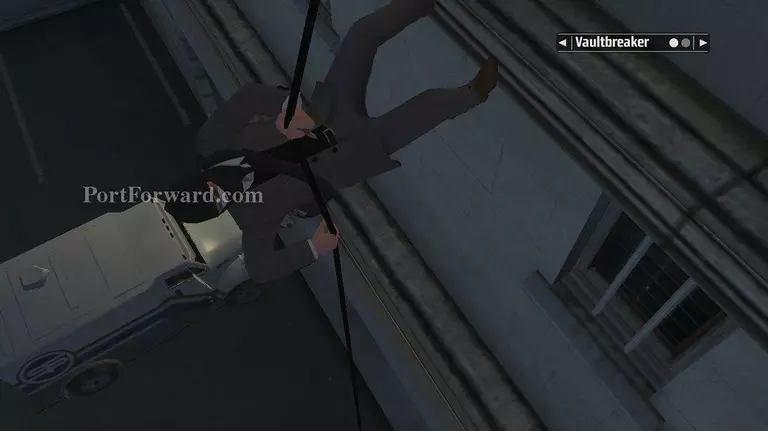
Walk over to the beacon and press the X button to repel down the building. Wait until the armored truck honks its horn.
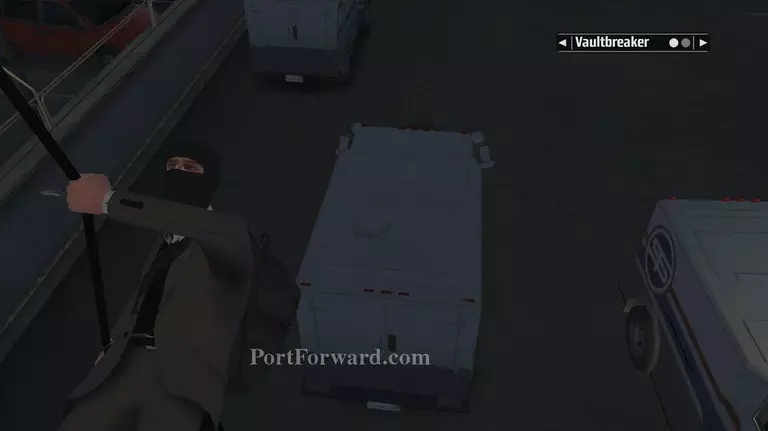
At the bottom, to the right of where you came down the truck will being entering the loading bay.
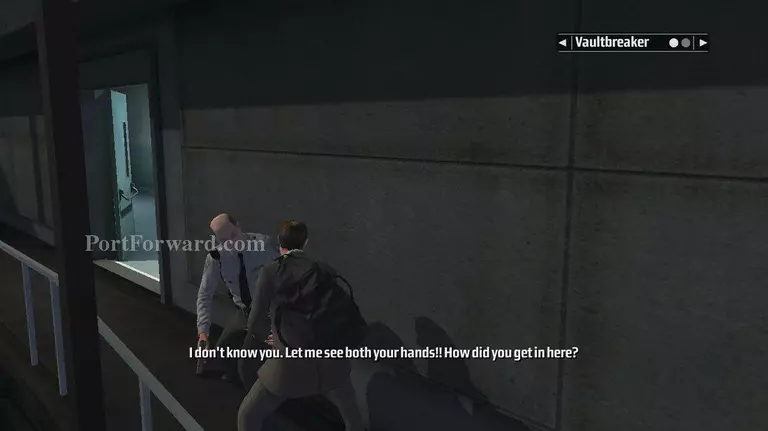
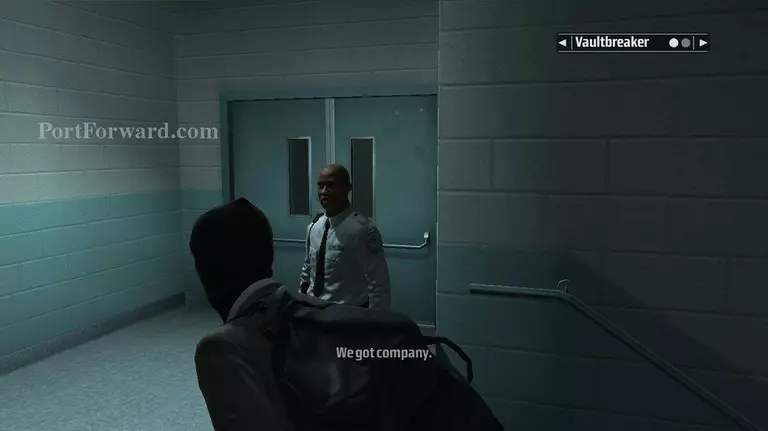
Once inside the loading bay kill all the guards.
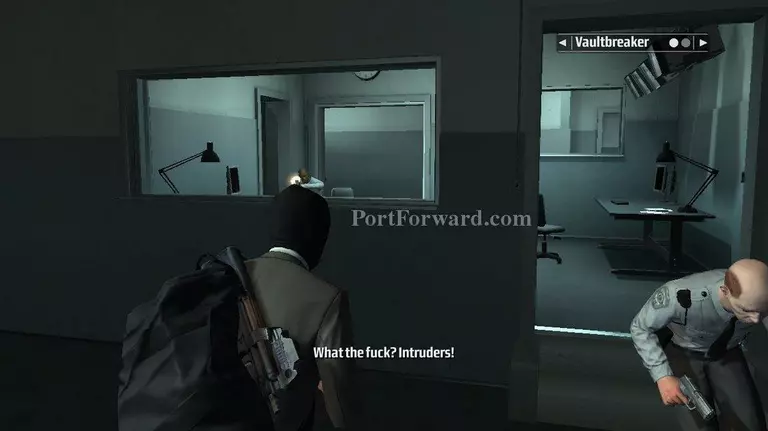
Once the guards are dead, Kane will order the vault breaker to open a glass security door.
To the left of the door will be two guards in a room.
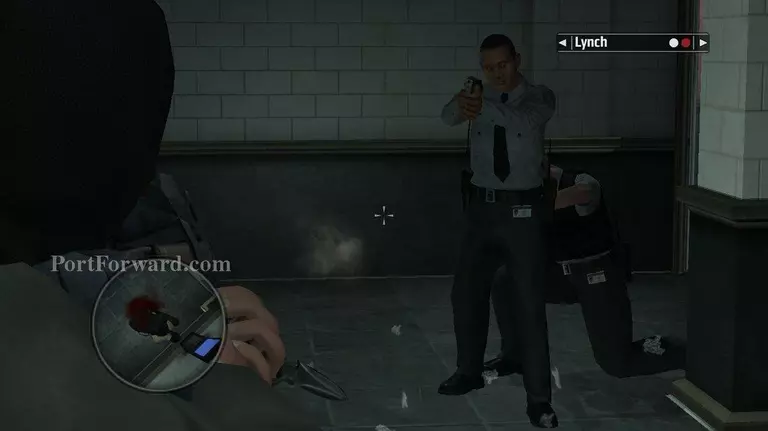
Shoot the guards through the window.
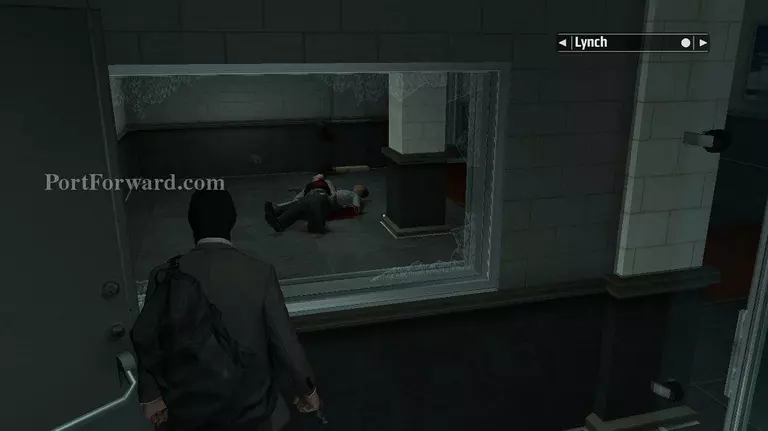
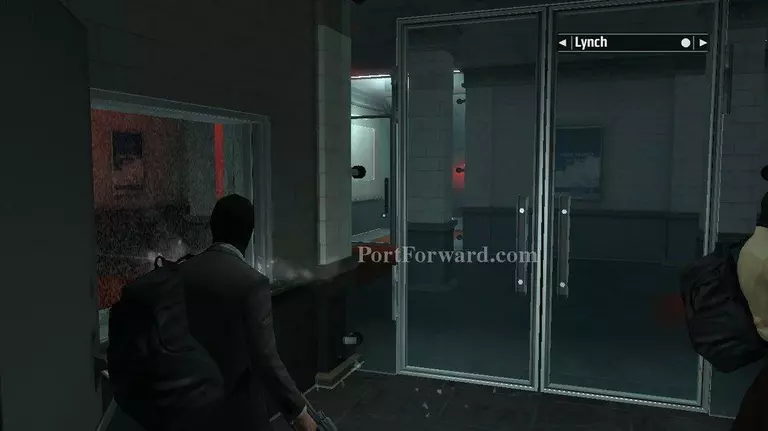
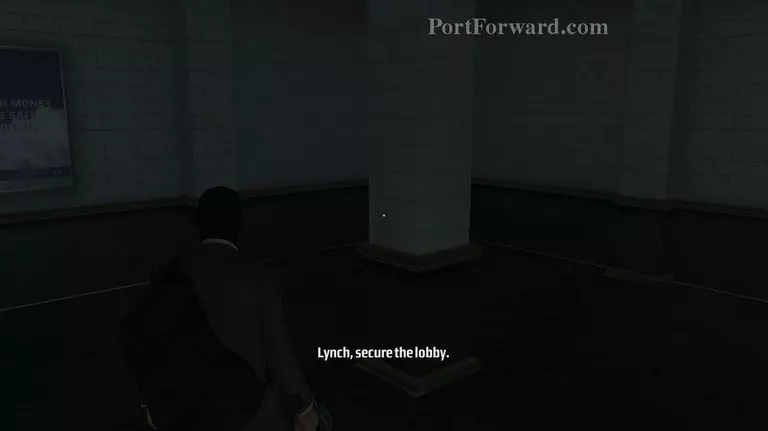
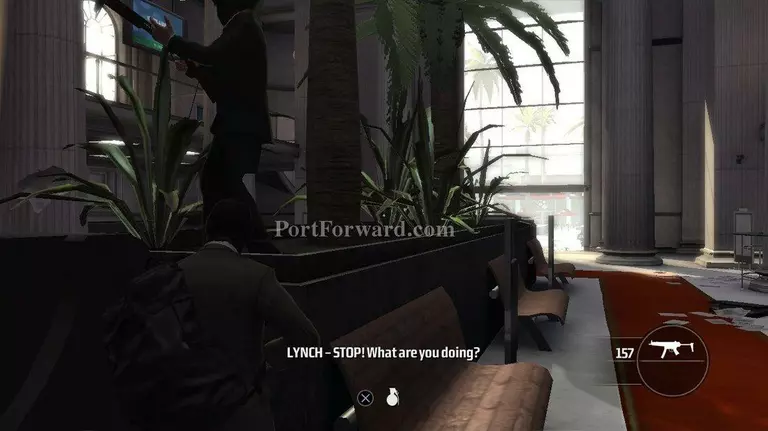
Walk through the door and Kane will order Lynch to secure the lobby.
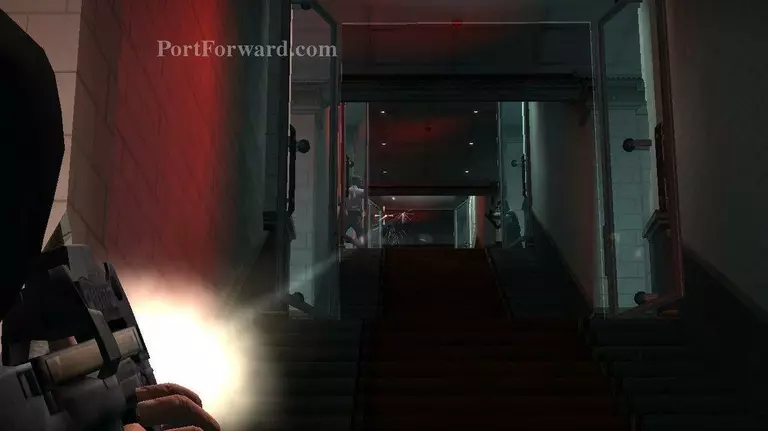
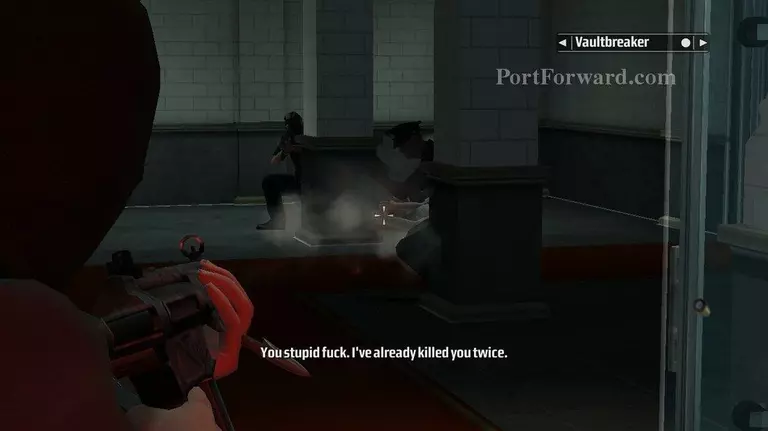
Go down the stairs. There will be six guards on the way down.
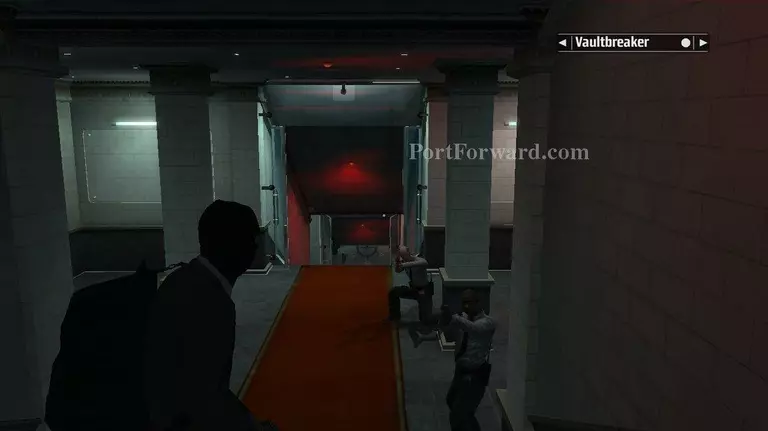
At the bottom, the vault breaker will start cracking the safe. Protect him from the guards.
Once the vault is open, run in to the vault for a cut scene.
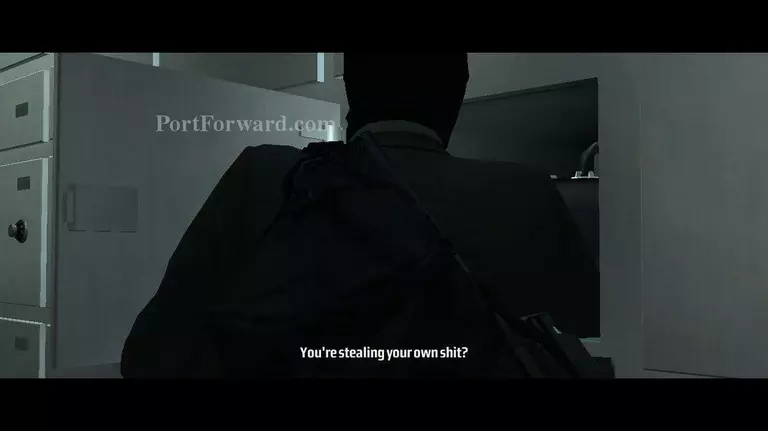
The vault breaker is now blowing all the boxes, so you must protect him again. After a few cops die the vault breaker will tell Kane the bombs are set.
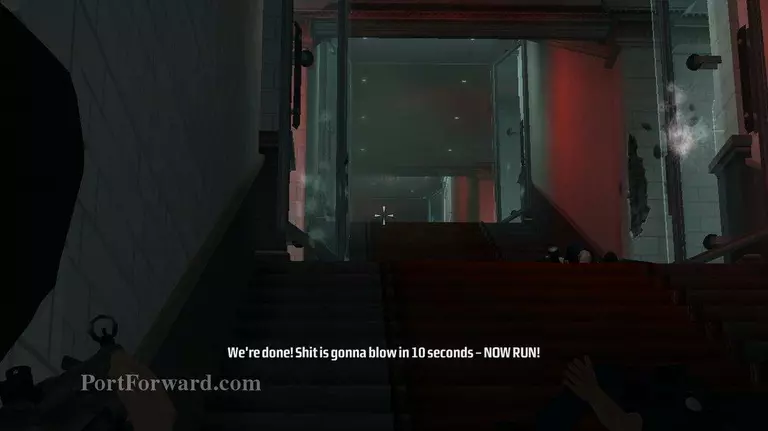
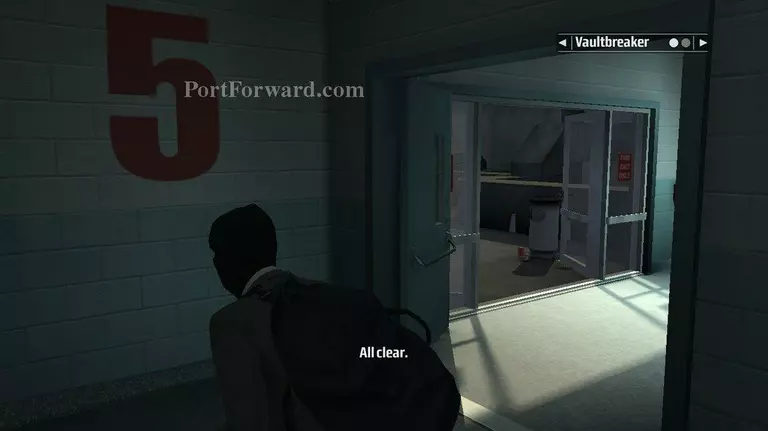
After the boxes have been opened run back in to the vault and find out the briefcase is not here. Go back up the stairs to where Kane and Lynch split up.
Go through the door to the right and up the stairs.
Once in the lobby go to Lynch to talk to him.
Don't go near the door or windows as a police sniper will try and kill you. If you see the scope in the lower left corner he is aiming at you. Run and hide behind anything you can to stay alive.
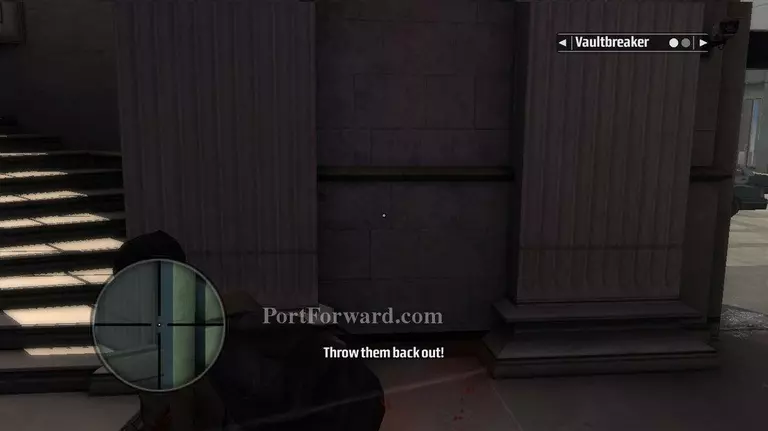
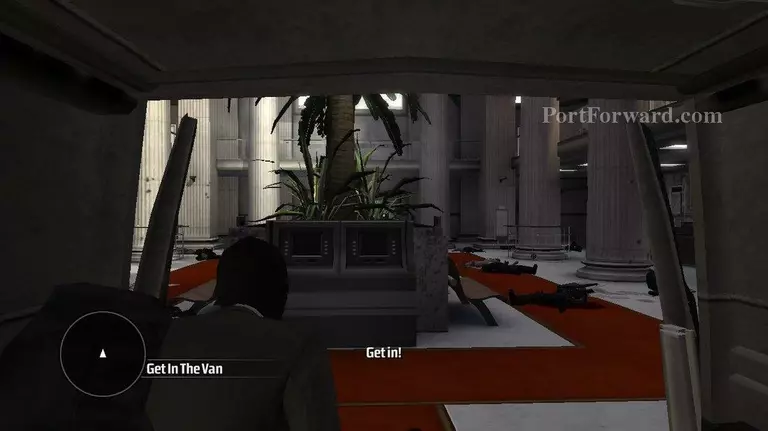
Hold off the cops until the van backs in to the bank.
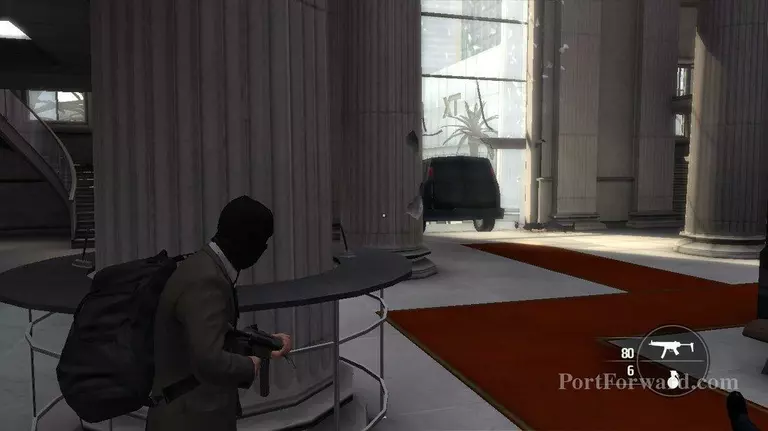
Jump in the back of the van to end the heist.
This brings Kane and Lynch to the end of mission 3.
More Kane & Lynch Dead Men Walkthroughs
This Kane & Lynch Dead Men walkthrough is divided into 16 total pages.


