This Kane & Lynch Dead Men walkthrough is divided into 16 total pages.
You can jump to nearby pages of the game using the links above.
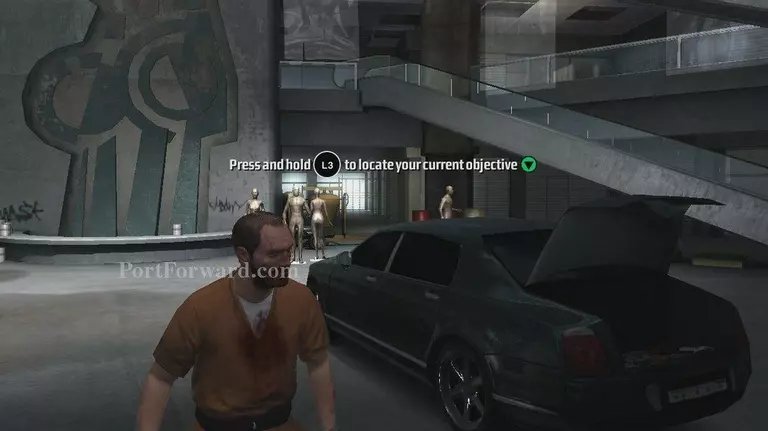
Trial
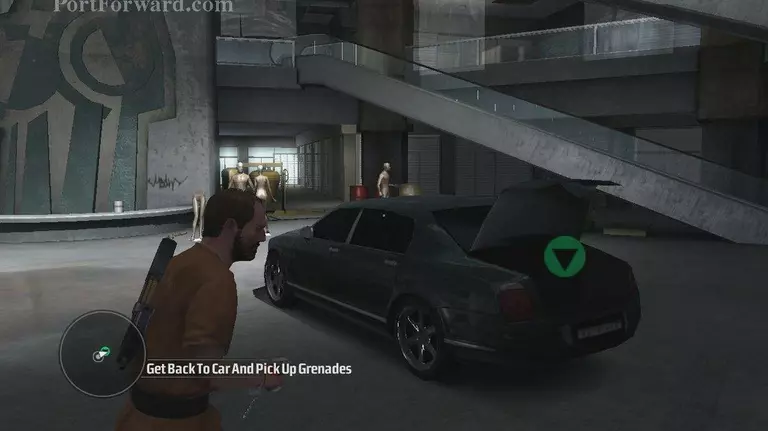
Go to the trunk of the car.
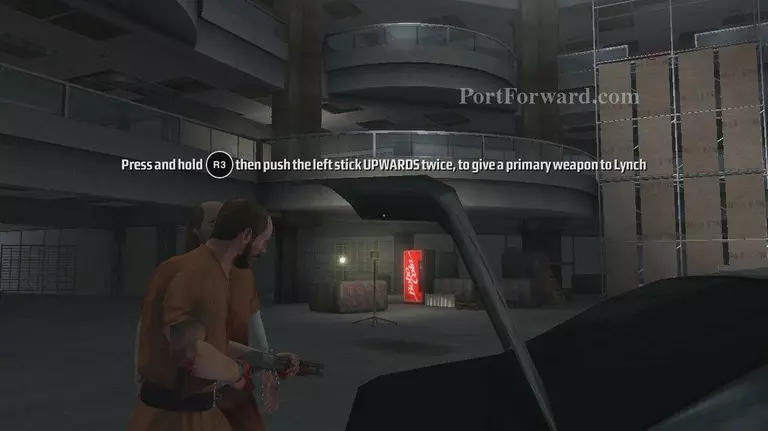
Hold the R3 button and then press up twice on the LS. This will give Lynch the shotgun for a primary weapon.
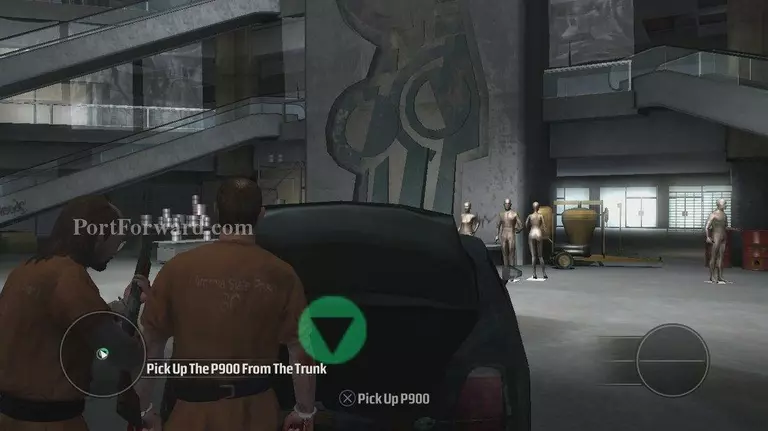
Now grab the gun in the trunk.
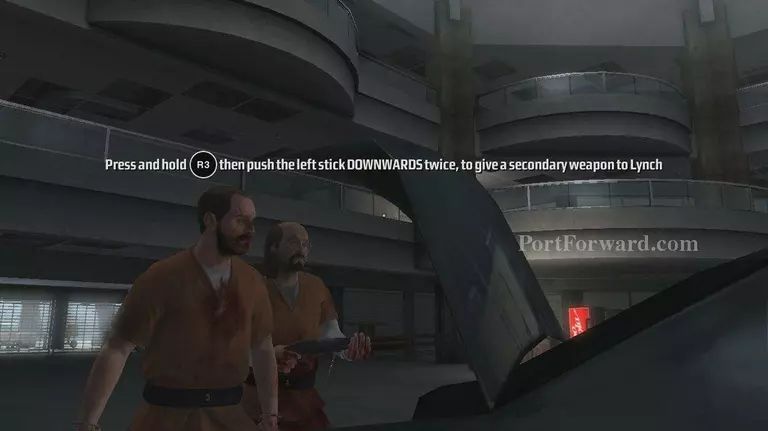
Give the magnum to Lynch by holding R3 and then pressing LS downward twice.
Pick up the remaining gun in the trunk.

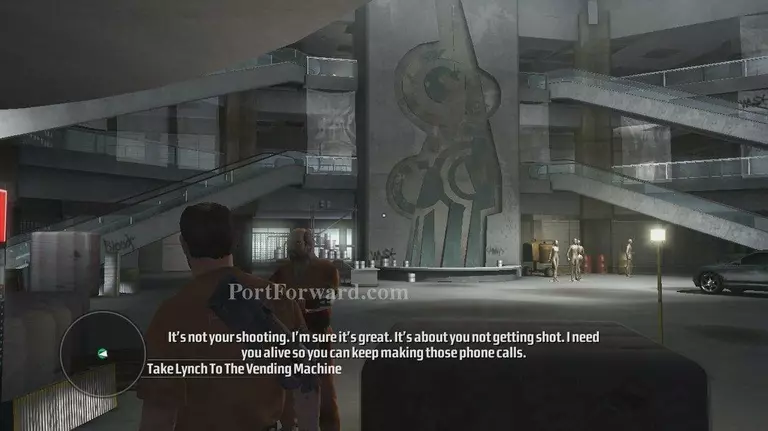
Head over to the vending machine. Kane will tell Lynch about cover.
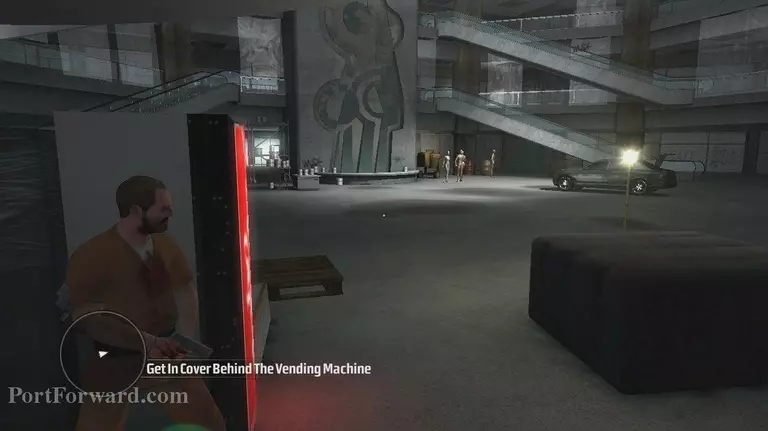
Take cover behind the vending machine, by walking up to the vending machine.
Press the R2 button to show Lynch how to blind fire.
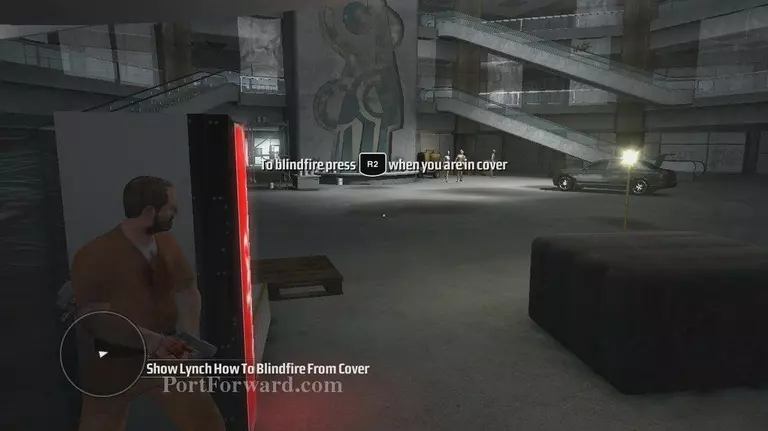
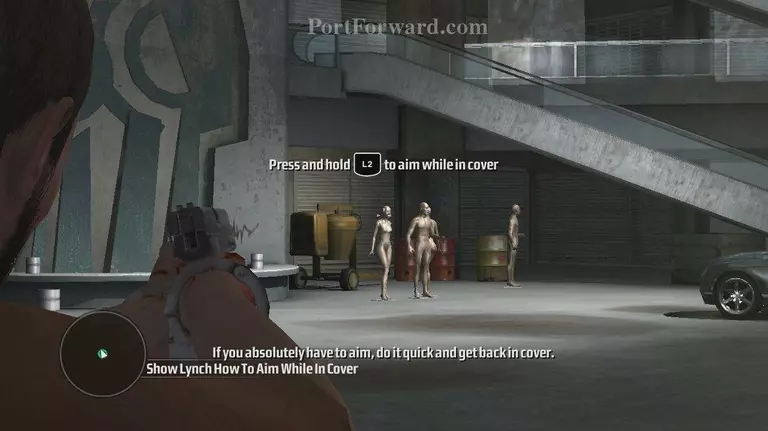
Hold the L2 button and then press the R2 to aim and shoot. This will teach Lynch how to do this.
Go back to the car and grab the grenades.
You can show Lynch how to throw the grenades, by hitting the R1 button.

Walk up one of the stairs.
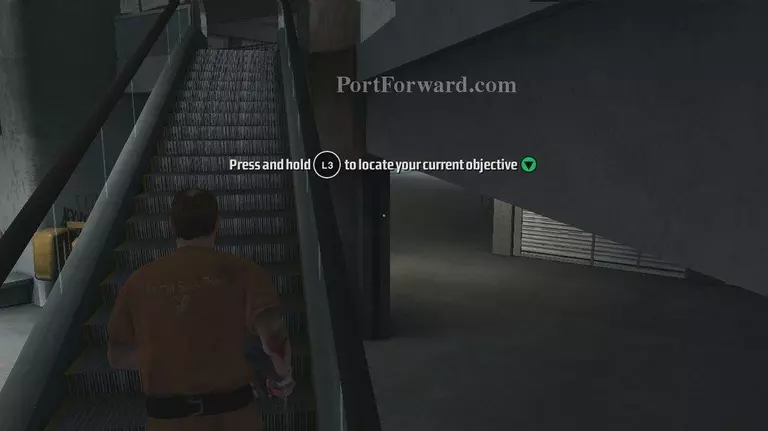
Keep climbing stairs until you are on the third floor. To the left of the car is some scaffolding. Head over to it.

A cut scene will begin. Oh look, it's the FBI. Head back down to the ground floor taking out FBI agents as you go.
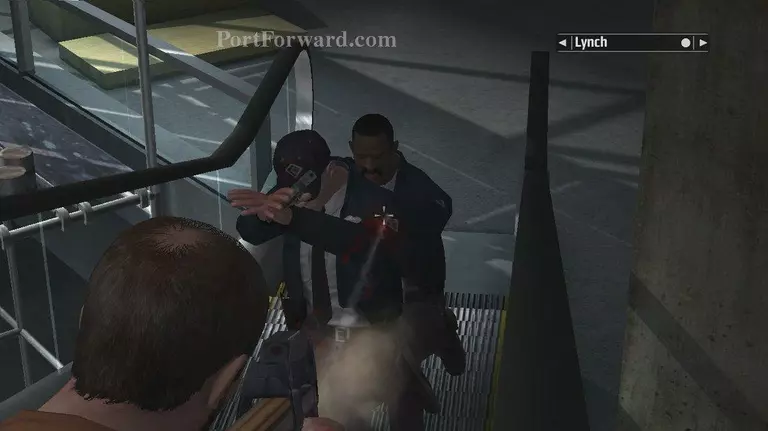
It's a good idea to kill all the cops and FBI agents before you try to leave the building.
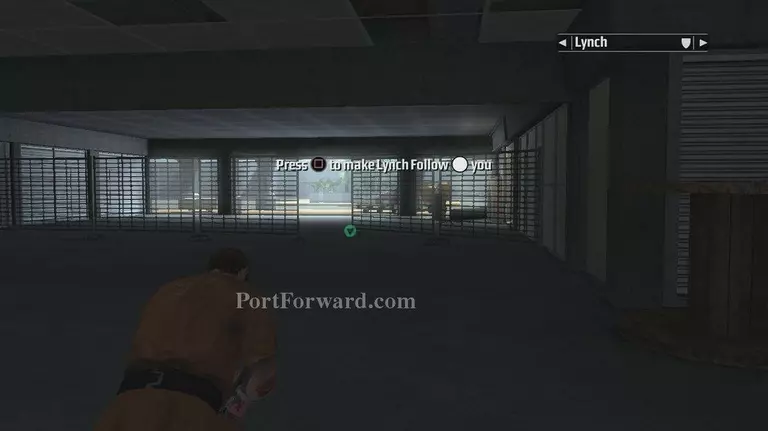
No one likes a bullet in the back. The exit is towards the back of the car.
This ends Mission 2 for Kane and Lynch.
More Kane & Lynch Dead Men Walkthroughs
This Kane & Lynch Dead Men walkthrough is divided into 16 total pages.