
This Killzone 2 walkthrough is divided into 10 total pages.
You can jump to nearby pages of the game using the links above.
Mission 10. Visari Palace
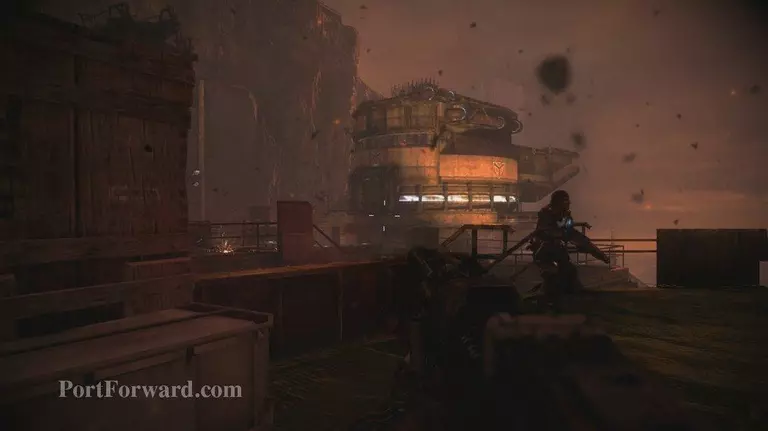
After the opening follow Alpha team
they'll lead you to a large hole in the street a tank will be firing from across it jump into the hole

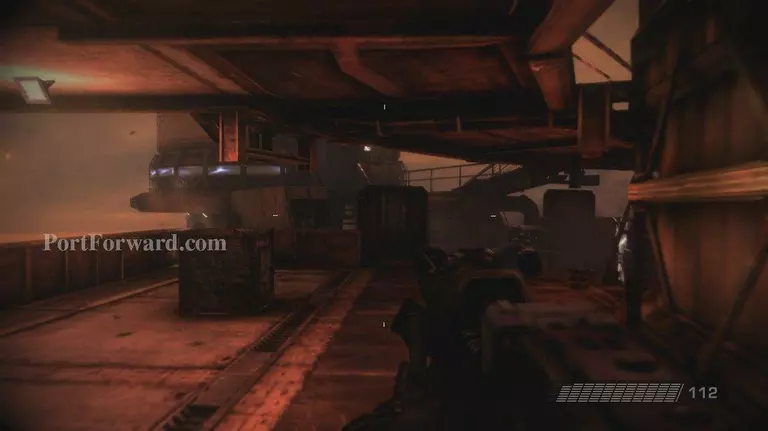
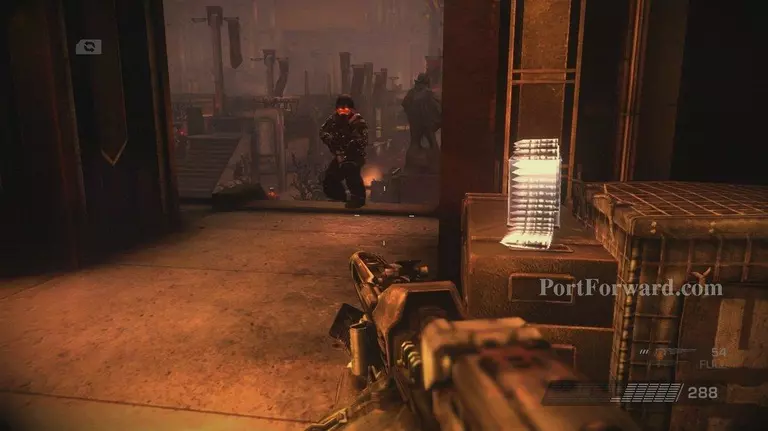
push forward until you reach some ISA troops trying to overtake a helgan ramp leading to the objective
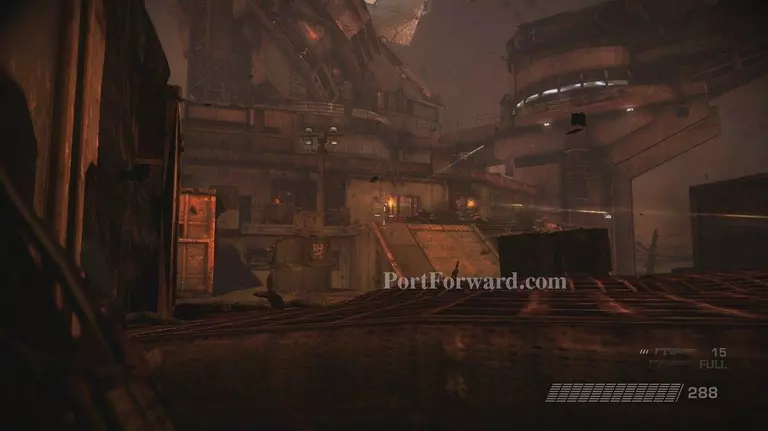
help them out and eliminate as many Higs as you can, there's ammo to the right if you need more
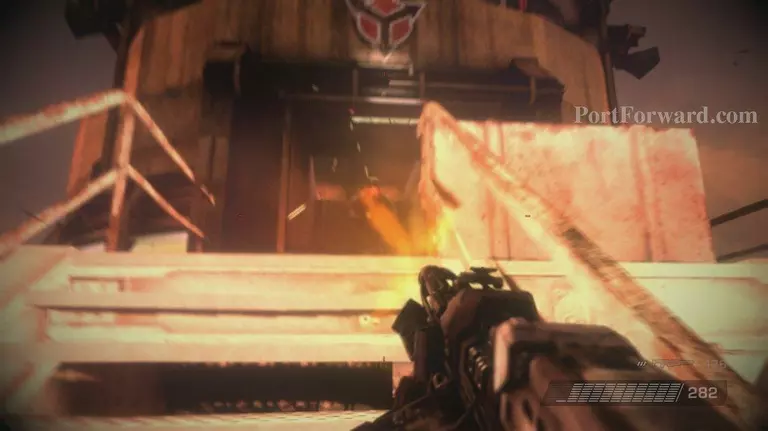
make sure to leave a few on the MG's to make it fun and run up the ramp and melee the MG troops
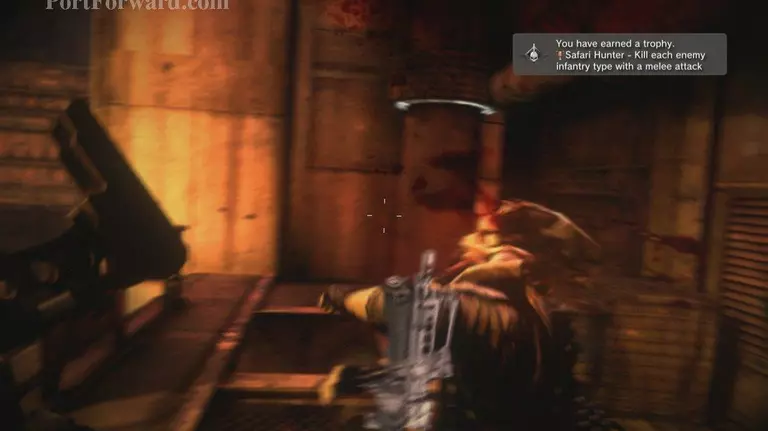
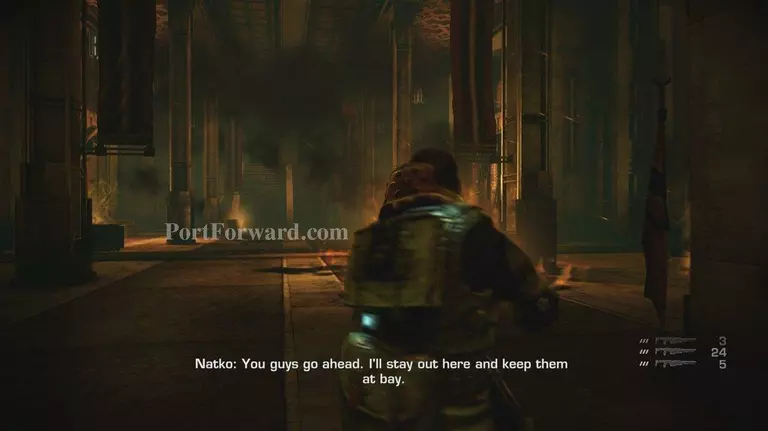
after they all drop, follow Natko into the door and through the building
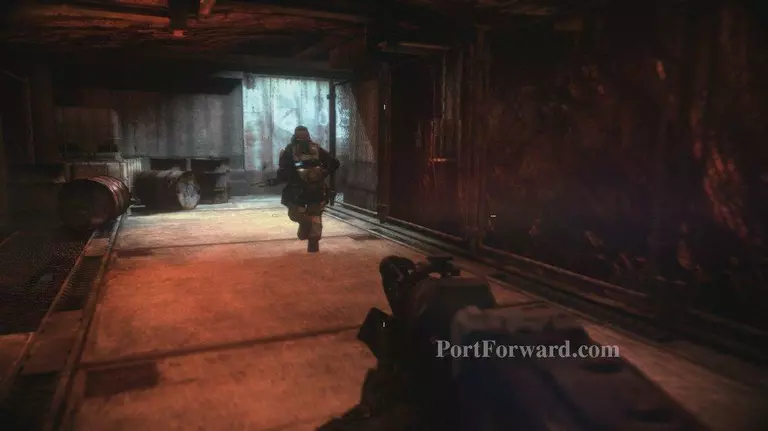
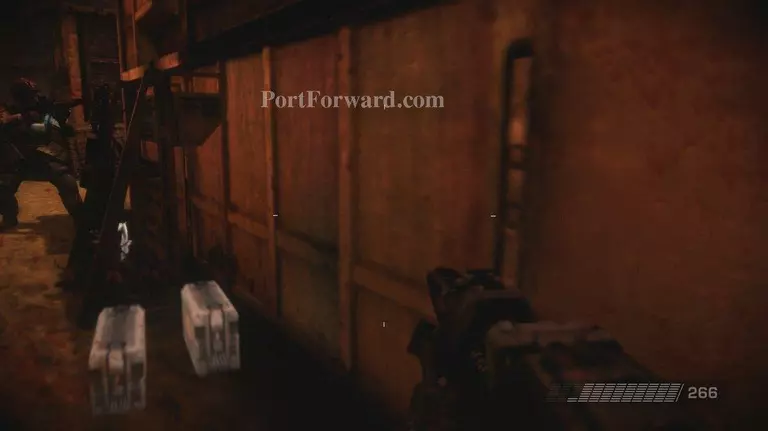
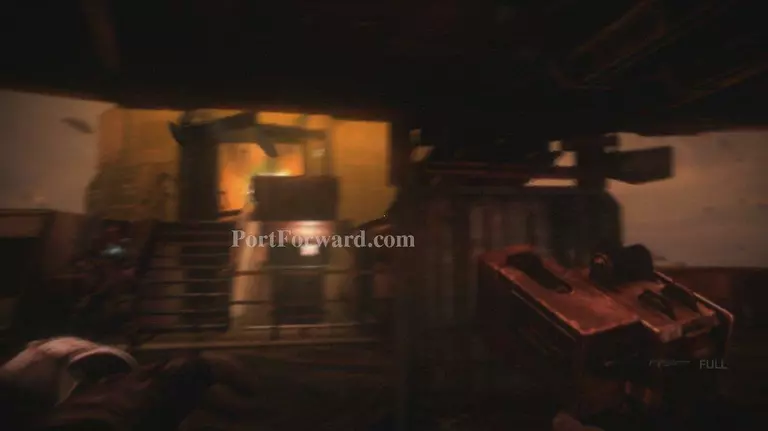
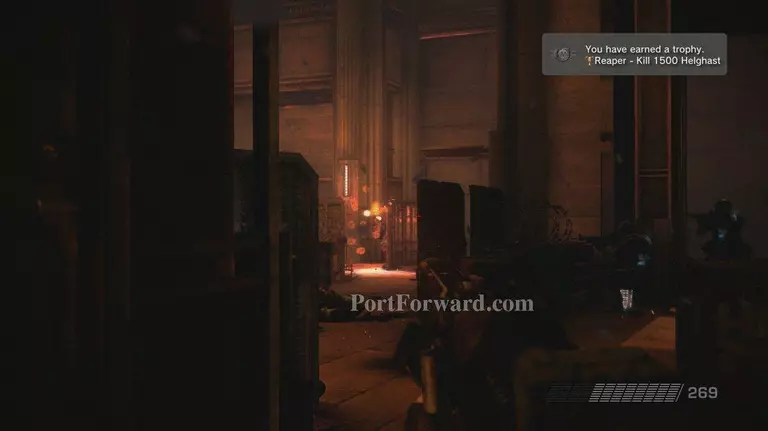
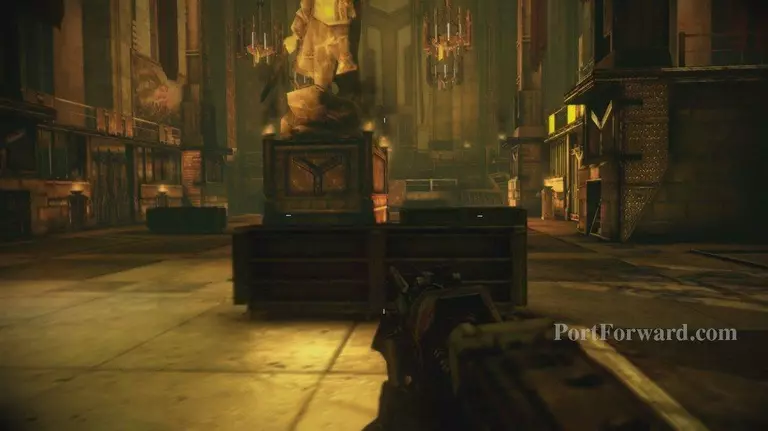
soon a room with a few Higs in it, grenade them and take cover on the boxes they were hiding behind
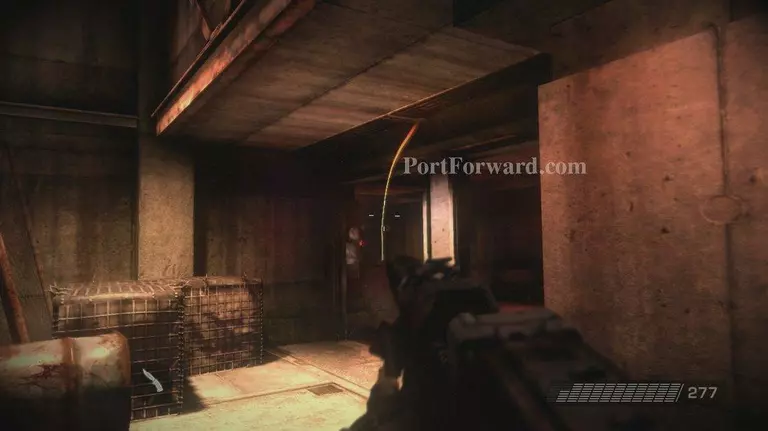
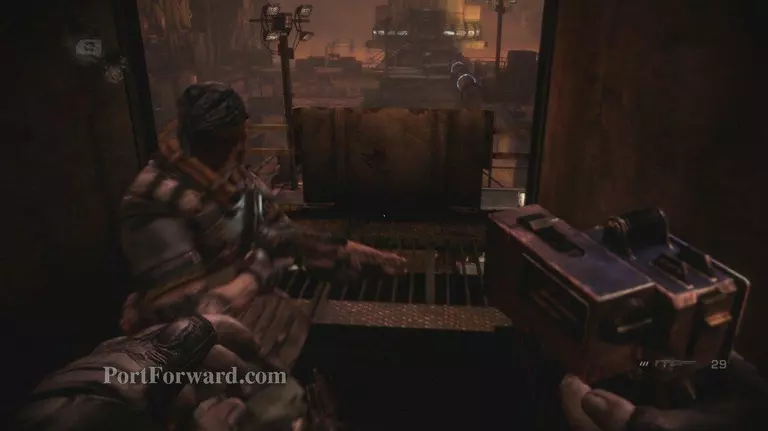
you'll be informed about the Hig tank up ahead head over to the weapon rack and grab a rocket launcher
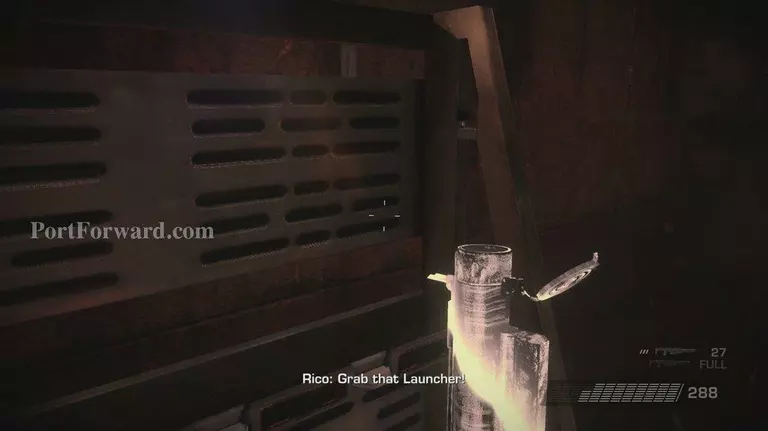
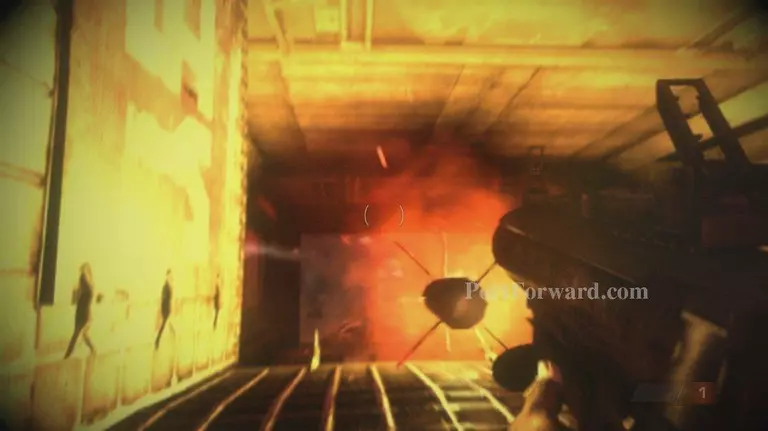
give the tank a few rockets it will fall, then Narville will radio with new mission objective
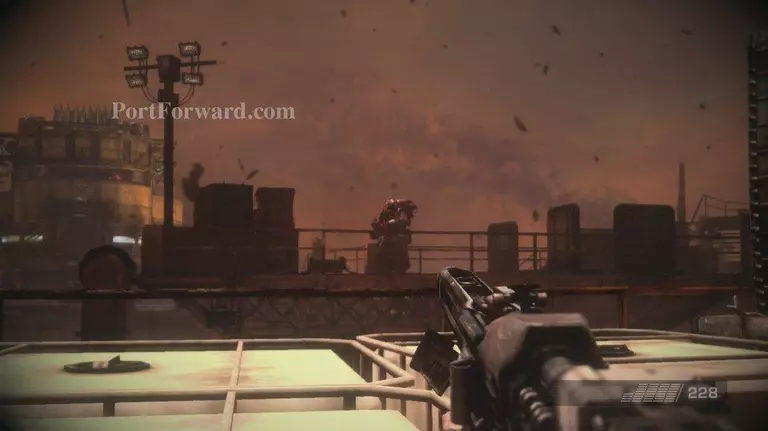
follow Rico and Natko they'll lead you to the first tower
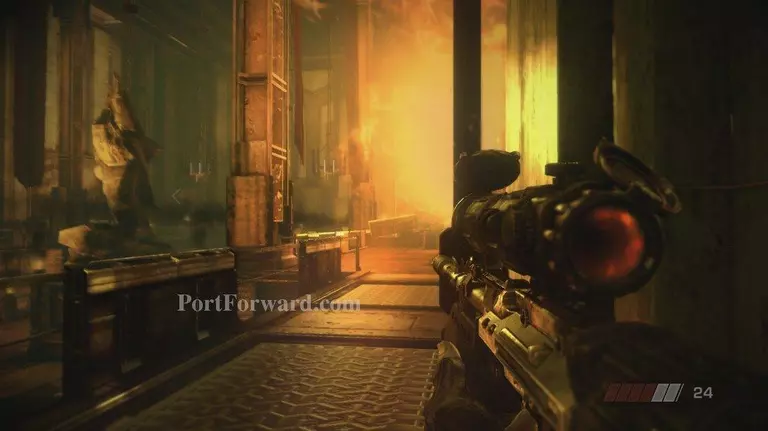
the tower's have an MG in them so becareful not to die, once it is cleared out head in and use the D-charge

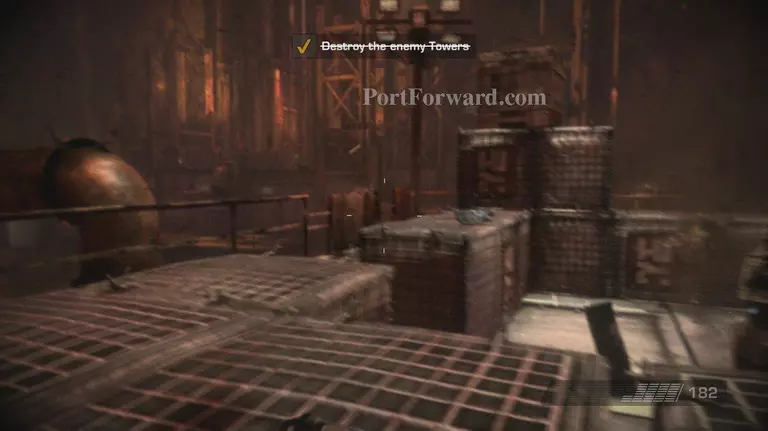
then head back outside to a safe distance and use the detonator, then follow or head to the next tower. there will be 3 to go from here
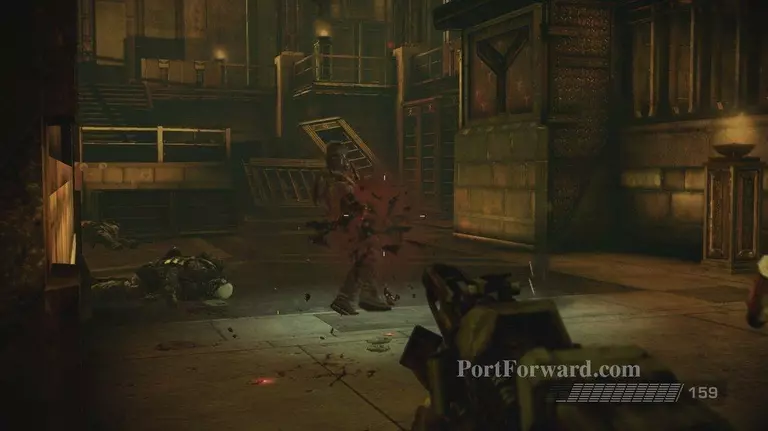
as you move towards the tower some Higs will try and stop you take them out and head into the tower
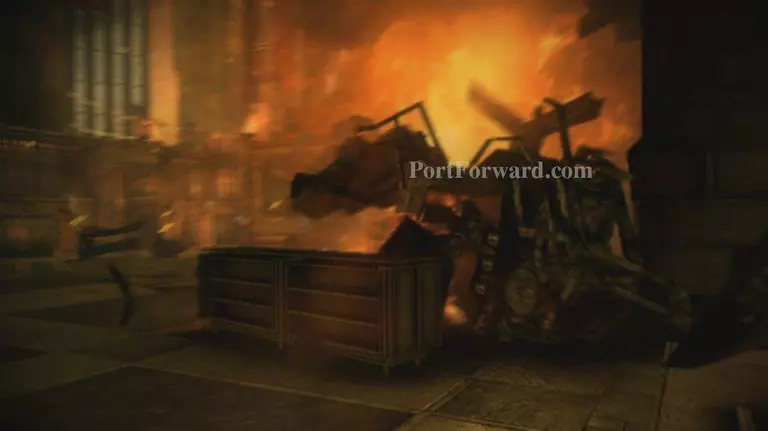
use the charge and head out and blow it up, more Higs will come as you make your way to tower 3
do the same thing for tower 3 you did for the others kill the Higs head in set charge blow it up
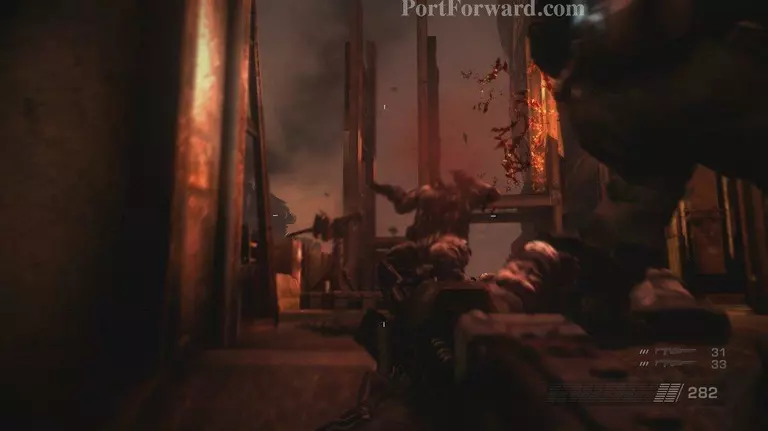
after you exit tower 3 a Heavy will be blocking your way to tower 4, kill him and head in and set the charge
as soon as you blow this last tower you'll have completeed the objective and get a radio from Narville
then a wave of Higs will come off the elevator you need to go up, head over and clear them out and use the elevator
at the top dash to the room across the bridge to avoid the ATAC fire
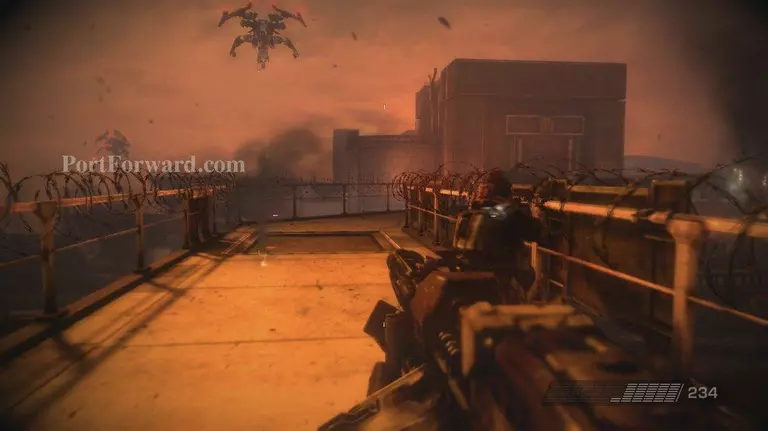
then start to pick off the Higs leading up to the palace
as you take them down push forward or they will just keep coming forever, this is a LARGE battle
as soon as you reach the palace doors a scene will play, after it continue to follow Rico
you'll head into the final area of this level and the largest battle yet.
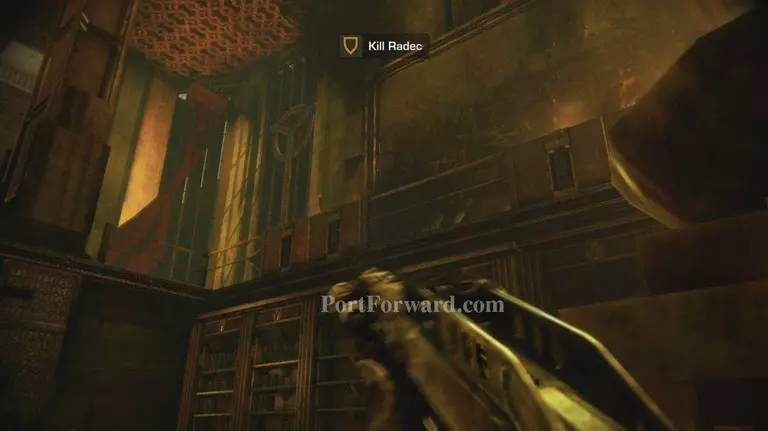
push forward until you get a scene, looks like Radec wants to die, give him his wish

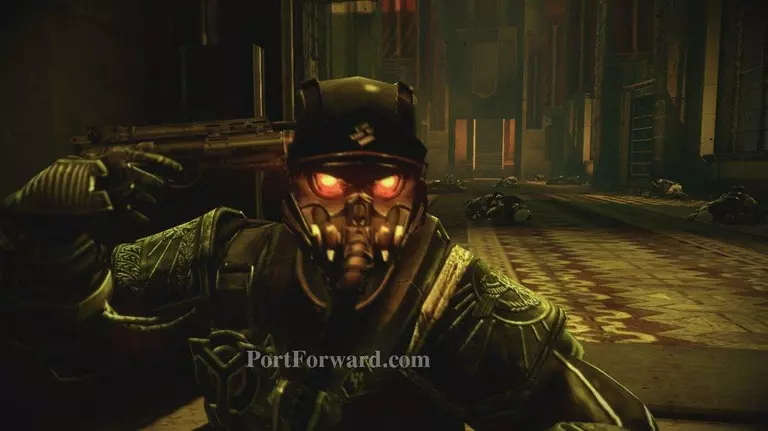
take out the waves of Higs he sends after you, soon Rico will say to head to the second floor blacony
once up there take cover and take out the remaining waves, soon RPG Higs will come when they do you are near the end of the waves
after most of the RPG Higs go down a scene showing a craft crash into the window and clearing some debris for you
after the last Hig falls It's Radec's turn, grab a shotgun from the rack and take it to him
don't let him hit you with his knife it'll kill you, just shoot him with the shotgun when he gets close
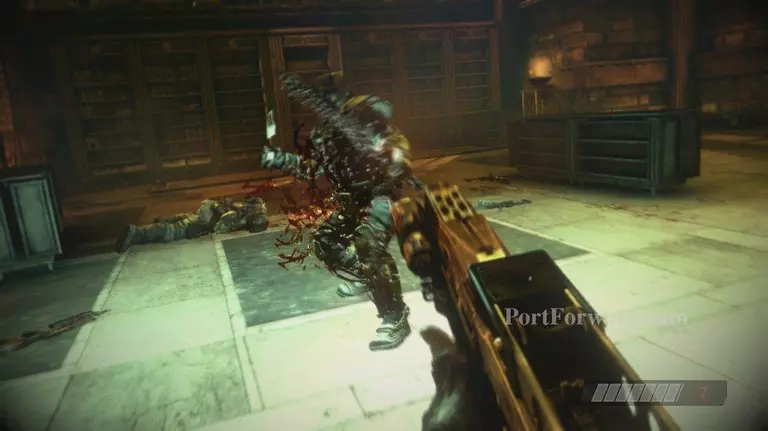
after a awhile he'll fall, pretty easy as long as you avoid him and his knife.
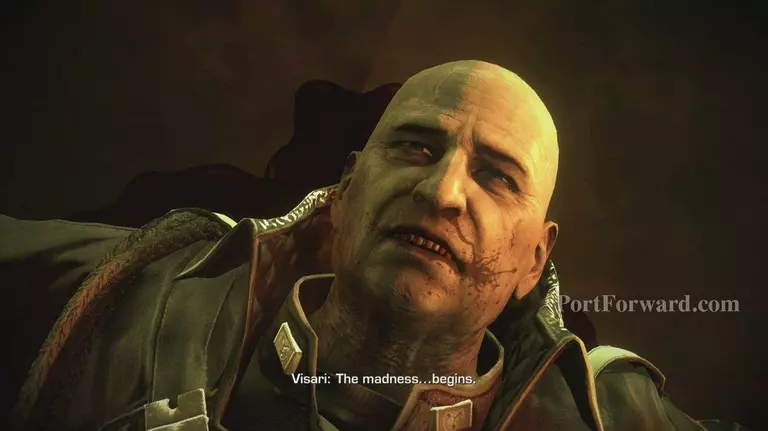
after he falls a few scenes and the end of this Mission and the Game congrats
More Killzone 2 Walkthroughs
This Killzone 2 walkthrough is divided into 10 total pages.


