
This Killzone 2 walkthrough is divided into 10 total pages.
You can jump to nearby pages of the game using the links above.
Mission 9. Maelstra Barrens
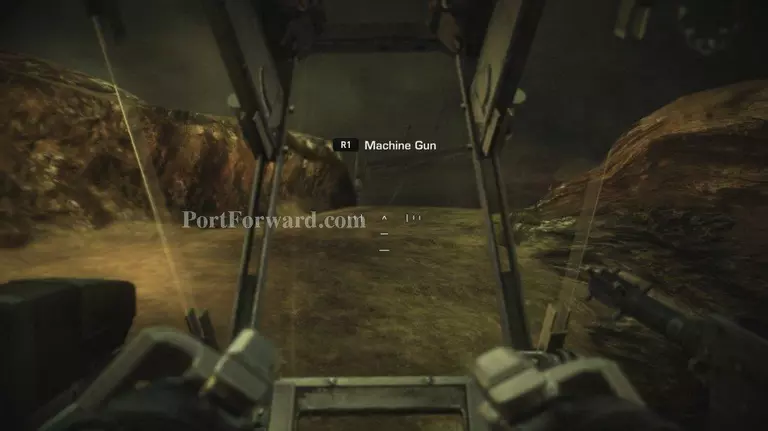
this is a pretty short Mission but a fun one, after the scene follow Alpha until you reach an EXO

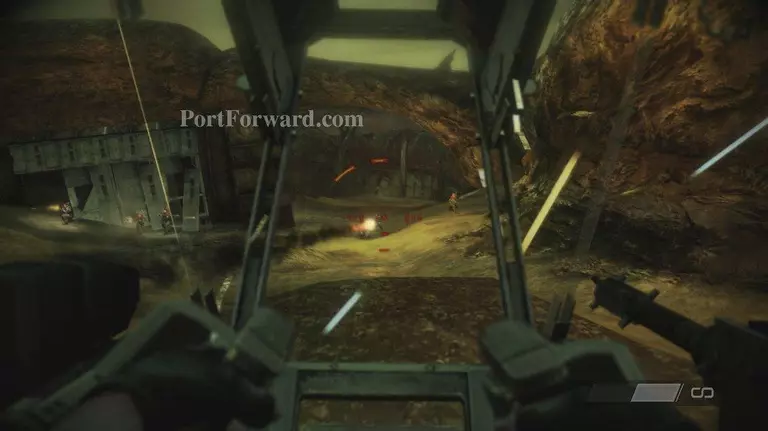
a scene will play, after it you'll be in control of the EXO, do as directed and take the high ground
after following the path for a bit another scene, the follow the buggy to a fire fight
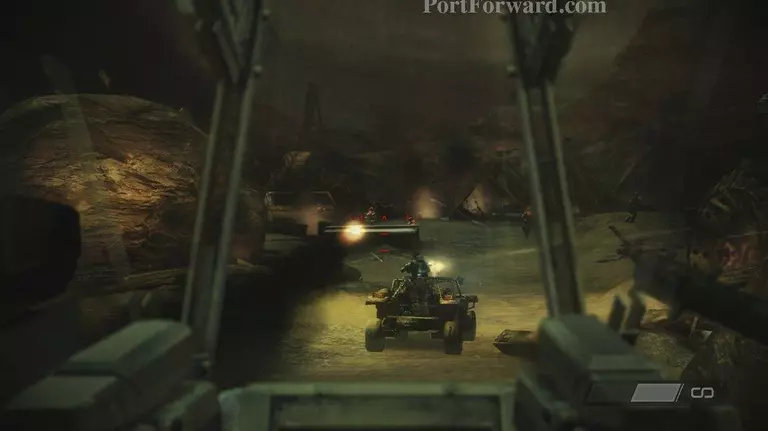
after the coast is clear head across the makshift bridge and down the path
an APC will rush in blow it up and stomp on the rest of the Higs
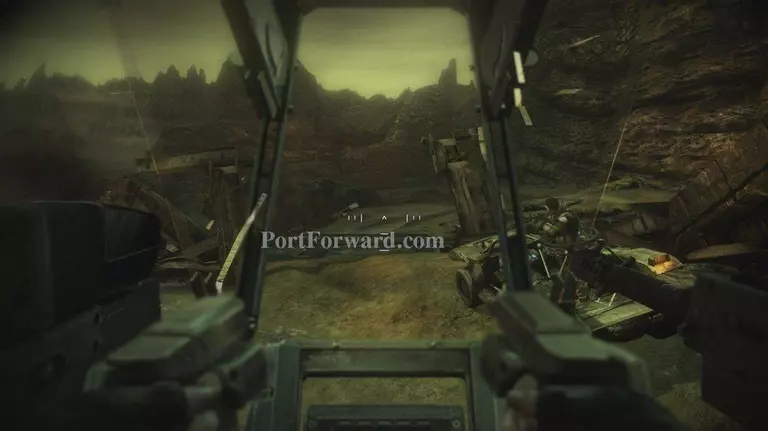
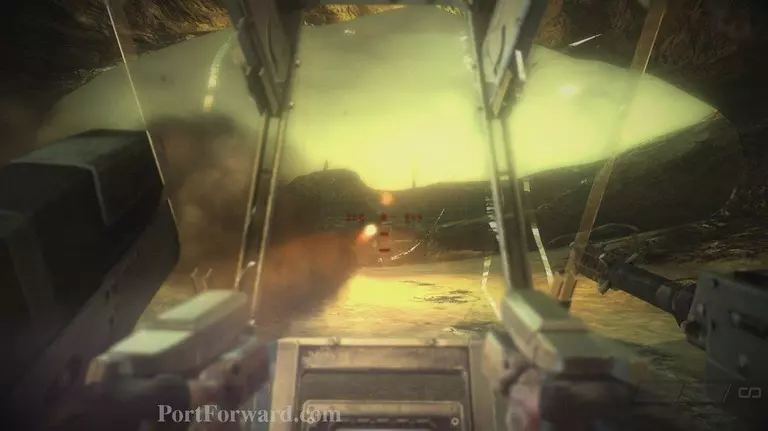
continue down the path soon a group of Higs with RPG's come elminate them then follow the buggy
as you push forward towards the crash site more and more Higs will come stomp them down

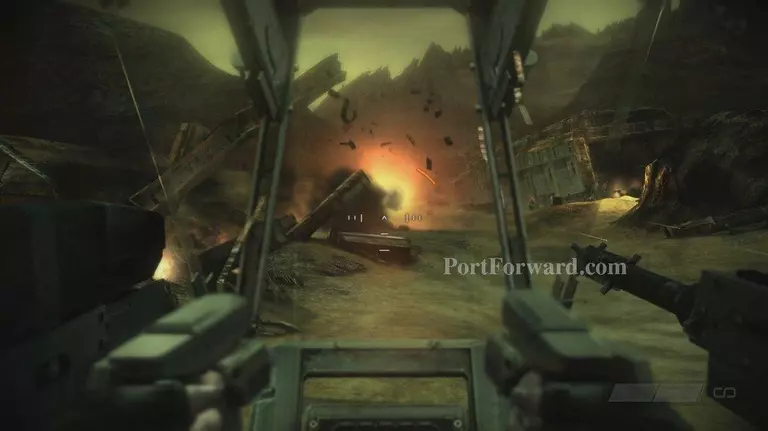
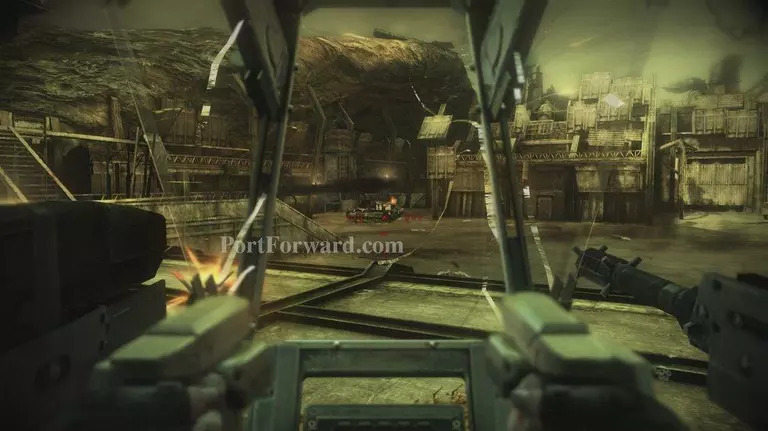
you'll come to a short scene showing 2 tanks come in, rocket them down and head across the bridge and follwo the buggy
you'll meet up with some more ISA, head down and take out the 3 tanks down here to end this Mission
More Killzone 2 Walkthroughs
This Killzone 2 walkthrough is divided into 10 total pages.


