
This Killzone 2 walkthrough is divided into 10 total pages.
You can jump to nearby pages of the game using the links above.
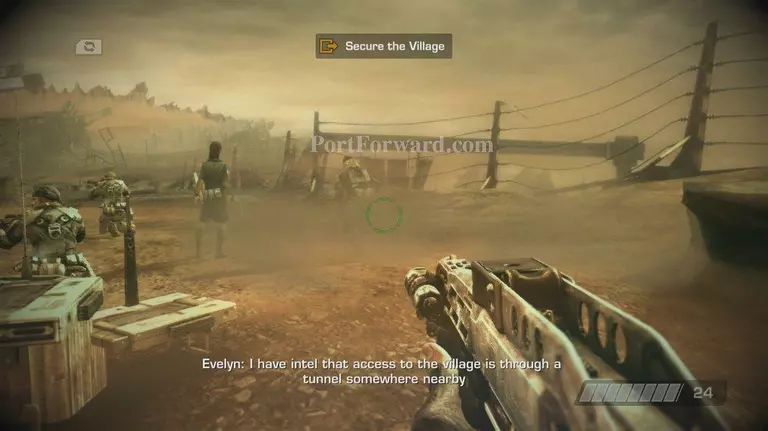
Mission 6. Suljeva Village
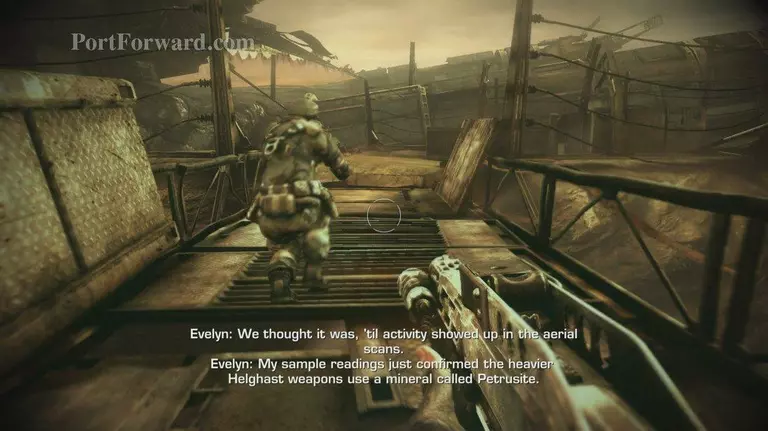
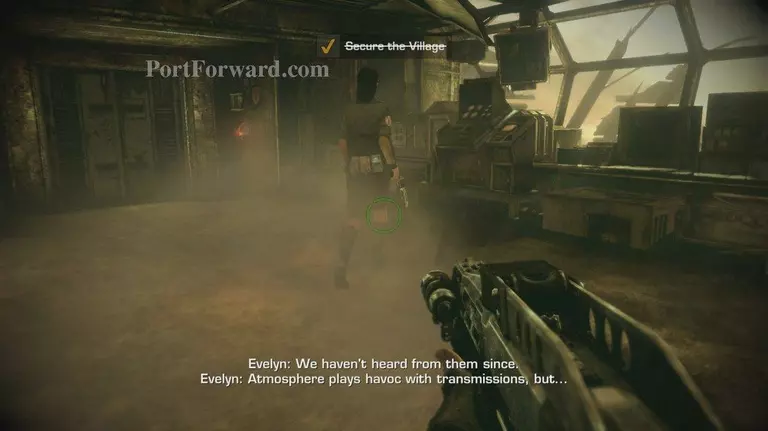
after a short scene you'll gain control follow Alpha team
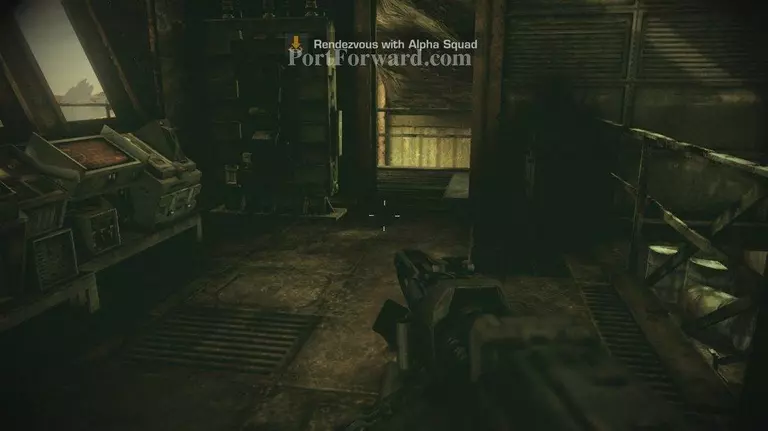
this will be a long walk full of dialog between the team
at then end a control room which completes the objective
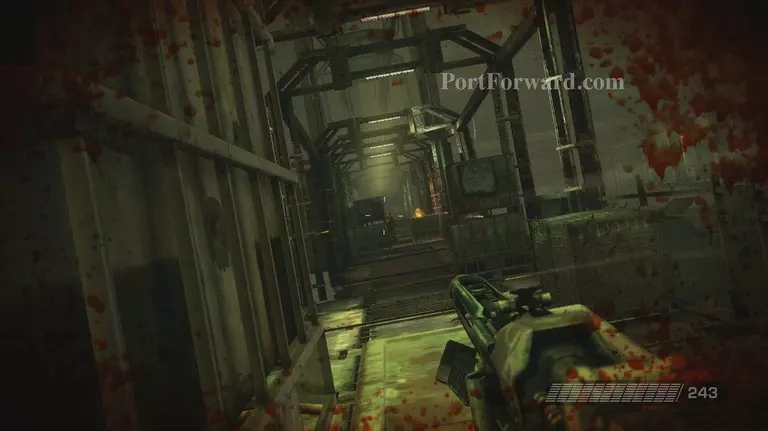
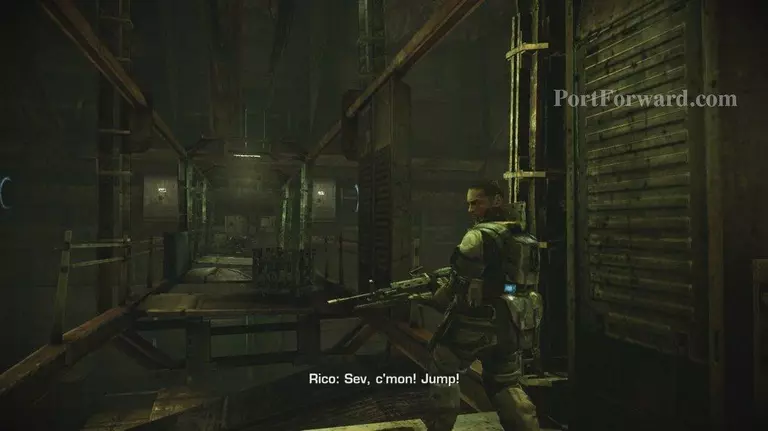
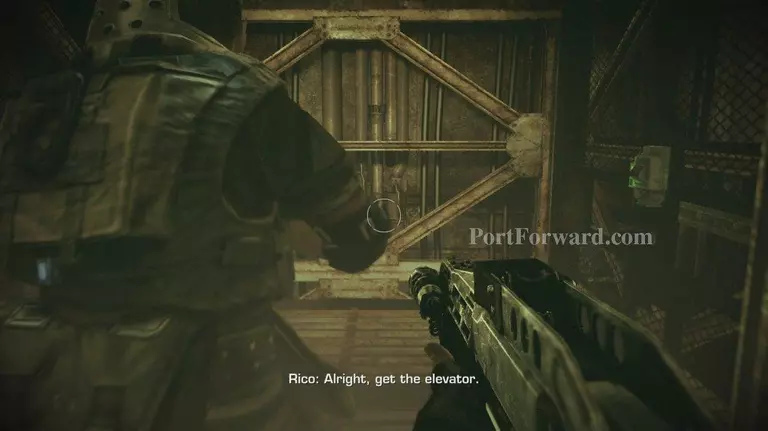
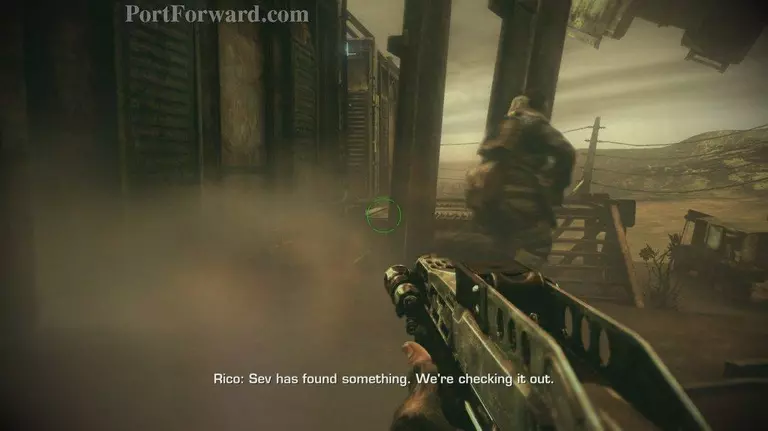
after a short chat follow Rico onto the elevator and use it

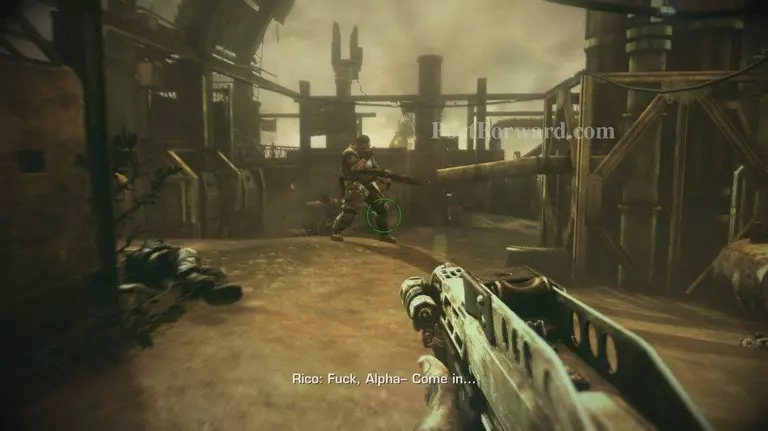
at the bottom follow Rico to the dead Hig he'll radio Alpha
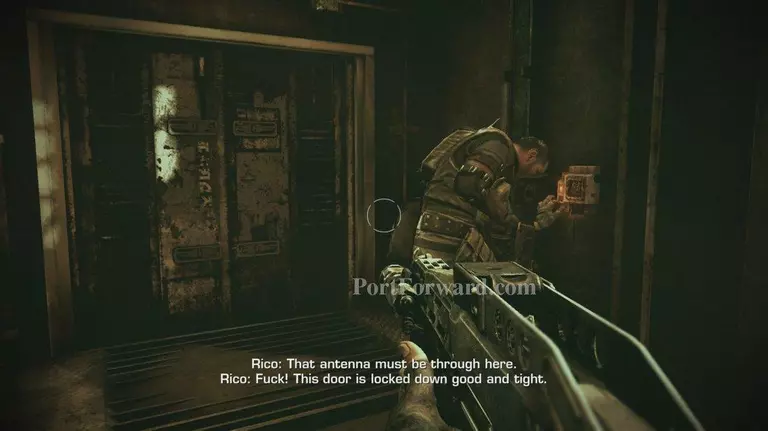
continue to follow Rico through out the encampment, you'll reach a door it'll be locked
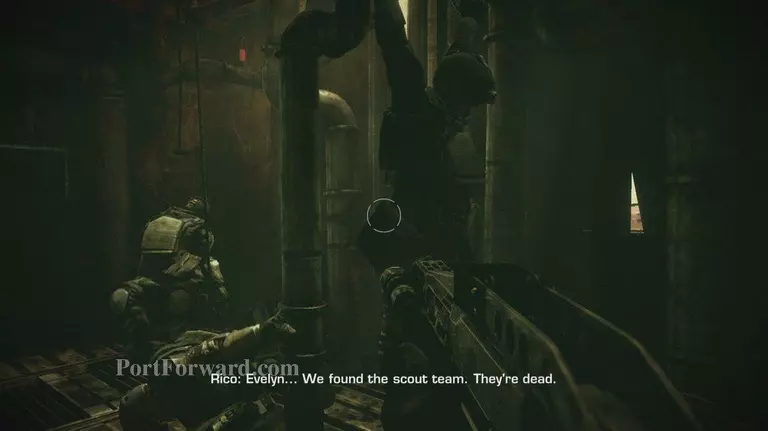
Rico will then say you need to follow the cables, follow him until you reach this building
he'll open both doors on the inside a Massacre
head over and use the switch for a scene, kill the Higs that come, after they are down a radio transmission

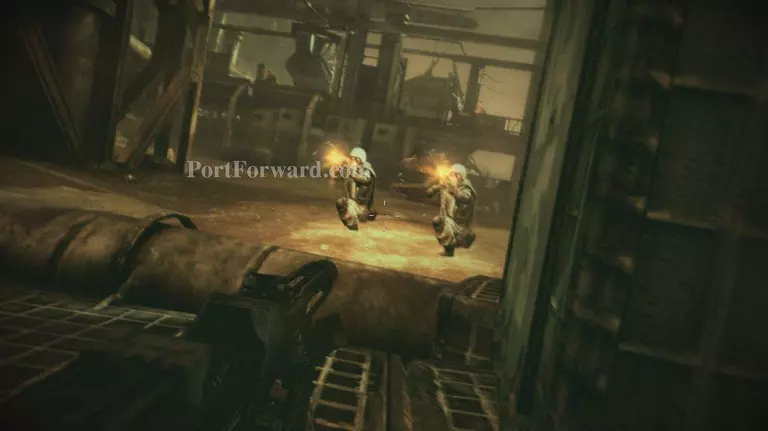
now head backed to the door that was unlocked in the scene
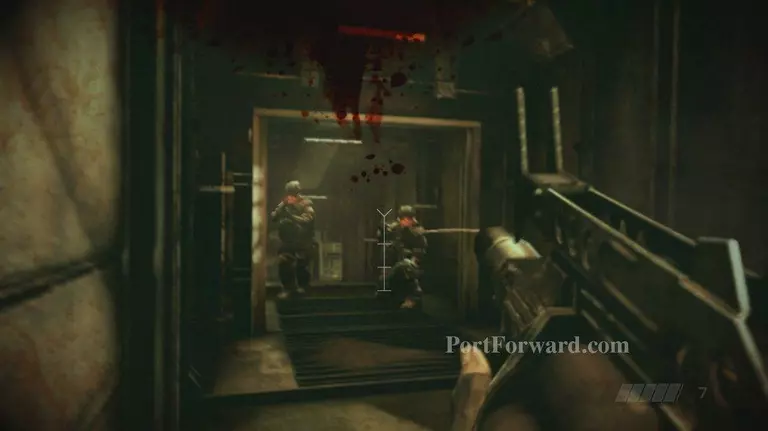
once you reach it 2 higs will rush kill them and head inside
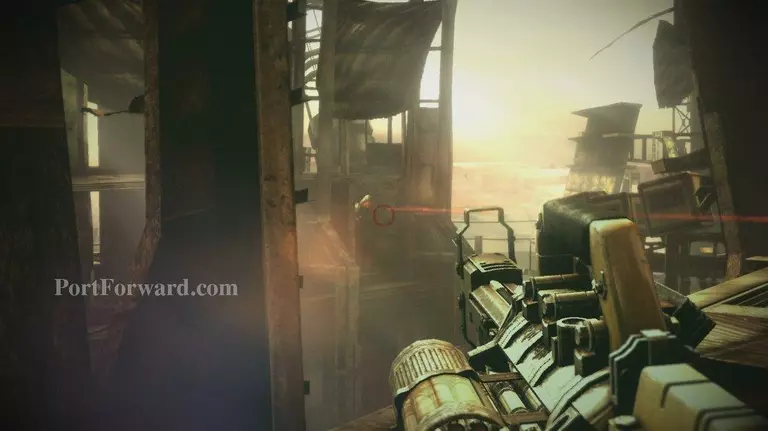
follow the path through on the other side an open area full of snipers take cover and eliminate them one by one
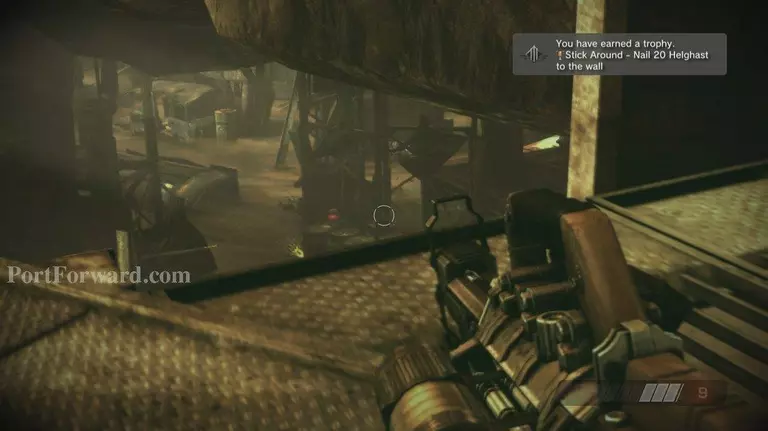
after the snipers are down a small wave of Higs comes from the north, prime spot for Bolt gun trophy
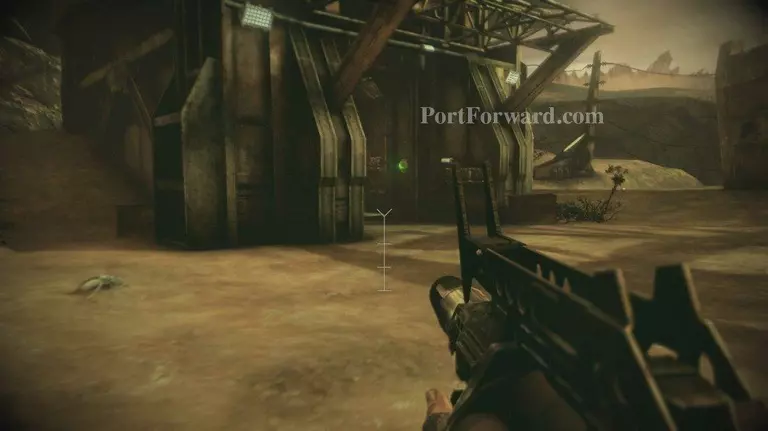
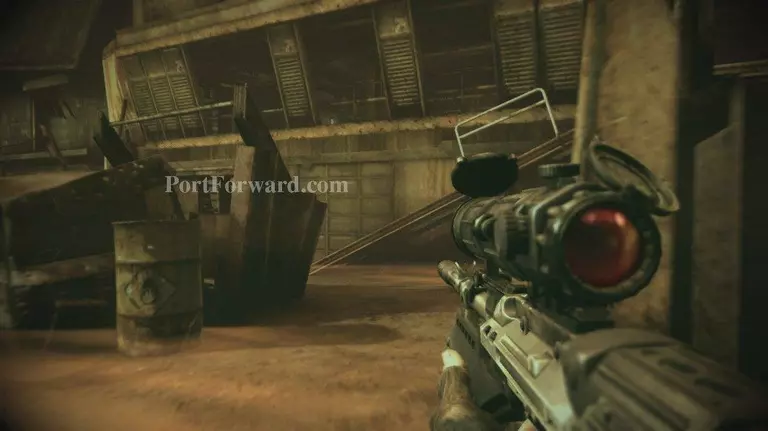
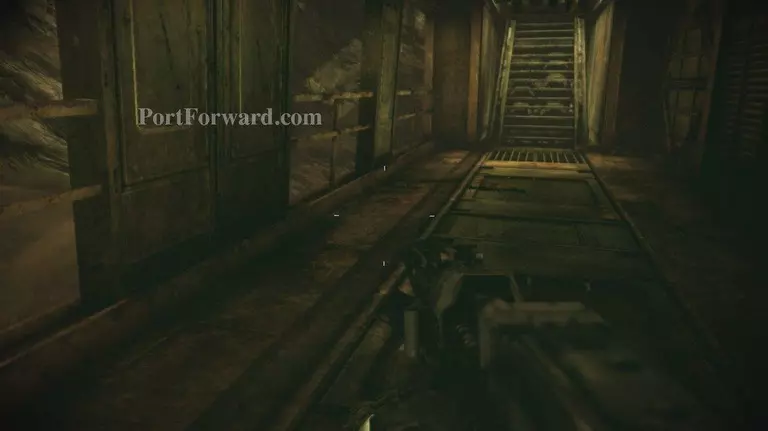
once clear head to where they rushed in from replace your weapon and head up the ramp into the building
inside grab ammo and head for the stairs in the back
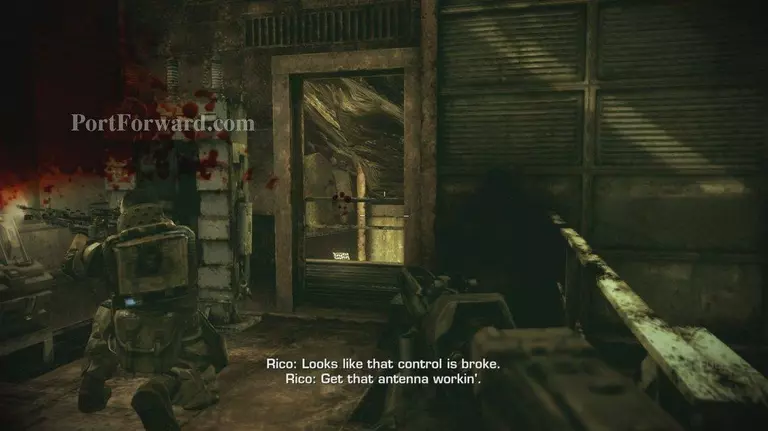
at the top a control booth but the controls are broken head out and towards the antenna
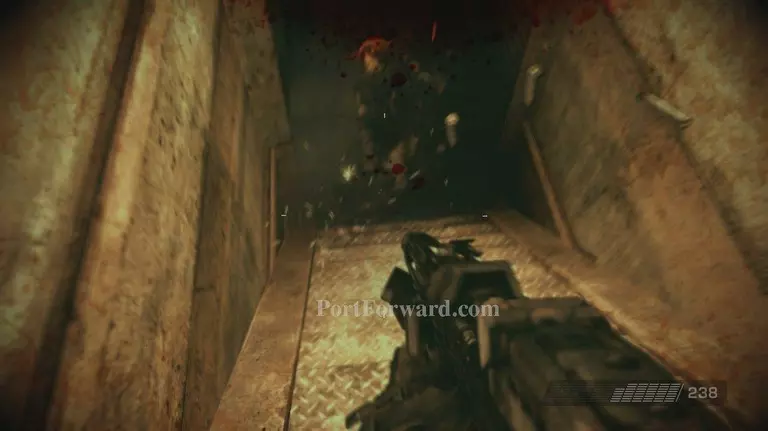
2 Higs in the small walkway here take them out
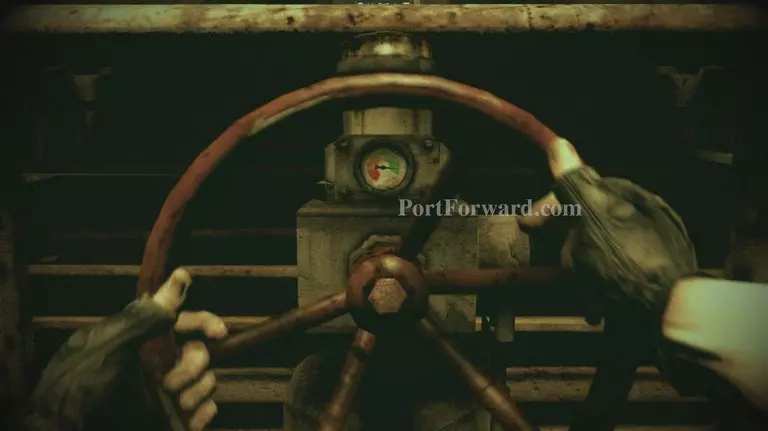
then use the valve handle at the end to activate the antenna, and head back to Rico
once back in the booth a radio from Evelyn, time to go back to Alpha?
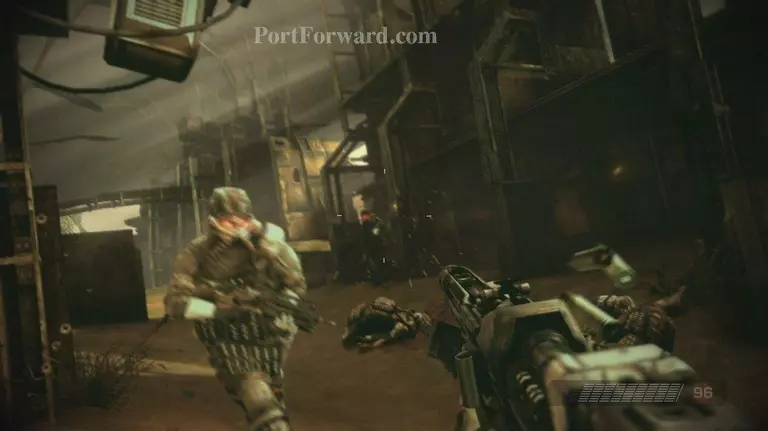
make your way back to Alpha, lots of Hig resistance along the way
soon a building 4 Higs will rush out the door take them out and head inside
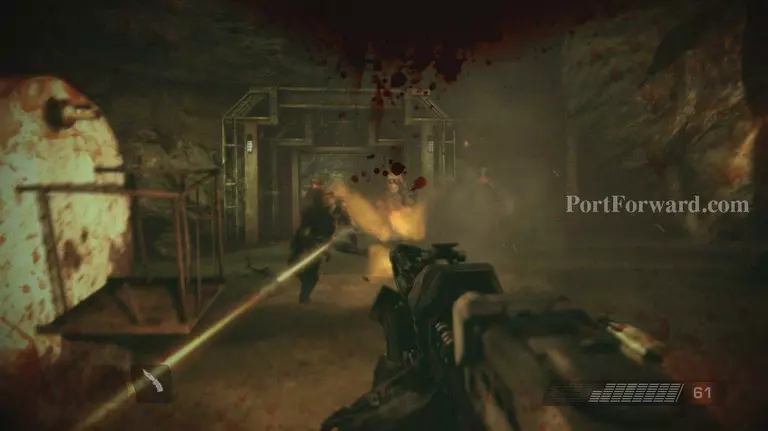
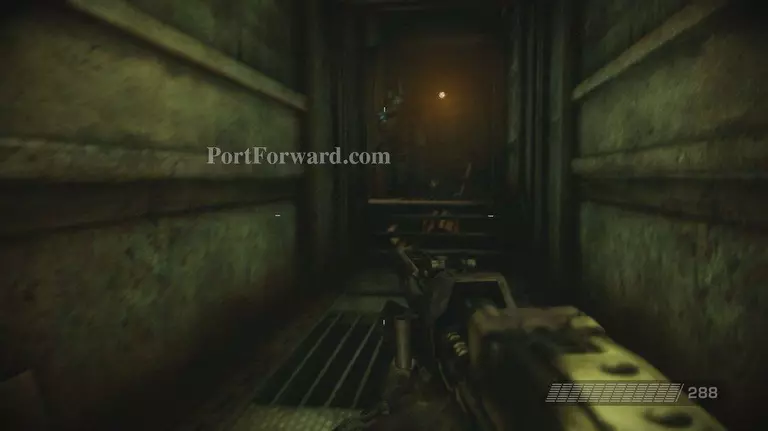
head through the tunnels and out the other side
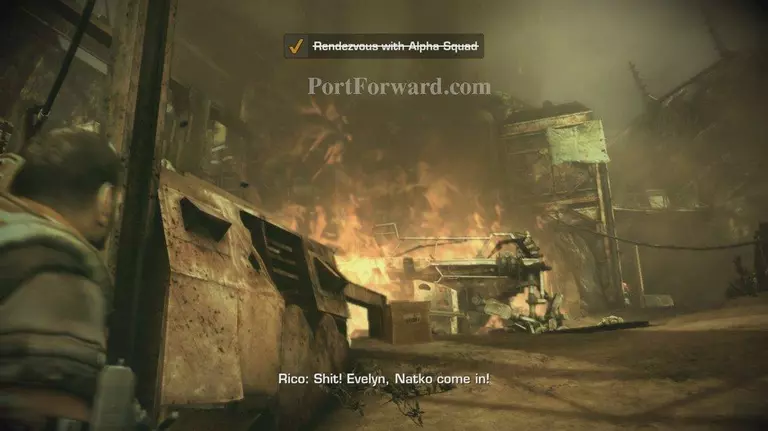
make your way towards the burning crash site for a scene
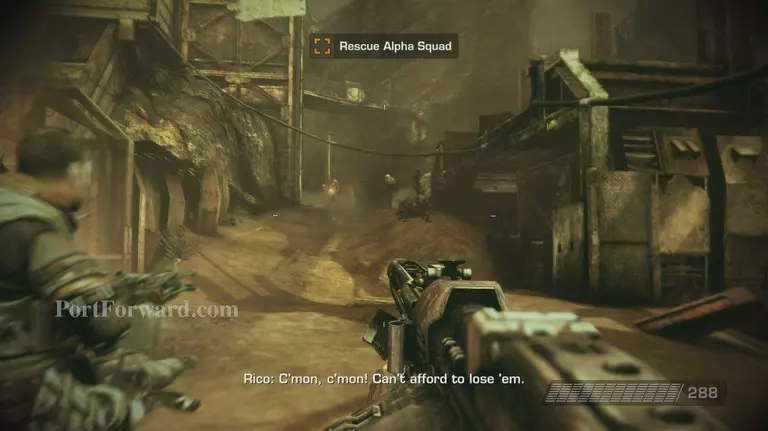
afterwards follow Rico towards the Higs
a fairly nice sized wave of Higs come in here take cover and pop thier tops
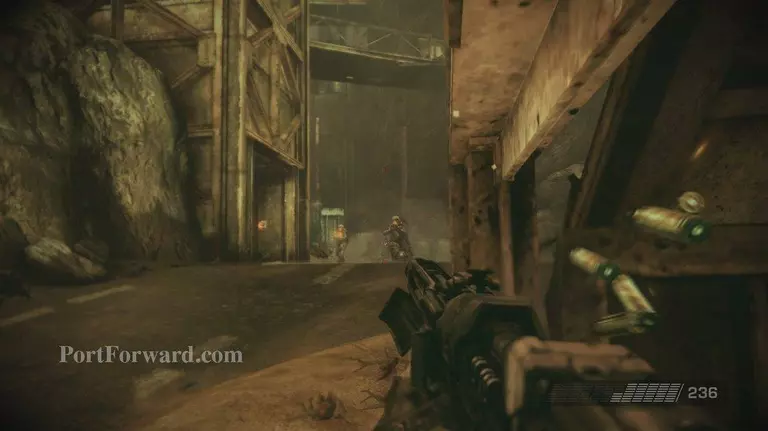
now head to where they took alpha squad, you end up in a mine
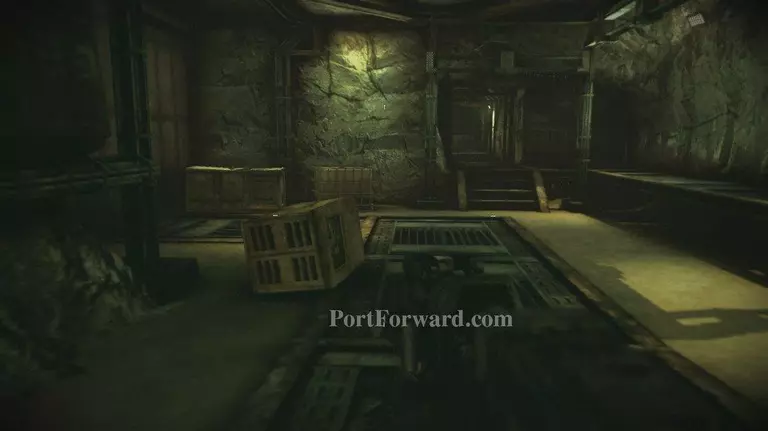
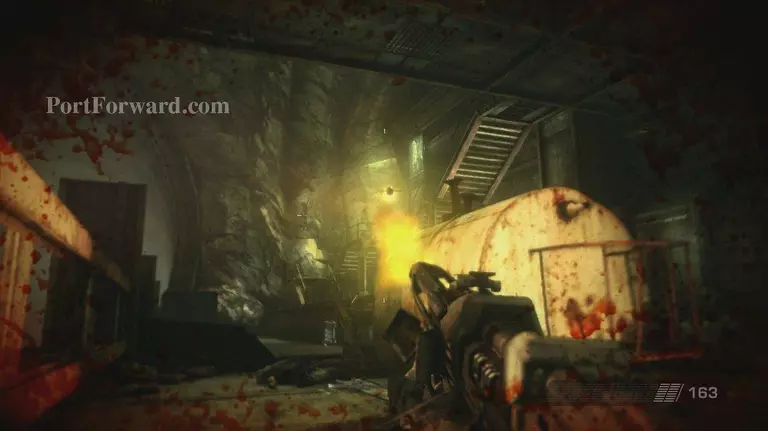
soon a room with 2 Higs clear them out and head in and take out the 2 across the way
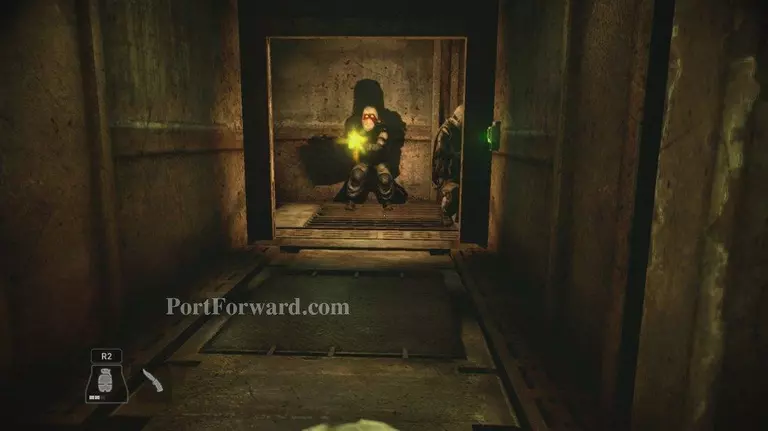
after they go down one will ask for the door to be opened, cook a grenade and toss it when the door opens
mop up the Higs inside and follow Rico
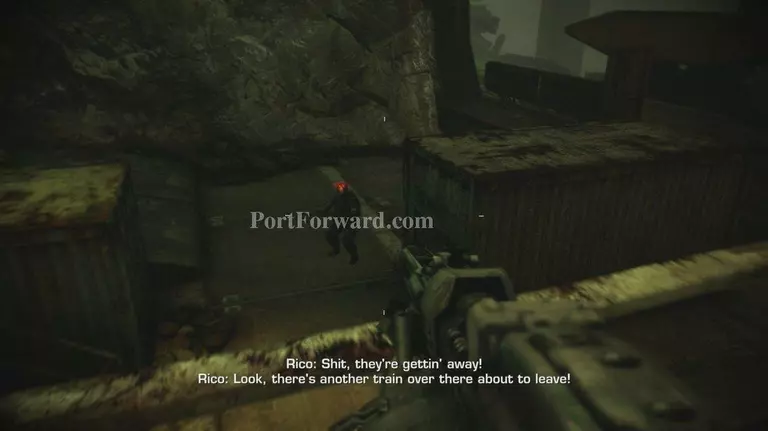
as soon as you exit jump down and take out the Hig behind the container and take cover here
shoot the wave of Higs that comes from the north along with the 2 RPG troops on the catwalk
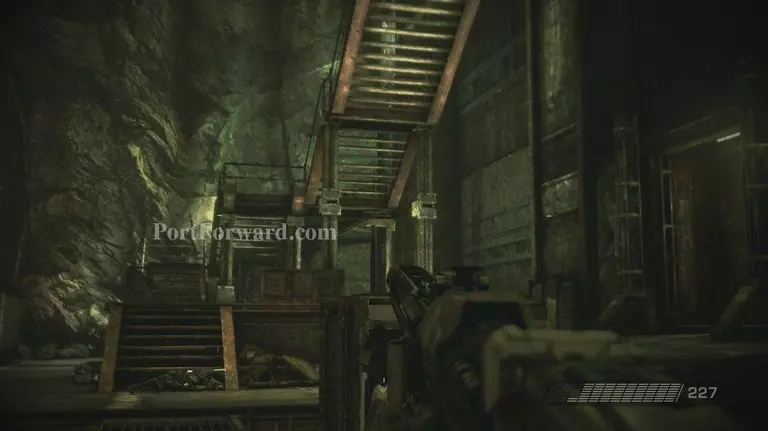
after you've cleared them out head up the stairs at the north end
at the top a small amount of Higs dug in fairly well take them out
as the end of the catwalk you'll get a scene jumping onto the train, this will end mission 6.
More Killzone 2 Walkthroughs
This Killzone 2 walkthrough is divided into 10 total pages.


