This L.A. Noire walkthrough is divided into 20 total pages.
You can jump to nearby pages of the game using the links above.
The Silk Stocking Murder
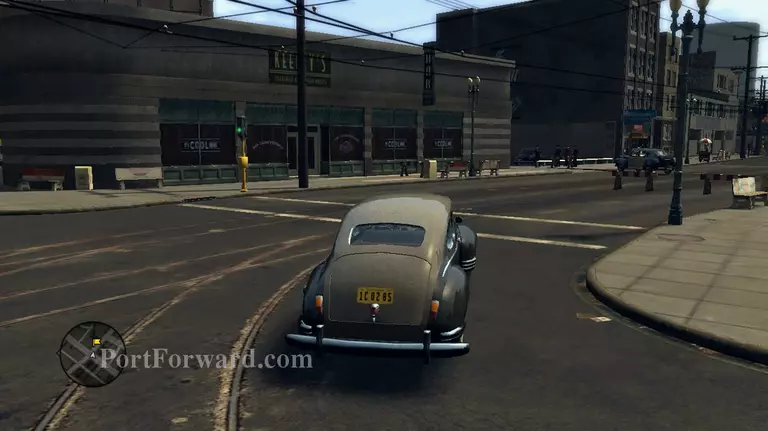
After speaking to the captain, head over to the crime scene which is probably one of the weirdest you've ever seen.
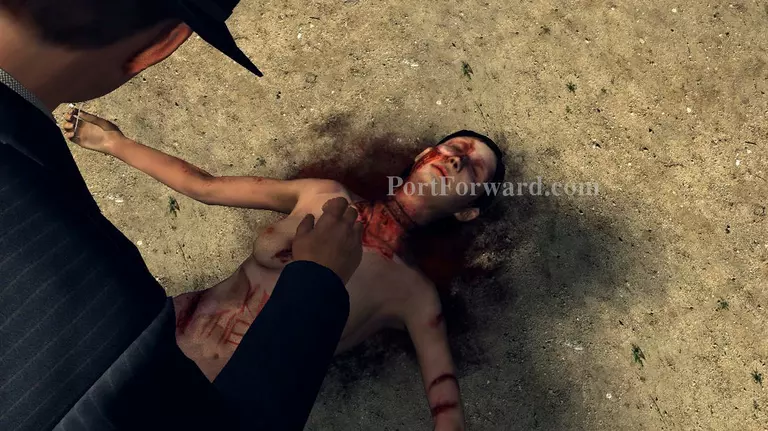
Immediately examine the victim's body. Check her neck, right arm, left arm and the lipstick on her stomach. A short cutscene will play afterwards.
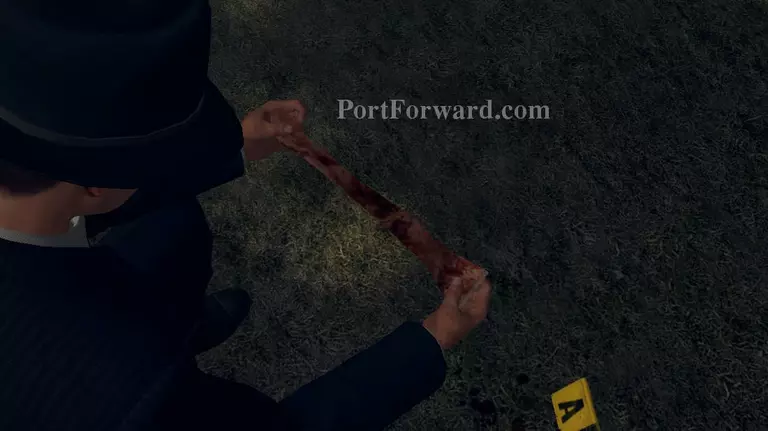
Head over to the A marker to find a bloody stocking and some thoughts from Phelps.
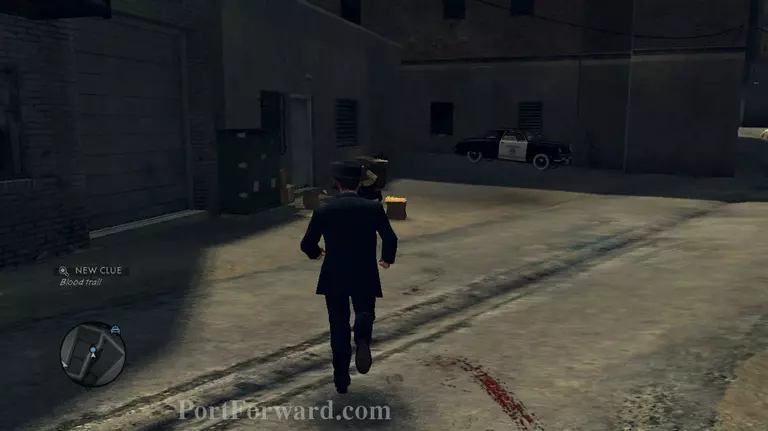
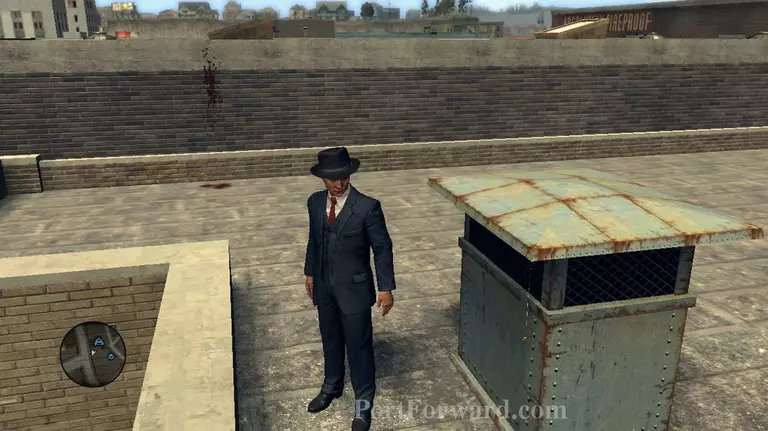
Now head for marker C and follow the blood trail towards the garbage cans. You'll find a hat marked Antonia. Then continue following the blood trail towards the right.
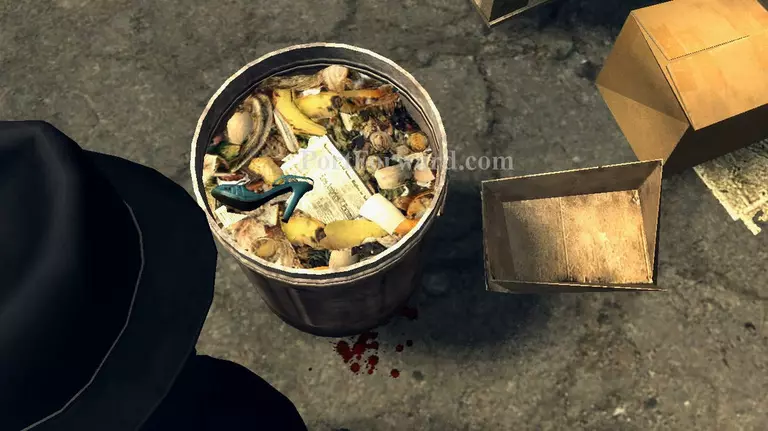
The blood trail will lead you to a garbage can. Examine the shoe to find another clue, then turn left and continue following the blood.

It will once again lead you to a pipe where you'll find some house keys that are attached to the wheel of the pipe. Examine the keys, then continue following the blood trail towards the left again.
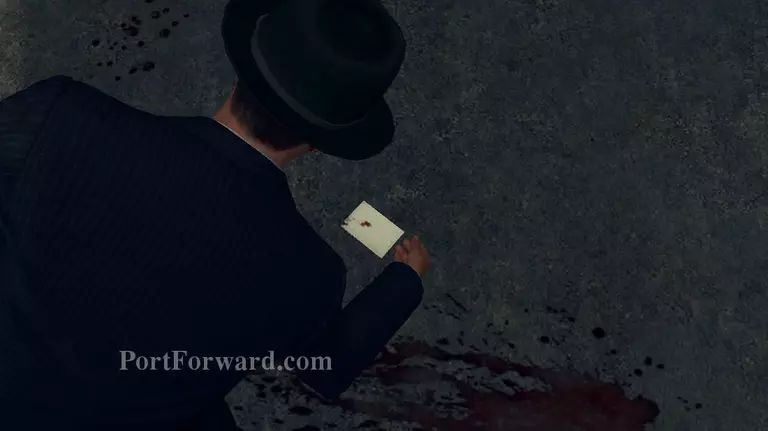
You'll find a small piece of paper with dots arranged in a certain pattern. It's a clue for later so try to remember it and of course once again follow the blood trail.
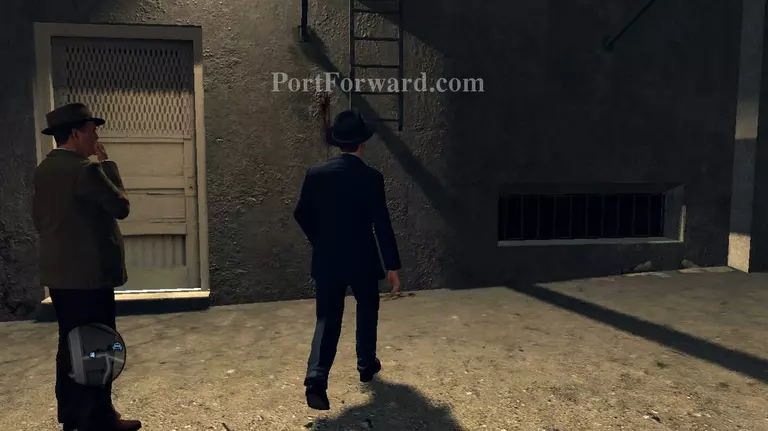
The blood will lead you up the fire escape ladder and into the bird coop where you'll find an envelope which is empty. And yes, you will have to follow the blood again.
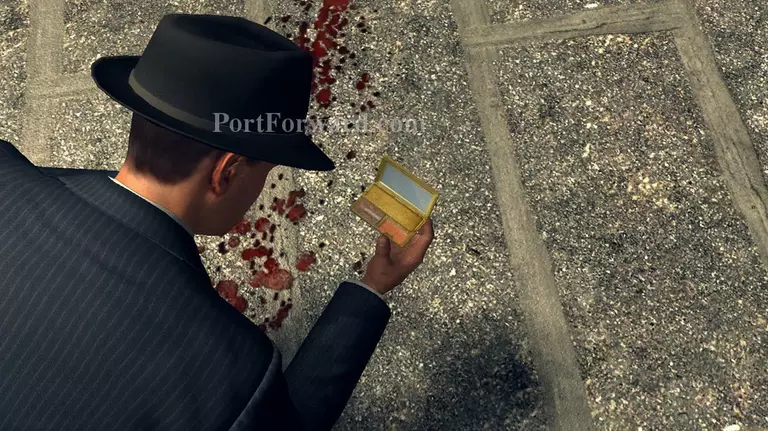
You'll find a make up kit on the floor exactly where the blood leads. Follow the blood a little more and climb up on the yellow pipe.
On the second rooftop you'll find a ring hanging from one of the vents. Examine it then continue up the next rooftop right in front of the vent.
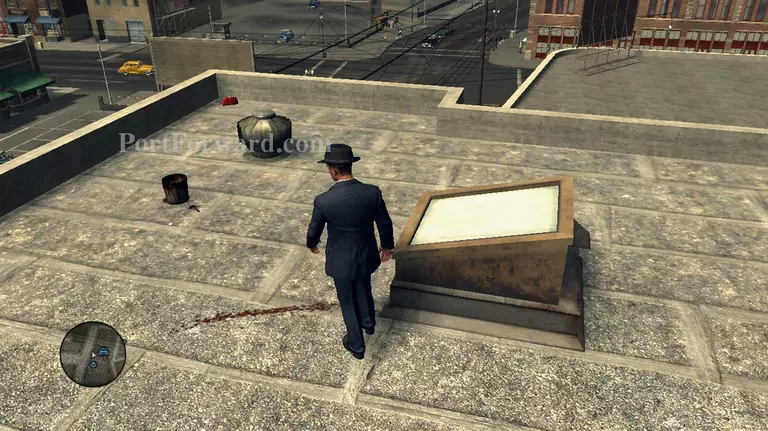
Last bit of clue here. Examine the pail and brush nearby and finally the red purse at the corner of the roof. If that doesn't scream come find me from the perp, I don't know what it is.
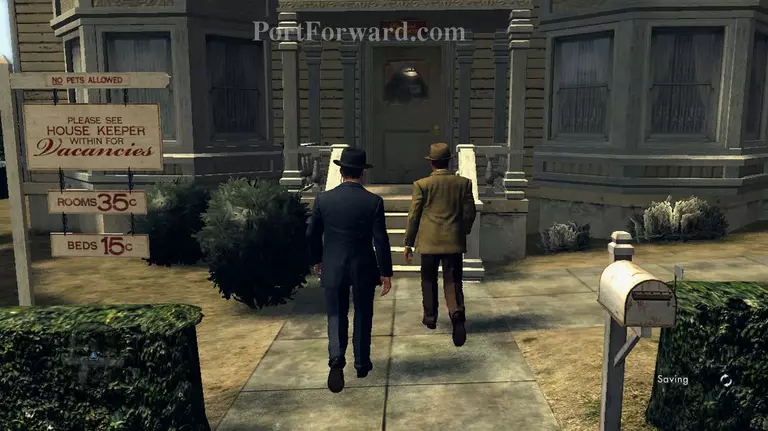
Cole will automatically leave the rooftop and your next location will be Antonia's apartment. Get in your car and head over there, the landlady will attend to you.
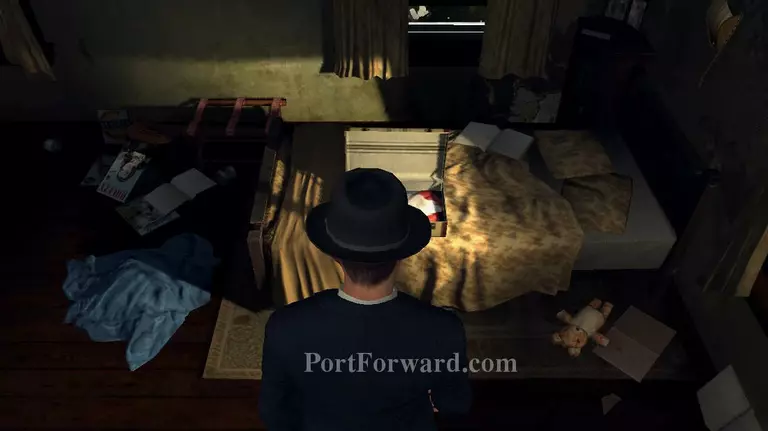
She'll then let you go up to Antonia's room. Examine the envelope on the bed inside the suitcase that's lying there.

Examine the broken window on the right side of the bed and exit through it. You'll find a poker outside, examine it closer to gain your clue, then head back inside.
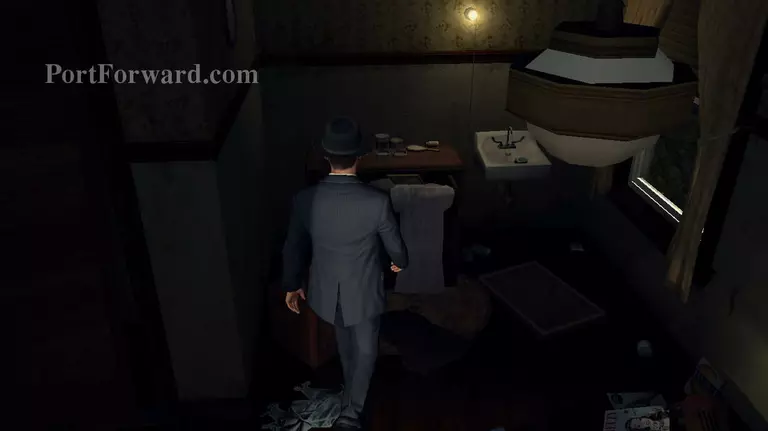
Approach the dresser at the foot of the bed and examine the photo that's on the open drawer. That's all you need from here, head back down and talk to the landlady.
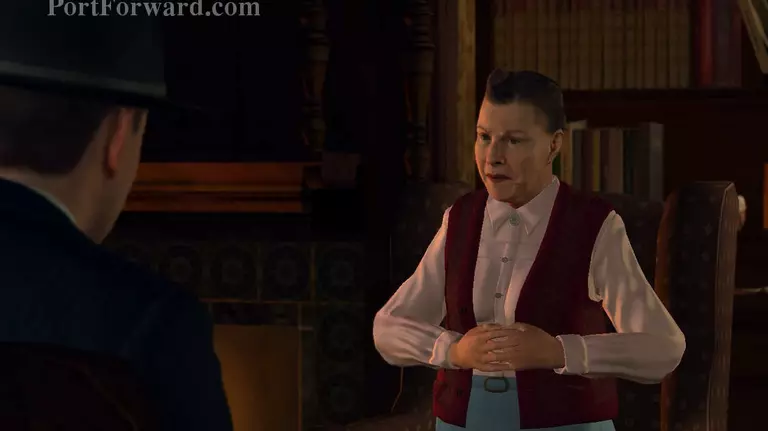
"Possible Suspects" - True ⢠"Movements of Victim" - Doubt ⢠"Evidence of Break-In" - Lie/Evidence - Broken Window ⢠"Breakdown of Marraige" - Lie/Evidence - Charm bracelet photograph.
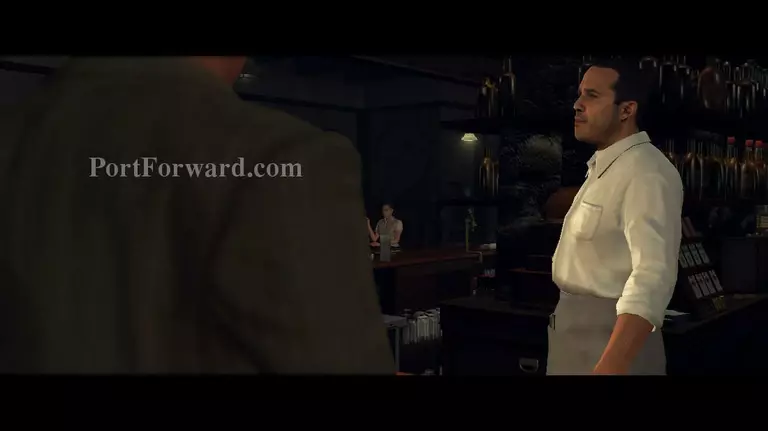
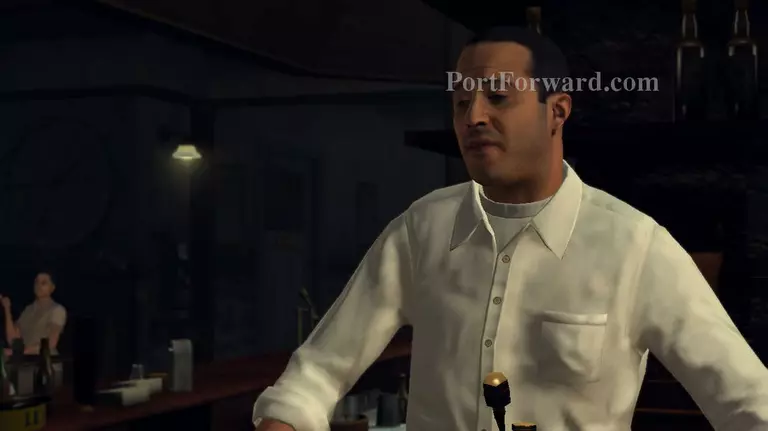
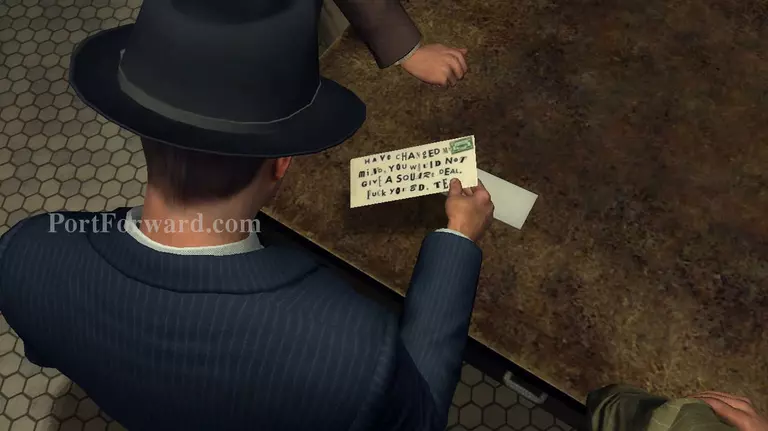
After the interview, head back to the car and drive to the El dorado bar. The bartender will show you the letter that your victim left behind the night she was killed. Examine the letter, then interview the bartender.
"Missing Jewelery" - Doubt ⢠"Movements of Victim" - Truth
After speaking with the bartender, head to the back of the bar and you'll meet up with a delivery boy. Head back to your car after the cutscene and head for the Maldonado residence.

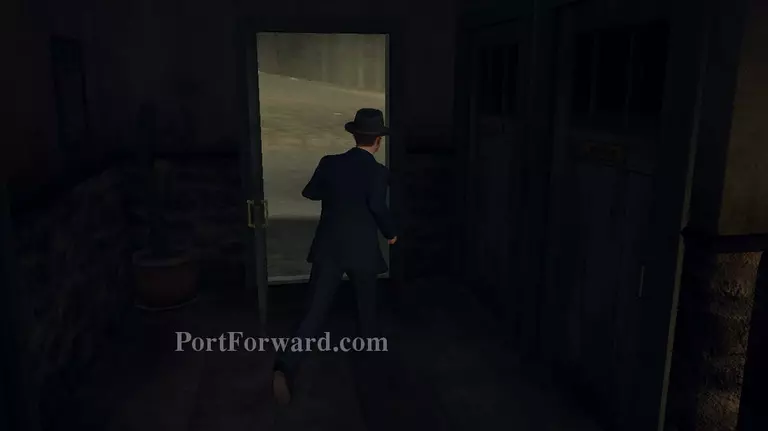
Climb up to the top floor of the apartment and Galloway will once again show you how bad his life choices are. Beat up Angel and his brother, then you'll be able to search the house.
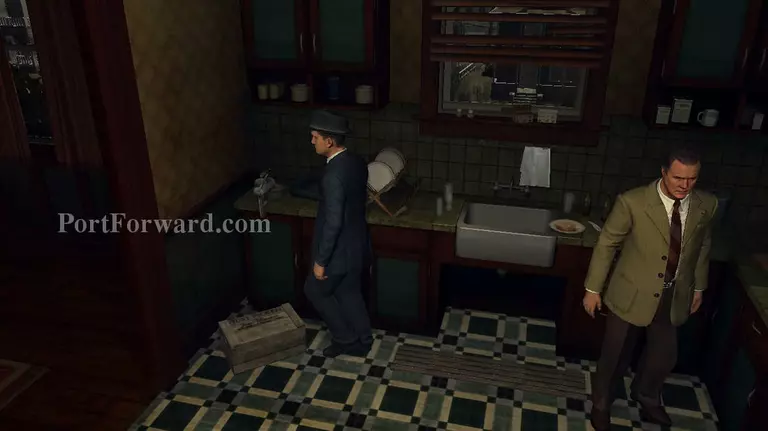
Not much to find here. Just head for the kitchen and examine both the crate from the Just Picked Fruit Market, the matches from El Dorado on the counter and the bloody shirt right in front of the sink.
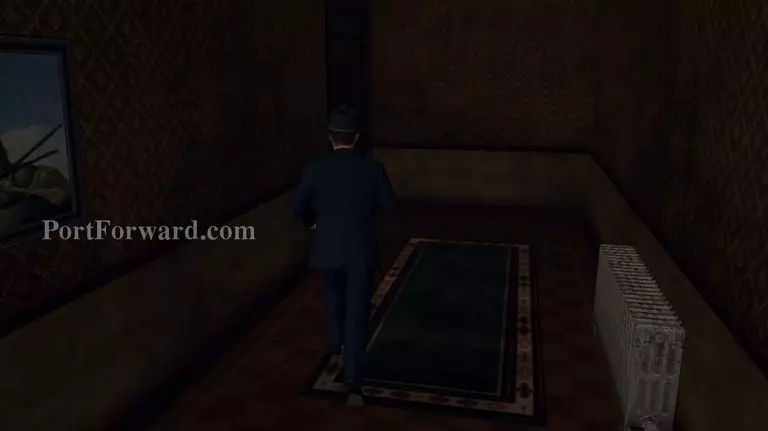
After examining all 3 items, leave the room and head over to the other end of the corridor and knock on the door to find a witness for the husband's alibi. Head back to the room and use the phone to get your messages.
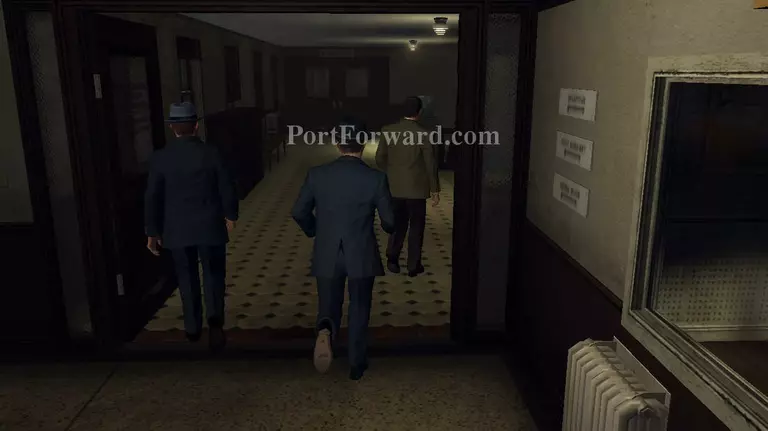
Head back to Central upon your captain's orders. To find Tech Services, head for the same route you take when going to interrogation room 2 and enter the double doors at the end of the hallway, then climb down the stairs and look for the only door you can enter.
Examine the letters from the Werewolf, your cases just got a whole lot interesting now. Drop the letters to gain new information or rather a new lead.

After the cutscene you'll have to interview Angel Maldonado. Head up the stairs and enter interrogation room 2 to interview him.
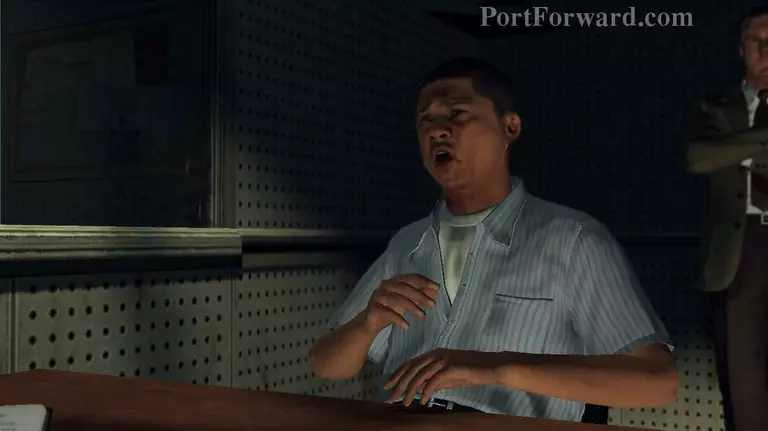
"Last Contact with Victim" - Lie/Evidence - Husbandâs alibi ⢠"Jewelry Taken from Body" - Truth ⢠"Divorce Proceedings" - Lie/Evidence - Divorce Papers ⢠"Bloodstained Shirt Found" - Doubt
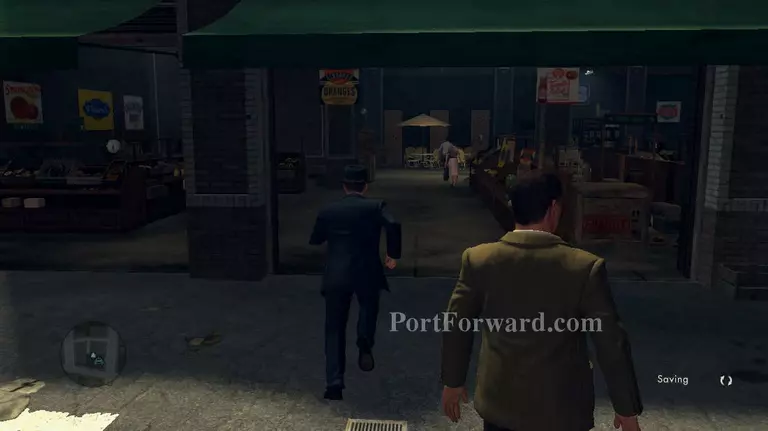
Leave the police station after the interview and head to Just Picked Fruits. Approach the counter and talk to the clerk.
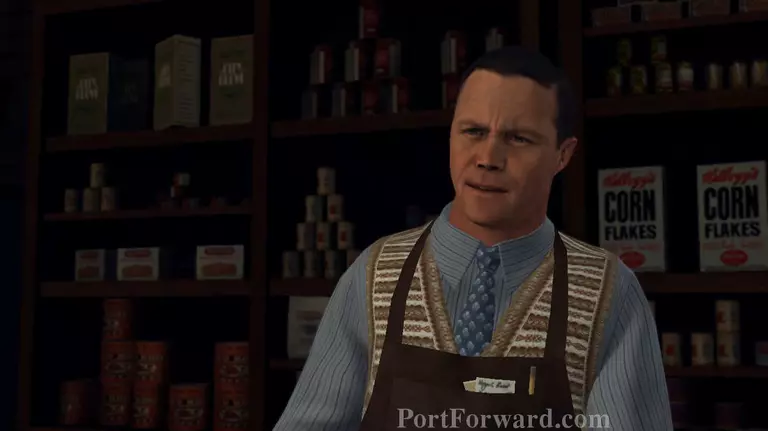
"Distinctive Necklace" - Doubt ⢠"Contact with Victim" - Doubt ⢠"Movements of Victim" - Truth
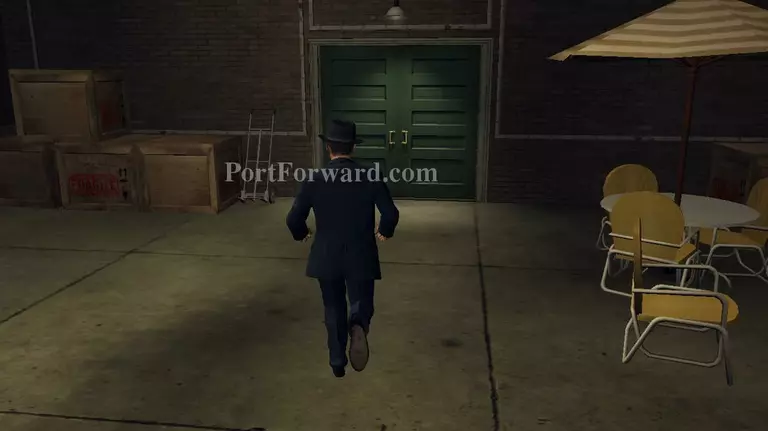
When you're done speaking to the clerk, turn left and enter the green door on that direction to find the stash of alcohol inside.

First approach the desk you'll find a bloody scalpel on top of it, examine the scalpel closer to find your clue.
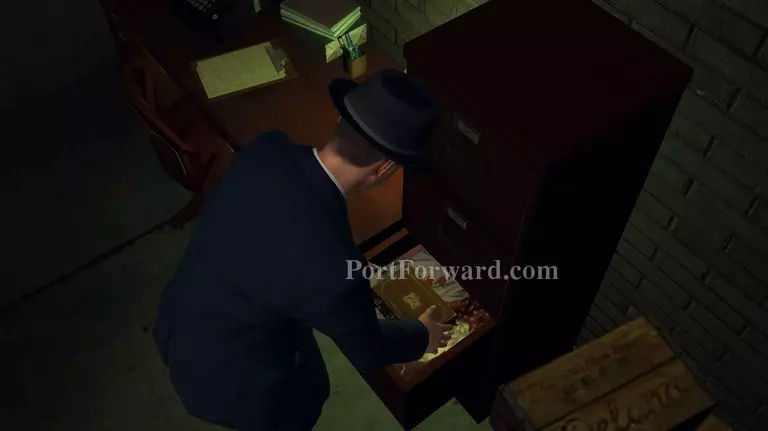
The last bit that you need to check out is the locked box inside the open drawer on the next desk. The code is what was written on the paper you found at the crime scene: 2 dots, 5 dots and lastly 3 dots. Examine the items inside and close the box to proceed with the next scene.
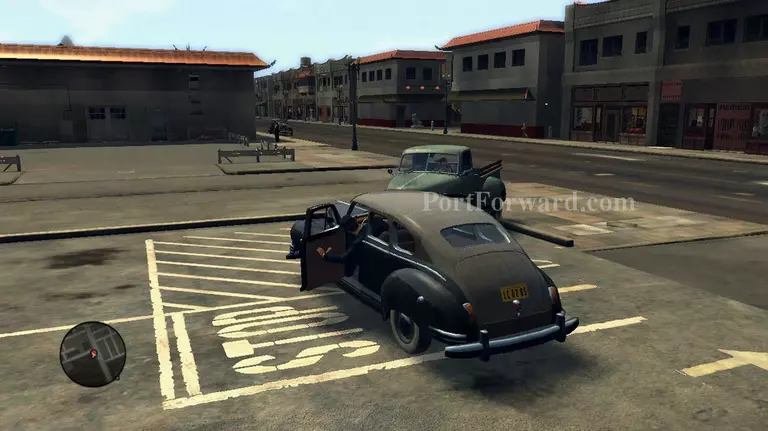
Chase after your suspect and run him off of the road to perform an arrest and bring him down.
More L.A. Noire Walkthroughs
This L.A. Noire walkthrough is divided into 20 total pages.