
This L.A. Noire walkthrough is divided into 20 total pages.
You can jump to nearby pages of the game using the links above.
The Quarter Moon Murders
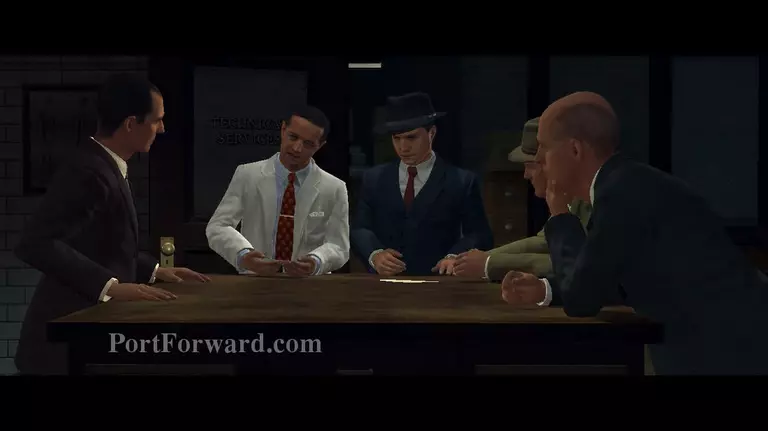
Sorry, not a new case. This is the finale of all the cases you've been solving so far. The case starts with a new letter from the Werewolf.
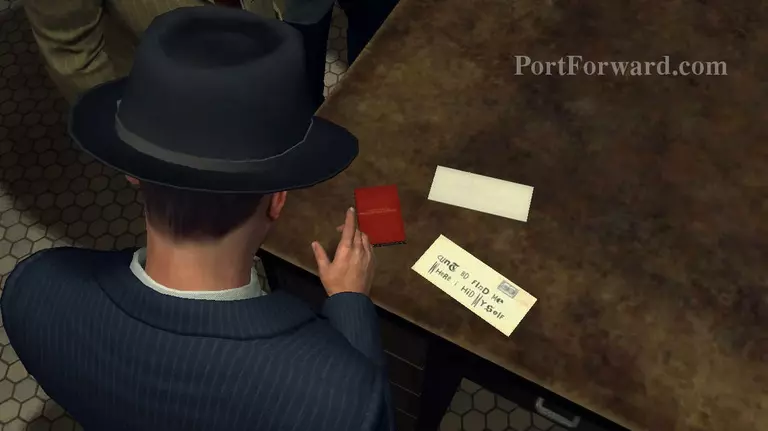
Investigate the small red book to find the Shelley excerpt. The paper will also reveal a new excerpt, but this time it's a clew and finally a Black Dahlia letter.
Cole will solve the first puzzle for you. Leave the station and head for Pershing Square where the first clue is trying to lead you.
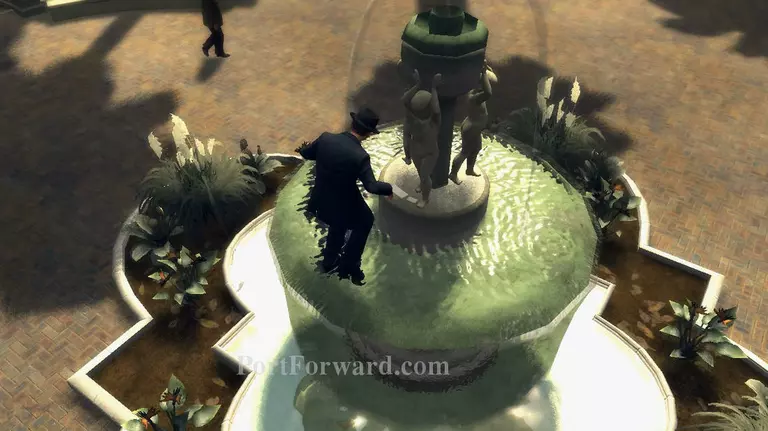
Climb up the fountain and you'll find the second excerpt as well as Elizabeth Short's social security card.
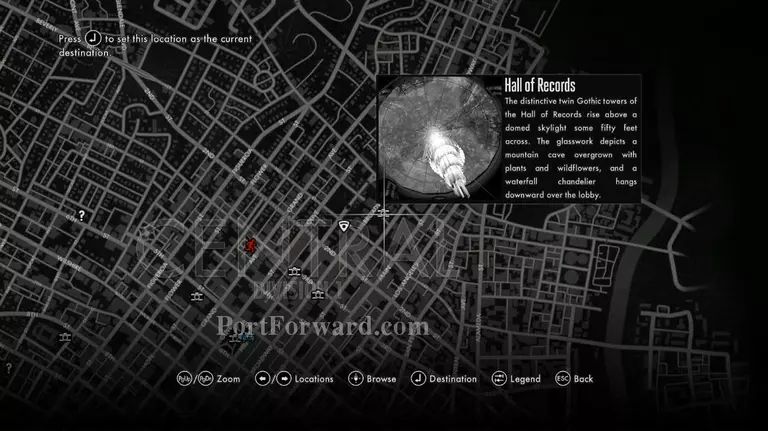
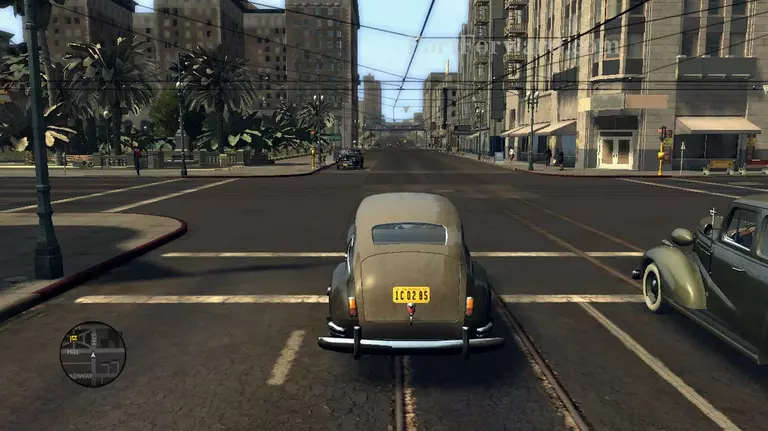
After taking the clues, head back in your car and open up your map. Place your marker on the Hall of Records and set that as your next destination.
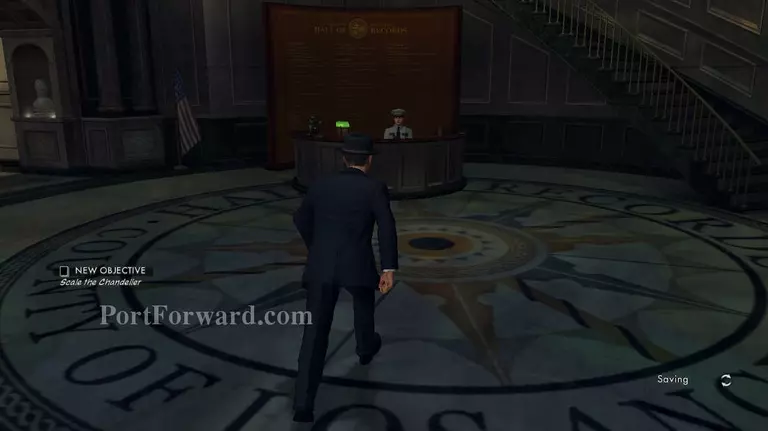
Enter the building and ask the guard sitting in the front desk for information about getting up to the chandelier. Cimb up the stairs on the right side and get up to the highest floor.
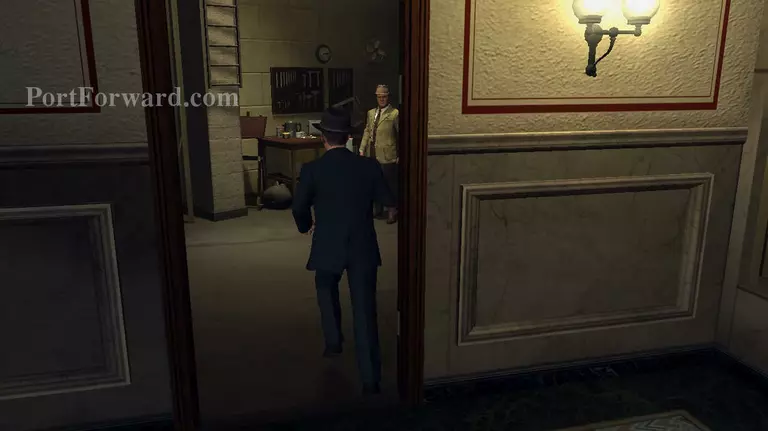
Head around the floor until you find the open door where you can see the fire extinguisher. Enter the room and climb up the ladder to level with the chandelier.
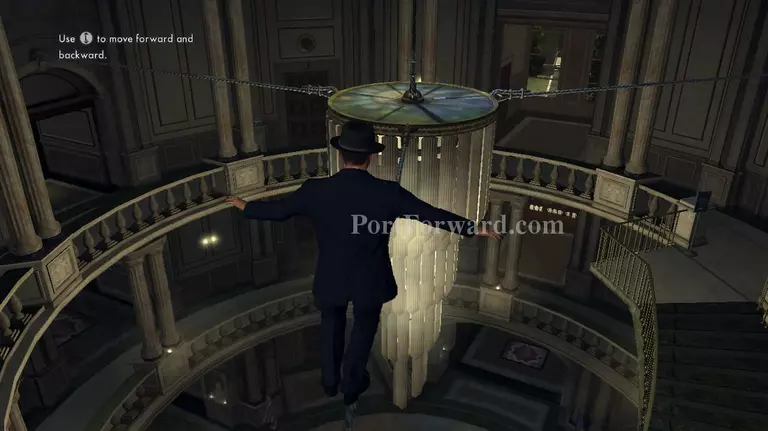
Slowly cross the metal rope to get to the middle of the chandelier and find your next clue as well as Deidre Moller's watch. Tip: You can easily cross the rope by walking forward 2 steps, then waiting for Cole to reposition himself.

The chandelier was rigged and you're in danger of falling. Start swinging left and right until it swings enough for you to be able to reach the stair landing.
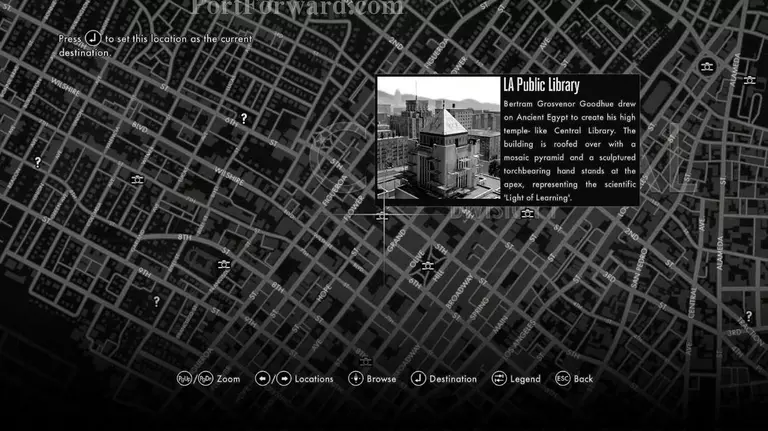
Once again head back to your car, open your map and select the L.A. Public Library as your next destination.
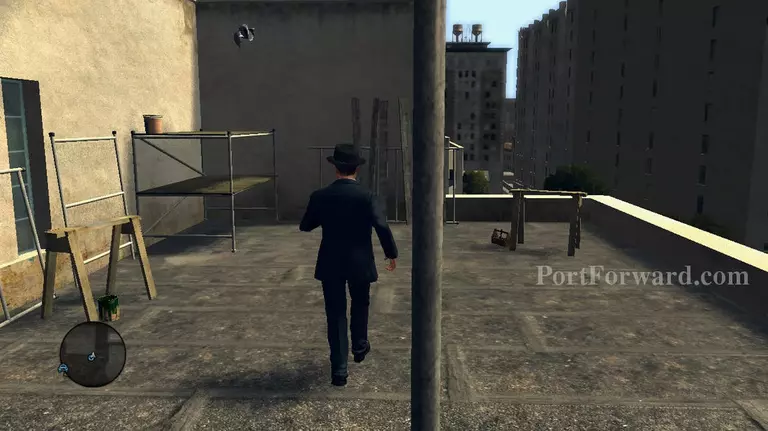
When you get there you'll have to start climbing to the top of the building. Head up the yellow pipe and climb up the work scaffoldings near the corner.
Turn right as soon as you climb up and use the stairs on the scaffoldings on the right side to climb up higher.
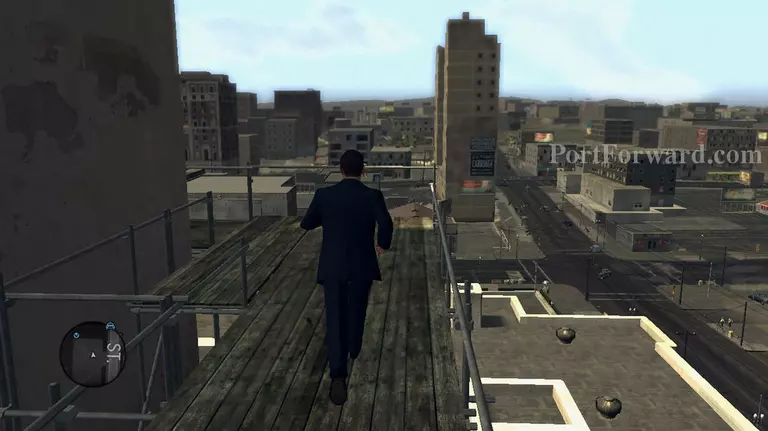
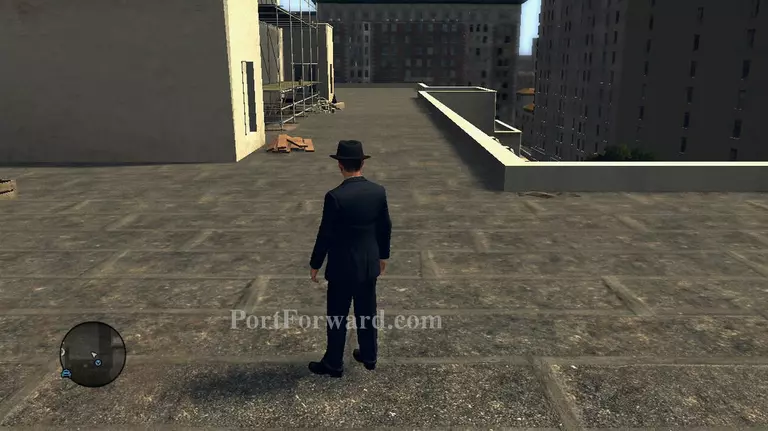
Now make your way around the scaffoldings that are laid down on the building and keep going until you reach the top.
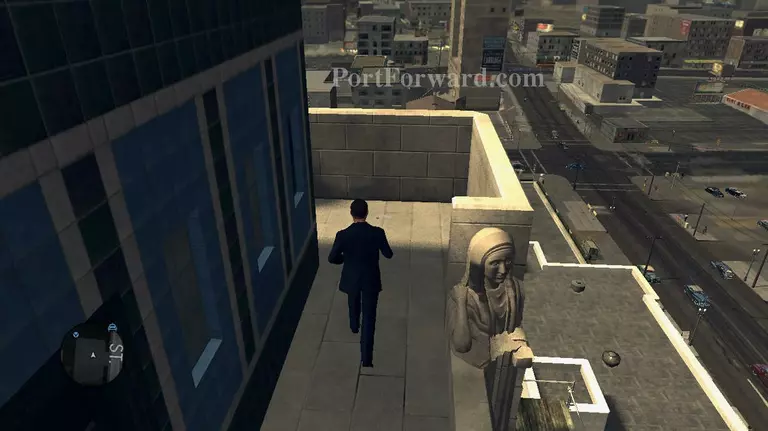
When you get to the very top, head for the second corner and you'll find another excerpt and Antonia's Medallion.
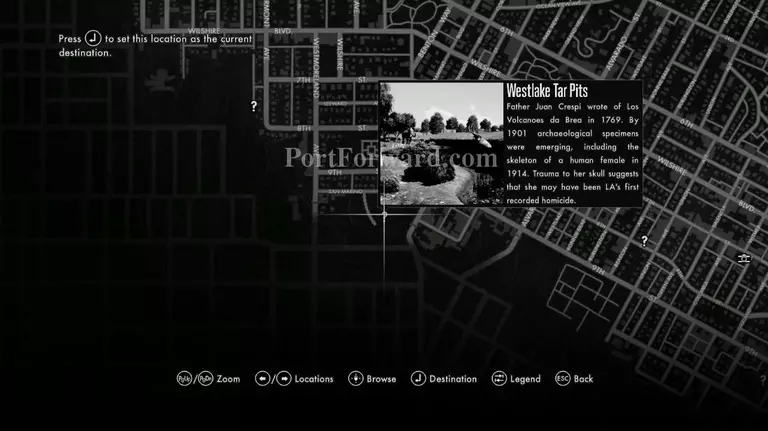
You'll automatically be brought down from the rooftop after gaining the evidence that have been left there. Open up your map again and head for the Westlake Tar Pits.
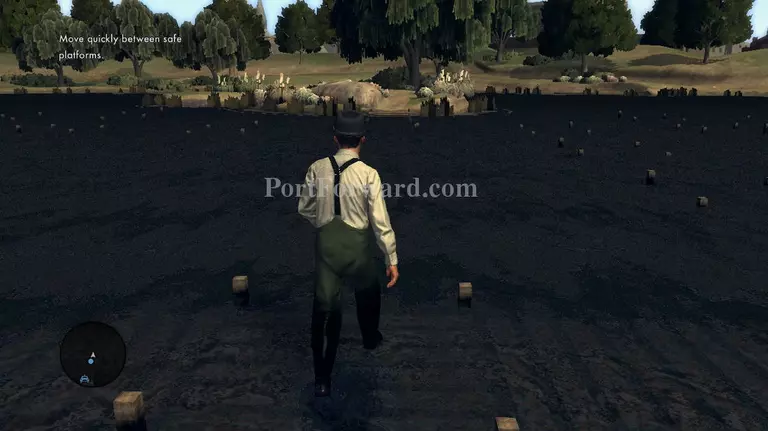
This one is really easy. Just follow the bridge towards the island, but of course it isn't just a straight path although it is very linear. You can see where the bridge is headed if you look closely into the tar.
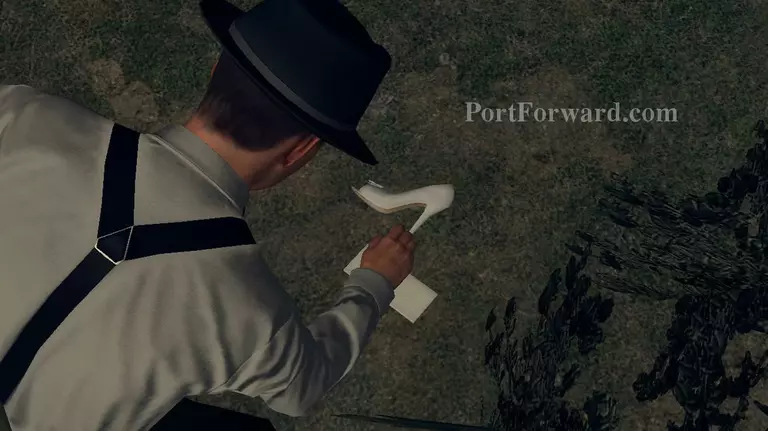
On the island you'll find Taraldsen's shoe and the fifth excerpt. Rusty will come pick you up by boat, which makes you wonder why you didn't this in the first place.
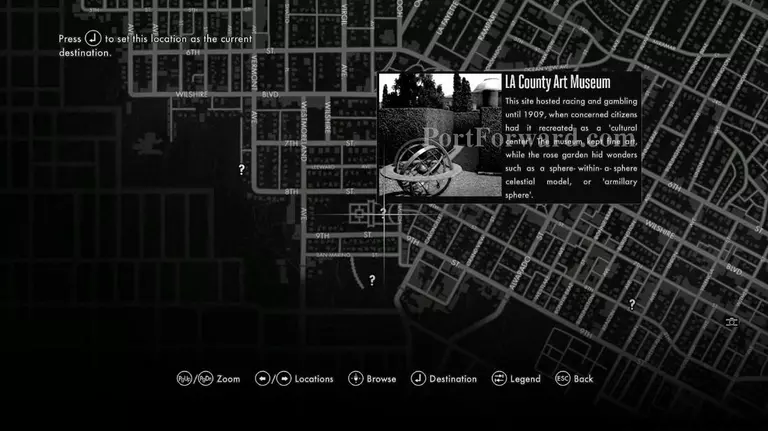
Get back in your car and open up your map. This time you'll head for the L.A. County Art Museum.
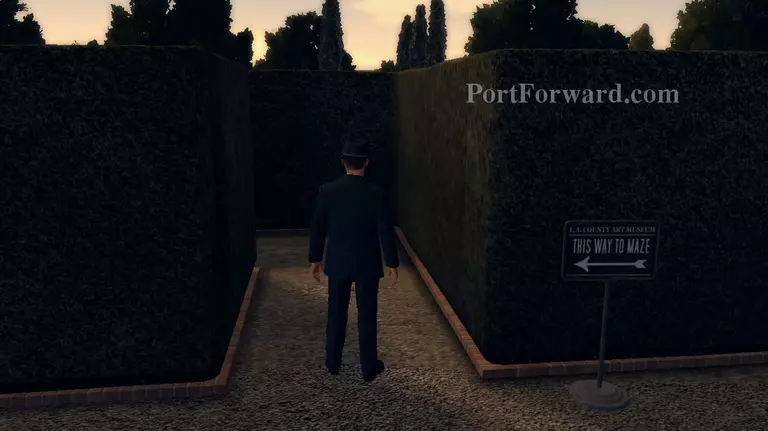
Head for the maze as soon as you get to the museum. This is a little tricky, but that sound that you're hearing... sort of like a machine is the strongest indicator that you're close.
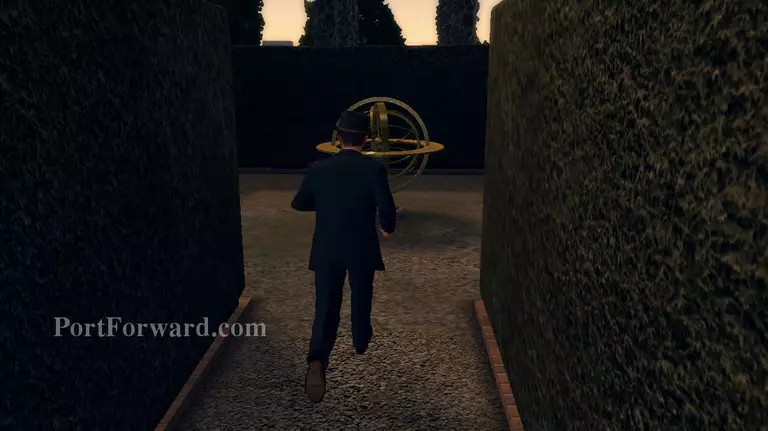
To get to the next clue, you have to turn right at the first crossing, another right at the intersection, straight at the next one and you'll find a spinning machine at the middle, I forgot what they're called.
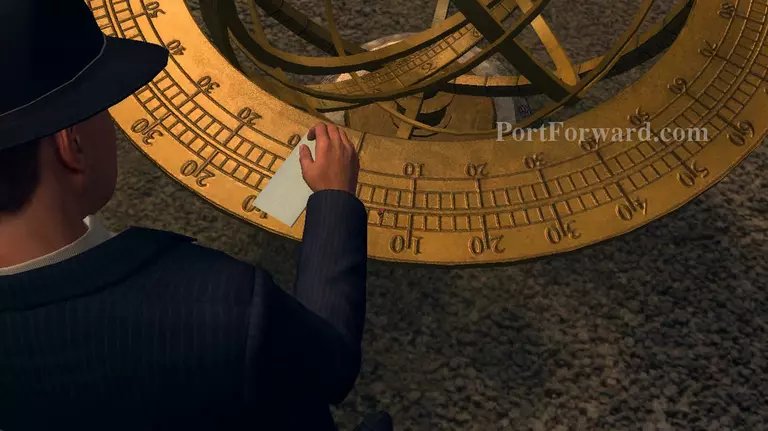
There you'll find the next clue and Celine Henry's prized ring.
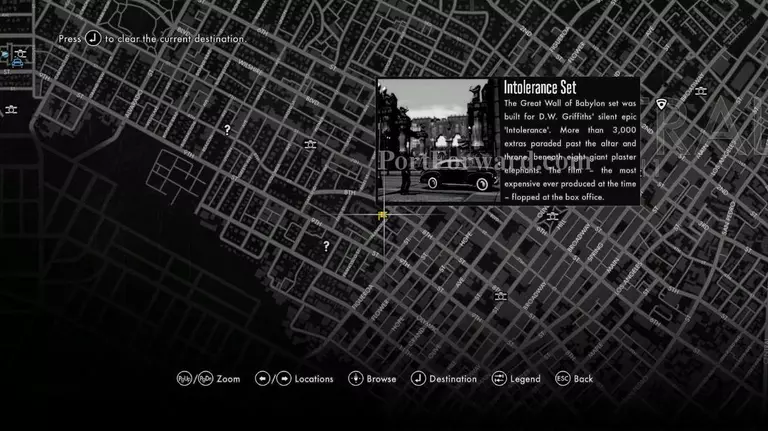
Once again head back to your car and set your location for the Intolerance Set. This is really getting tiring now with all the running around and chasing after clues.

When you get to the intolerance set, turn left and head inside the prop hallways and up the set of stairs at the right side after exiting them.
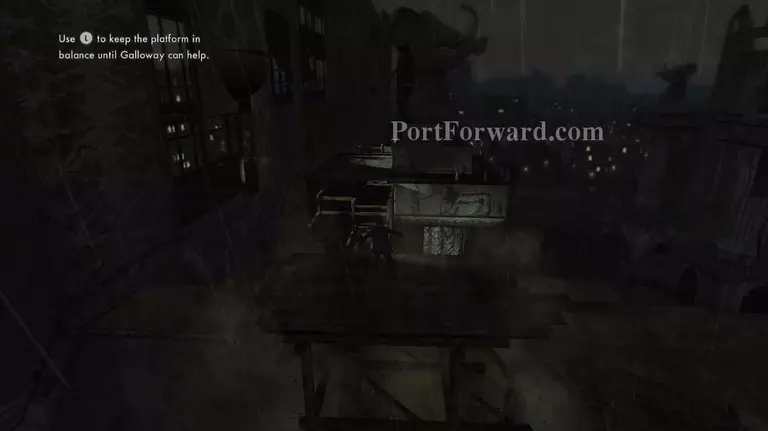
Follow the path and jump on top of the platform. It will once again be rigged. Balance the platform by standing on the opposite side of where it's falling.
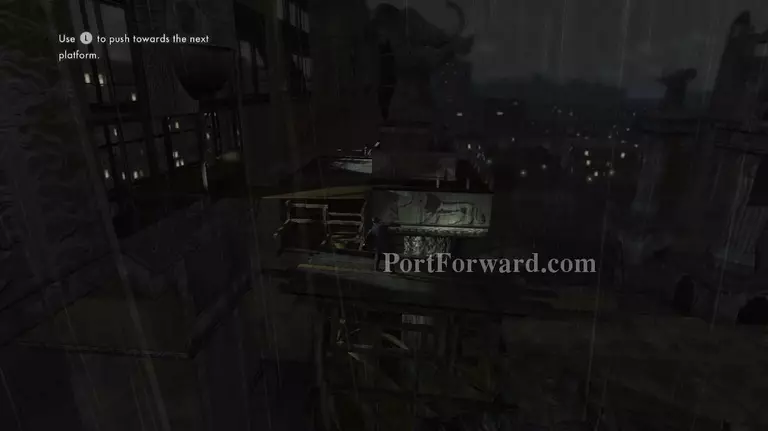
Galloway will come and help you. Lean the platform towards the wooden panel that Galloway knocked down and jump towards it.
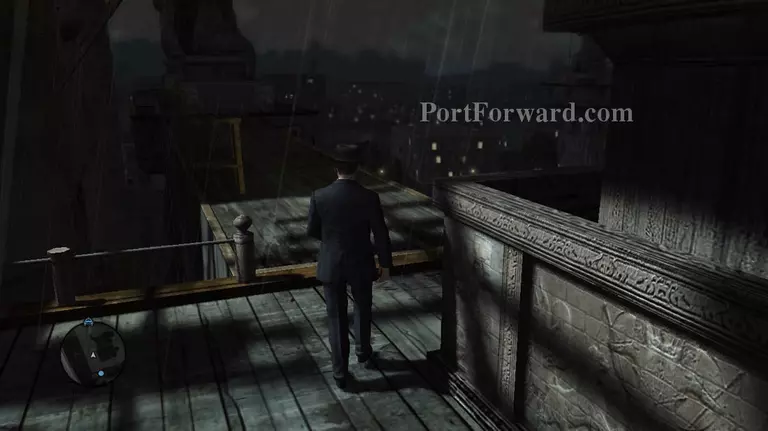
Now head for the connecting bridge and drop down using the ladders on the side of it.

You'll find Evelyn Summers's ring as well as the last of the clues that you've been following. Finally of course this guy isn't letting you go easily. Keep running forward to avoid getting crushed by the debris.
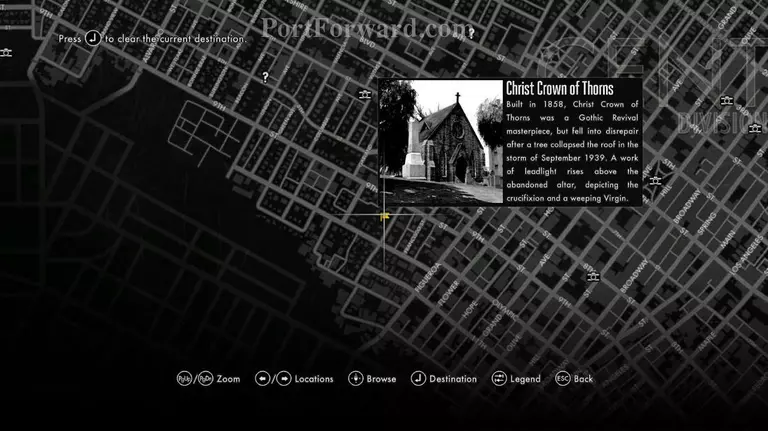
Your last location is Christ Crown of Thorns. Time to catch the guy who's been trying to kill you all day long.
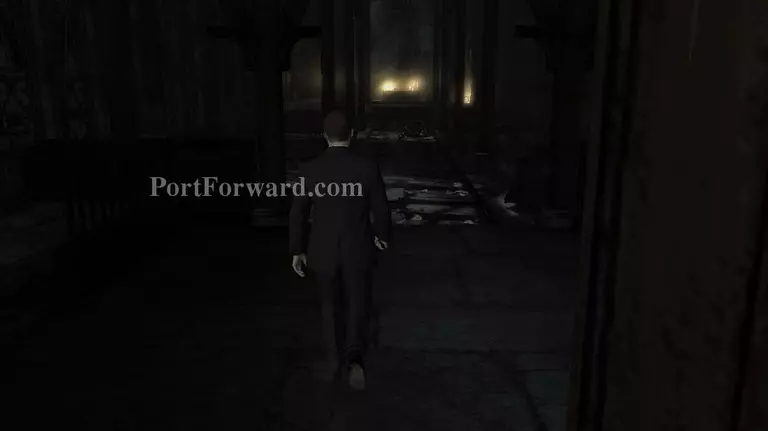
Enter the church and you'll confront the man who's been doing all the clever murderer who's been making a fool out of you all this time.
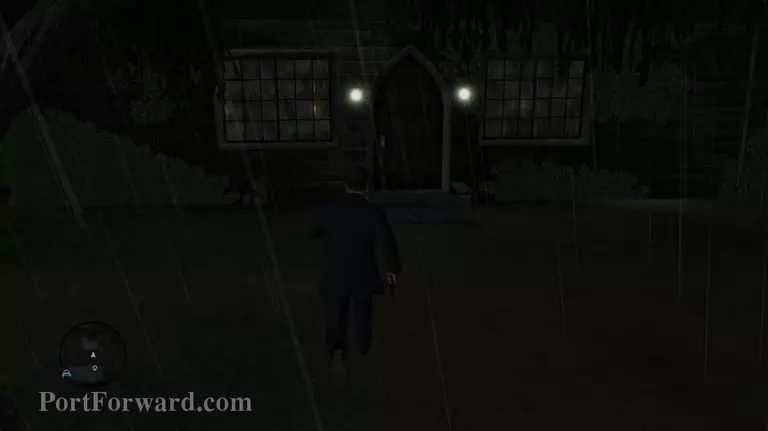
After he shoots at you, leave cover and approach the altar to find that your suspect has left the church through the catacombs below. Head for the house on the left side of the church and enter the only available room to enter the catacombs.
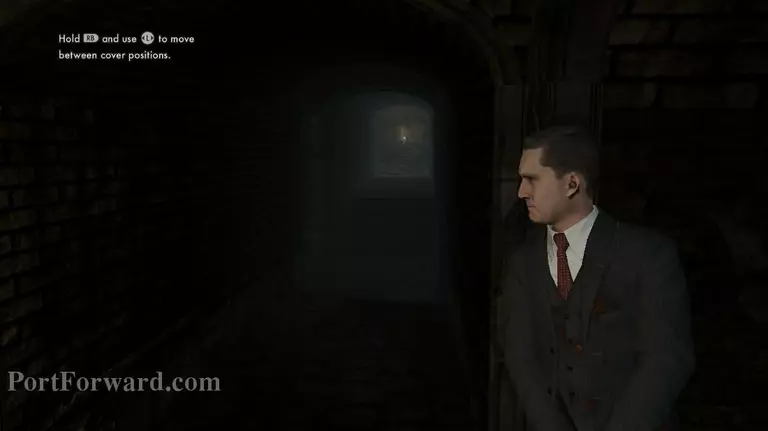
At the catacombs, try to lean towards the corners. It's a little dangerous because for some reason his shotgun has an amazing range and accuracy.
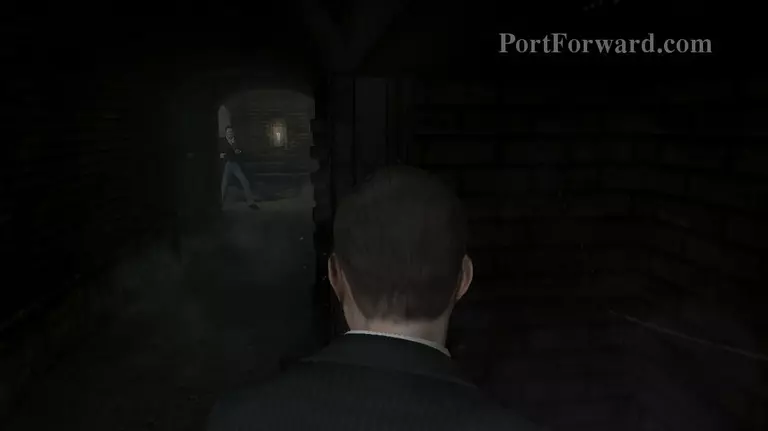
You have 2 ways to end this. Either follow around the catacomb and shoot him every time you get the chance to or follow him around the catacomb but wait for him to stay at one place before you kill him. The latter is easier.
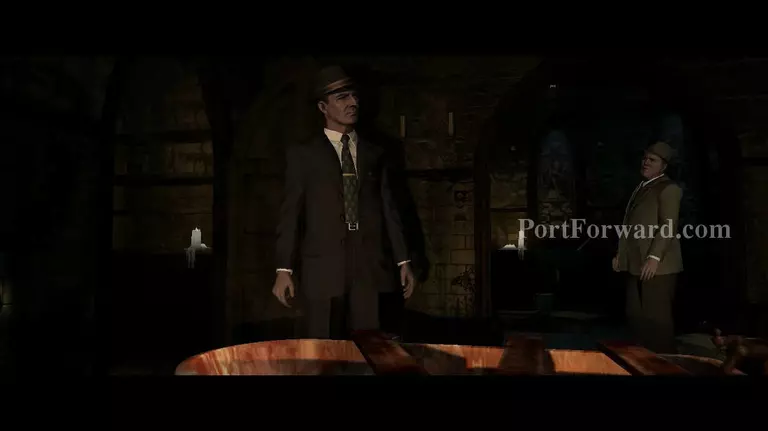
Once you've killed Mason your job as a homicide detective will come to an end. You will be promoted to Vice desk. Not such a happy promotion.
More L.A. Noire Walkthroughs
This L.A. Noire walkthrough is divided into 20 total pages.


