
This L.A. Noire walkthrough is divided into 20 total pages.
You can jump to nearby pages of the game using the links above.
Manifest Destiny

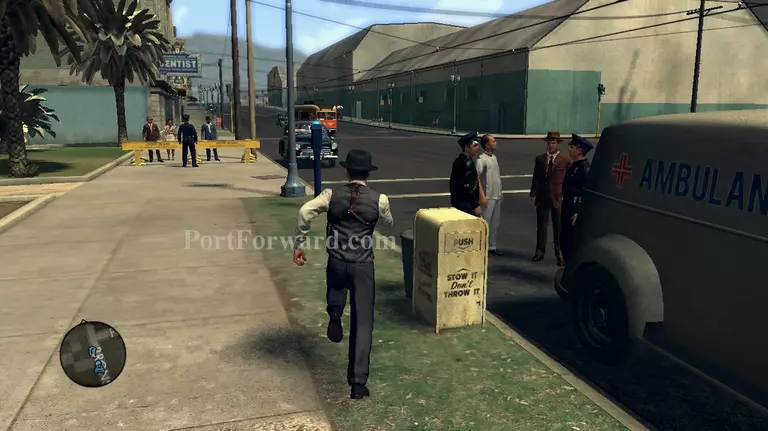
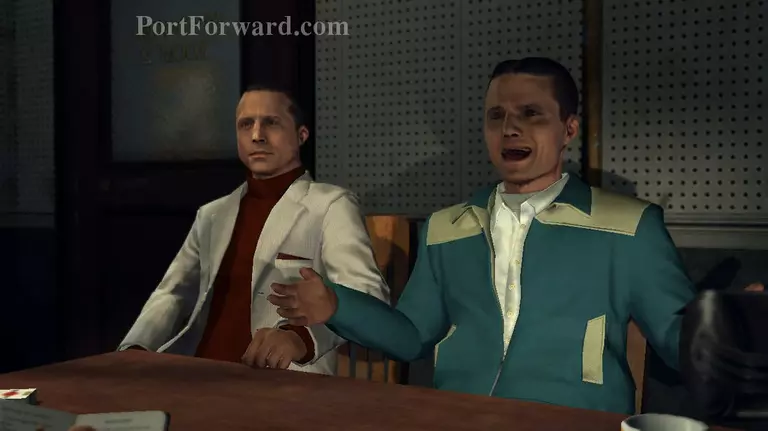
Head down to the 111 club after getting your mission briefing and you'll meet up with your old partners. They'll inform you of the situation.
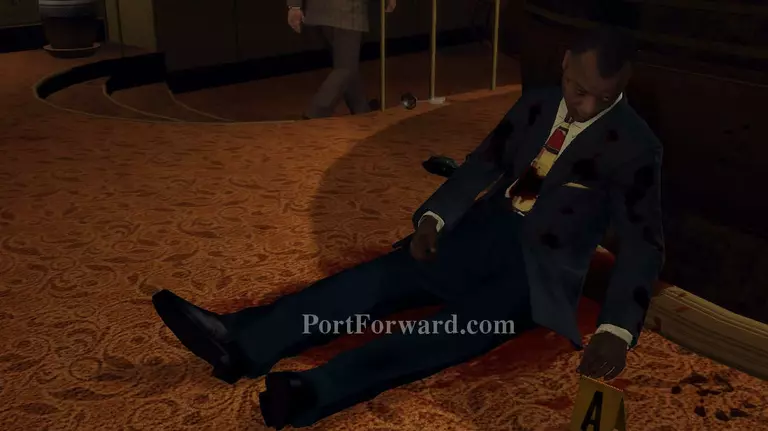
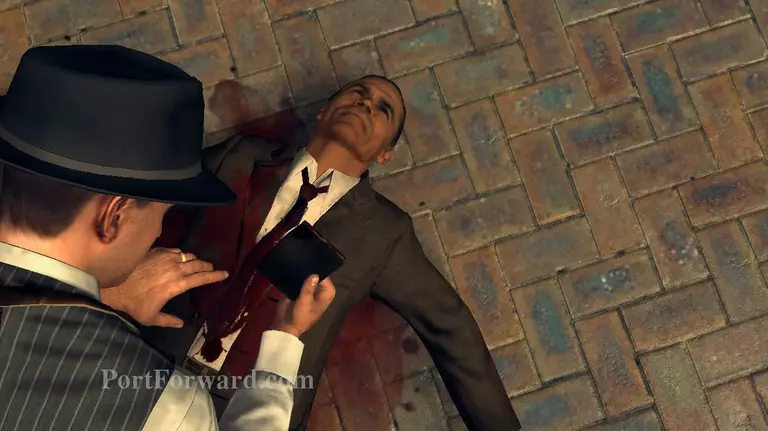
Immediately to your left is a corpse marked as exhibit A. Examine him to find your first clue.
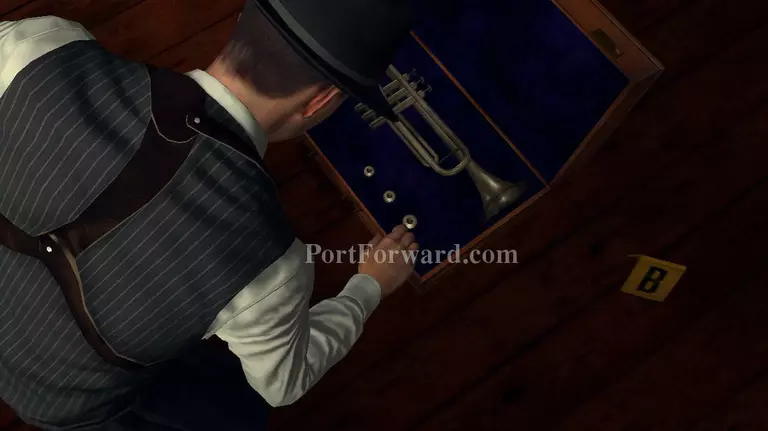
Now head for the stage area and open the suitcase marked as exhibit B. Examine each of the small metal circles to open a secret compartment. Inside you'll find a syringe and a ticket to the blue room.
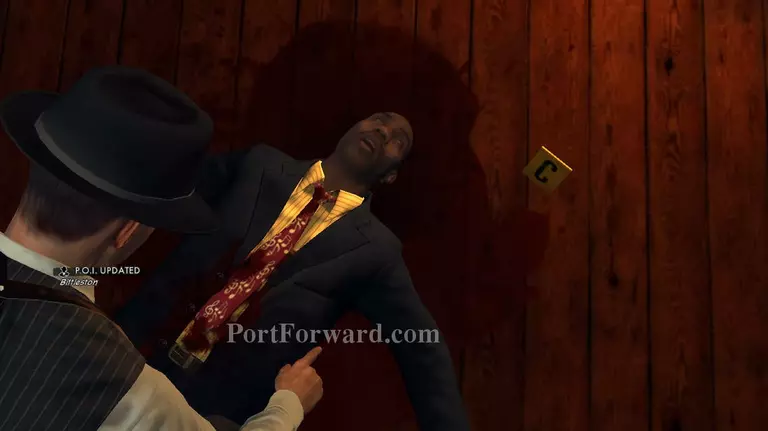
Near the suitcase is another corpse. Check his right hand pocket to find a dose of army surplus morphine.

Leave the body and head inside the open door on the left side. You'll find a crate of army surplus cigars and 3 pieces of stolen BAR on the wall further to the right. Now head back to the main room and talk to the hostess.

"111 Club Shooting Incident" - Doubt ⢠"Knowledge of McGoldrick" - Truth
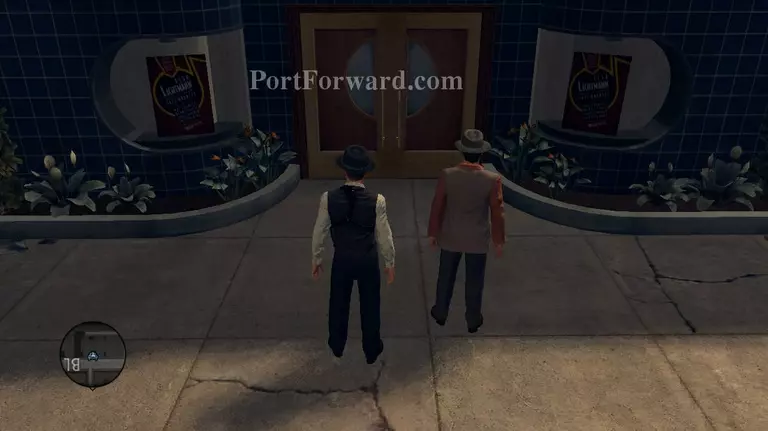
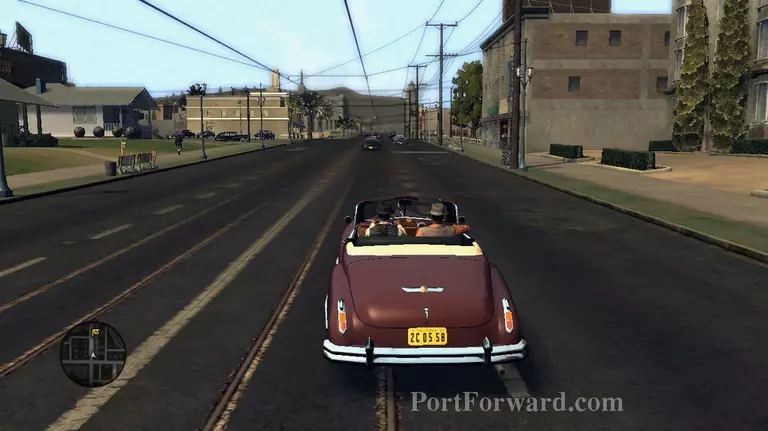
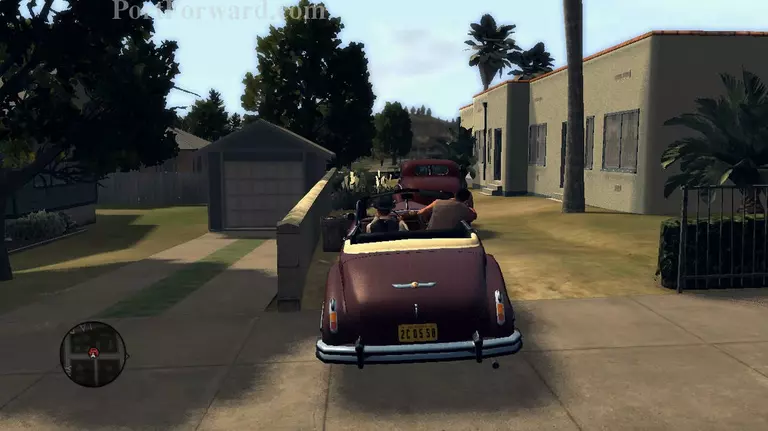
After talking to the hostess, get back in your car and head for the Jazz club. You'll have to interview Elsa Lichtmann.

"Army Surplus Morphine" - Doubt ⢠"Morphine Overdose Victims" - Doubt
After interviewing Elsa Lichtmann, you'll have to tail her back to her place. Which was not such a good idea obviously.
Come morning you'll meet up with Roy back at the Mocambo club to talk with Meyer Colhen.

"Finkelstein Drug Operation" - Doubt ⢠"111 Club Shooting Incident" - Doubt
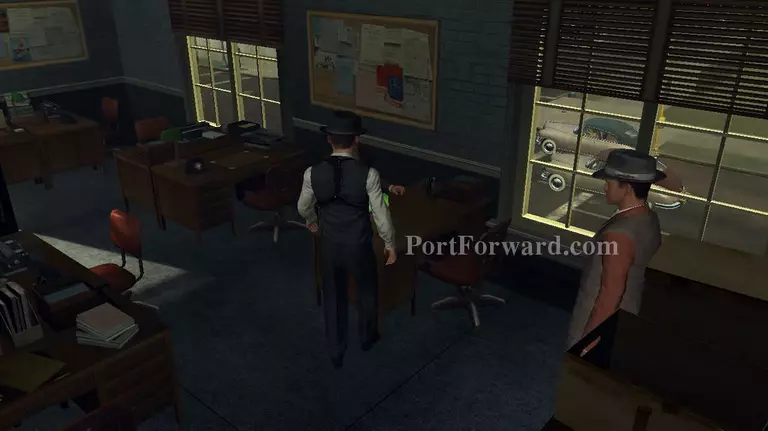
After talking to Colhen you'll automatically be brought to the Central Station. Follow Roy into the Vice office and ask him about the stolen cargo.
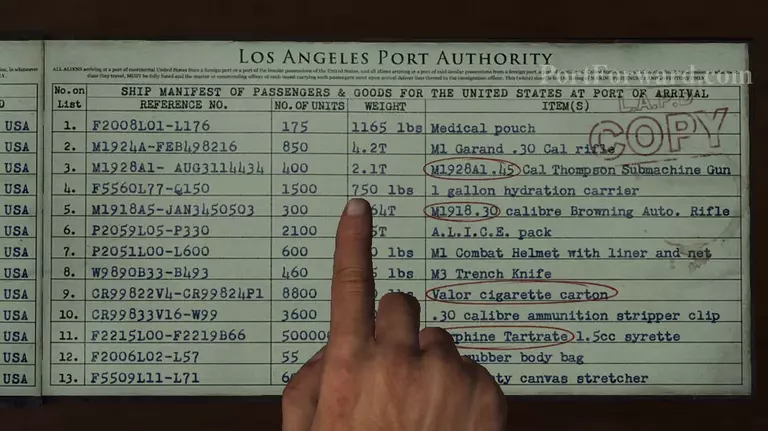
He'll show you a ledger. Point and click at every entry that has a red circle on it. At which another cop will come in and inform you of a disturbance.
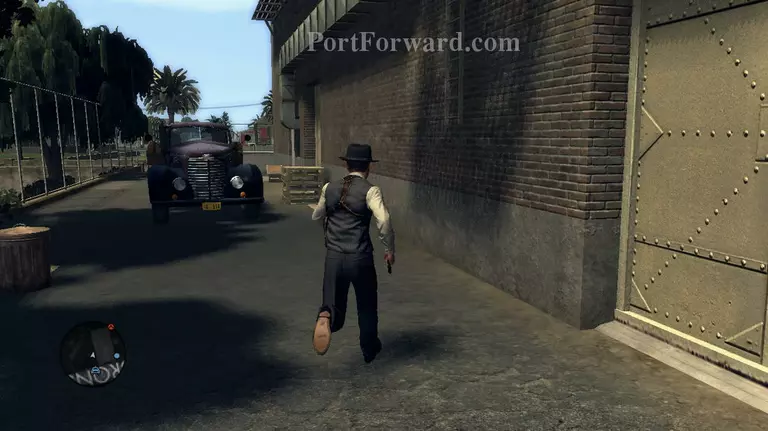
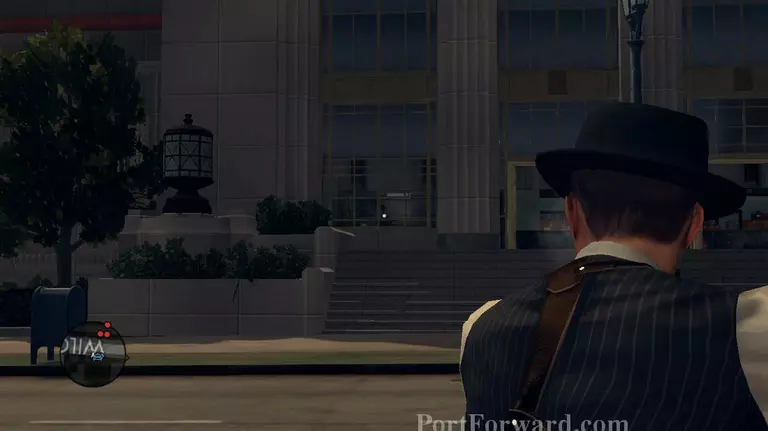
Head over to the shooting. Once there you'll see the guy sniping from above the building, your gun can't reach him so turn to the left and head for the side of the building that you were leaning on to find a ladder.
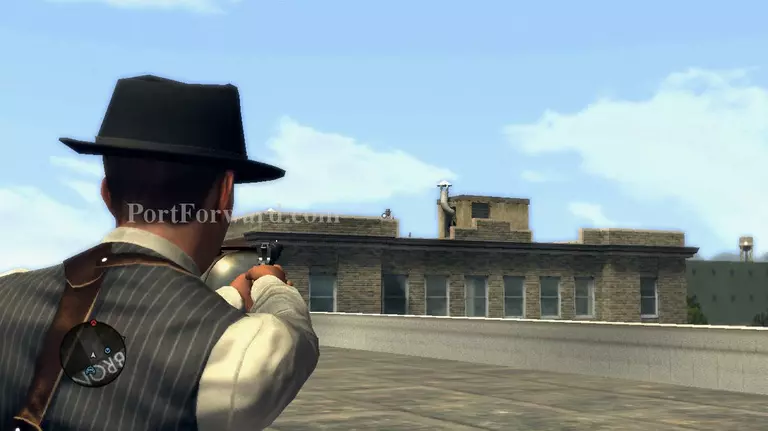
Climb up to the rooftop, then hide behind cover and shoot at the assassin from there. Keep your head down and wait for an opportunity to take him out.
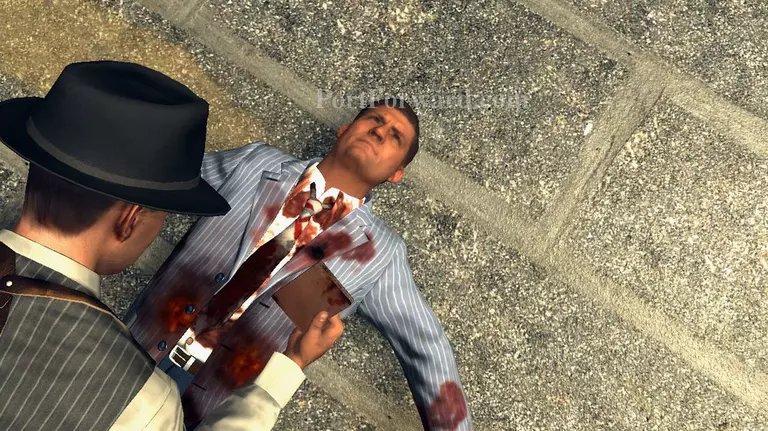
You will automatically be brought to the rooftop where the sniper is. Examine his body to find a small notebook inside his right hand coat pocket.
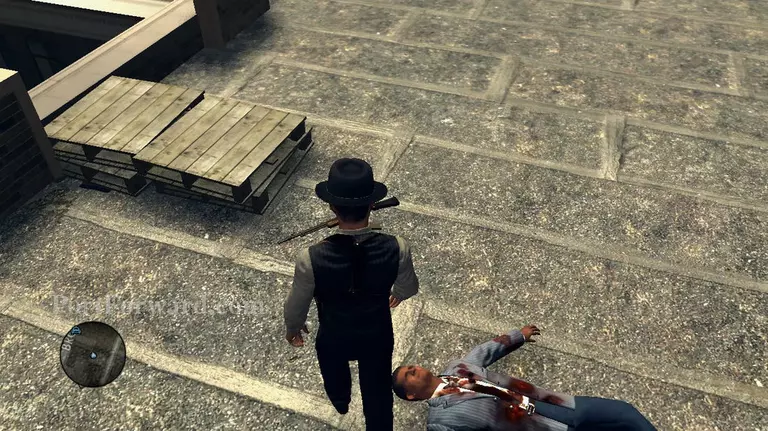
Leave the body and examine the gun that he was using to shoot at the bus below. You'll find that it's one of the BARs that was stolen. You'll then interview Alvaro.

"Informed of Coolridge Heist" - Doubt ⢠"Motive for Shooting" - Lie/Evidence - Sniper's Pocketbook
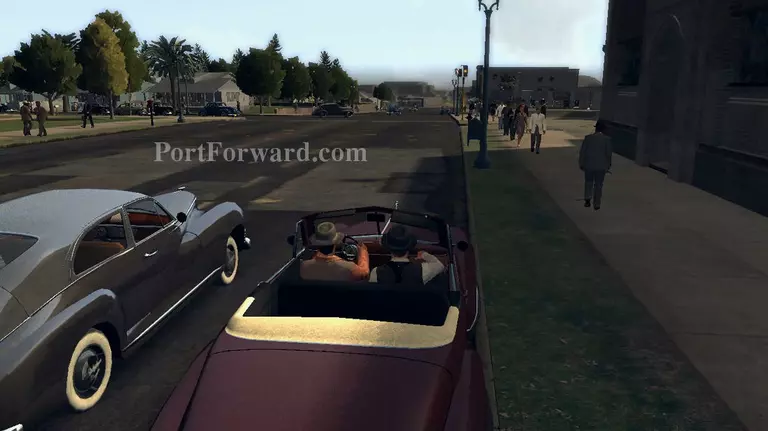
After talking to Alvaro, head for the telephone and get the address for Jack Kelso. When you get it, enter your car and head for the address. You'll accompany him to the station for Interrogation.
"Army Surplus Morphine" - Doubt ⢠"Ex-Marine McGoldrick" - Truth ⢠"Arms Stolen from Coolridge" - Truth ⢠"SS Coolridge Robbery" - Doubt
Another urgent call will come in while you're interviewing Kelso. Head down to the diner and chase the suspects' car off of the streets.
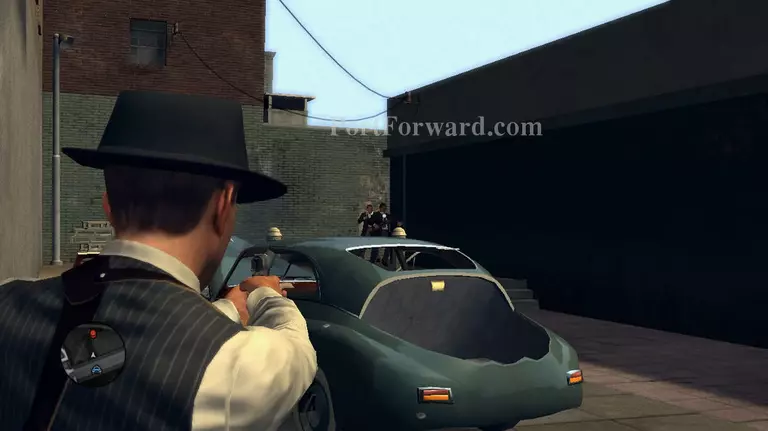
They will eventually stop at an alley way. Leave your car and shoot them both dead.
Examine the body of the shooter that's wearing a brown jacket. You'll find a small notebook inside his right hand pocket. In his left pocket you'll find a copy of the ledger that was shown to you by the detective in Vice earlier. Nothing more to do here so get back in your car and head for the chinese theater.
At the chinese theater you will be just a tad bit too late so you'll be left to chase the shooters through the streets. Knock their car off and shoot them dead.
Too much action on this case. Get back in your car once again and head for the post office.
Where of course once again you'll be met with a gun fight. Get the machine gun from the trunk of your car and start shooting down the gunmen one by one from behind the police car.

Inside you'll find a barely alive Beckette. Wait for him to die and examine the business card that he's holding. You'll receive the polar bear clue and Beckette's confession.
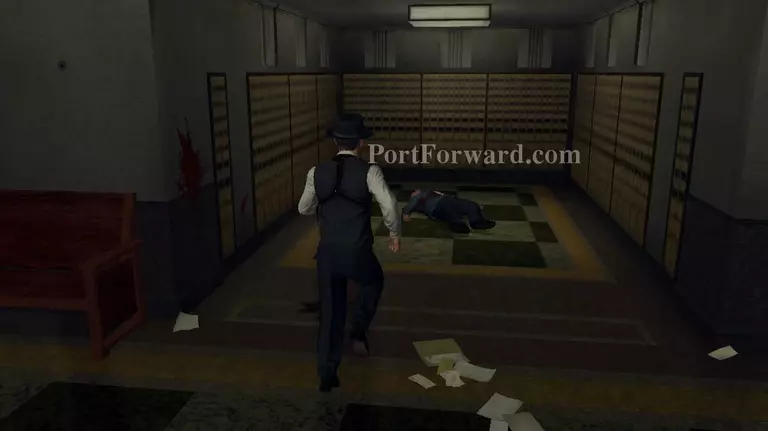
Leave Beckette's body and head for the P.O. Boxes on the left side of the building. Examine the corpse's left pocket to find a note.

Head for the meeting place where of course once again another gun fight. Take out the bigger guns from your trunk and shoot them down. You'll then receive a call that Sheldon has come down to the station. Go down there and interview him.
"6th Marines Being Targeted" - Lie/Evidence - Note ⢠"SS Coolridge Robbery" - Lie/Evidence - Beckett's Confession. The case ends in the worst way possible.
More L.A. Noire Walkthroughs
This L.A. Noire walkthrough is divided into 20 total pages.


