
This L.A. Noire walkthrough is divided into 20 total pages.
You can jump to nearby pages of the game using the links above.
The Gas Man
Flew up so high, crashed down so hard. After getting your mission briefing head to the first crime scene, the Steffens home.
There's only one thing that you need to check in this crime scene and that's the Instaheat heater on the left side of the house. It's near where the fire burnt the fence.
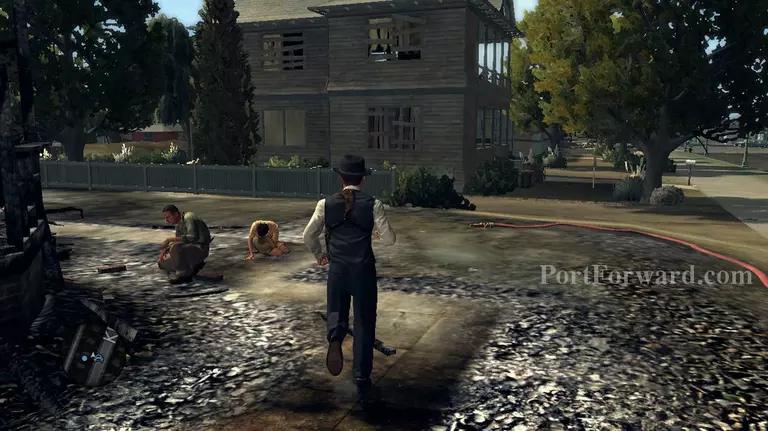
Now head back to the front right side of the house and talk to the owner of the house. He'll give you the competition ticket, then ask him some questions.

"Travel Competition" - Truth ⢠"Suburban Redevelopment" - Doubt
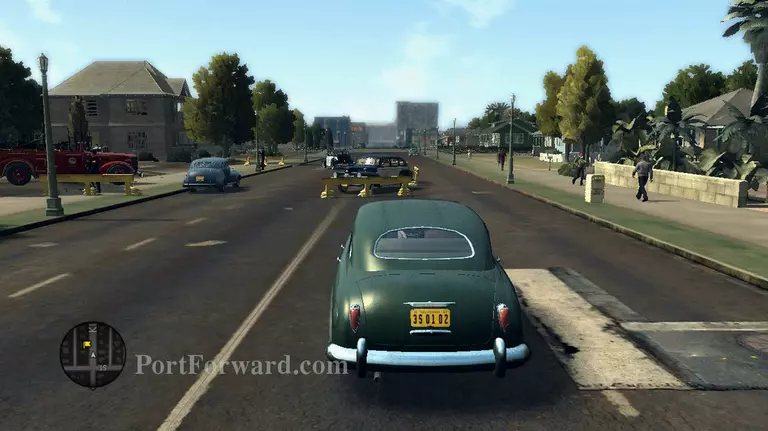
Leave the crime scene and use the police phone at the end of the street to get the address for the Suburban Redevelopment fund. Now get back to your car and head for the Sawyer's house.
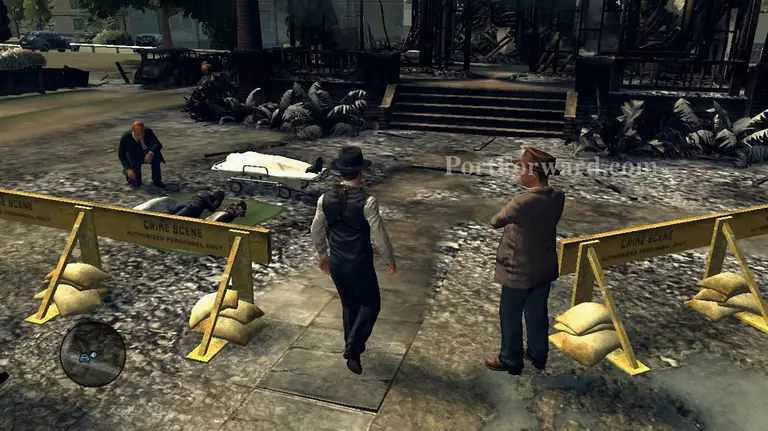
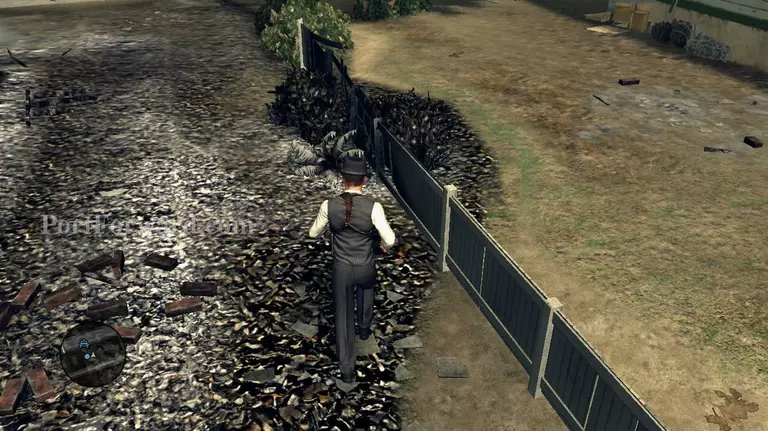
Enter the crime scene and immediately approach Mal to get more information about the victims.
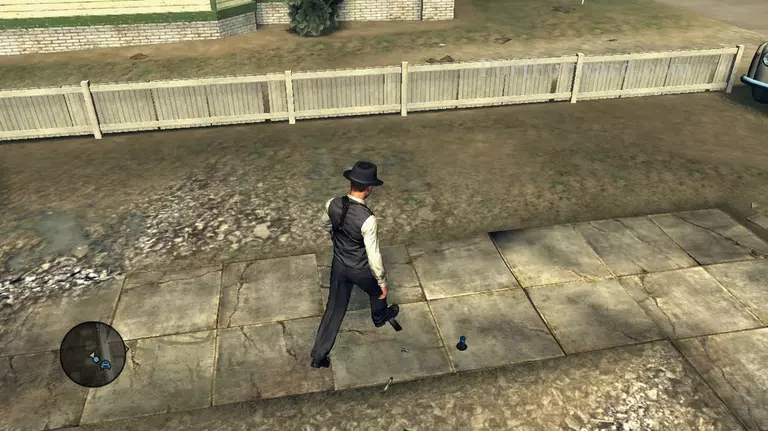
After speaking to Mal, head over to the right side of the house and look for the instaheat regulator that's lying on the ground there. It's pretty small, but you can find it easily because of the blue color that stands out.
You'll then be pointed to a guy who could be your suspect. Chase him and take him down. Once you've caught him he'll show you a cigar and match.
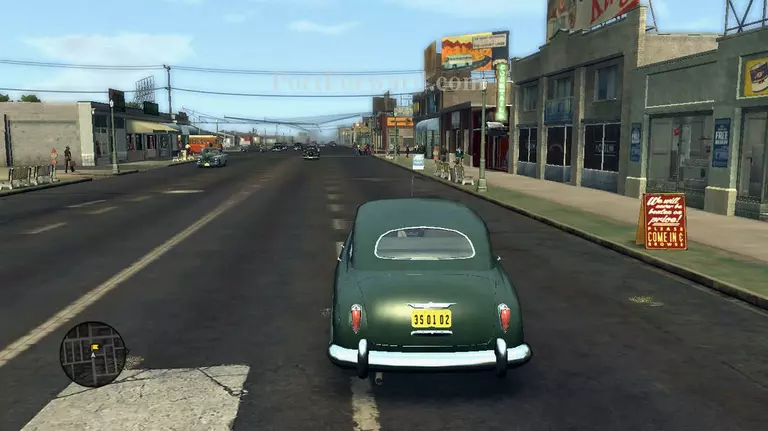
Leave the crime scene and get in your car. Mark Gulliver's Travel Agency as your next location and drive there. When you get there talk to the man on the front most desk.
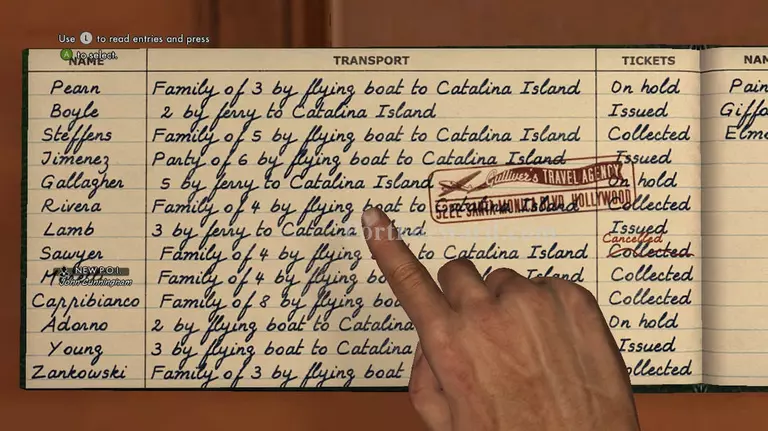
He'll show you a ledger of everyone who won the same contest as the Sawyer and Steffens family did. Point out both Sawyer and Steffens to gain your clue, then question the agency representative.

"Suburban Redevelopment" - Truth ⢠"Promotional Travel Contest" - Doubt
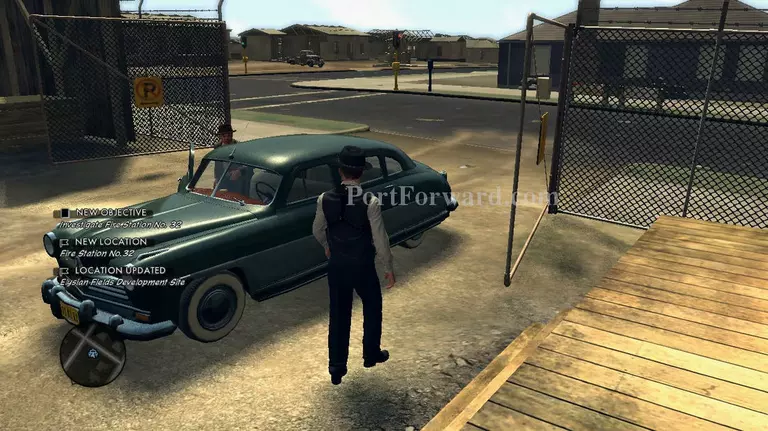
Leave the agency and head for the address of the Suburban Redevelopment Fund to find out that it's an Elysian Fields Site. Then get back in your car and head for the fire station.
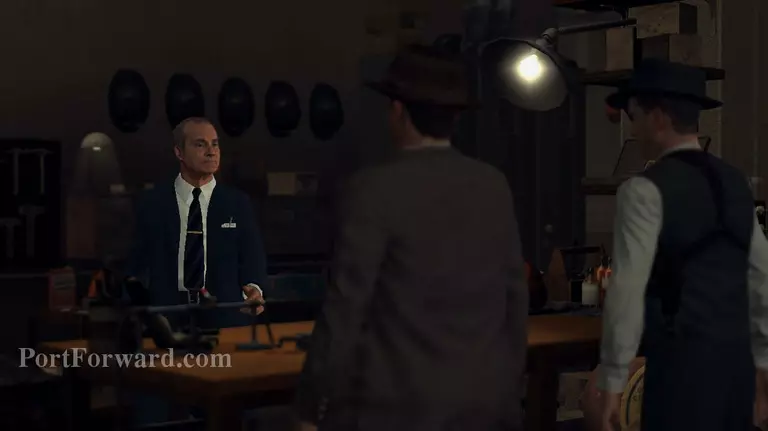
Inside you'll find Lynch. Speak to him and he'll show you the heater. Open it and look at the service record. Lynch will then make you arrange some items on the table.
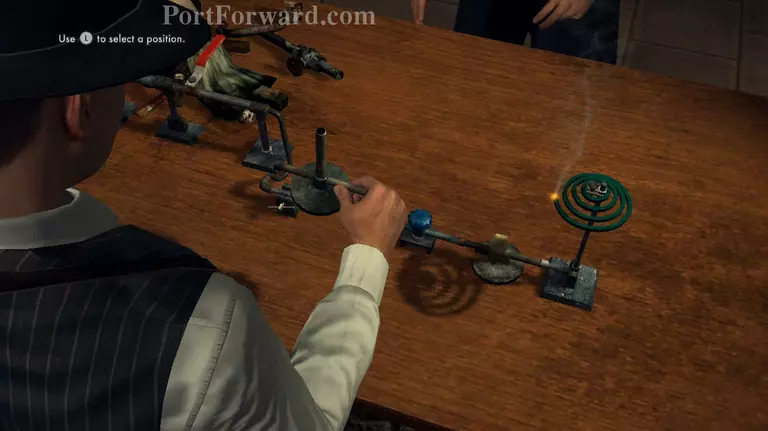
Arrange them in this order: The balloon goes to the right, the valve goes to the middle and the pipe goes to the left. Flip the switch once you have them in that order.
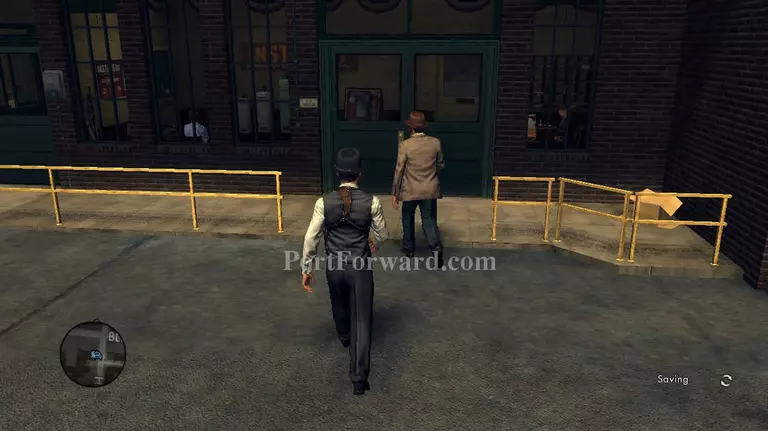
Leave the fire station and head for the Instaheat factory. Speak with the woman on the front desk when you get there, then turn around and enter the room on the opposite side of the room.
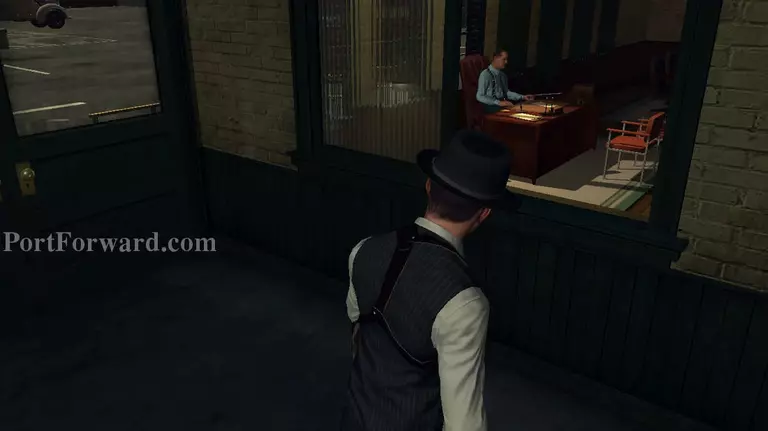
Rasic is in the room directly in front of the door. He'll check out the valve that you brought him and then you'll have to question him.
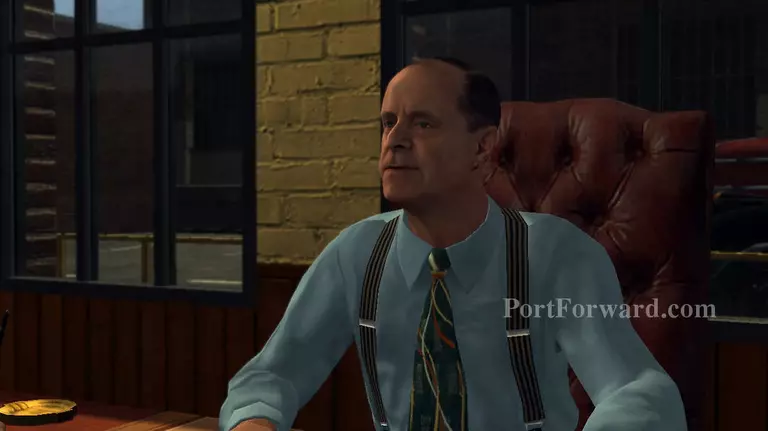
"Instaheat Model 70" - Doubt ⢠"Heater Service History" - Lie/Evidence - Heater Serviced by Ryan/Varley
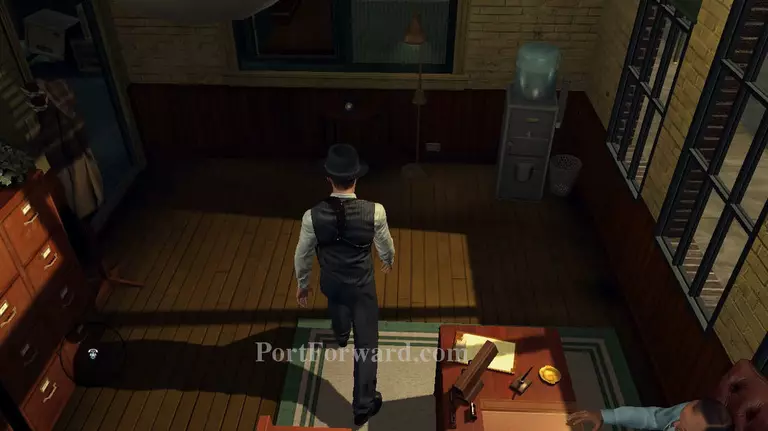
Rasic will give you a list of employees. Check it then head to the phone by the window on the left side of the room to narrow your suspects. Now go back to Rasic and to get more information.
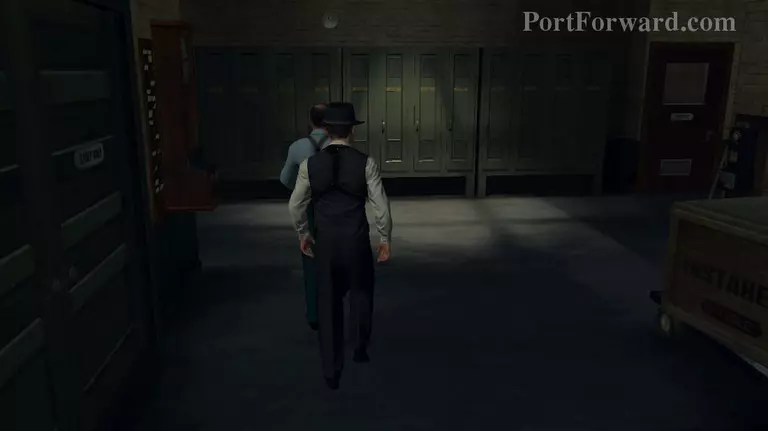
Now follow Rasic and check Clemens' locker on the left side to find an anarchist pamphlet. In the center of the lockers you'll find Ryan's locker and more pamphlets inside. The right most is Varley's locker, you'll find a mosquito coil inside.
Leave the Instaheat factory and first head to Clemens' work area. Question him.

"Knowledge of Varley" - Doubt ⢠"Employment with Instaheat" - Doubt ⢠"Knowledge of Ryan" - Lie/Evidence - Clemens' Anarchist Pamphlet
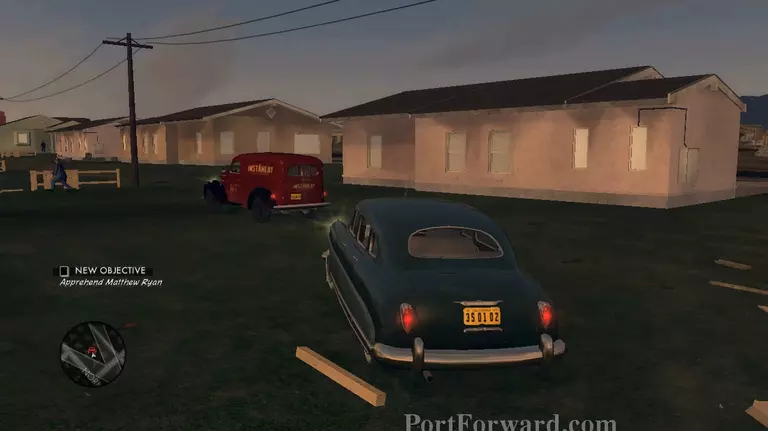
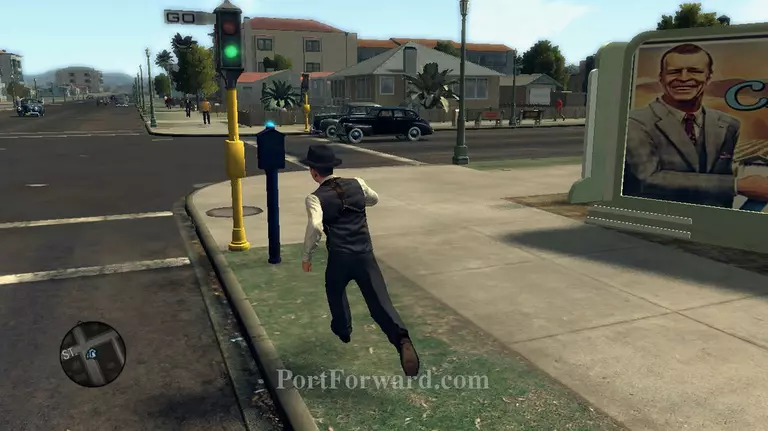
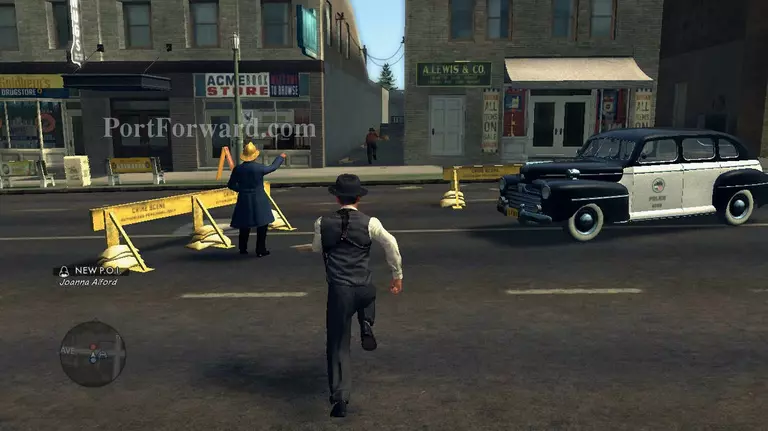
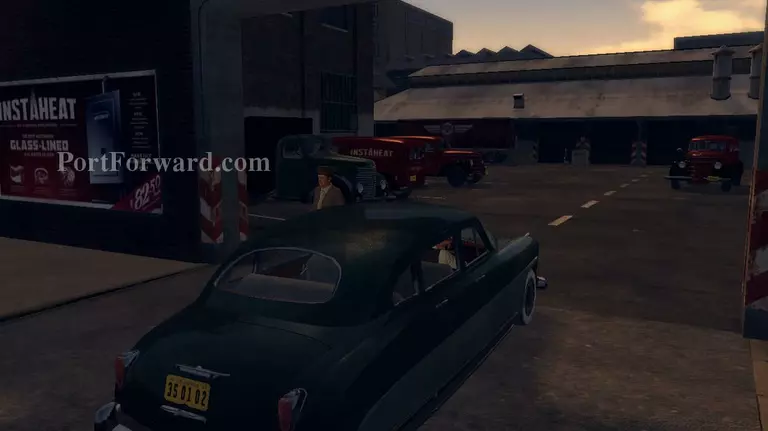
Now head for Ryan's and Varley's workplace. You'll have to chase both of them throughout the streets and bring them both in. For Varley you'll have to get him to surrender with your gun.
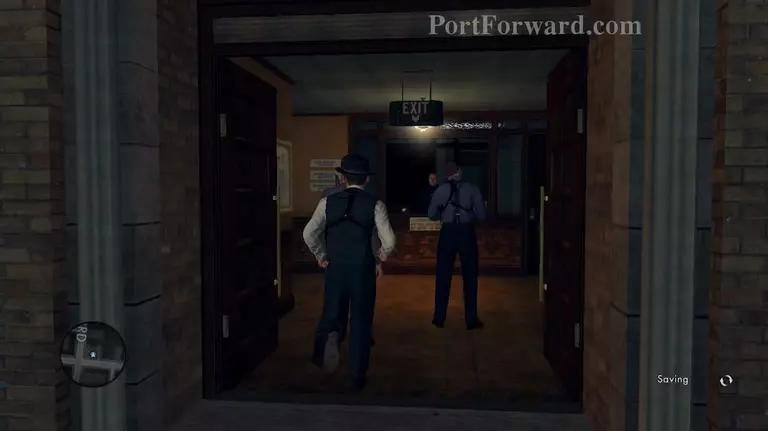
Head back to the station after getting both Ryan and Varley. Ryan is in Interview 1 and Varley is in 2. Go to ryan first.
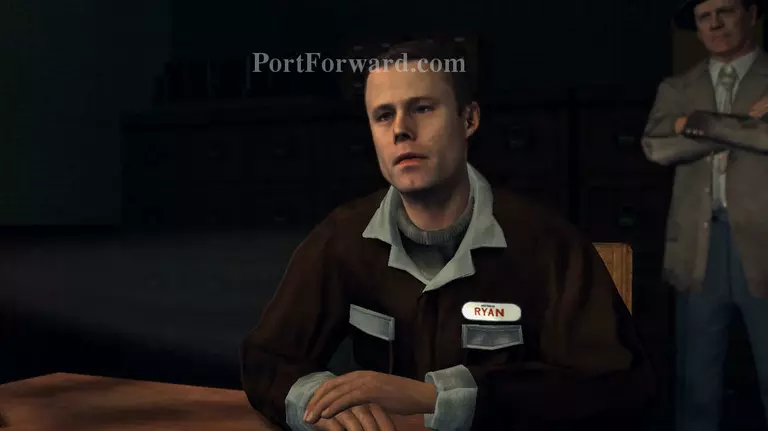
"Anarchist Literature" - Lie/Evidence - Ryan's Anarchist Pamphlets ⢠"Instaheat Model 70" - Lie/Evidence - Ivan Rasic's Statement ⢠"Suburban Redevelopment" - Doubt ⢠"Attempted Murder Charge" - Lie/Evidence - Ryan's Criminal Record
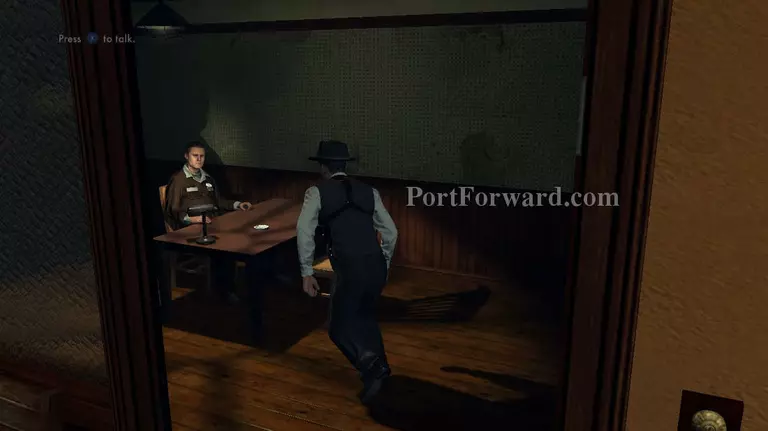
Leave Ryan and head out of the room, then enter interview room 2 and question Varley.

"Work at Sawyer Residence" - Lie/Evidence - Heater Serviced by Varley ⢠"Suburban Redevelopment" - Lie/Evidence - Matthew Ryan's Statement ⢠"Instaheat Model 70" - Lie/Evidence - Mosquito Coil
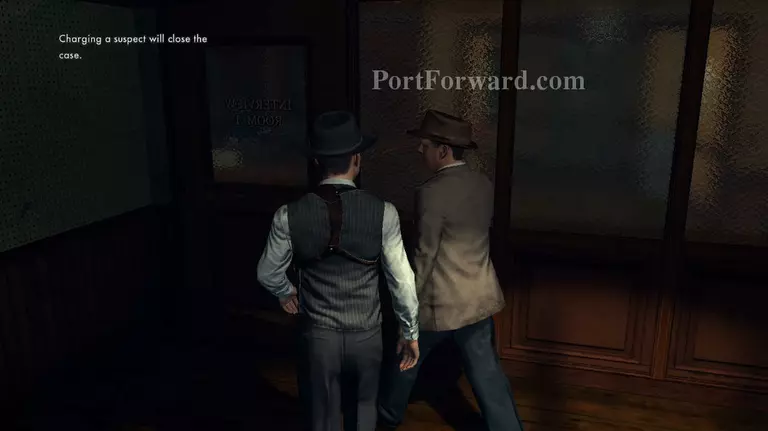
Don't charge Varley, leave the room and go back to Ryan. Charge him to end the case.
More L.A. Noire Walkthroughs
This L.A. Noire walkthrough is divided into 20 total pages.


