
This LostWinds walkthrough is divided into 7 total pages.
You can jump to nearby pages of the game using the links above.
Boss Fight: Magmok
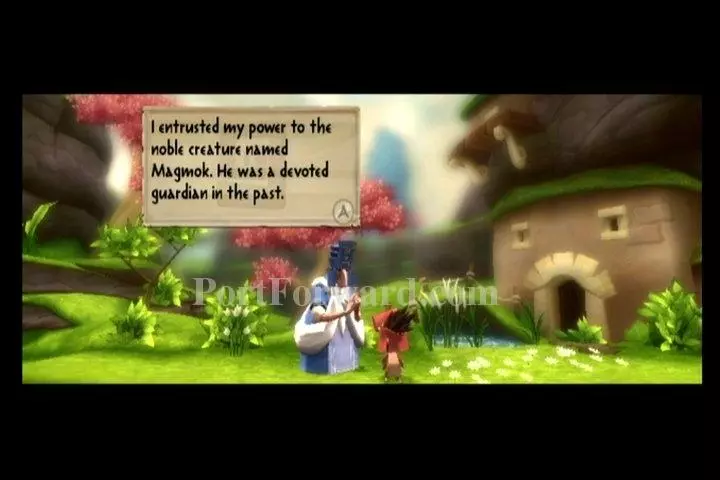
Return to Deo. You may want to fill up your life and retries before talking to him. He tells you he entrusted his power to the noble creature named Magmok, a devoted guardian in the past.
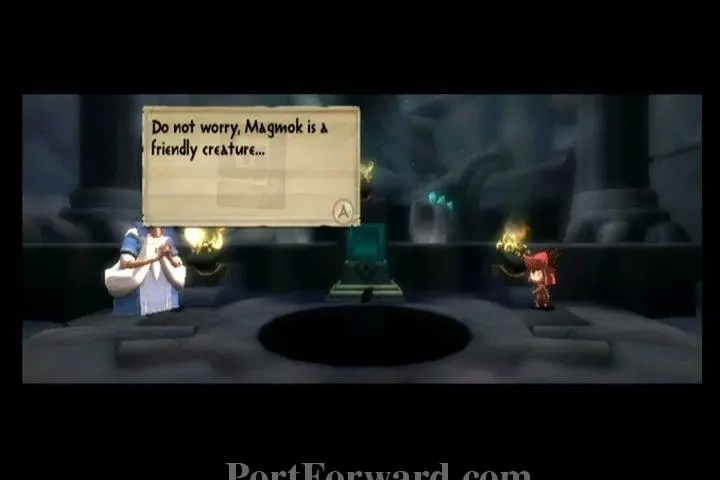
Deo will take you to the Chamber of Memories. He'll open a hole in the ground. Everything will start to shake. Deo says to get out of there, because something is wrong.
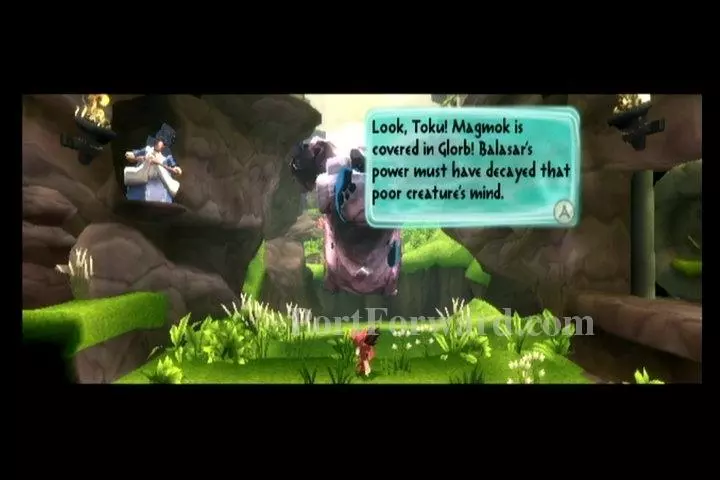
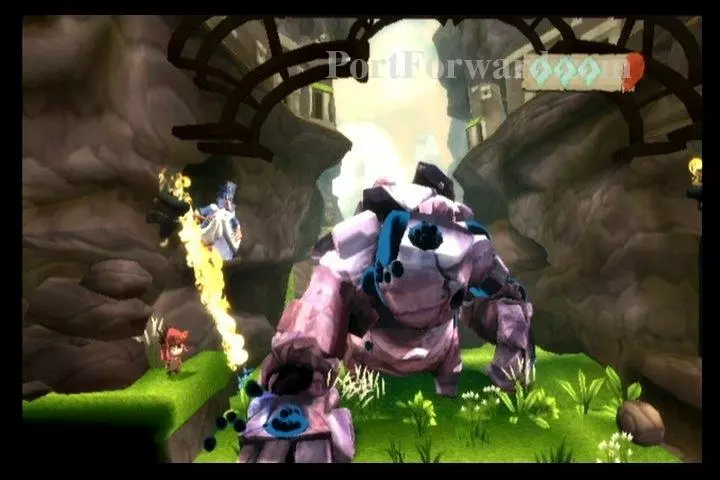
You discover Magmok is covered in Glorbs.
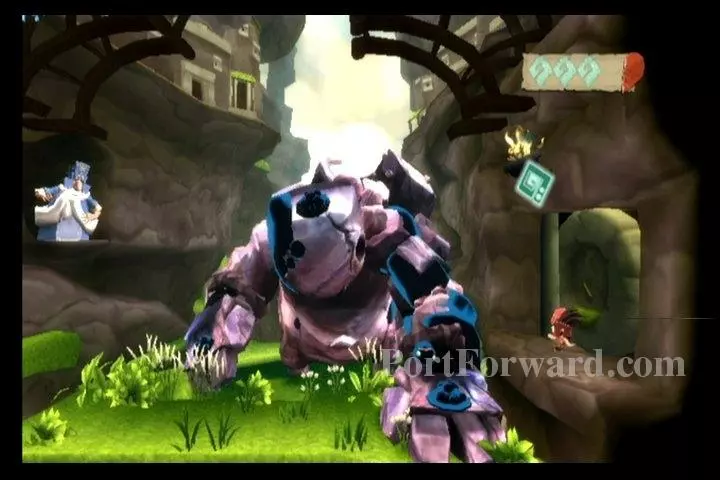
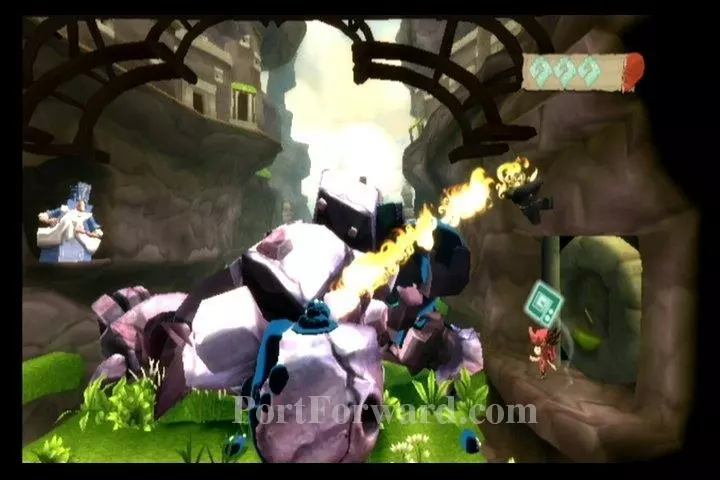
Time for the boss fight. I suggest getting on a ledge on one side. Magmok will slam his hand down. Notice the Glorb Nest on the back of his hand.
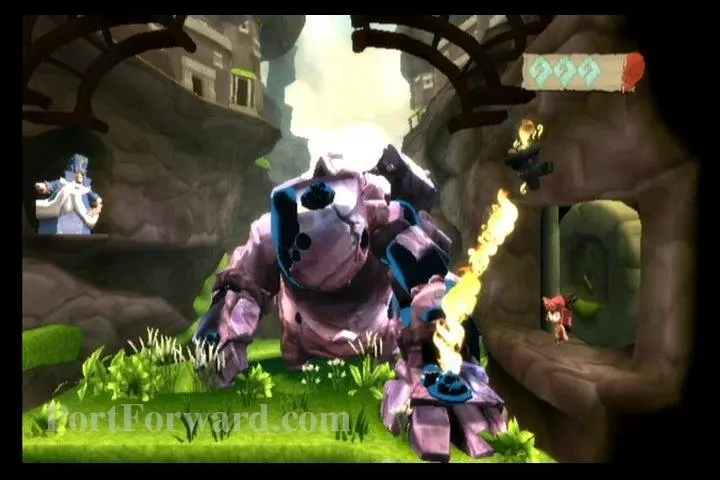
Draw a slipstream from the torch to the Glorb Nest.
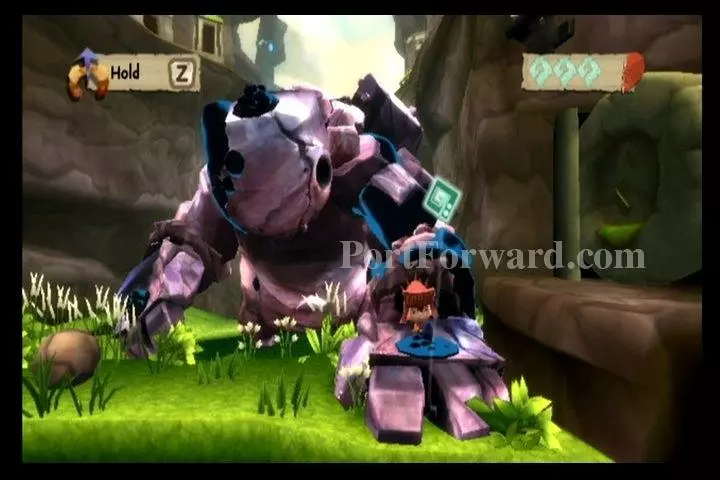
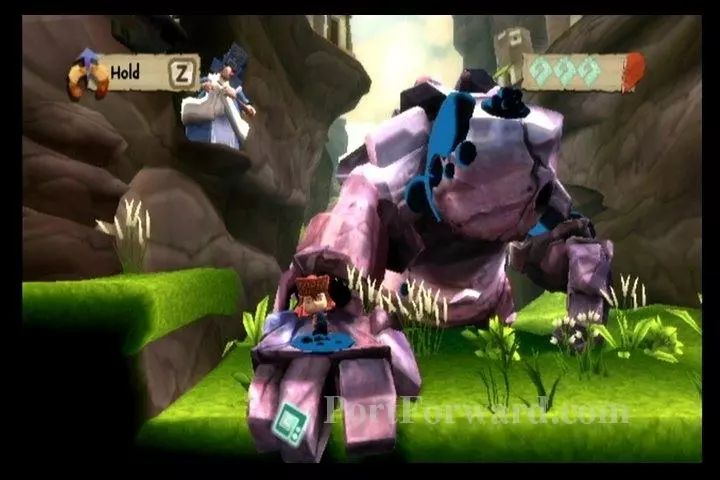
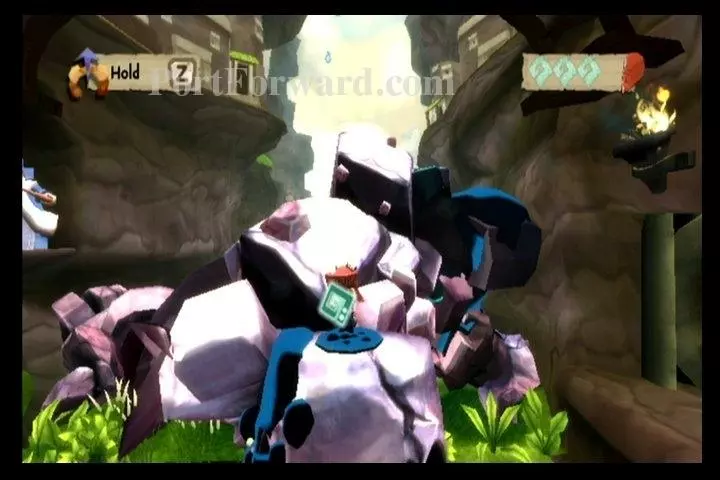
Now that the Glorb Nest is burnt, jump on the back of Magmok's hand and grab onto the Glorb Nest. Gust upward to destroy it.
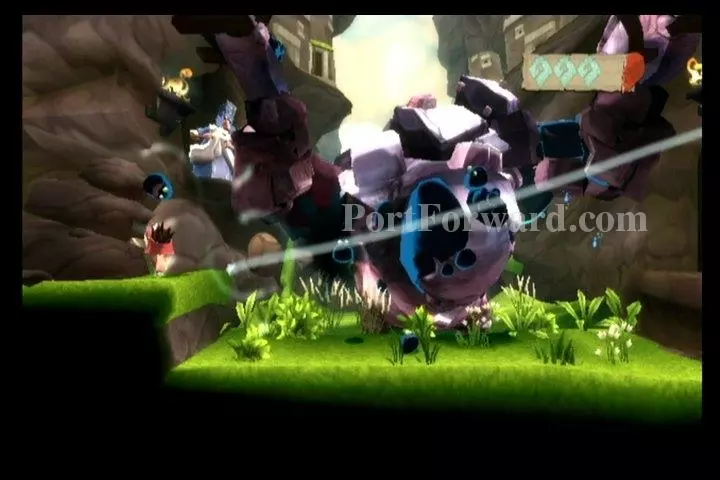
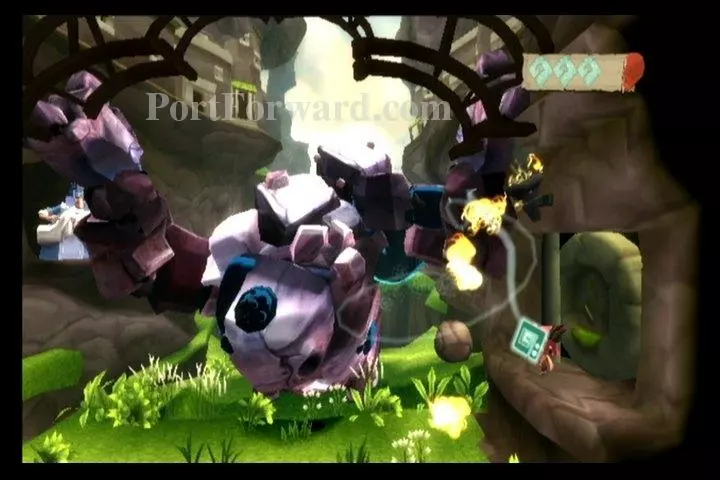
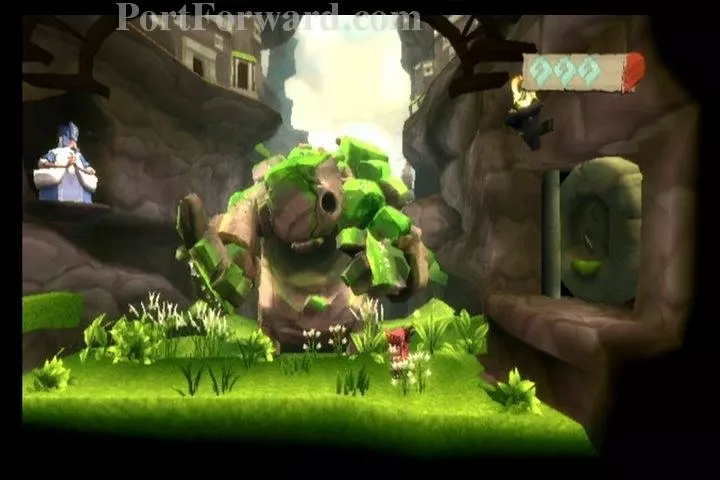
Use a vortex around the boulder. When Magmok leans his head forward, smash the boulder into it.
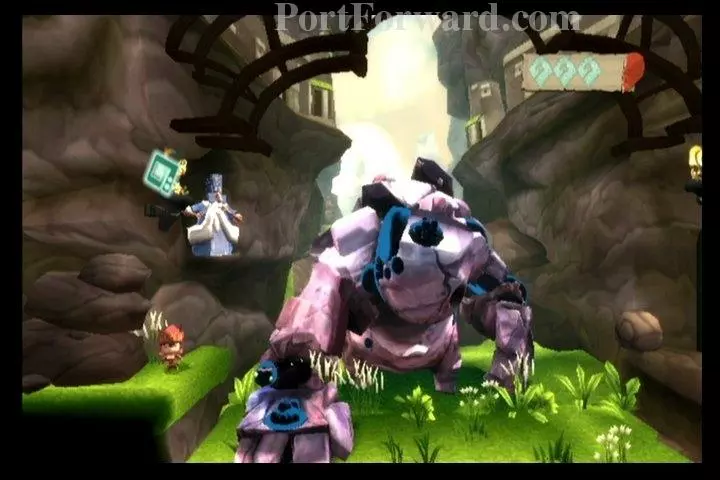
Now the process will repeat. Got on the opposite ledge to take out the Glorb Nest on his other hand.
Use a slipstream from the torch to the Glorb Nest.
Grab onto the Glorb Nest and gust upward to destroy it.
Use the vortex around the boulder and then slam it into Magmok's head when he leans forward.
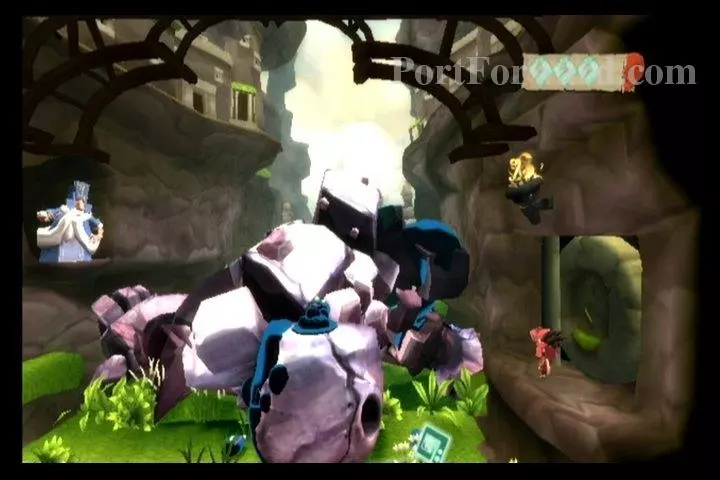
Magmok will fall down, revealing the back of his head.
Draw a slipstream from the torch to the Glorb Nest on the back of his head.
Grab the Glorb Nest and gust upward to destroy it.
Magmok will be free of the Glorb infestation.
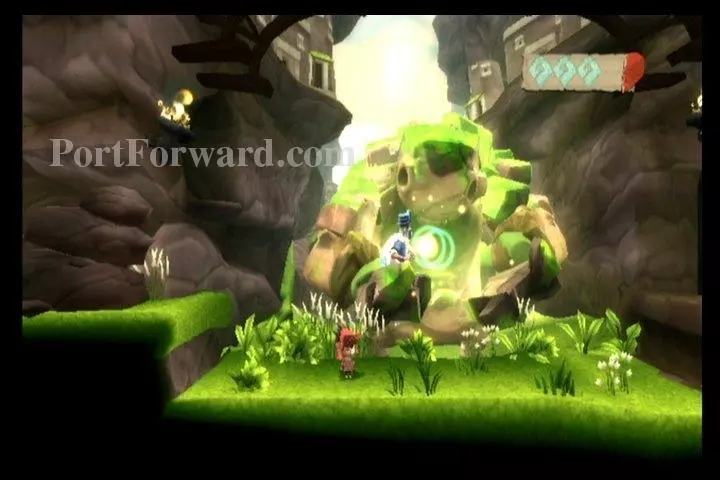
Deo will gain his power back.
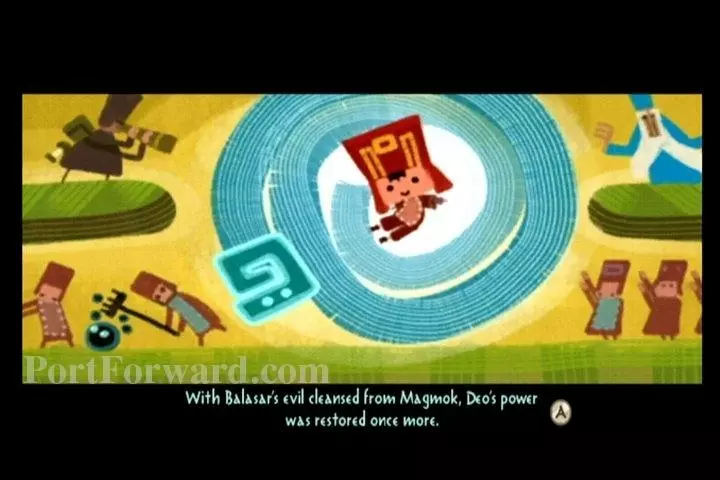
Congratulation! Now you'll be treated to the game's ending.

After the game's ending, you'll be teased with "To be continued..."
More LostWinds Walkthroughs
This LostWinds walkthrough is divided into 7 total pages.


