
This LostWinds walkthrough is divided into 7 total pages.
You can jump to nearby pages of the game using the links above.
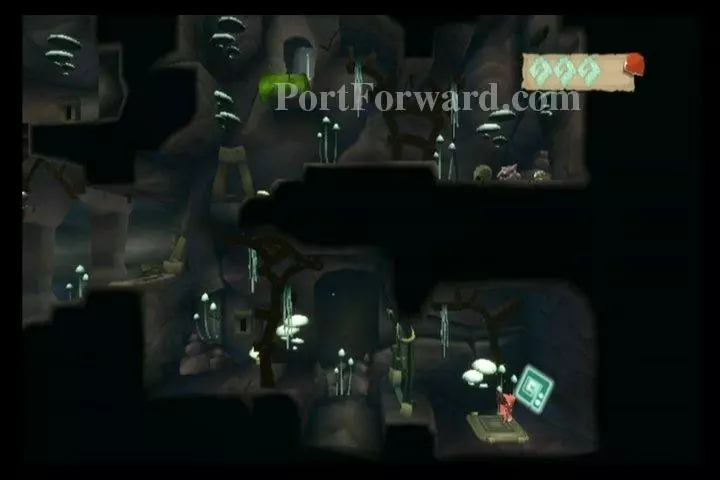
Fourth Memory Chest
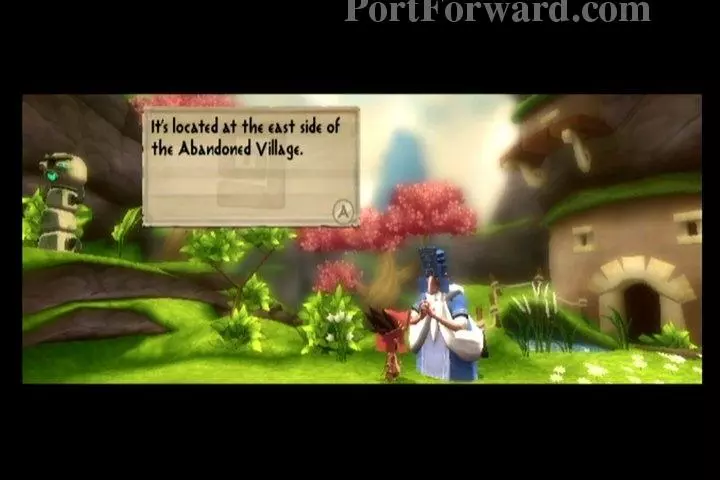
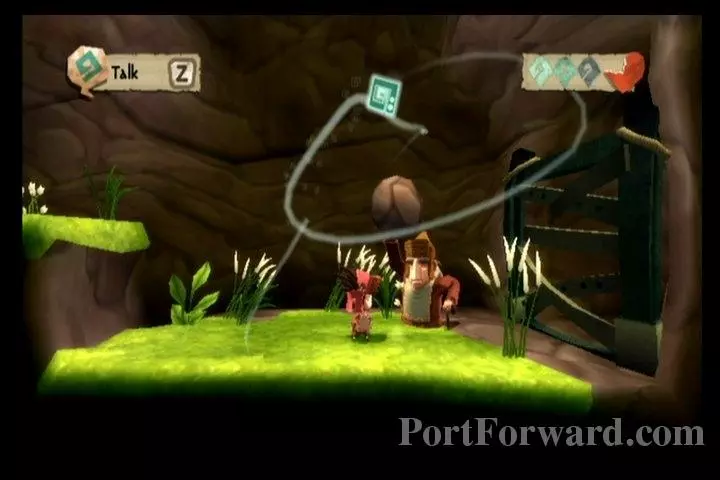
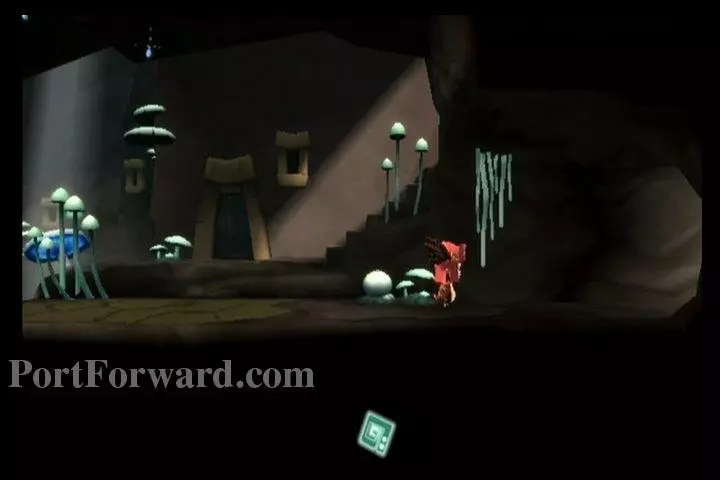
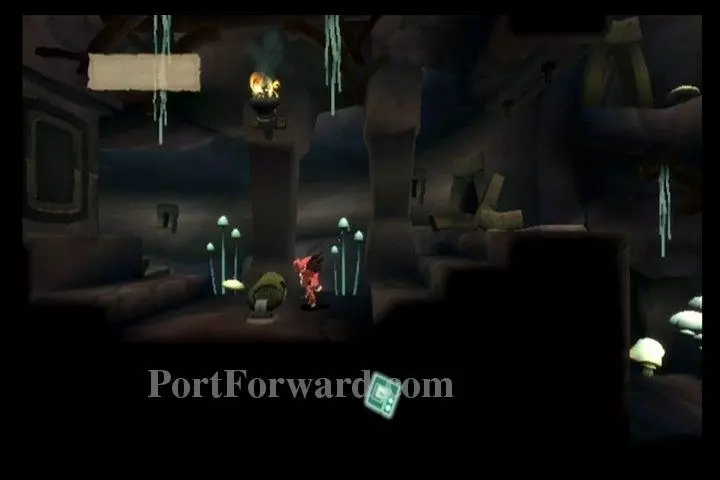
Continue back to Deo and talk to him. He'll tell to continue to the east side of the Abandoned Village.
Continue rightward through the town. Climb up the stairs you come to.
You'll come to the herb shop, gust over the barrier to the right.
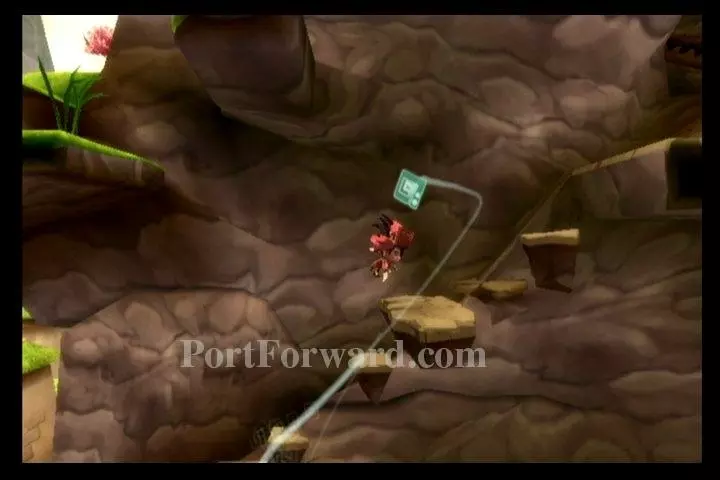
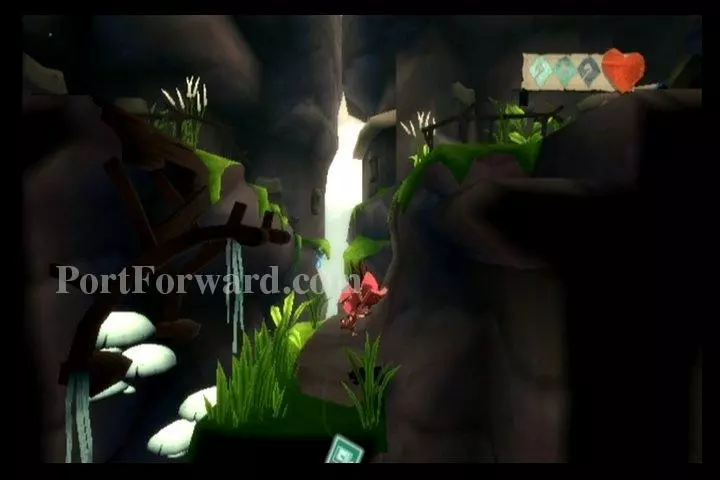
Then drop down the pit afterward, slowing your descent.
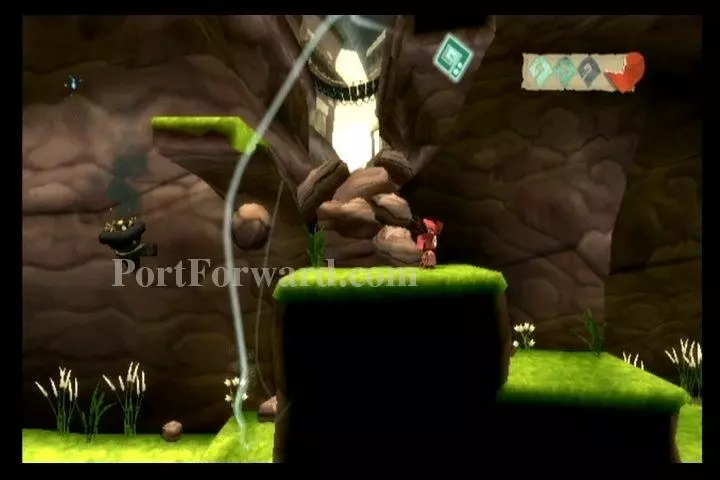
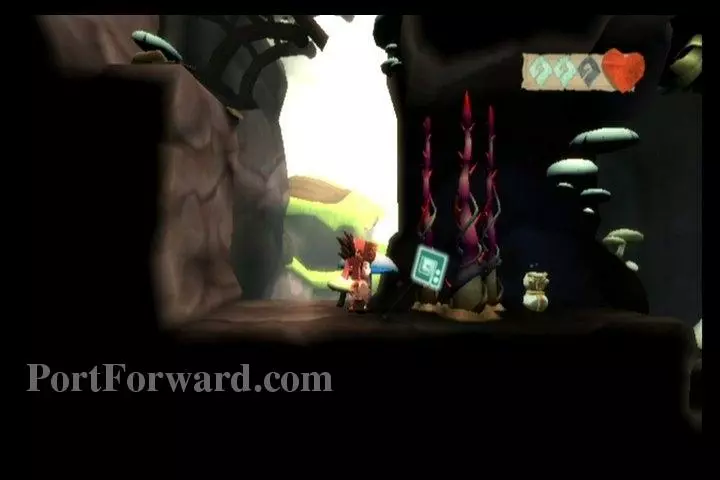
Grab the boulder to the left.
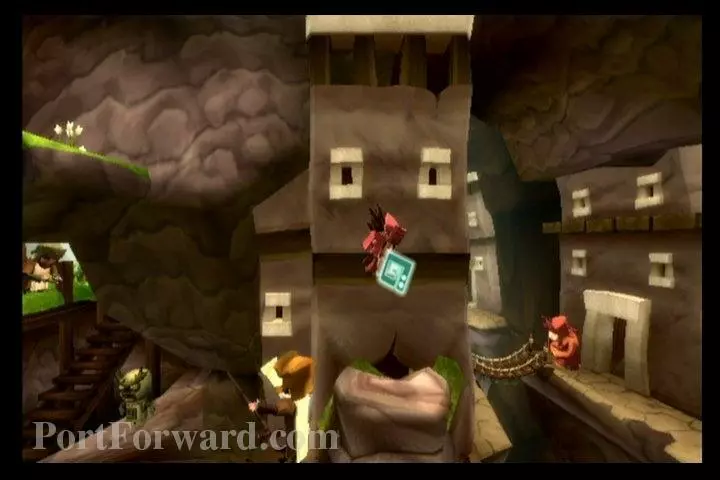
Take the boulder right with you and use it to break the gate on your right.
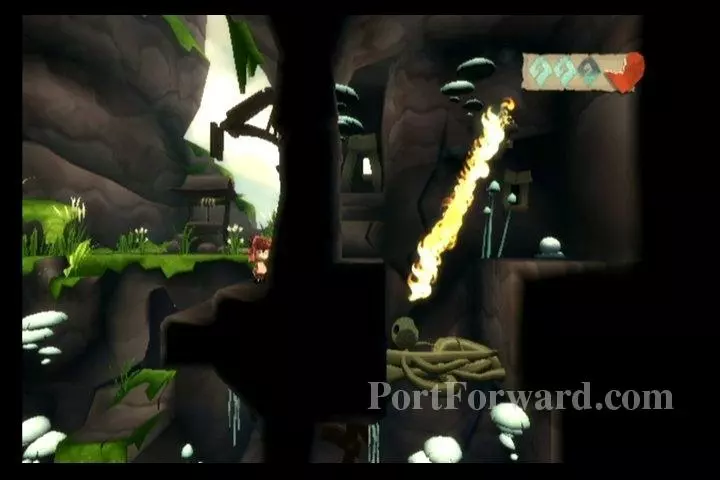
Go through the gate, exiting on the right.
Fight some Squawks and Glorbs here.
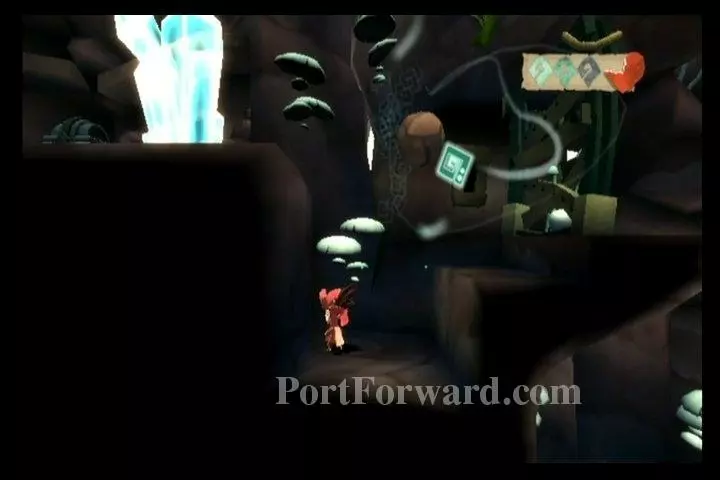
Drop down the ledges to the right. You'll come to a spiky plant. Use a gust to make them hide in the ground, then quickly go by and grab the Melodia Idol #23.
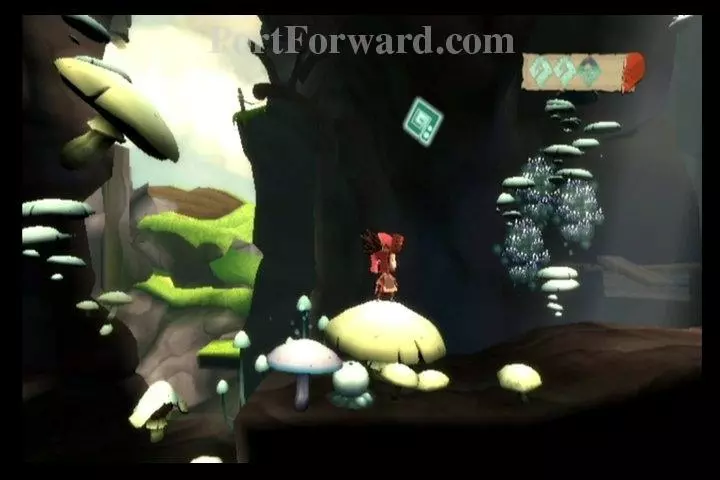
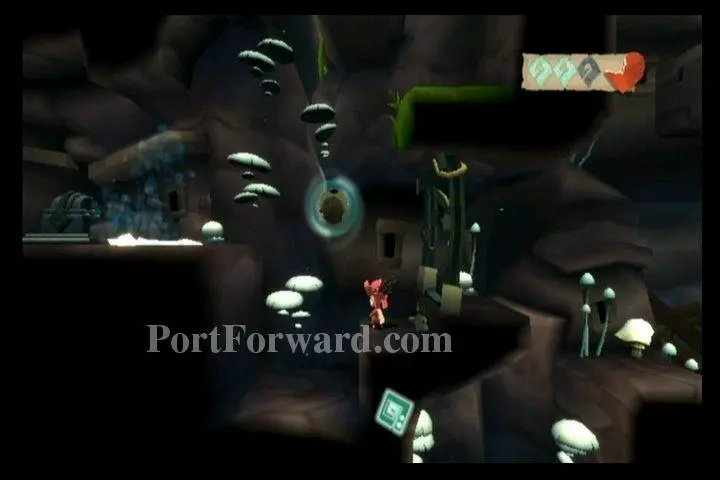
Head to the right. Use the large mushroom to bounce up.
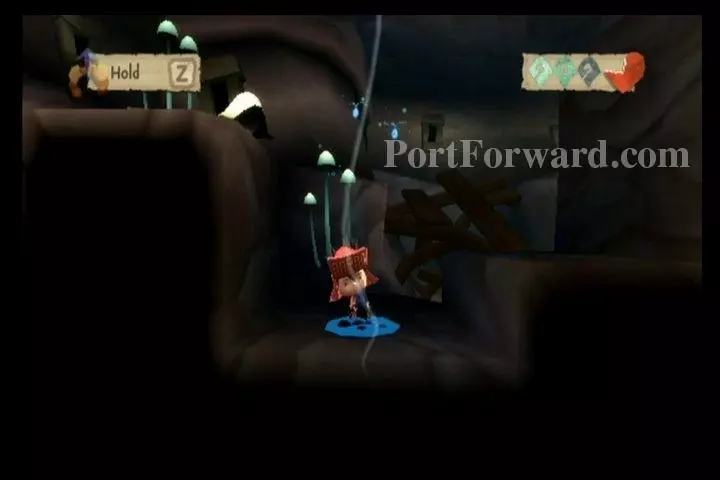
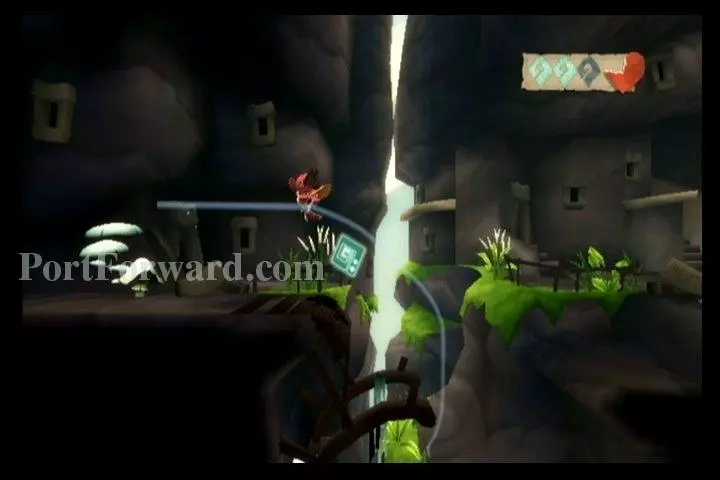
Land on the left. You'll find a Heli-Bud here. We don't really need the Heli-Bud for this now that we have our cape. Get on the left side of the platform, then do a double gust.

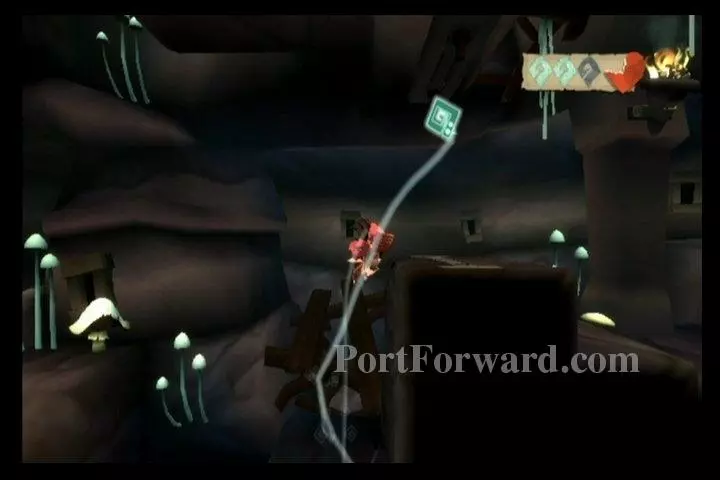
After the second gust, hold Z. Now draw slipstreams until you can get on a ledge you will come to.
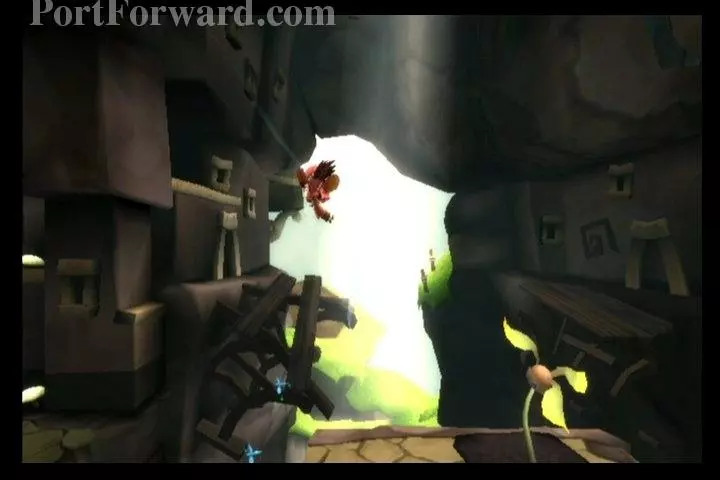
Head to the upper-right.
Exit on the right side here.
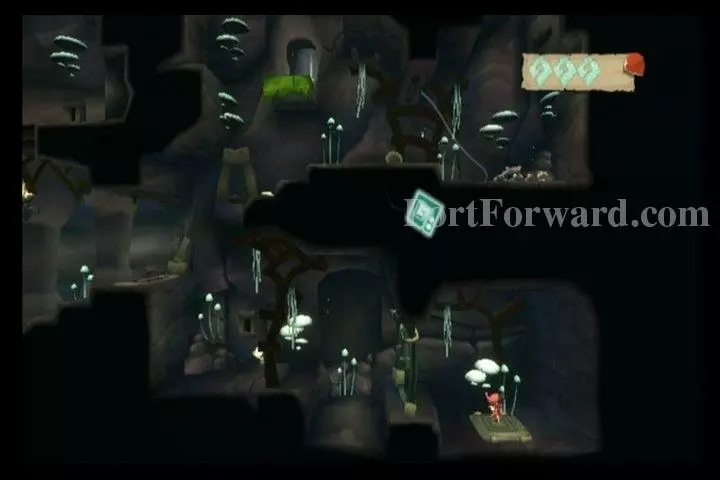
Drop down to the bottom of the pit you come to.
You'll find a boulder here. Make a vortex around it and slam it into the gate on the right.
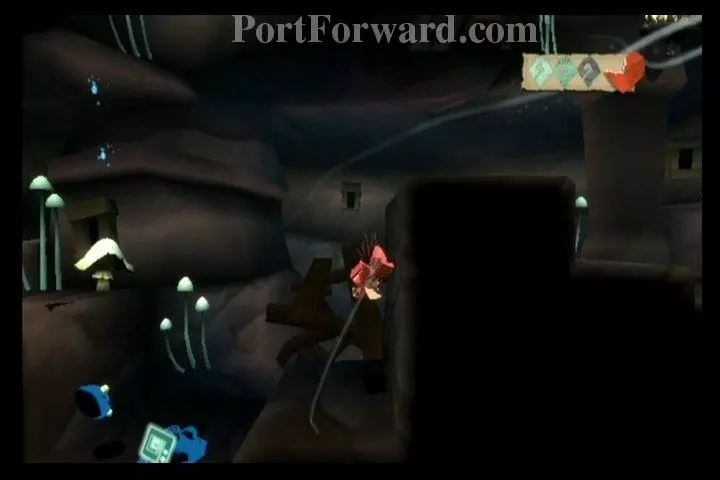
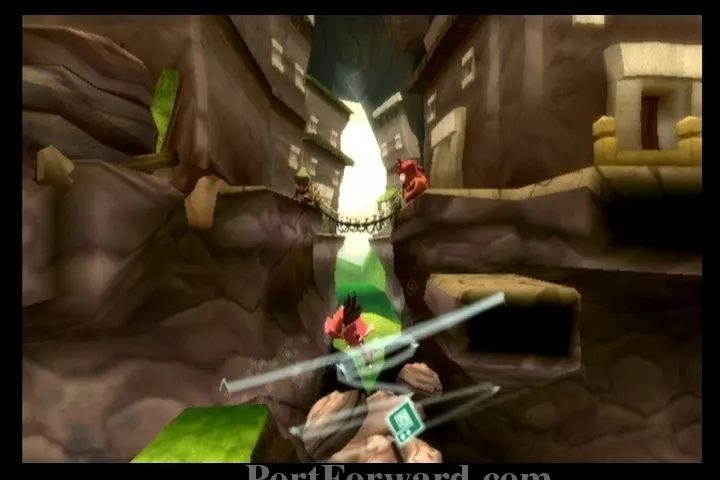
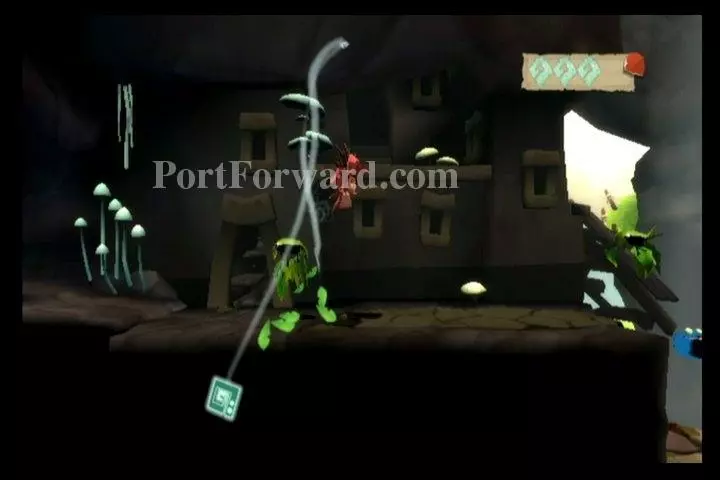
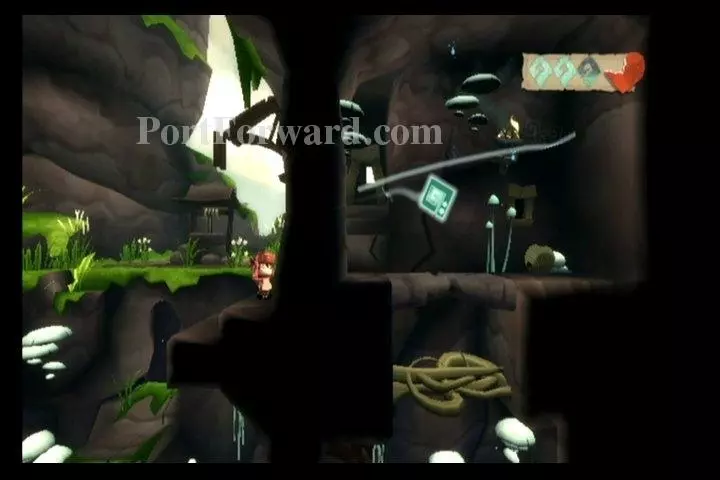
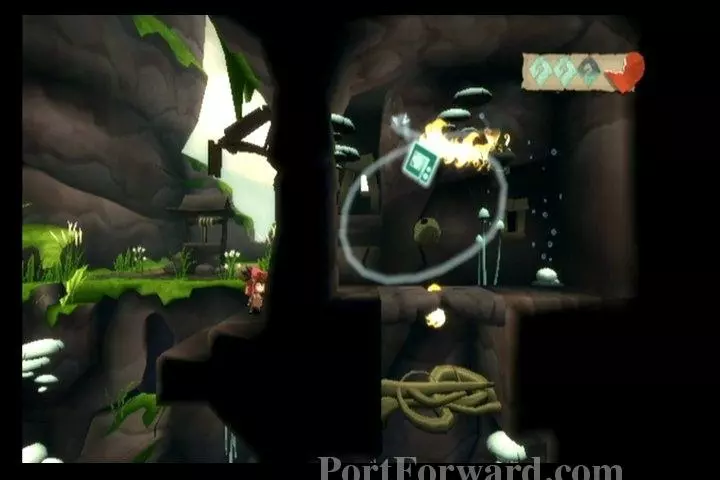
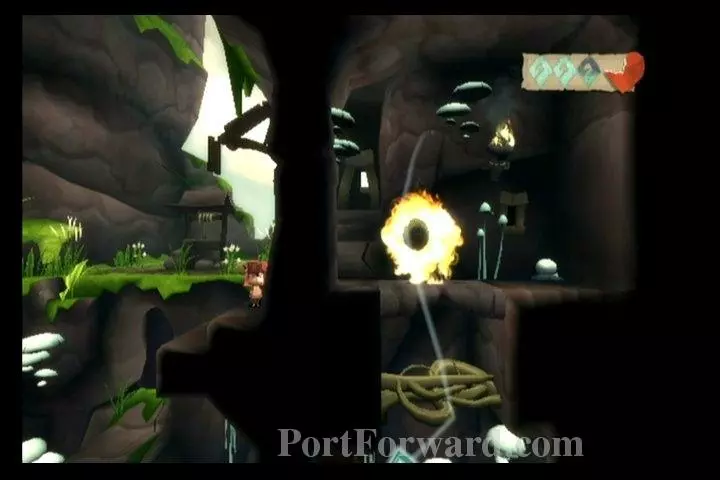
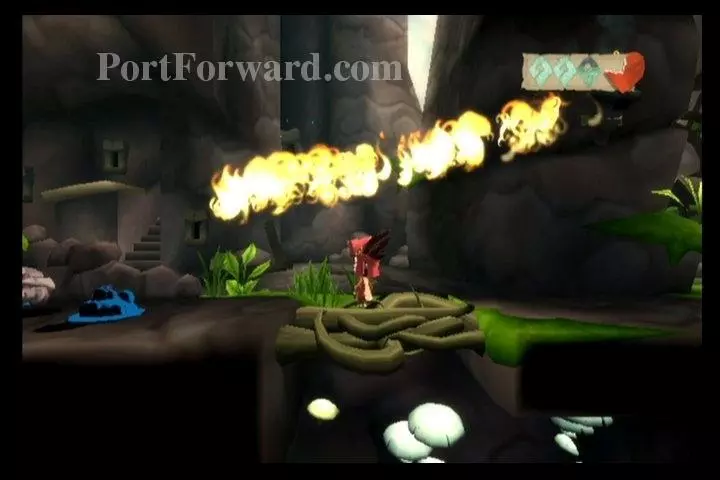
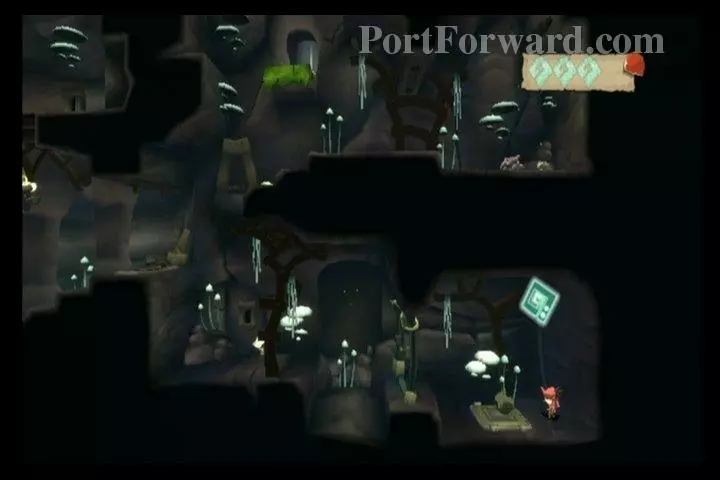
Next, you'll come to a Glorb Nest. Gust past it. You can gust upward to see a torch in the upper-right of your screen.
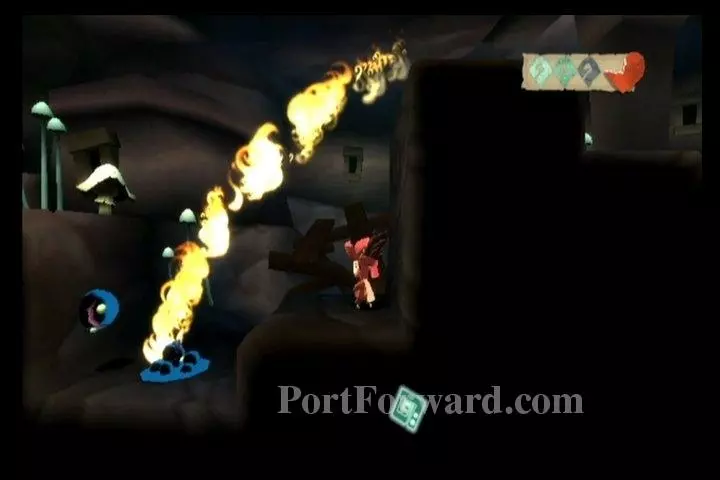
While you see it, you can draw a slipstream from the torch to the Glorb Nest.
Once the nest is burnt, grab it and gust upward to destroy it.
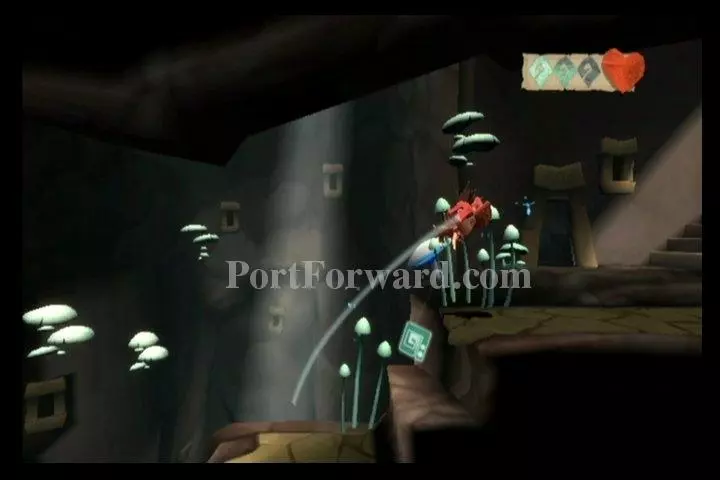
Gust over the ledge to your right.
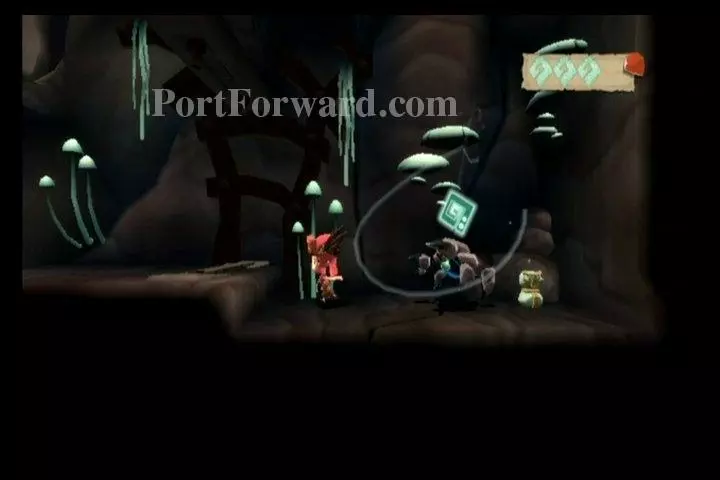
Destroy the Kalarab.

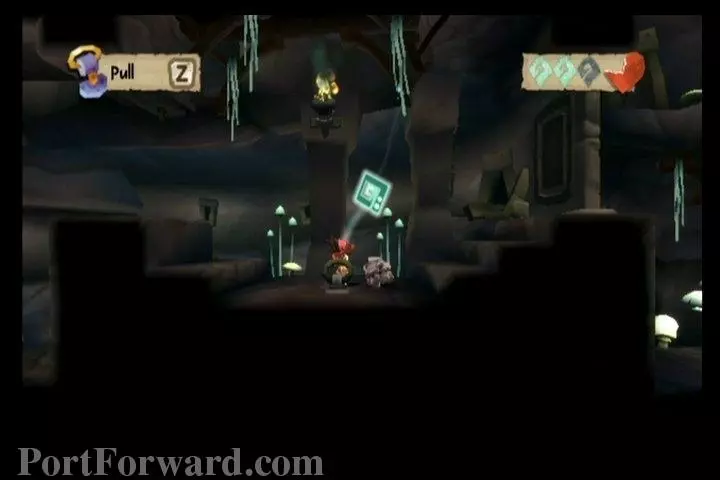
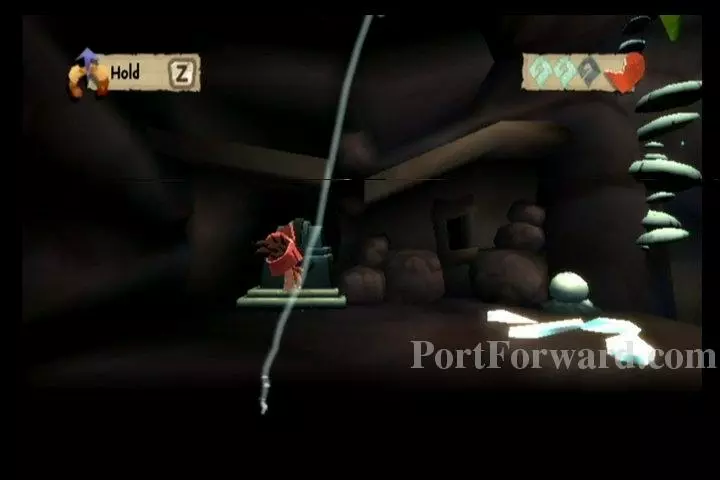
Now grab the handle on the ground and gust upward.
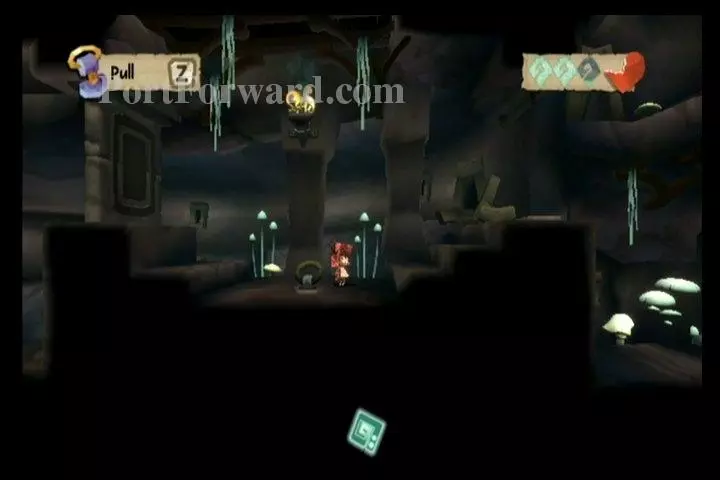
This will open the door on your right, but close the door on the left.
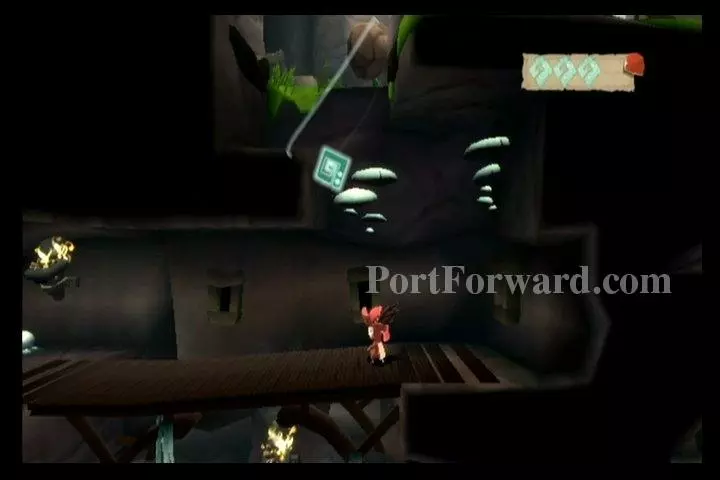
Go to the right and climb upward. In the upper-right, you'll see a torch and a wind stone. Use a gust of wind to light the torch.
Use a vortex on the wind stone.
Then smash the wind stone into the thin ground below.
Now you can use a slipstream from the torch to the vines, your wind stone should be sitting on.
Head over to the left. You'll have many enemies to fight here.

Use the lit torch to burn the vines, opening a pit.
Gust the boulder you find to the upper-right, where you came from.
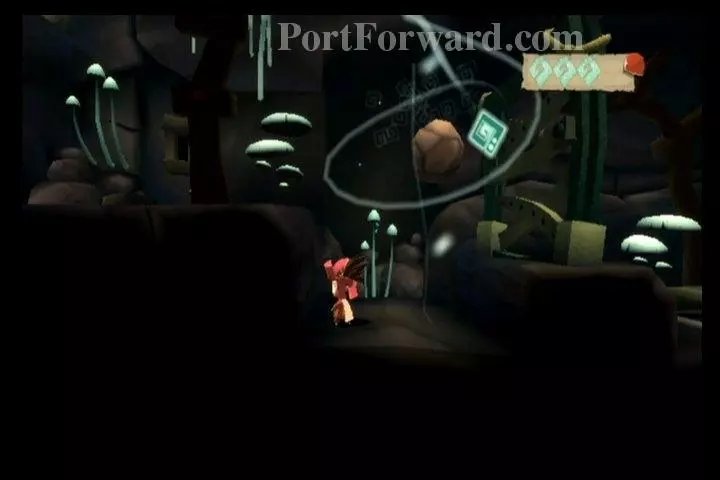
Now take the boulder down to the lower-right corner of the pit on your right. There's a gate here to destroy with it.
Go through the smashed gate and step on the pressure switch.
While standing on the pressure switch, gust the wind stone from the room above you, down to where you are.
Place the wind stone on the pressure switch.
Go up to where the wind stone was and defeat the Kalarab. Now you can collect the final Melodia Idol, #24!
Now bring the wind stone to the left, where the handle you pulled is.

Grab on and pull the handle.

Now the left door will be opened, and the right closed. Go left with the wind stone.
Use a vortex around the wind stone to shatter the crystal here.
Now you can get to the Memory Chest, previously blocked by the crystal.
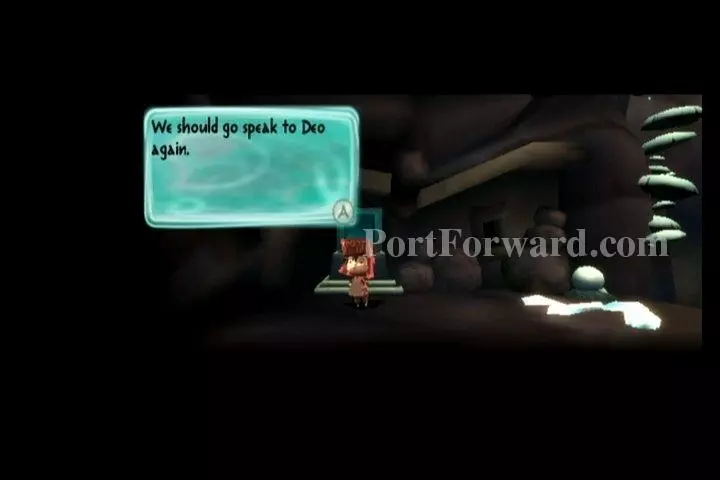
Time to go speak with Deo again.
Use your cape to go upward, out of the pit. Then work your way leftward.
More LostWinds Walkthroughs
This LostWinds walkthrough is divided into 7 total pages.


