
This LostWinds walkthrough is divided into 7 total pages.
You can jump to nearby pages of the game using the links above.
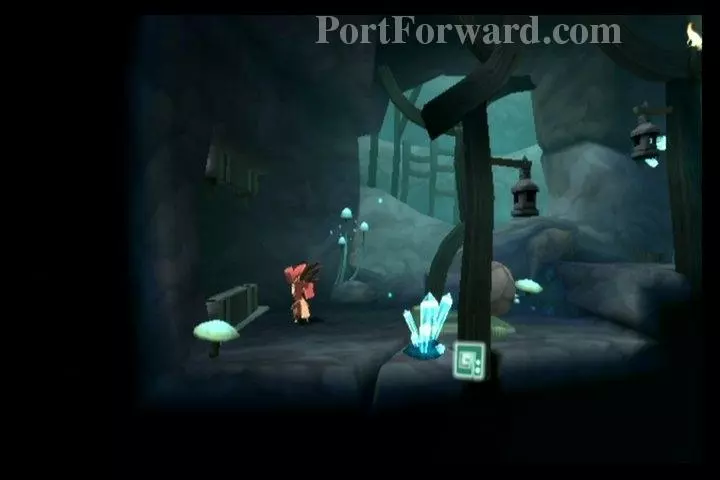
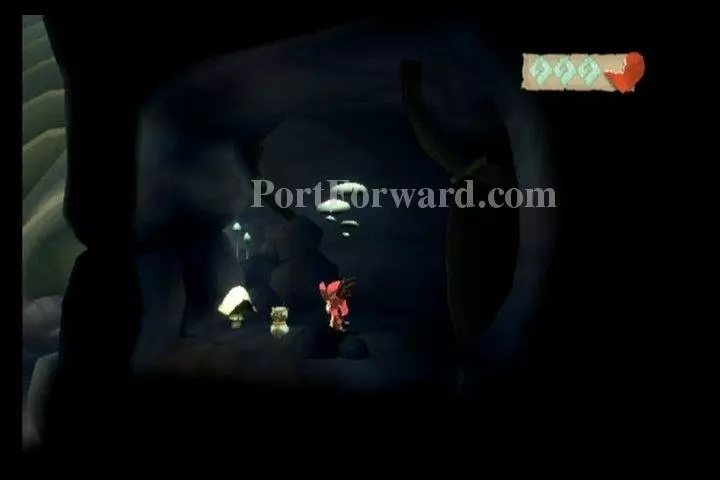
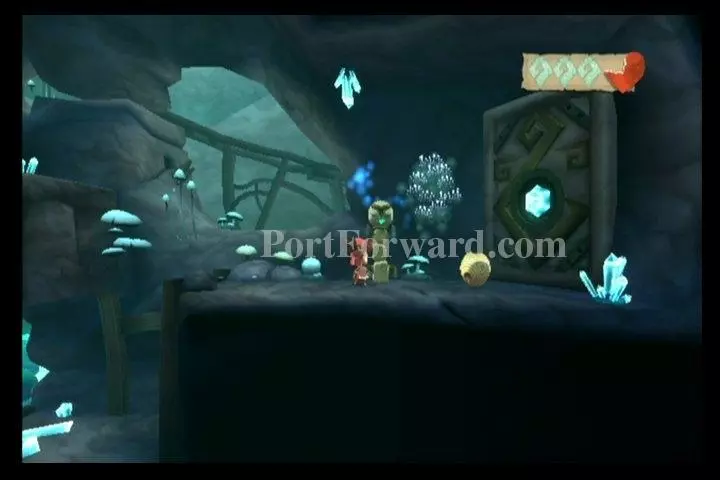
Second Memory Chest
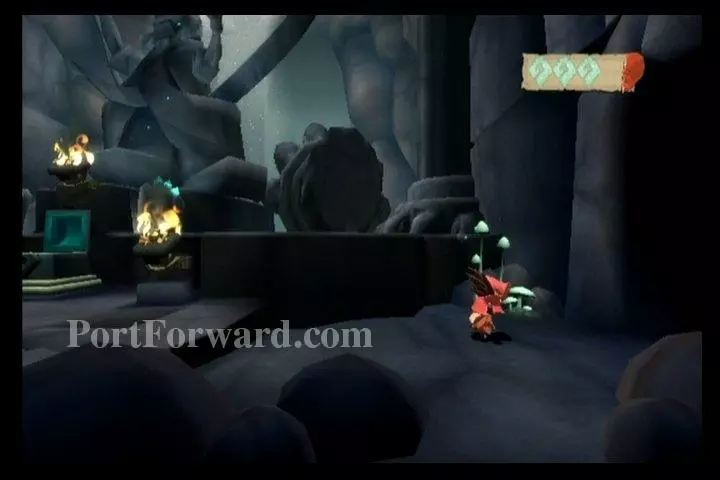
Exit the Memory Chest room, heading right.
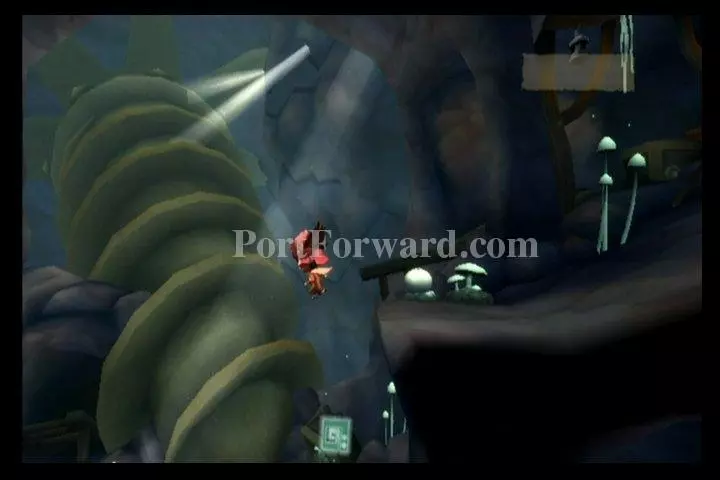
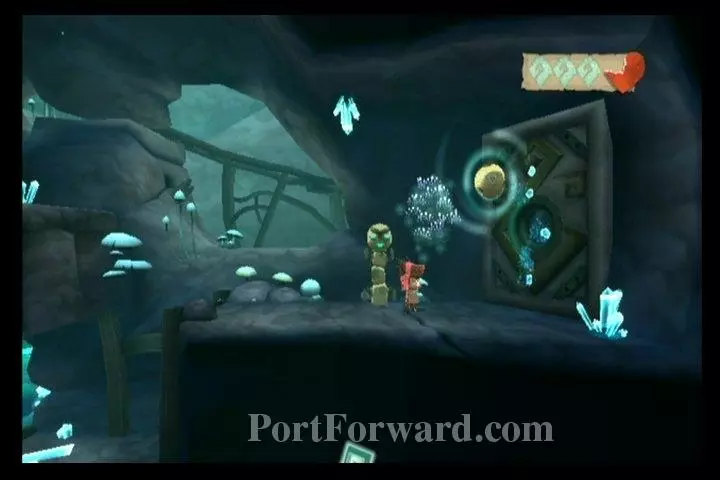
Use the mushrooms to bounce you up.
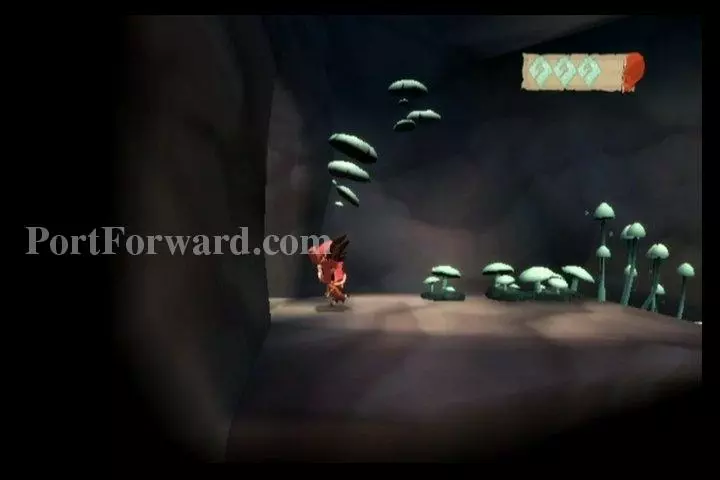
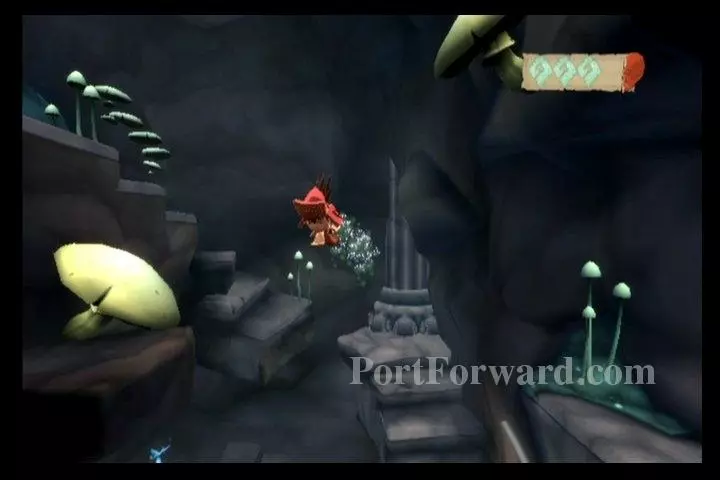
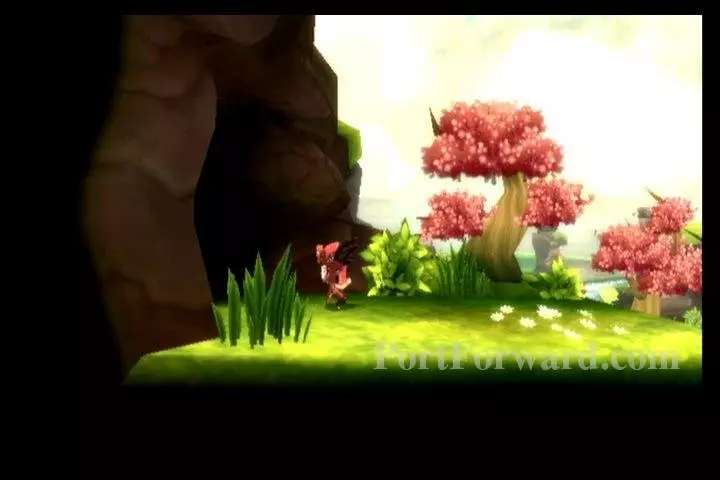
Then exit to the left, making your way outdoors.
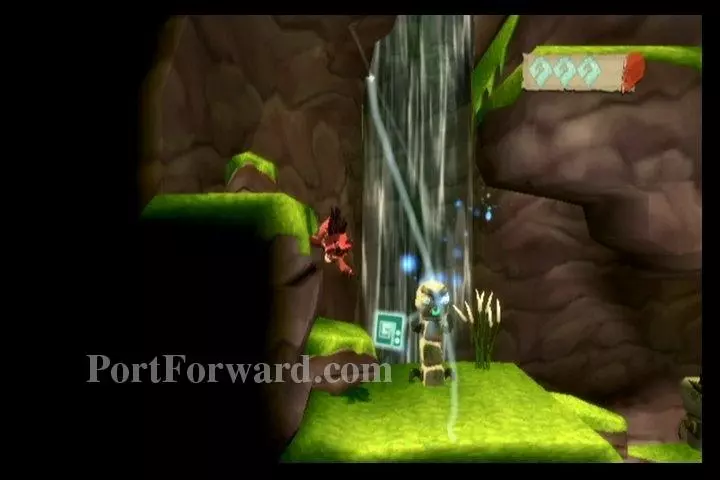
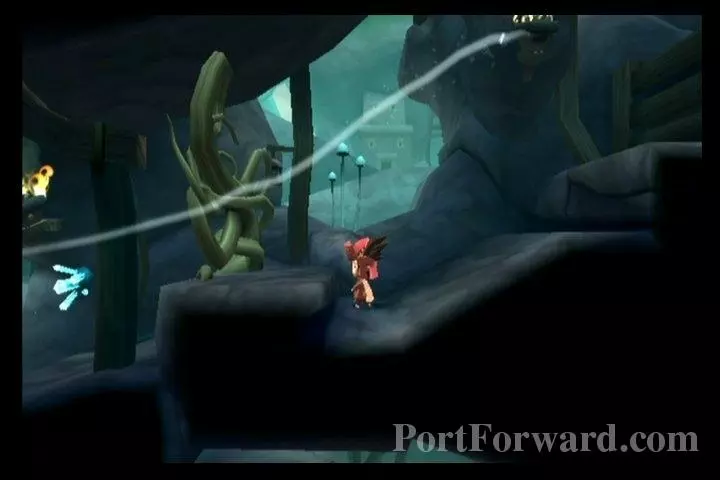
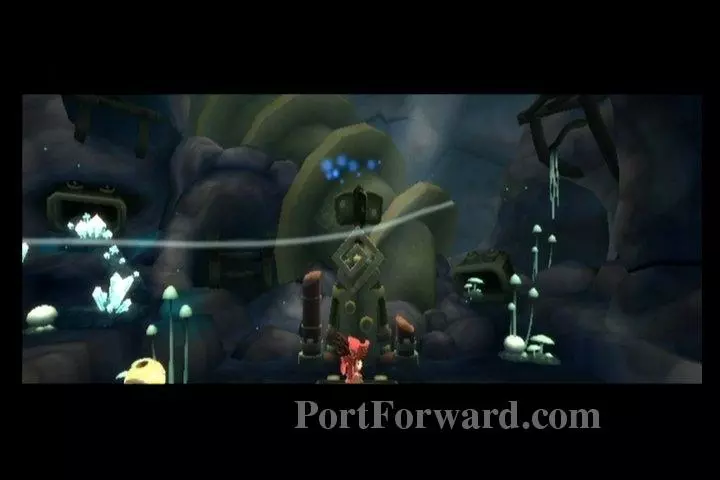
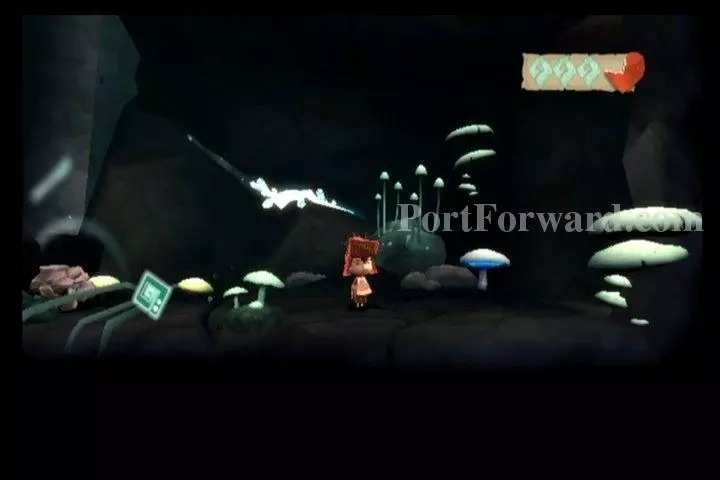
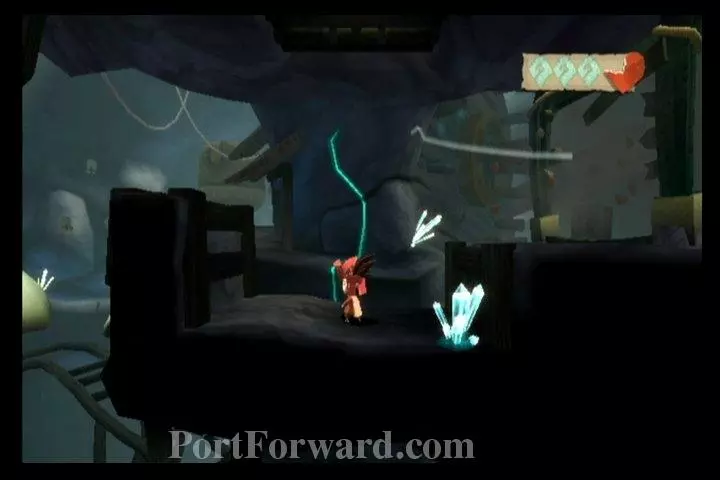
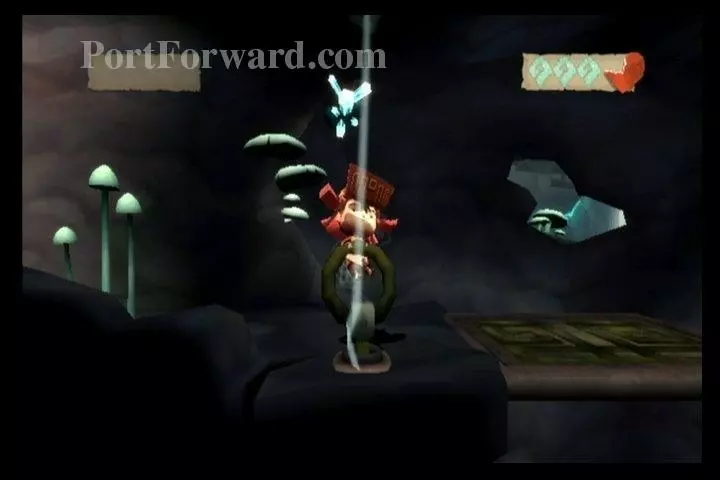
Use the Melodia Statue to save your game, then gust your way up the ledges here.
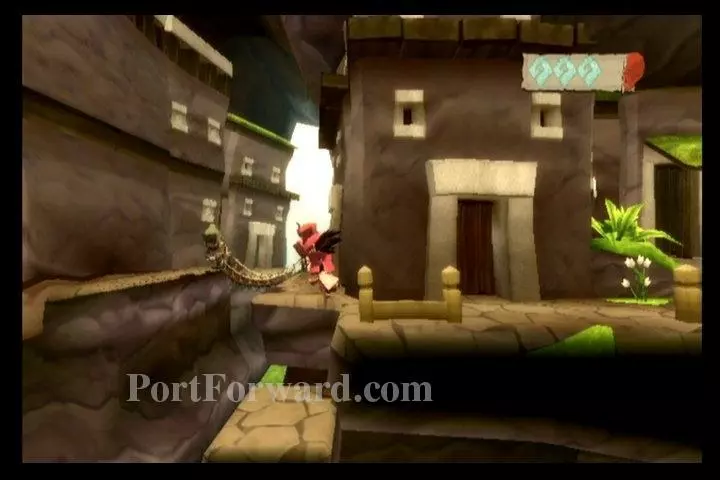
Head left and drop down the pit you come to.
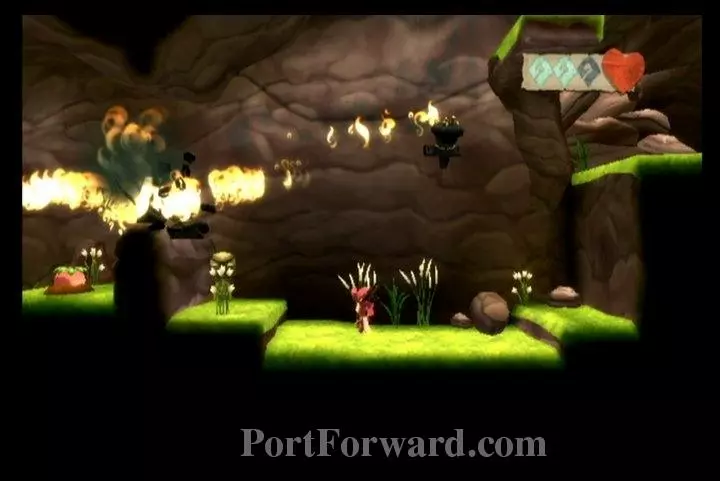
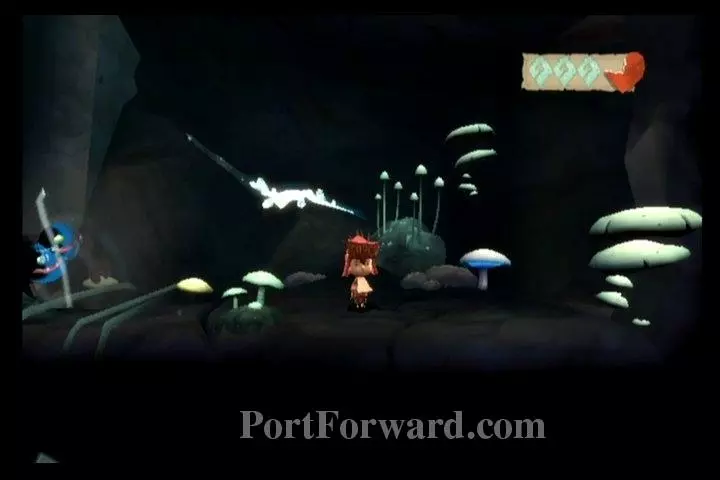
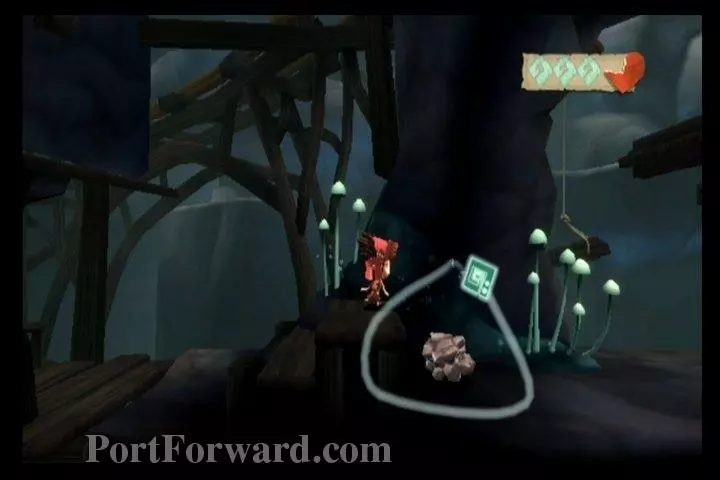
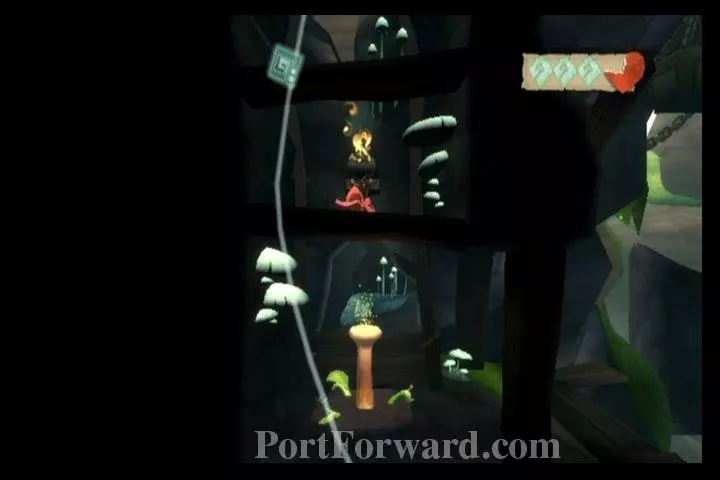
Use the torch to burn the vines.
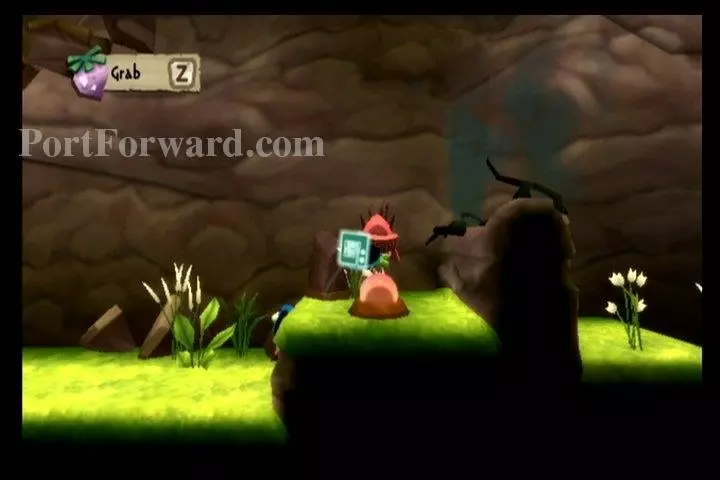
If you need some life, grab onto the vegetable and gust upward.
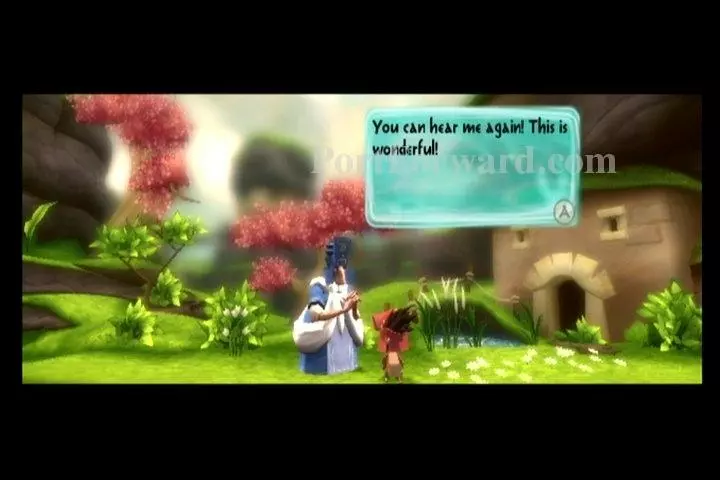
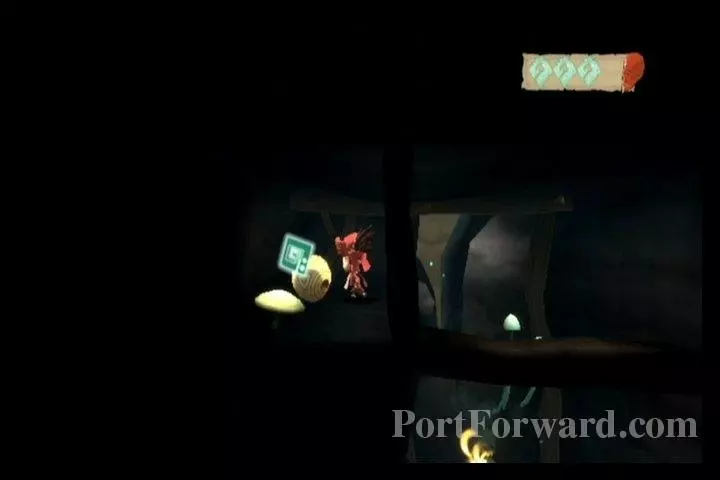
Continue leftward, until you reach Deo. He will be able to hear Enril again.
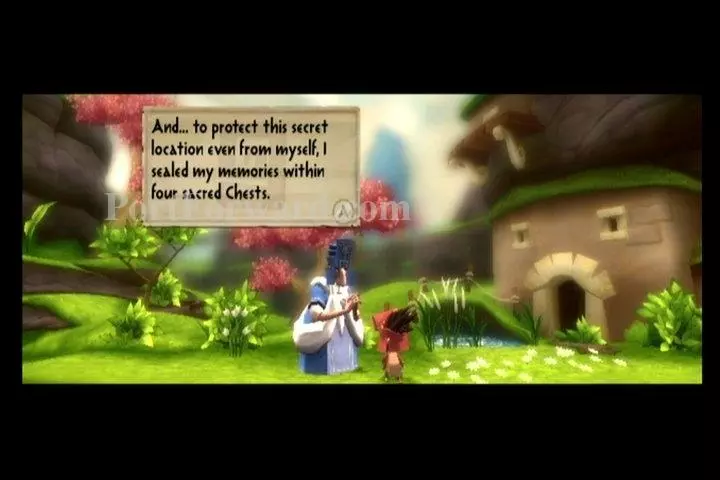
Deo will tell you that he sealed his memories within four sacred chests, one of which we just opened.

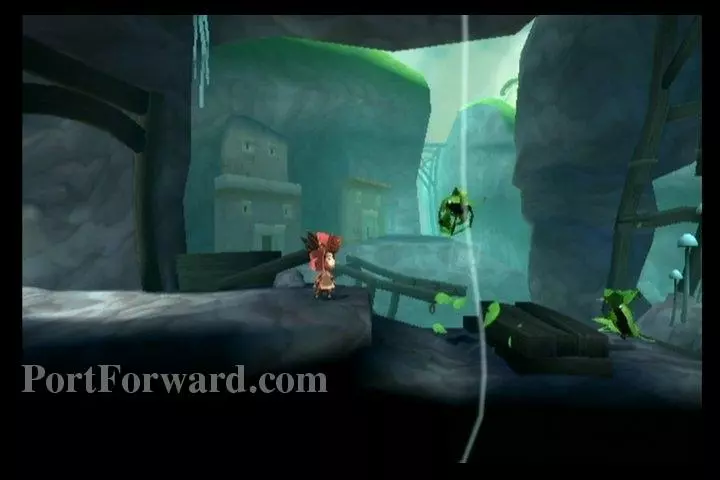
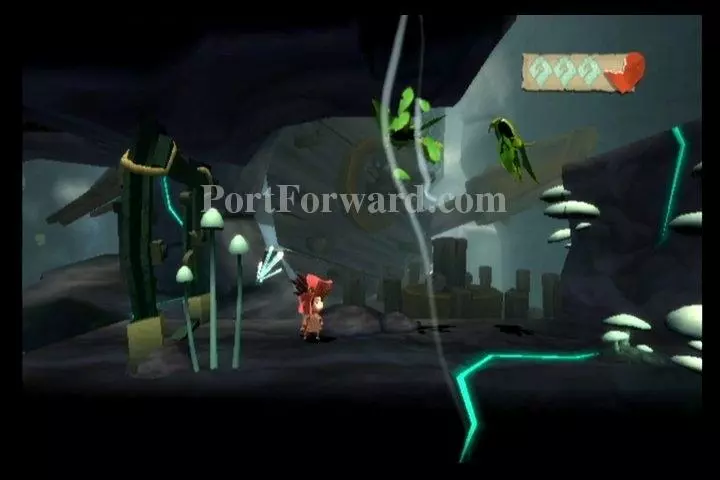
After talking to Deo, exit leftward.
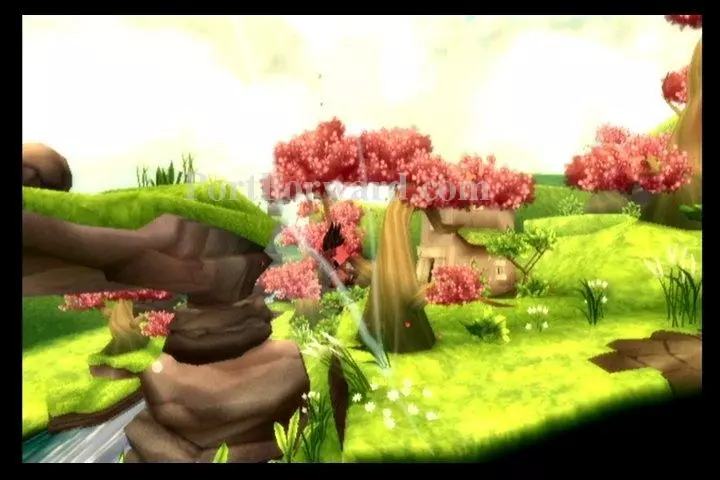
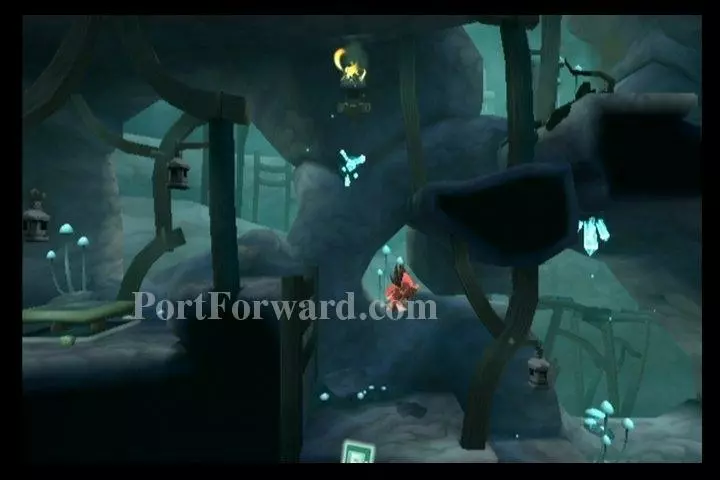
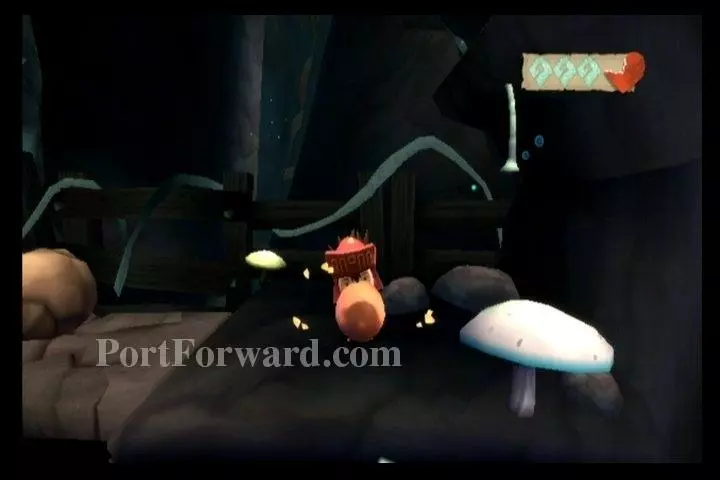
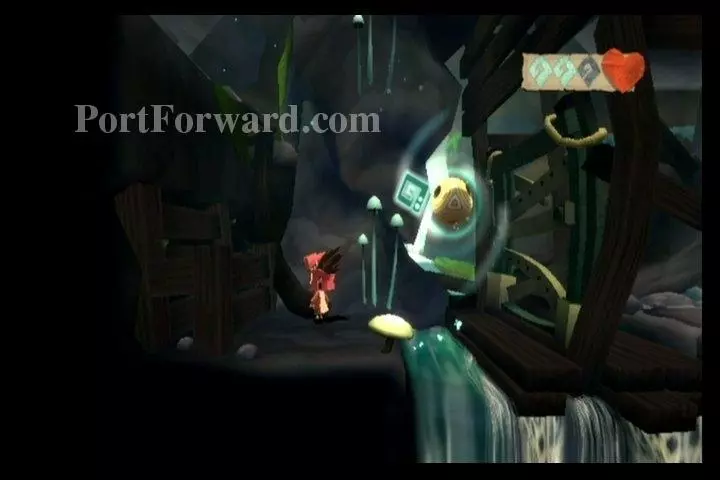
Gust up onto the ledge, found before the waterfall.
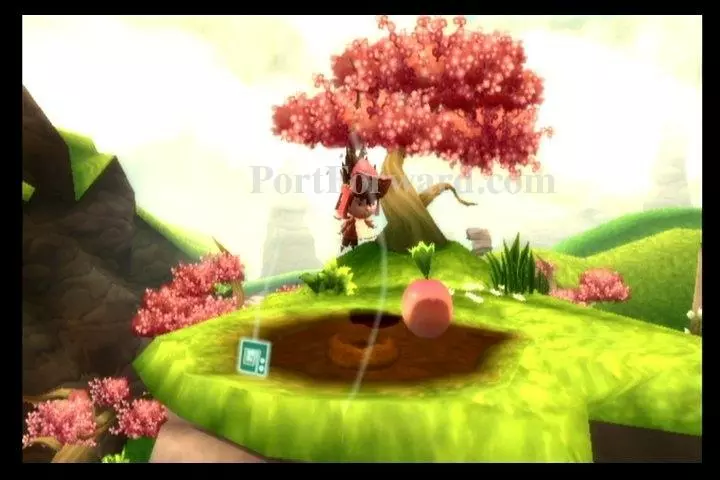
Gust onto the next platform on your left. You'll find a vegetable here.
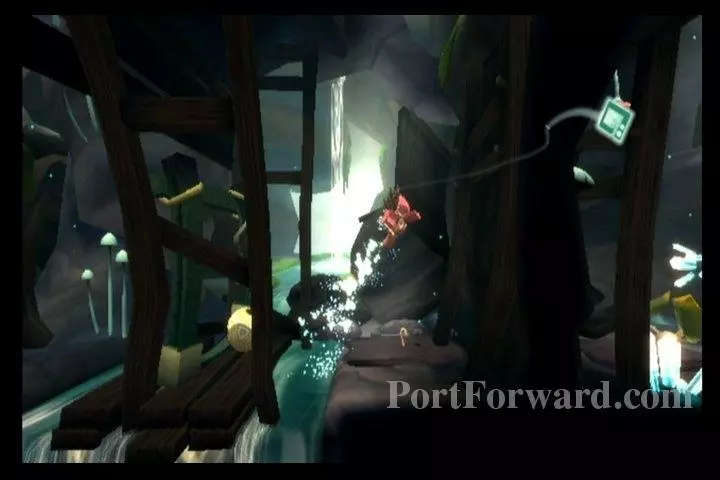
Gust leftward, as far as you can, to reach the next platform.
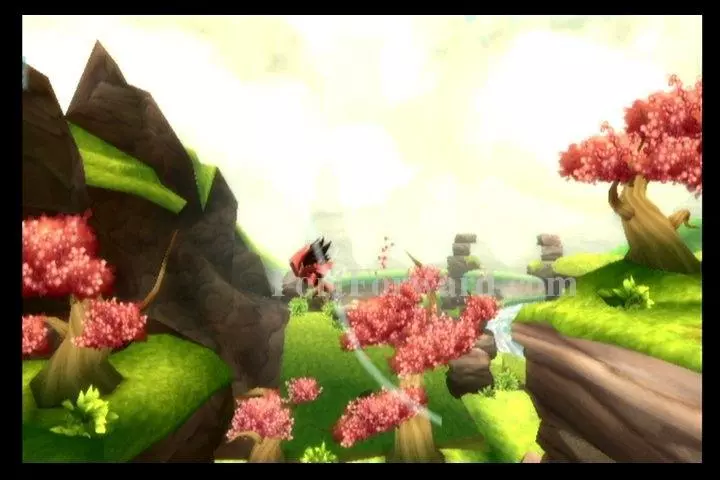
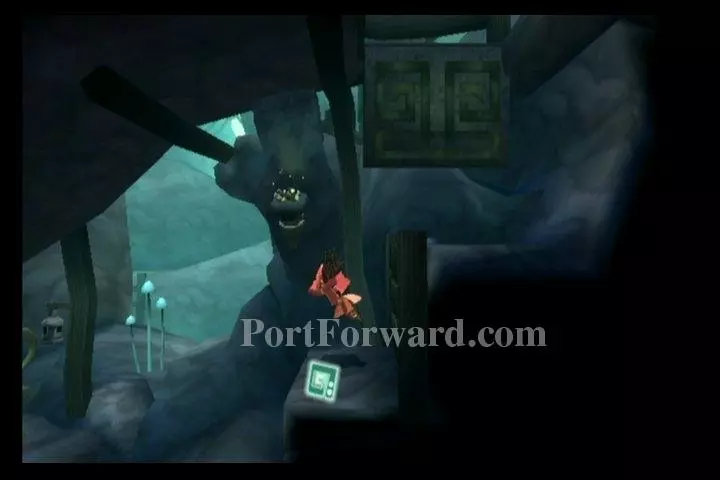
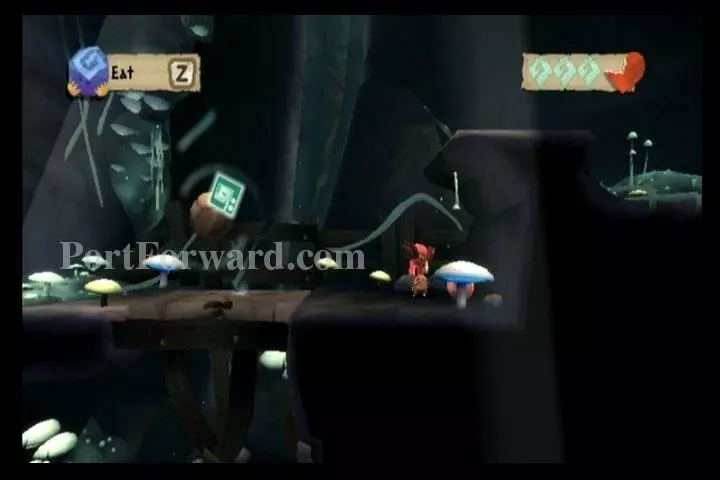
Enter the cave on your left.
Drop down the pit. Then draw a slipstream between the torch and the vines.
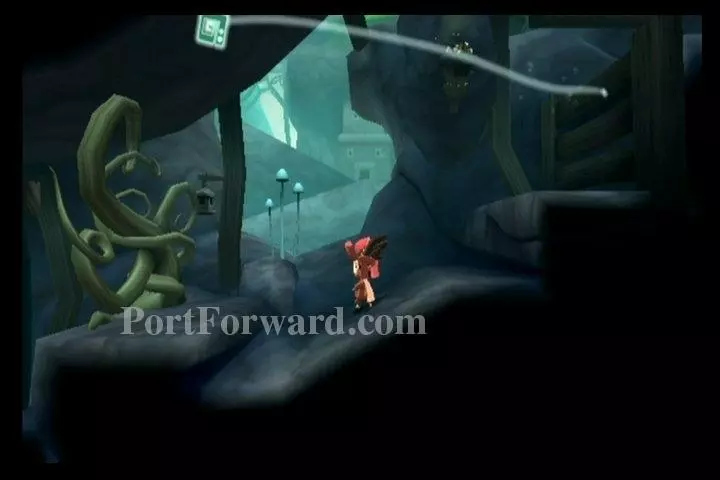
Go right, past the burnt vines and fight the Glorbs in your path.
Exit this area to your right.
You'll come to some Squawks to fight. Defeat them and head right.
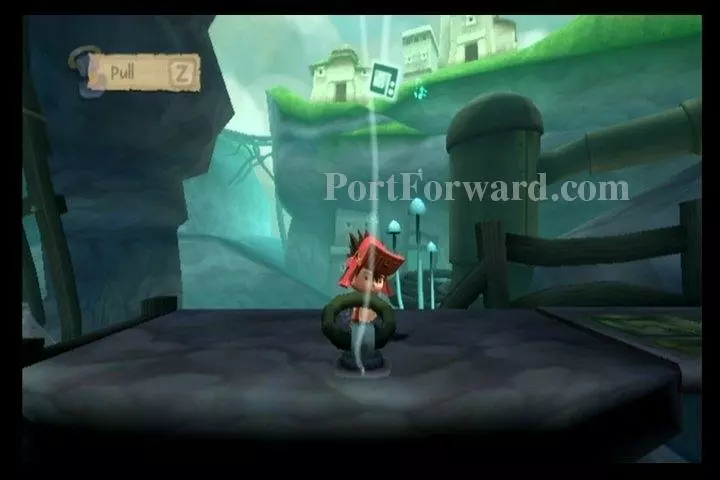
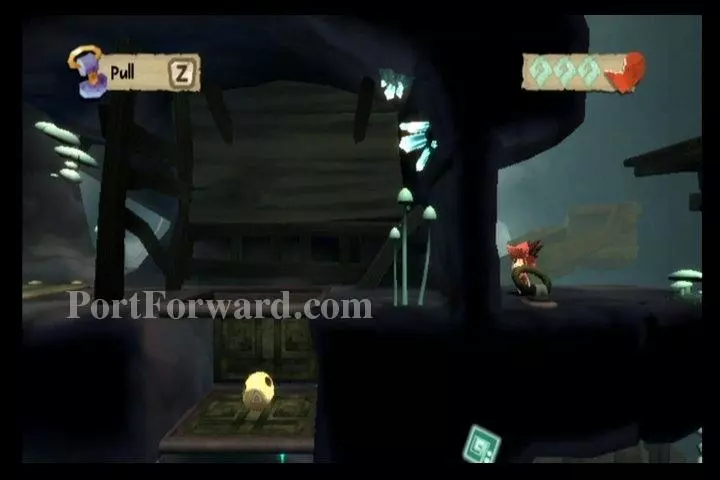
Jump over the pit and grab onto the handle on the ground. Gust upward to pull on it.
This will open a trapdoor on your right, drop down it.
Blow a gust of wind across the unlit torch.
Draw a slipstream from the now-lit torch and the vines blocking your path.
Head left, through the burnt vines, and drop in the pit you come to.
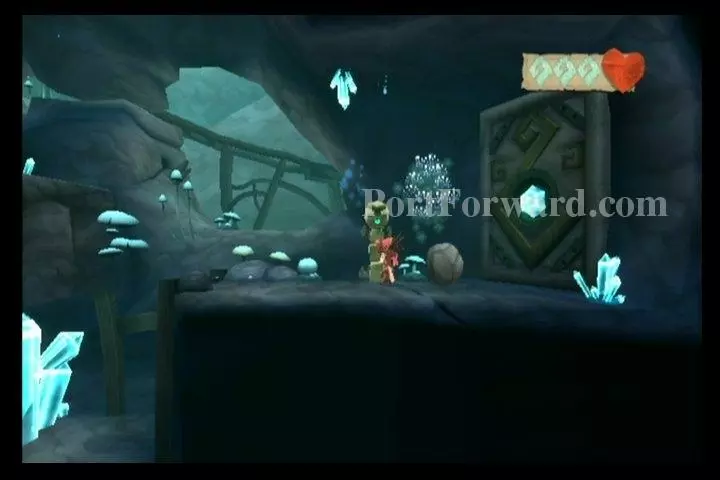
To your right, you'll find a Melodia Statue. Use this to save your game.
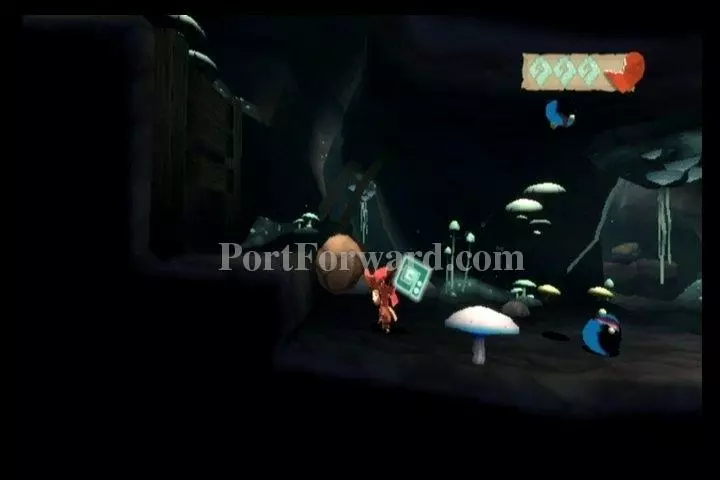
Gust yourself and the boulder back to your upper-left.
Place the boulder on a pressure switch on the ground. This will open a door to your left. Walk through it.
Drop off the ledge on your left, slowing your descent.
Stand on the switch in front of the shrine. Blow a gust across the propeller.
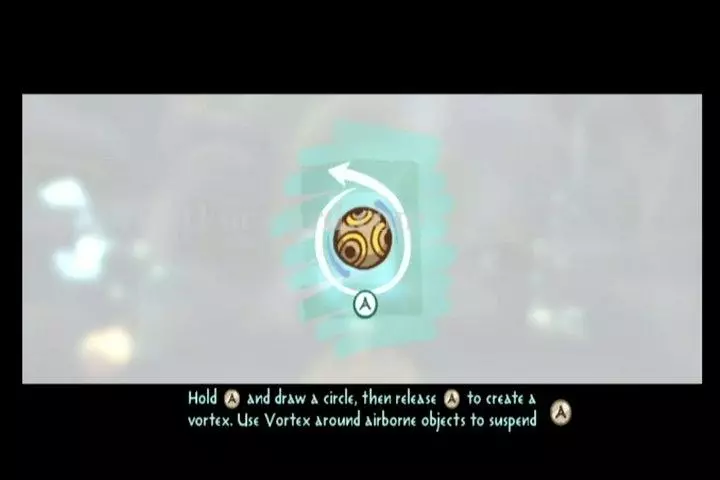
You will now learn the Vortex ability.
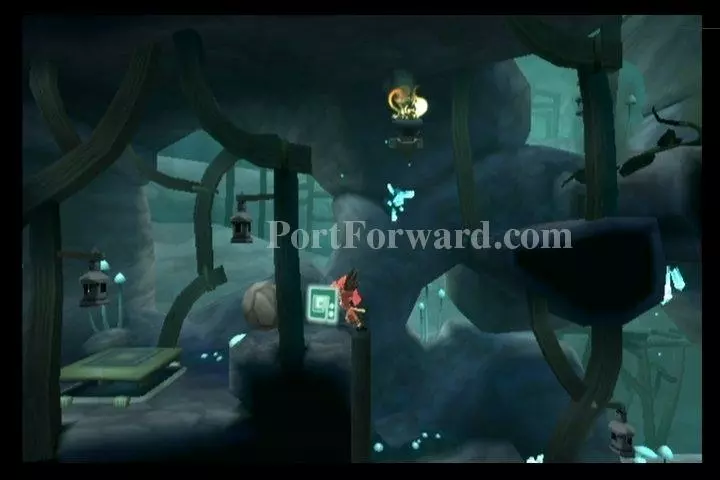
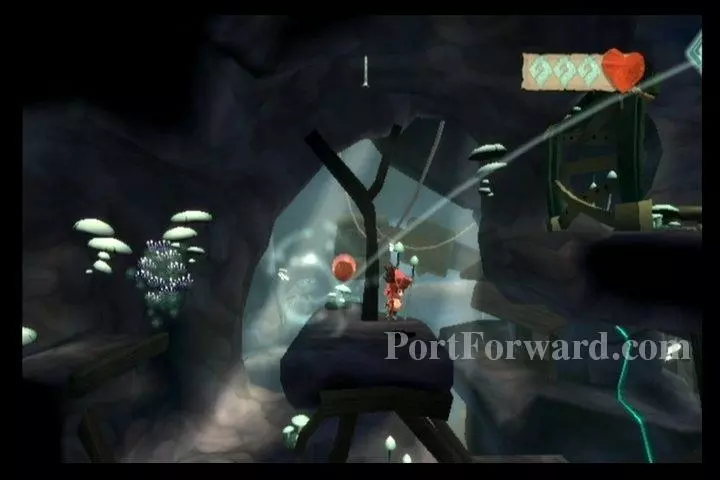
Let's give it a shot. Find the wind stone (looks like a ball) to the left of the shrine. Gust the wind stone upward.
Hold down A and draw a circle around it.
It should hover in place. When it is near a crystal it will shatter it.
Go to the upper-left door. Create another vortex around the wind stone (after you gust it into the air.) This will shatter the crystal in the door, making it open. Exit through this door.
Here you'll find a new enemy, the Kalarab. Draw a vortex around the crab (no need to throw it into the air first.)
Gust the Kalarab downward and it'll become two Glorbs. Destroy those like normal.
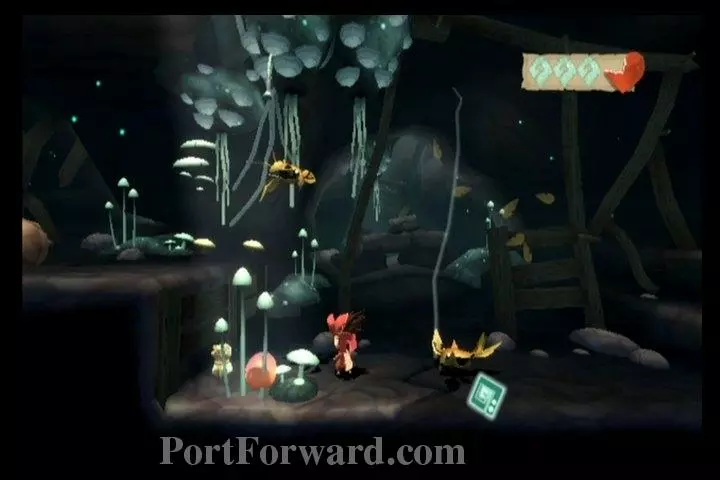
Drop down the ledge on your left. You'll find some fruit here.
Use a vortex on the boulder. Then slam it into the trap door below.
Drop down the pit opened by the boulder, all the way to the bottom. Take out the Glorbs found here.
To the right you'll find a hanging fruit, Melodia Idol #11, and some yellow Squawks (which act just like the green ones.)
You'll find a gate on your right. Create a vortex around the boulder or some fruit and slam it into the gate. Exit through the now-open gate.
Drop down the pit on your right, slowing your descent.

Kill the Kalarab.
Create a vortex around the fruit.
Toss the fruit at the door to open it.
Jump up the ledges to your upper-right, then over to the Glorbs. Destroy the Glorbs.
Get on the upper platform. You'll find a fruit hanging from the ceiling. Make a vortex around the fruit and smash it into the door.
Jump through the door.
Get on the pressure switch.

Move the wind stone into the trap door you opened.
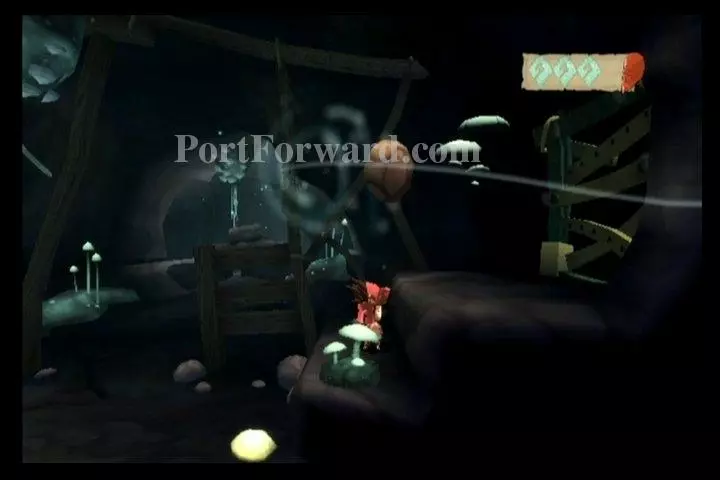
Head back down, and go down into a pit on the right, containing a large mushroom. Burn the vines with the lit torch on your left.
Go past the burnt vines to get Melodia Idol #12.

Lift the boulder out of this pit, and drop it on the right side.
Bounce out of the pit with the mushroom. Make a vortex with the boulder and smash it through the door on your right.
Destroy the Squawks found here.
Climb the ledges on your right. You can use the mushroom to bounce up to the top one. Then head left.
Grab onto the handle found here, then gust upward. This will release the wind stone.
Go back down to the wind stone.
Then go back up to where you pulled the handle, bringing the wind stone with you. Toss the wind stone onto the wooden planks to your upper-right.
Get up onto the wooden planks, where you put the wind stone. Use the mushroom or some gusts to get the wind stone near the upper-left crystal.
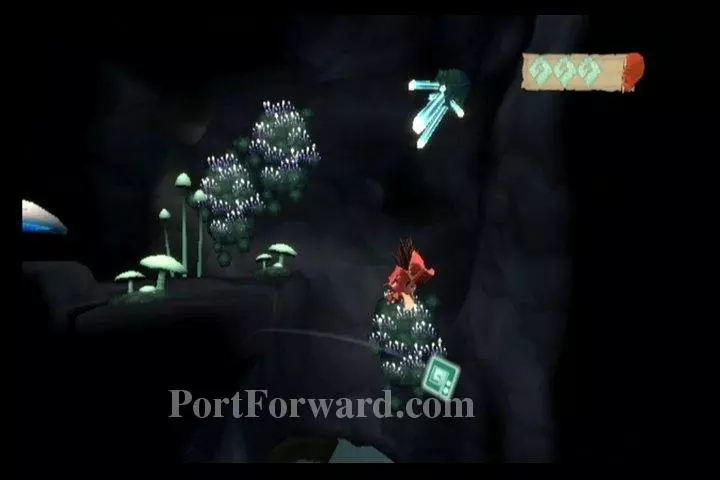
Make a vortex with the wind stone. This will shatter the nearby crystal. Exit to the left.
You'll find Melodia Idol #13. Now exit back to the right.
Get back down onto the wooden plank with the large mushroom. You'll find the wind stone here. Toss the wind stone up to the crystal on the upper-right.
Jump up with the crystal and make a vortex with it, breaking the crystal on your right. Head through the revealed doorway.
You'll come to a crystal blocking your path. Take out the Glorbs, also found here.
You'll see a wind stone on the other side of the crystal. Make a vortex around it to shatter the crystal in front of you.
On the very right, you'll find Melodia Statue #14.
Make another vortex around the wind stone. This will destroy the crystal to your upper-right. Gust the wind stone and yourself up to where it was located.
Once again gust yourself and the wind stone to the upper-right.
Save using the Melodia Statue.
Make a vortex with the wind stone, shattering the crystal in the door. The door will open, go through it.
Grab onto the handle on the floor and gust upward. This will open the trap door on your right. Drop through the trap door.

Fight the Glorbs on your right.
There will also be a Kalarab here to fight.
After defeating the Kalarab, gust to the platform on your upper-right.
From here gust to the upper-left platform.
Grab a boulder found up here and take it back down with you.
Use the boulder to smash the wooden barrier on your right.

Continue right. You'll come to two pressure switches.

Put the hanging fruit onto the left pressure switch, then gust yourself up through the trap door that opens.
Once you are up there. Move the fruit onto the right pressure switch. This will open the trapdoor on your right.

Drop through the right trap door and collect Melodia Idol #15.
Draw a slipstream from the lit torch to the Poyak plant below.

Pick up the seed that remains, then gust yourself out of here.
Put a fruit back on the first pressure switch and go through the opened trap door.
Gust back up the platforms where you found the boulder.

At the top is some soft soil. Plant the seed in it.
A Poyak plant will grow. Use it to spit you up in the air, landing on the upper-left ledge. If you need an extra boost, you can gust yourself a little higher.
Exit to your right.
Gust up to a Poyak plant on your right.
Use a gust to light the torch.
Burn the Poyak plant with the fire.
Pick up the seed and gust yourself up to the upper-left ledge.
Bounce on the mushroom here to get up the the upper-left ledge.
Plant the seed in the soft soil.
A Poyak plant will grow. Use it to spit you up to the upper-left ledge.
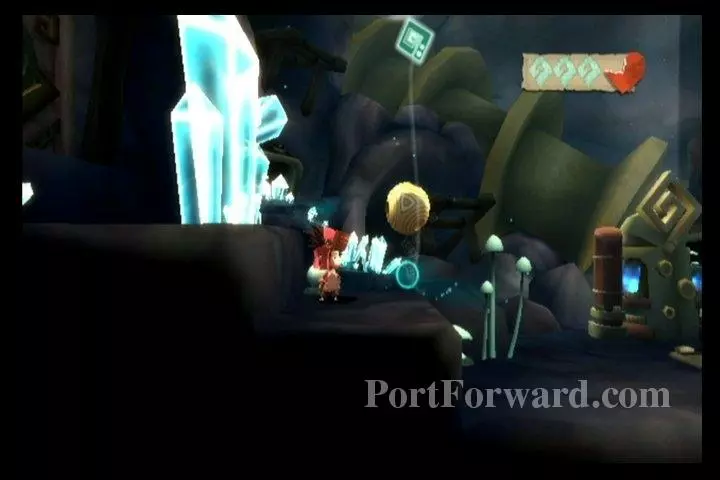
You'll find a wind stone up here. Drop down, taking the wind stone with you.
At the bottom-right, you'll find a gate. Create a vortex around the wind stone and have it smash open the gate for you.
Continue to the right. You'll find a seedling. Use a gust to throw some water on it.
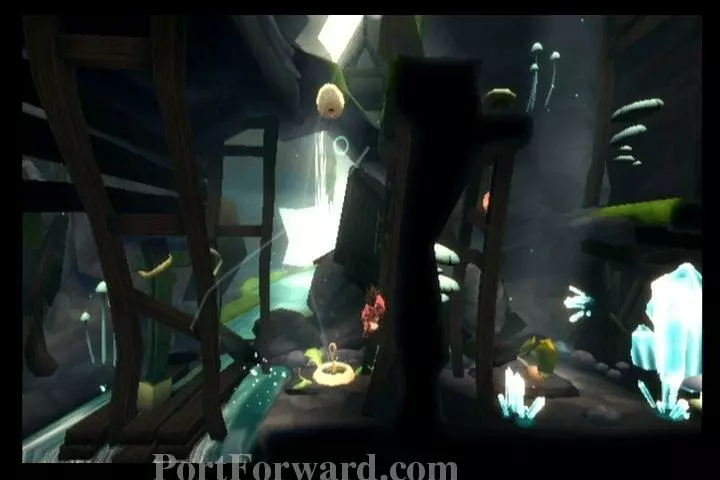
It'll grow into a Poyak. Toss the wind stone up over the top-right ledge.
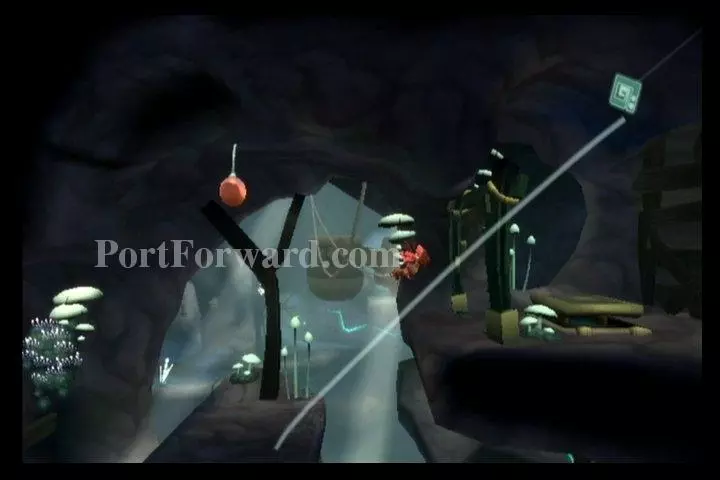
Get in the Poyak and have it spit you upward. Land on the upper-right ledge.
img(139555);
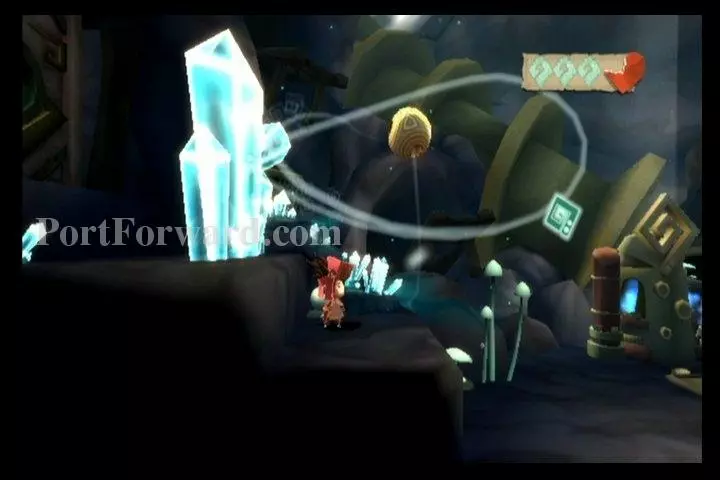
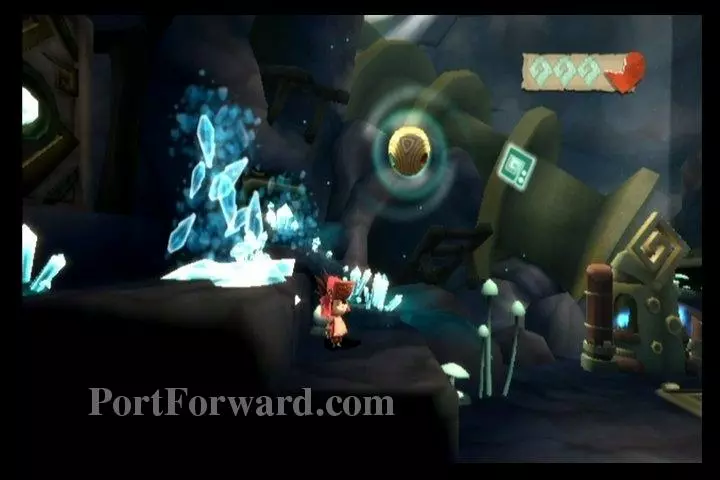
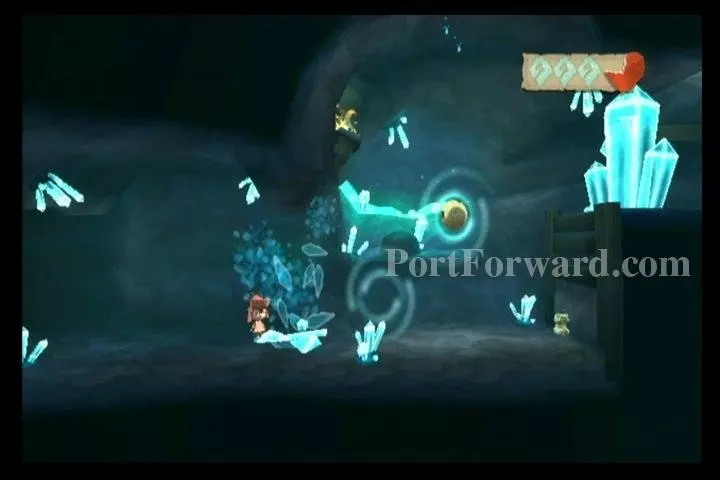
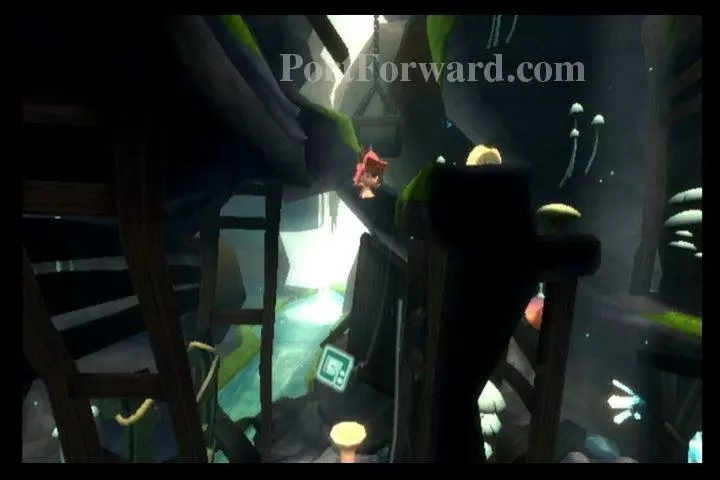
Drop down on the right and make a vortex with the wind stone to shatter the crystal barricade.
img(139556);
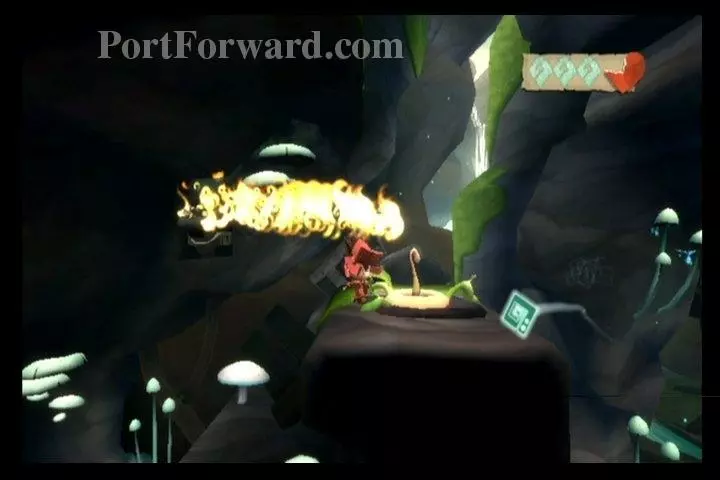
Go to the right. At the end of the tunnel, you'll find a lit torch. Draw a slipstream from this torch to the next torch on the left. Continue doing this until each torch is lit.
img(139557);
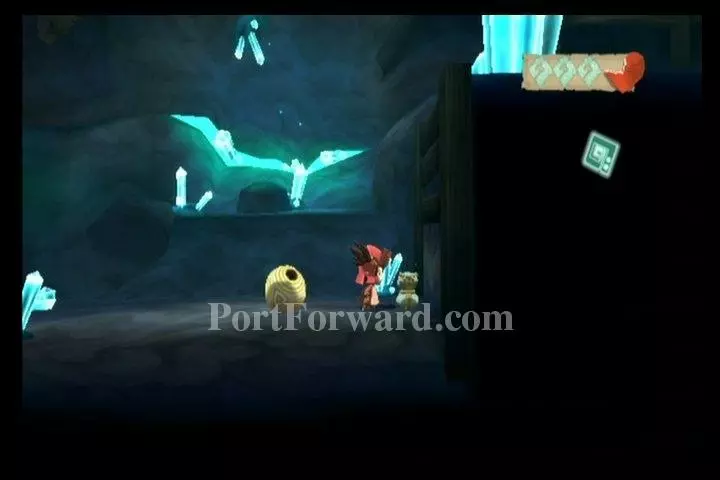
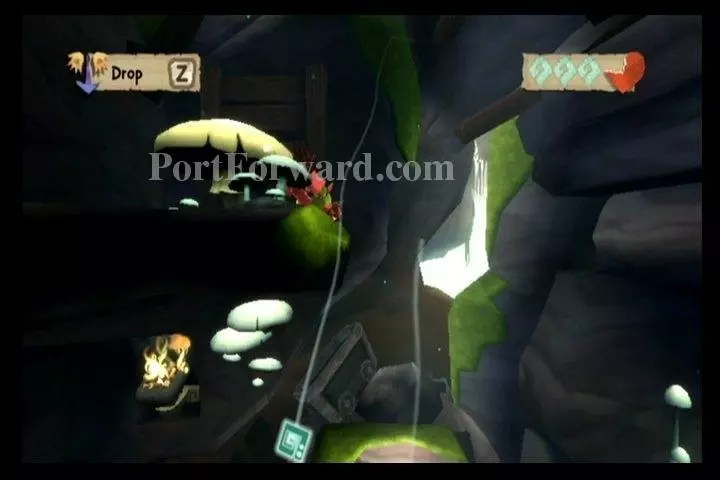
Now head back to the left where there's a Heli-Bud. Draw a slipstream from a lit torch to the Heli-Bud.
img(139558);
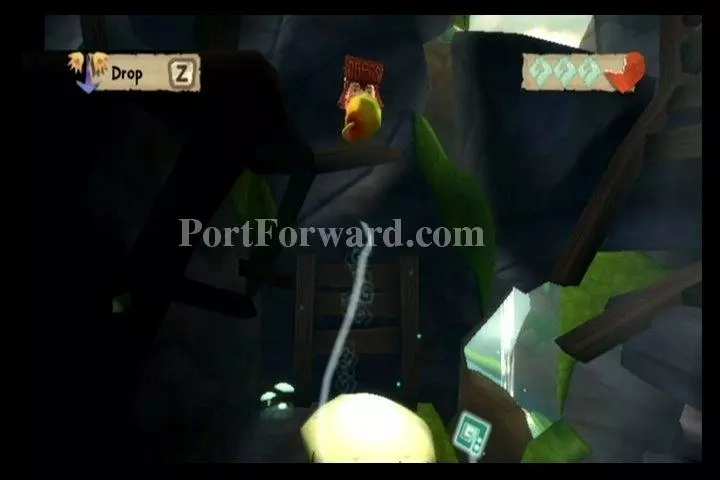
Pick up the seed that remains.
img(139559);
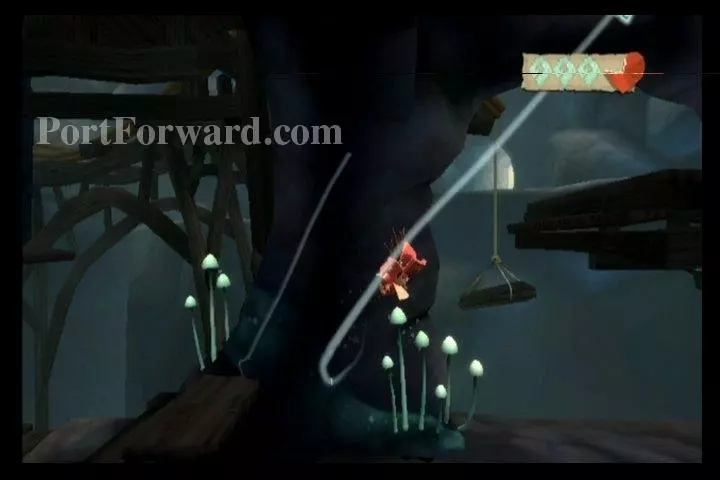
Gust yourself up to the upper-right platform.
img(139560);
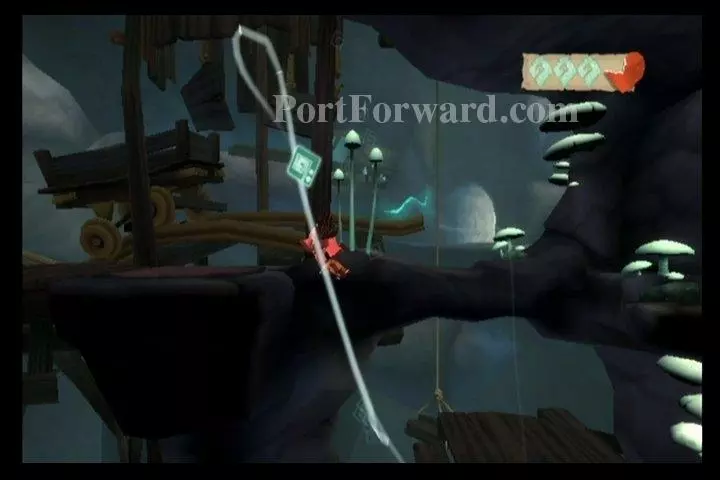
Then to the upper-left.
img(139561);
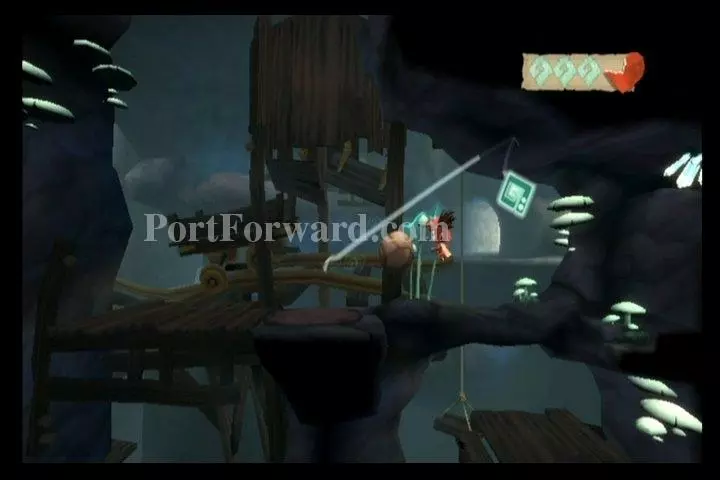
Drop down and go leftward, past the stream.
img(139562);
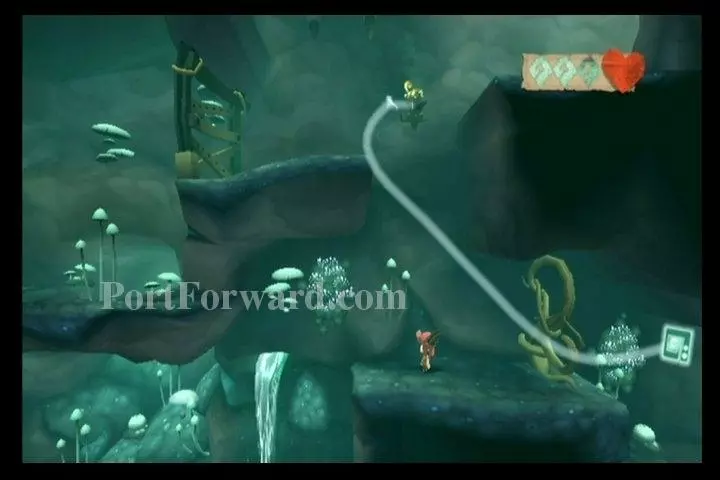
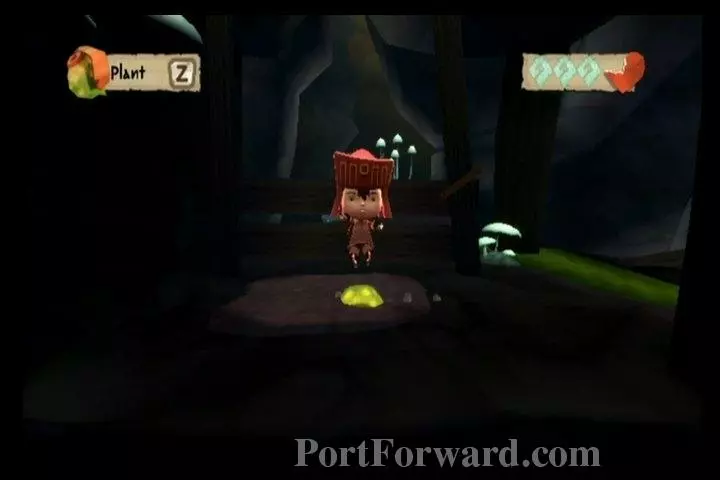
Get on the platform with the soft soil and plant the seed in it. The Heli-Bud will grow. Gust yourself in the air, then hold Z and draw a slipstream from yourself upward.
img(139563);
Continue drawing slipstreams, landing yourself on a high ledge to the upper-right.
img(139564);
Grab Melodia Idol #16 here.
img(139565);
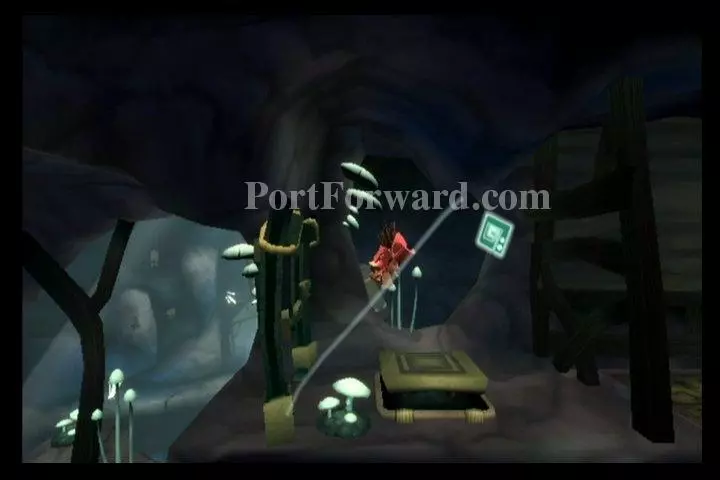
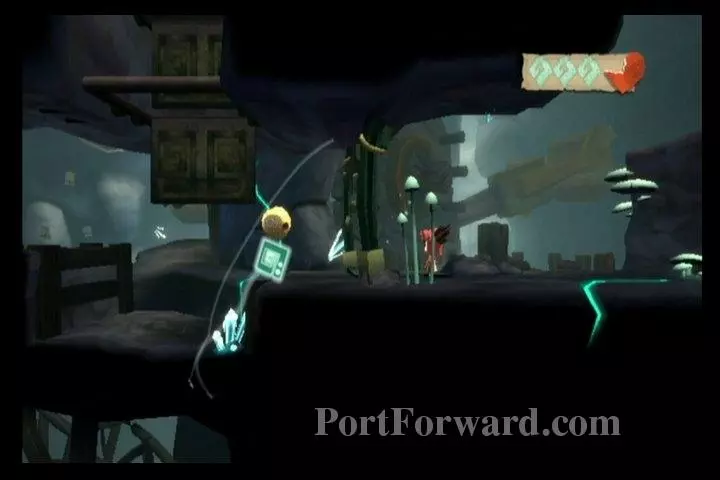
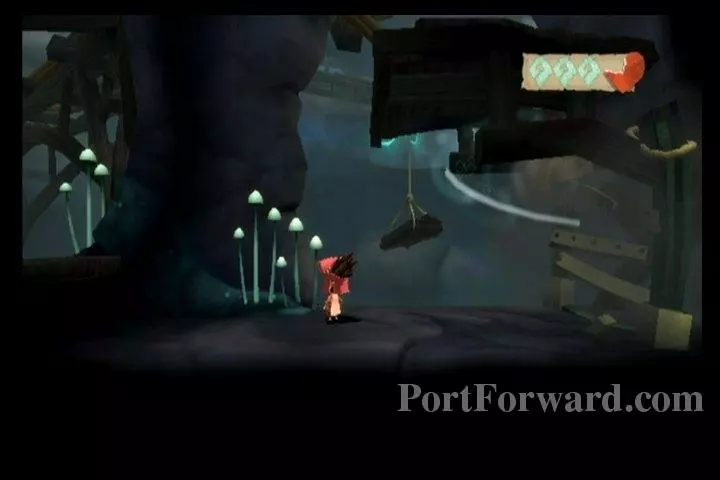
Jump off the right of this platform and gust yourself as far right as you can.
img(139566);
Now just exit rightward.
img(139567);
You'll find a lit torch here. Use this lit torch to light the small piles of wood on the walls.
img(139568);
Continue doing this all the way to the pressure switch ahead.
img(139569);
Gust up to the ledges above. Grab Melodia Idol #17 here, then drop back down.
img(139570);
Step on the pressure switch. The door to your left will open. Pull the boulder over to you.
img(139571);
Put the boulder on the pressure switch, and then go past the door.
img(139572);
Use the lit torch above the pressure switch to light another torch above you.
img(139573);
Use this torch to light the vines on fire.
img(139574);
Go past the trap door and exit to your left.
img(139575);
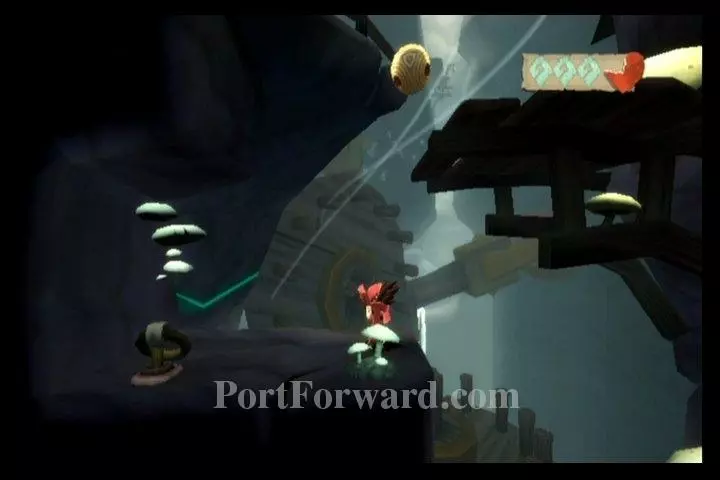
Climb up the stairs, while defeating Glorbs.
img(139576);
At the top step, gust to the upper-right platform.
img(139577);
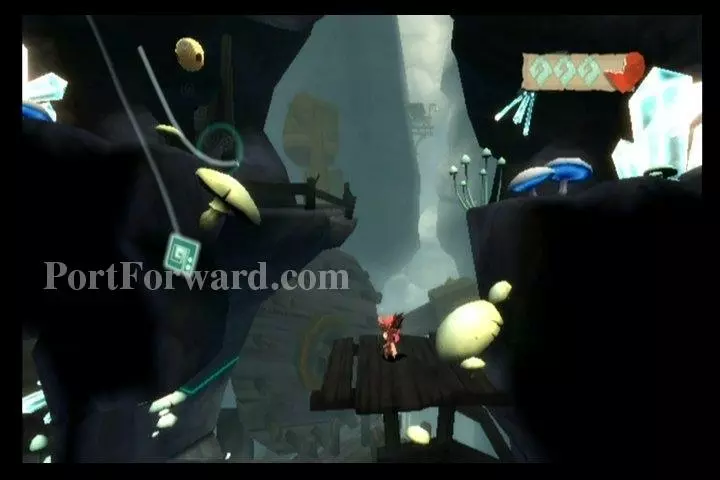
Exit to your right.
img(139578);
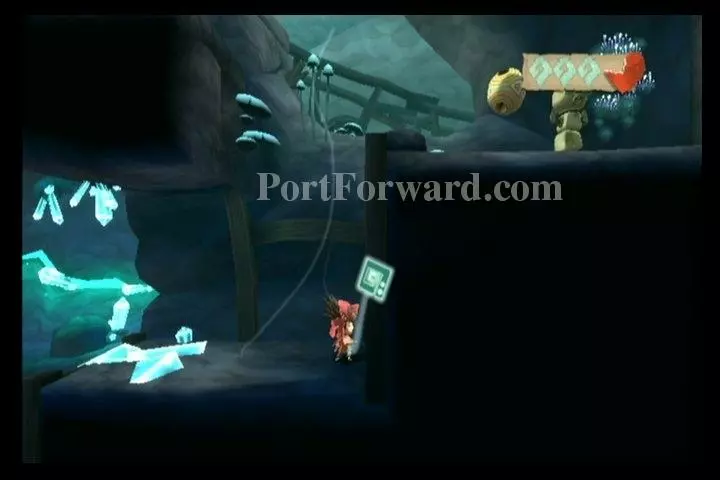
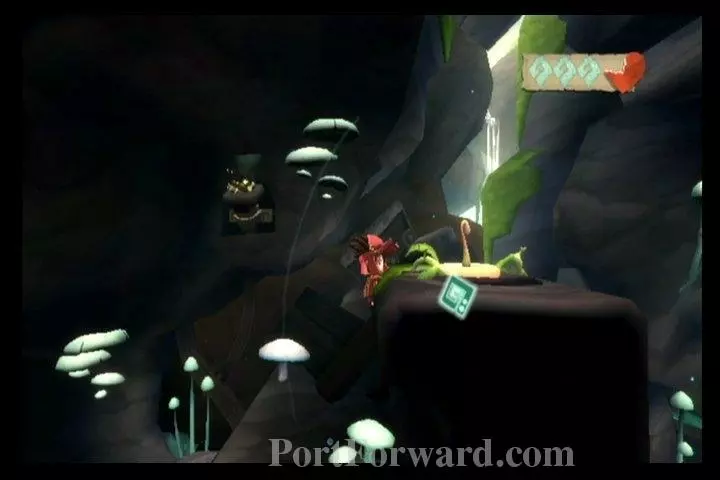
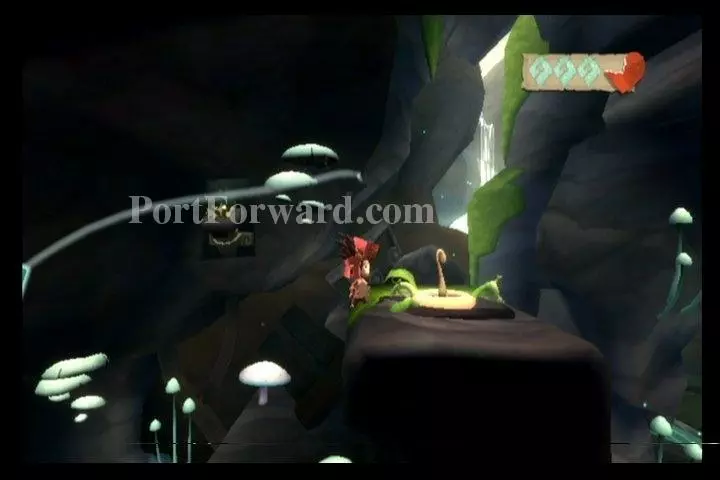
Gust past the pit and grab onto the handle on the ground. Gust upward to pull it. This will open a trap door below.
img(139579);
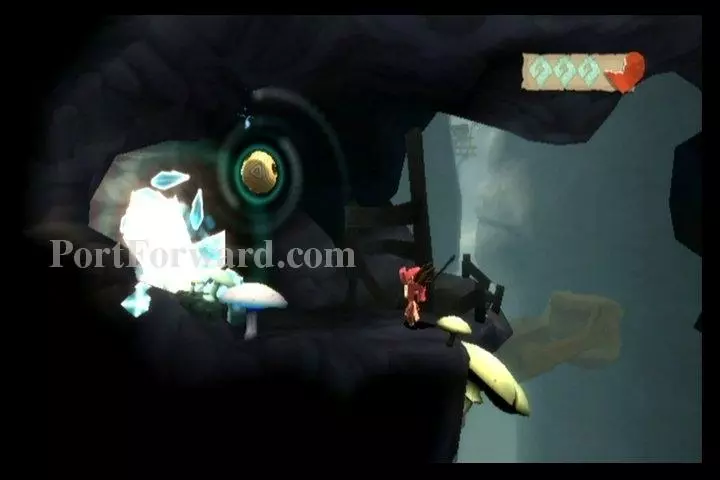
Drop down into this trap door.
img(139580);
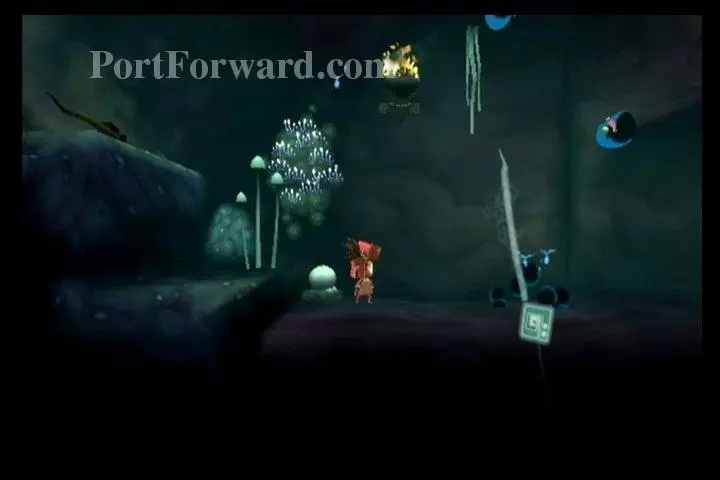
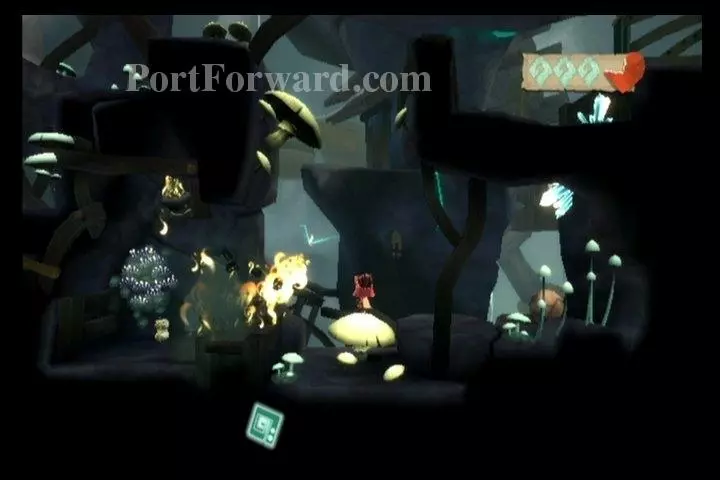
Pick the Heli-Bud you come to.
img(139581);
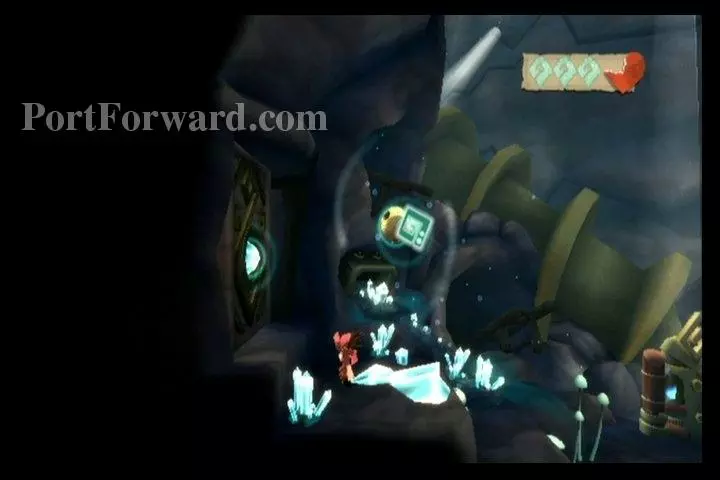
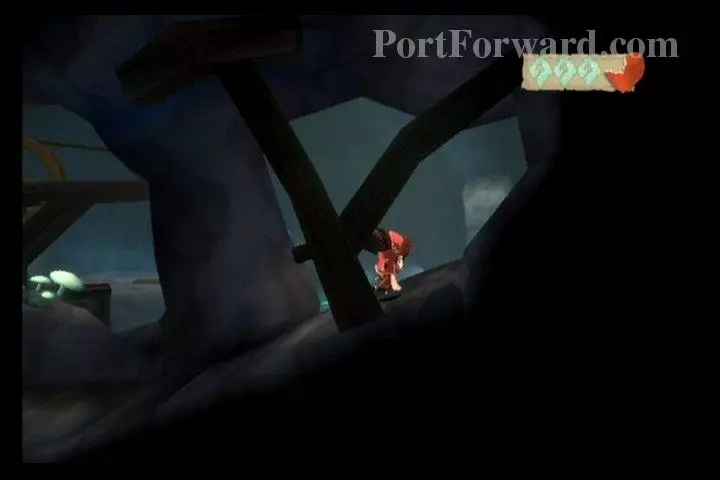
Use the Heli-Bud to fly to the upper-right corner, going under the stalactite. Be careful of the Vicious Glorb down below. It will spring up and grab onto you, killing you pretty easily. When it leaps up, make a vortex around it, then slam it into the ground.
img(139582);
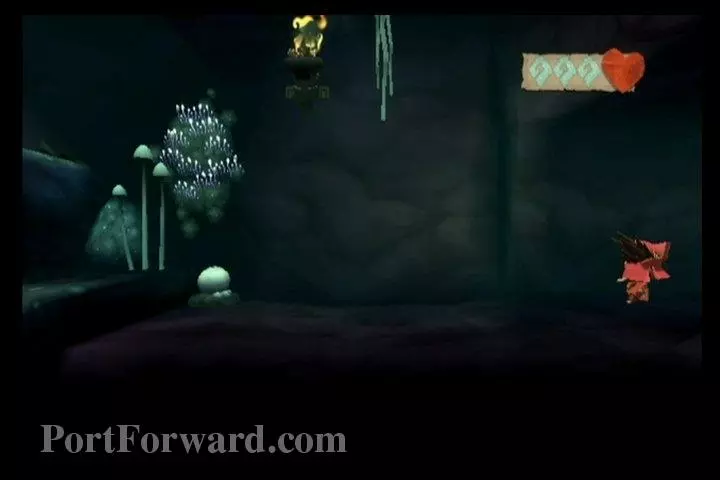
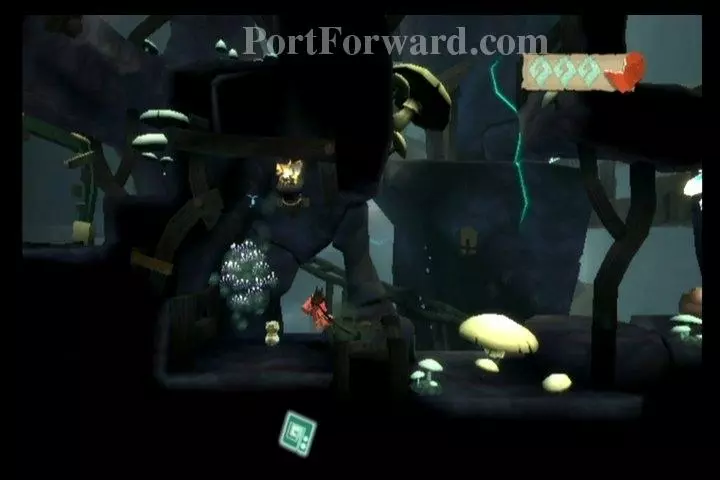
This can be tricky, so you may want to defeat the Glorb before making your flight.
img(139583);
Then you can easily fly over with no worries.
img(139584);
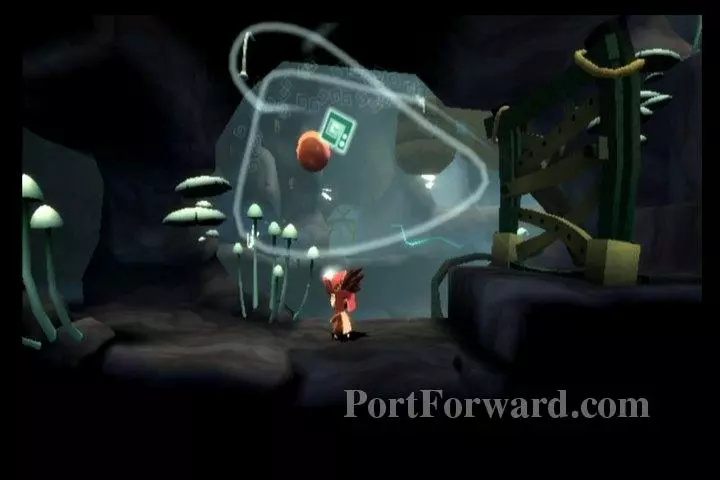
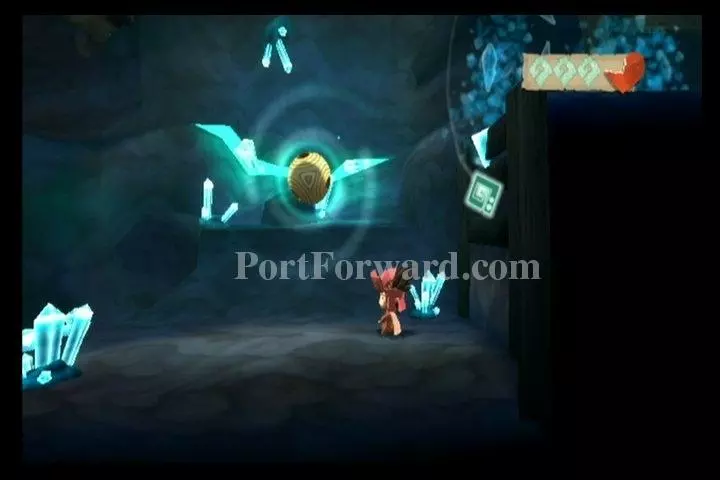
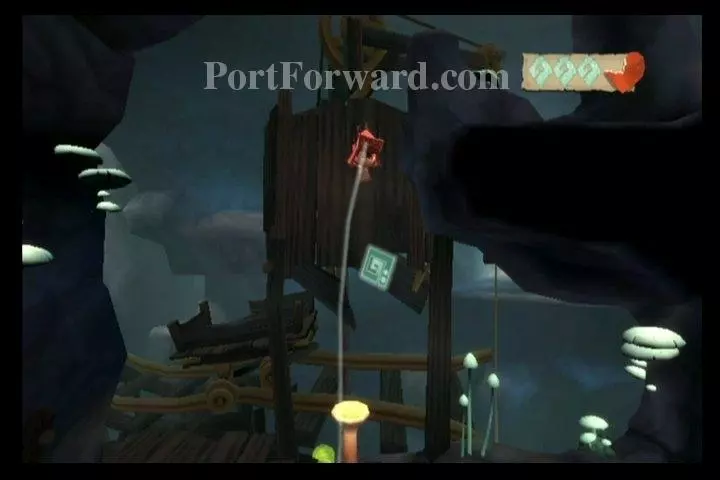
You'll now find the second memory chest. Grab onto it and gust upward to open it. Deo will regain some of his memory.
More LostWinds Walkthroughs
This LostWinds walkthrough is divided into 7 total pages.


