
This LostWinds walkthrough is divided into 7 total pages.
You can jump to nearby pages of the game using the links above.
Third Memory Chest
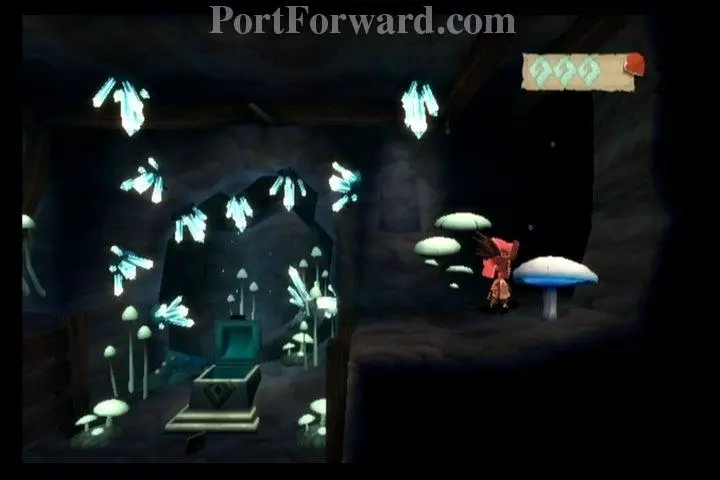
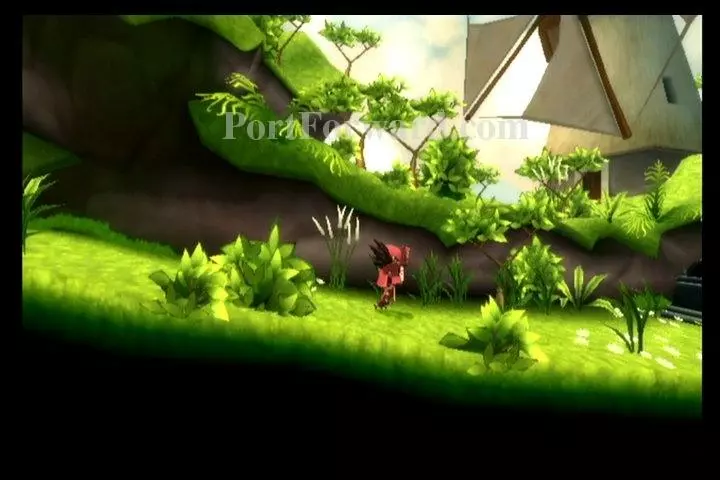
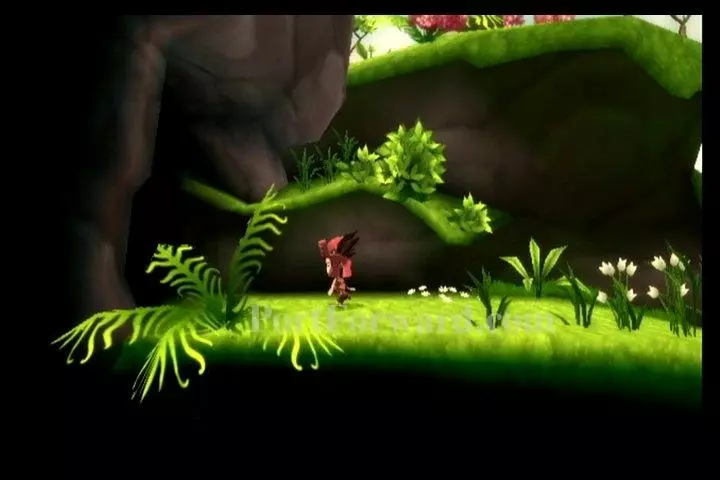
Exit rightward, out of the room with the second memory chest.

Continue rightward, out of the room where the first memory chest was.
Use the mushrooms to bounce up and exit to the left.
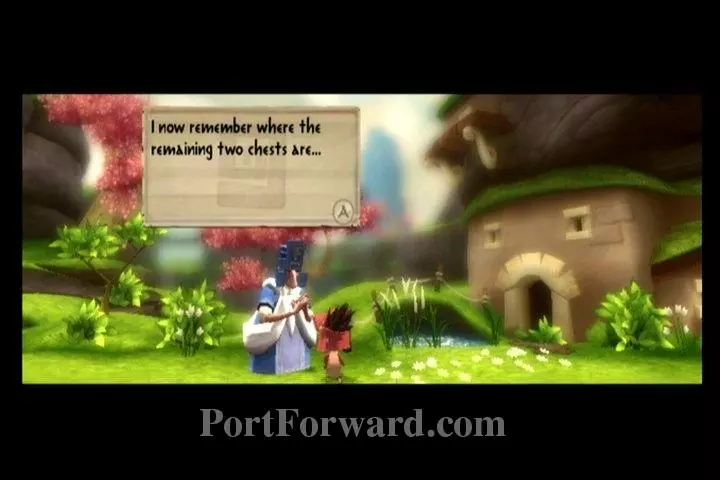
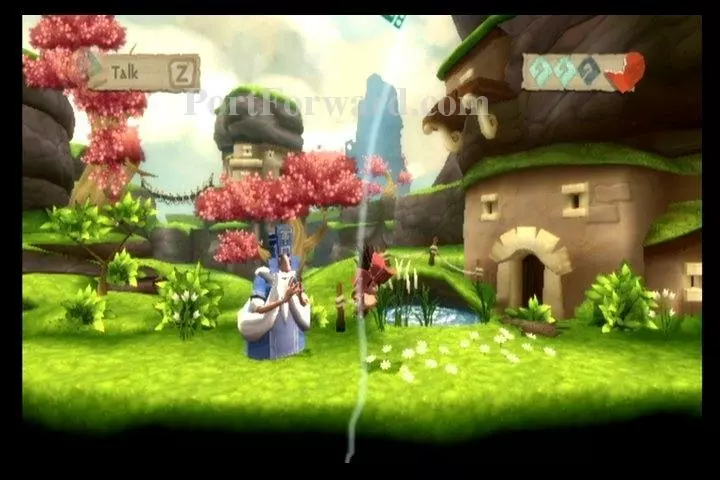
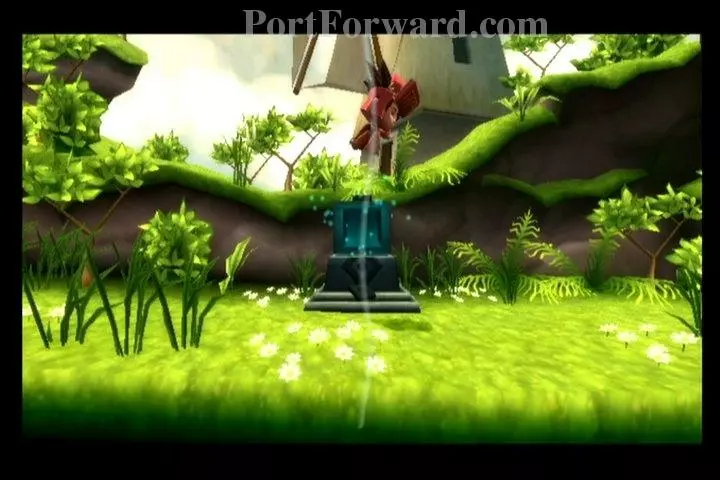
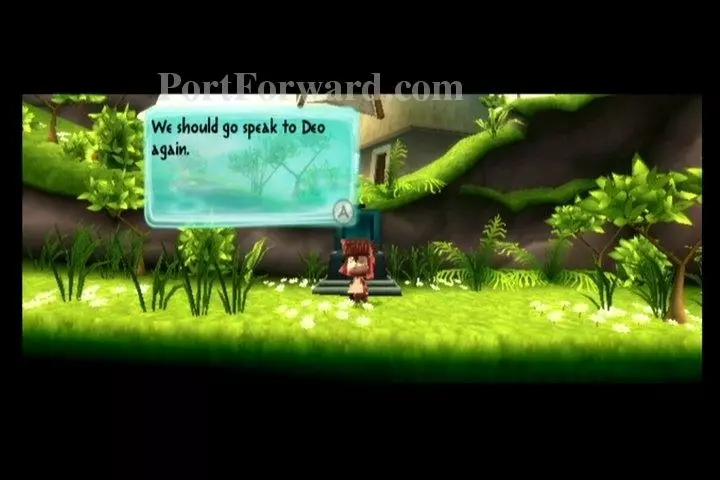
Now continue through the city and talk to Deo when you reach him. Make sure you talk to him. If you continue on without talking to him, you won't be able to finish your game. Deo will remember the locations of the other two memory chests. One at the highest point of Wither Falls, the other is on the east side of the Abandoned Village.
Deo will give you the Jumberella Cape.
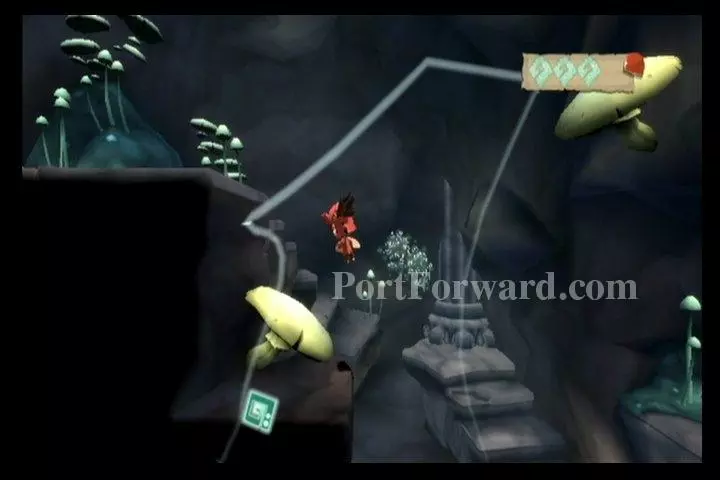
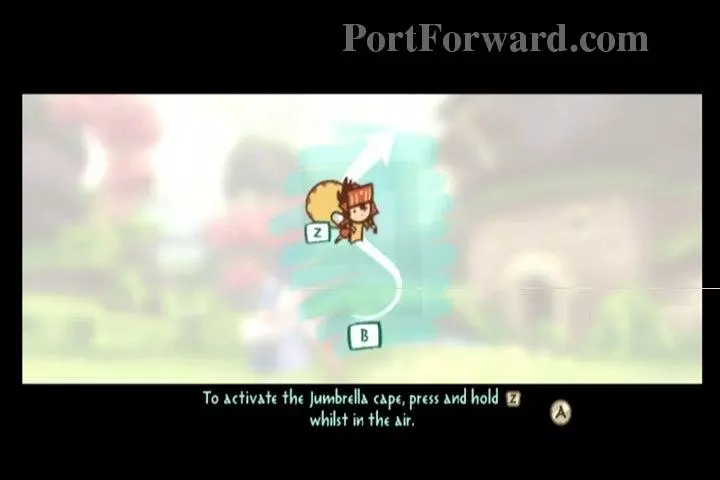
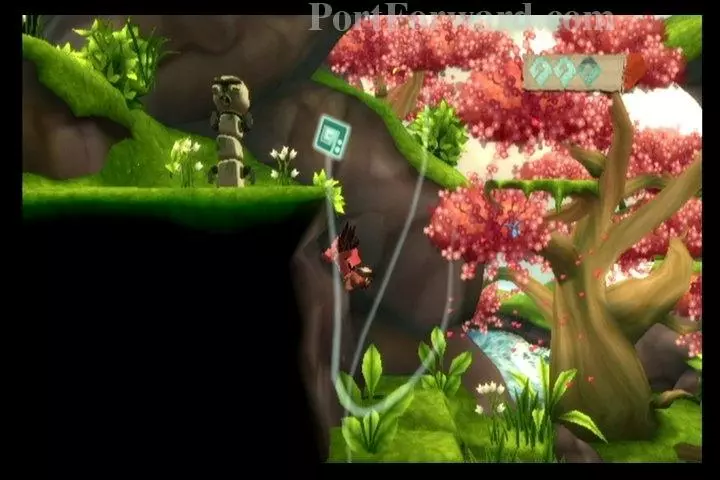
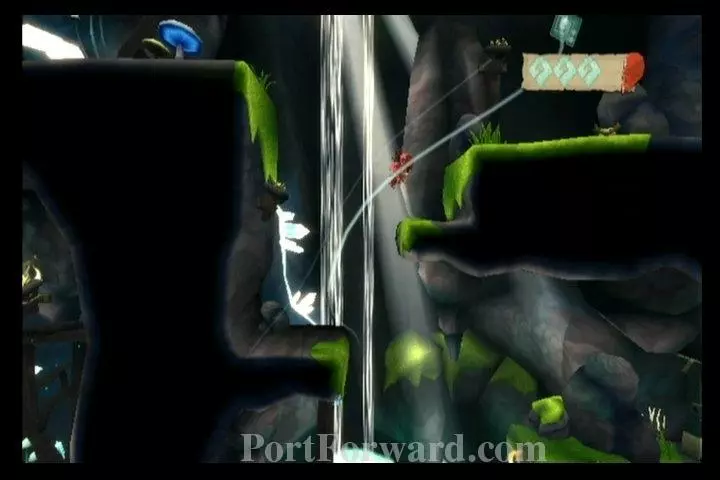
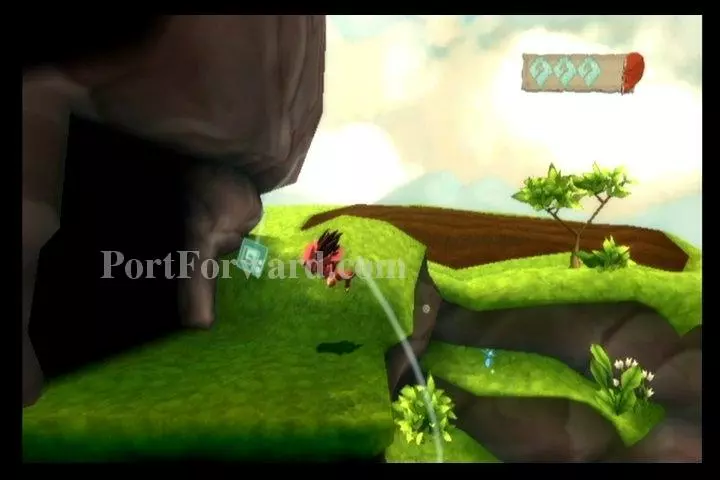
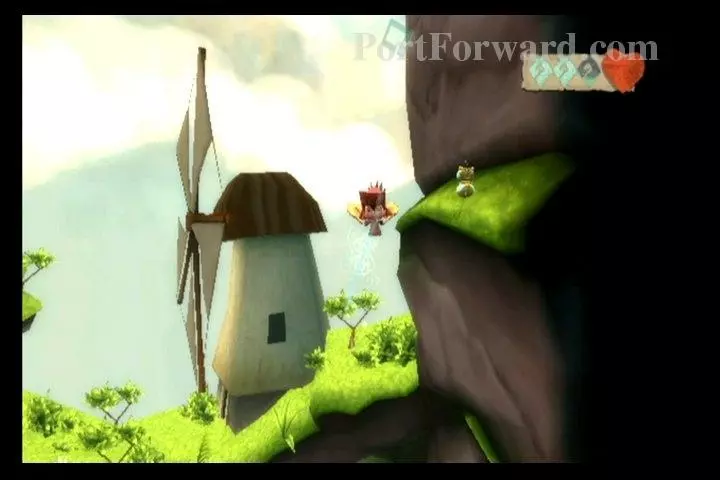
Let's try out your cape right now. Gust yourself into the air, then hold the Z button and draw a slipstream between yourself and the cliff to your upper-right.
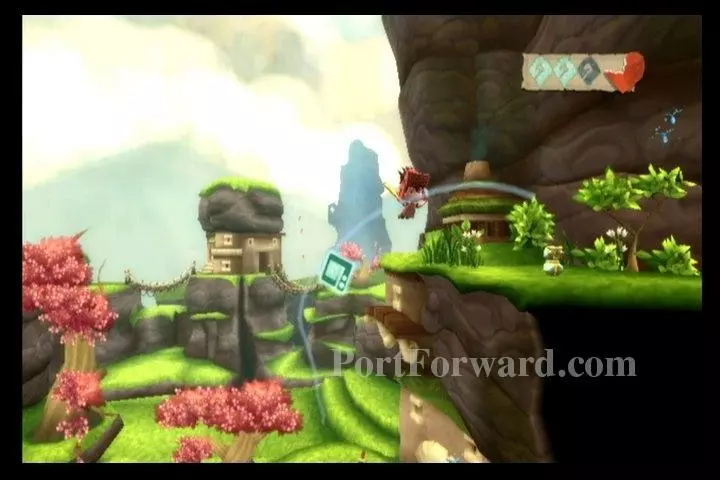
This will take you to Melodia Idol #18.
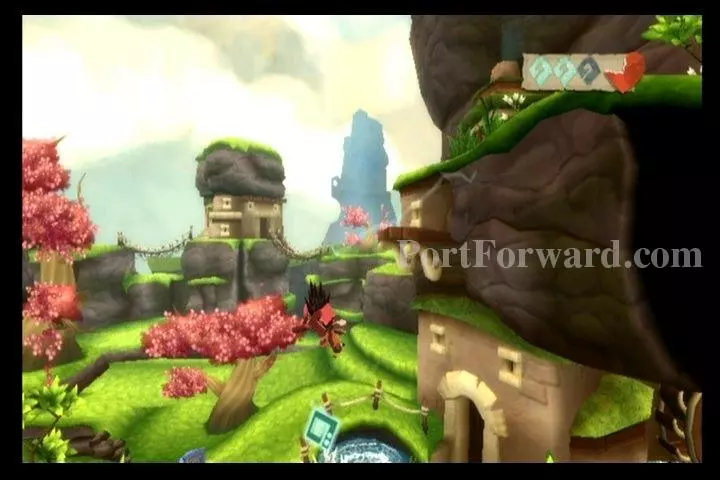
Drop back down and head leftward.
Take the boulder near the stream with you.
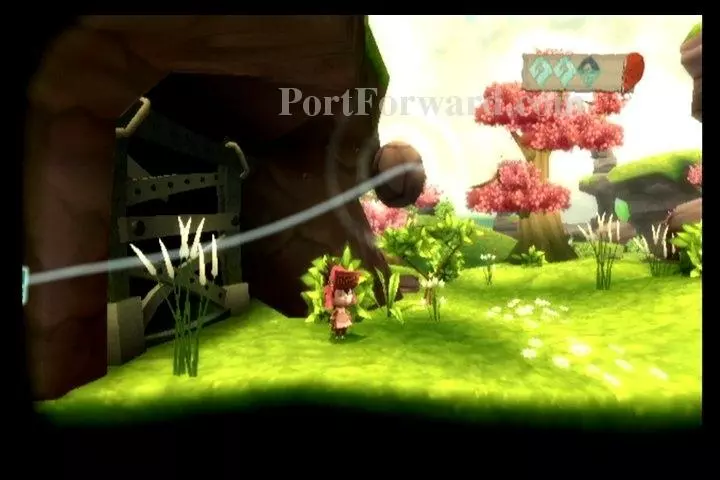
Create a vortex around the boulder and gust it into the door, then continue left.
They finally fixed that pesky bridge!
Continue leftward and gust up to the Melodia Statue. Save your game if you wish.
Exit this are to your left.
Drop down the pit you come to.
Gust the boulder onto the ledge on your right.
Create a vortex around the boulder and slam it into the gate.
Collect Melodia Idol #19.
Climb back up and exit to your right.
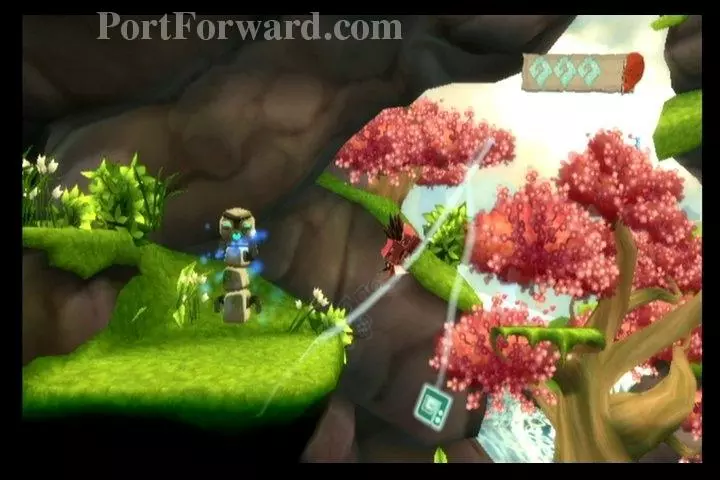
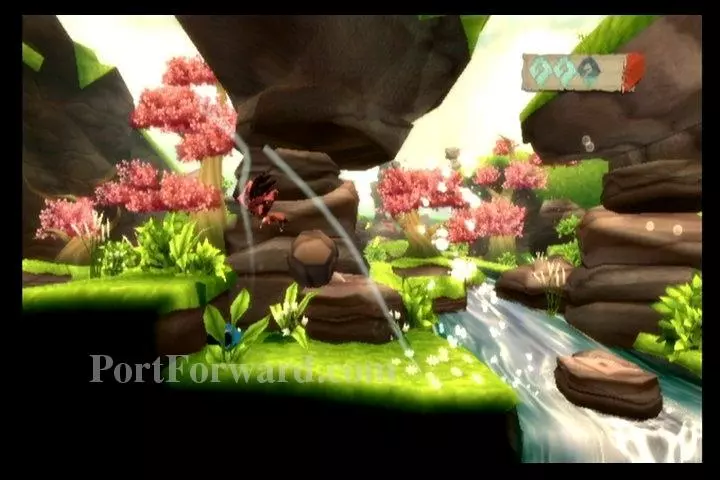
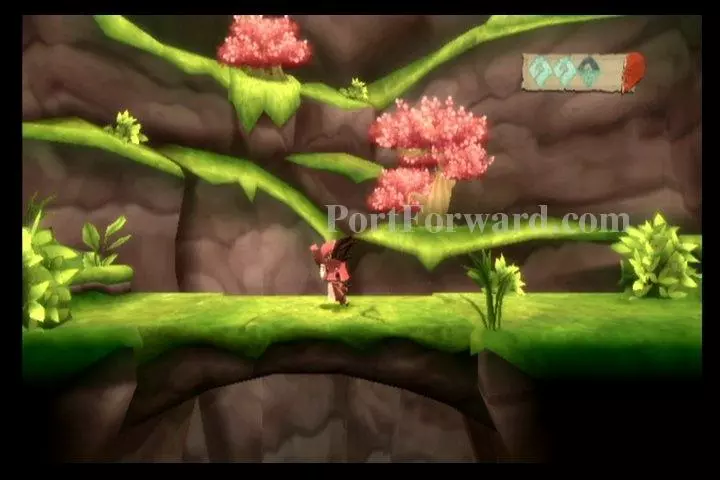
Continue to the Melodia Statue and make your way to the upper-left of this area, through the trees.
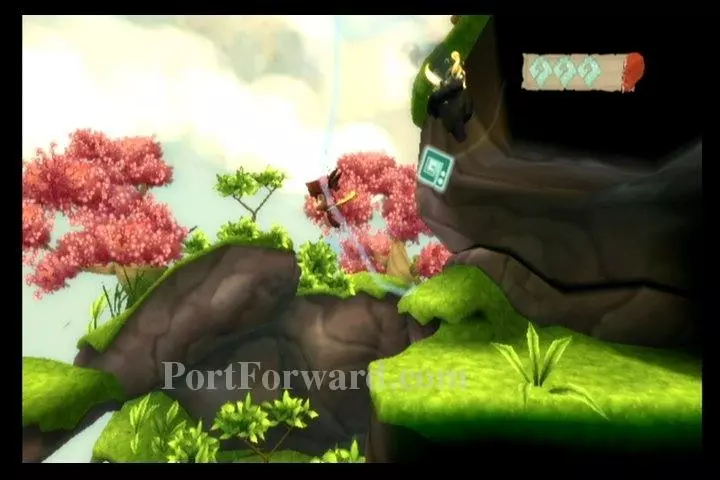
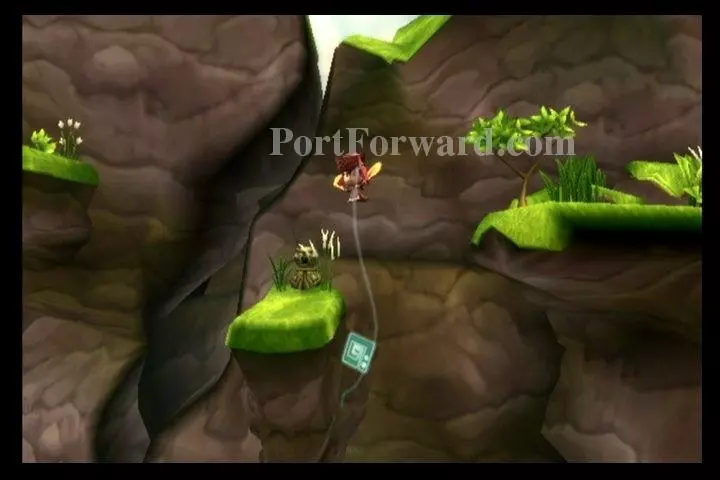
Jump by gusting, then hold Z for your Jumberella Cape. Draw a slipstream from yourself, up the cliffside, above the torch.
You'll find Melodia Idol #20 here.
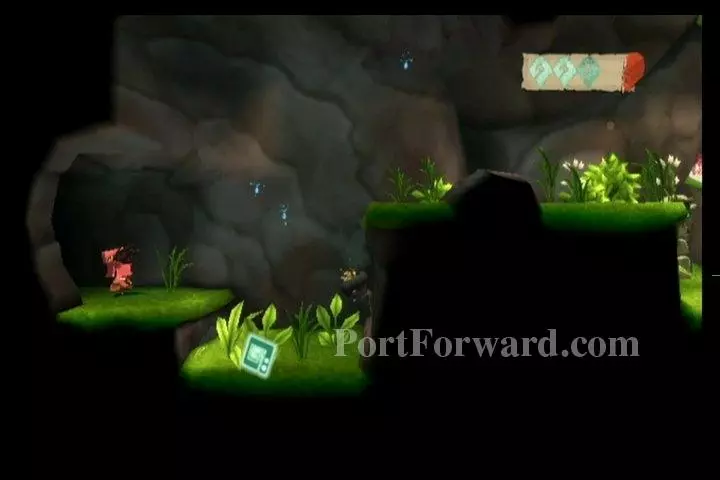
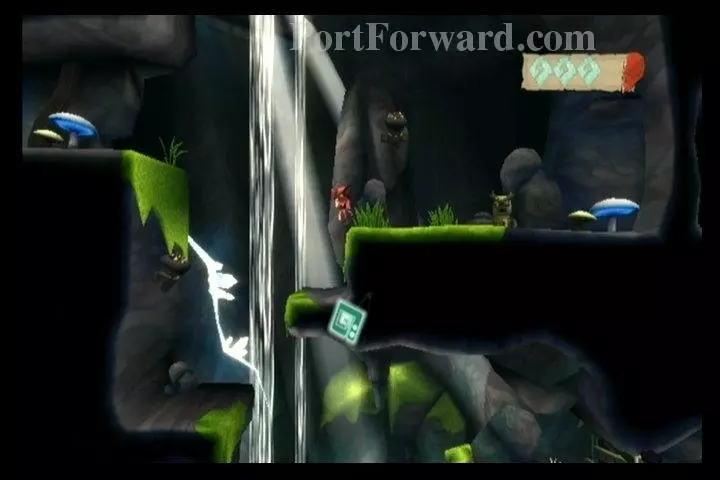
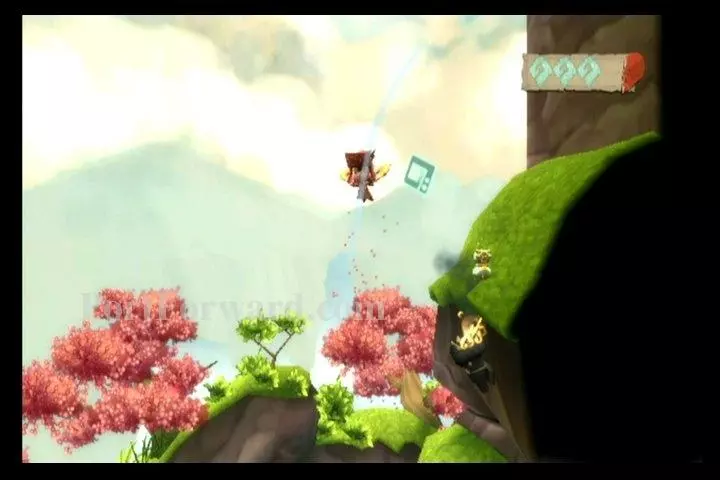
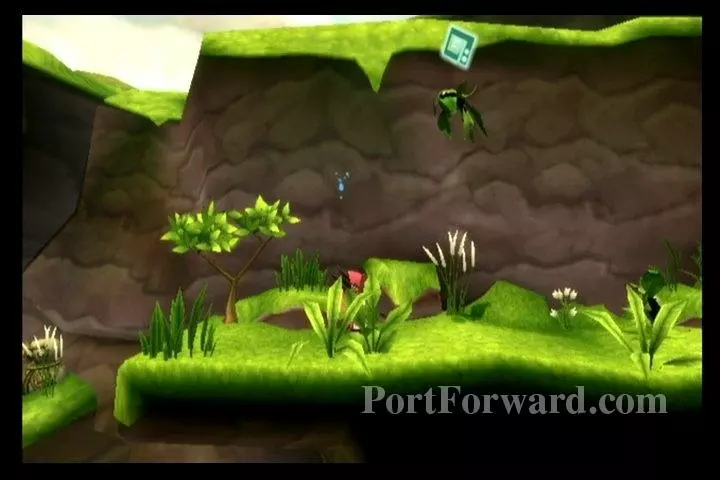
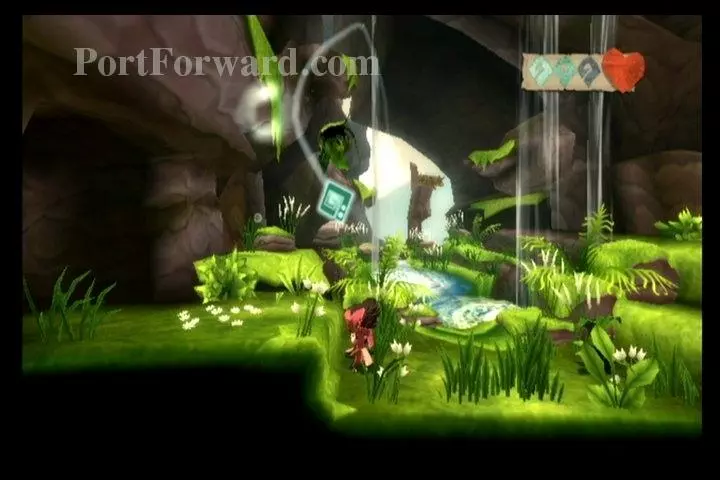
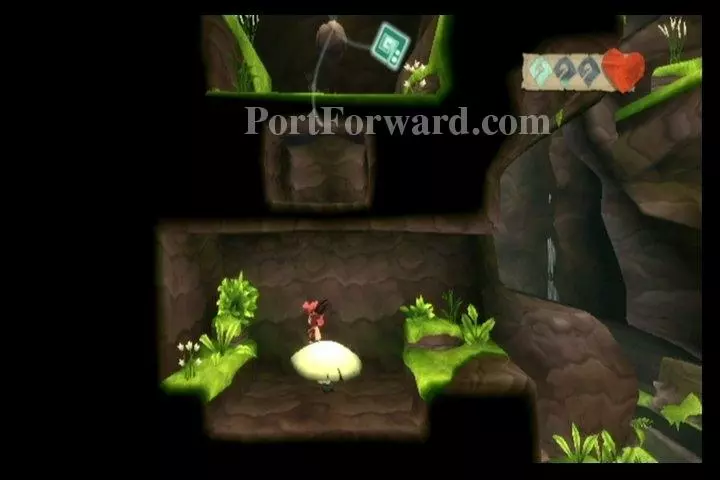
Go leftward, staying on the upper platforms and exit into the cave.
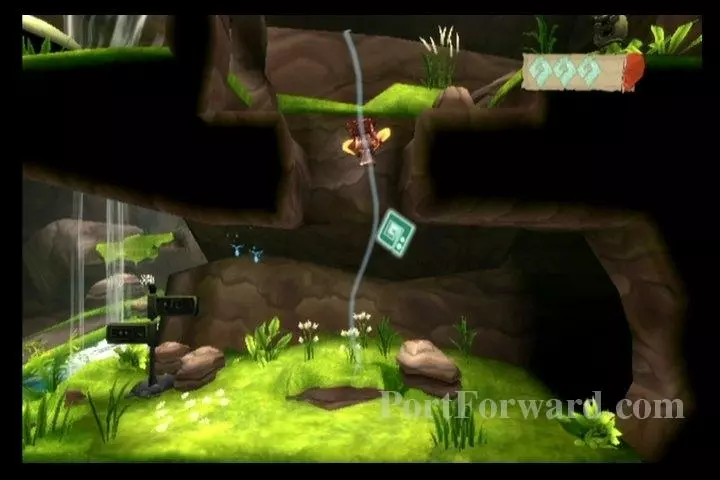
Use your cape to fly up into the gap in the roof above your head.
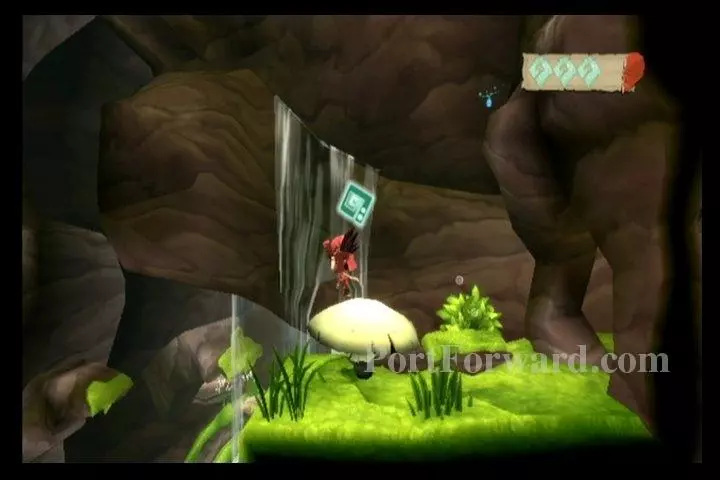
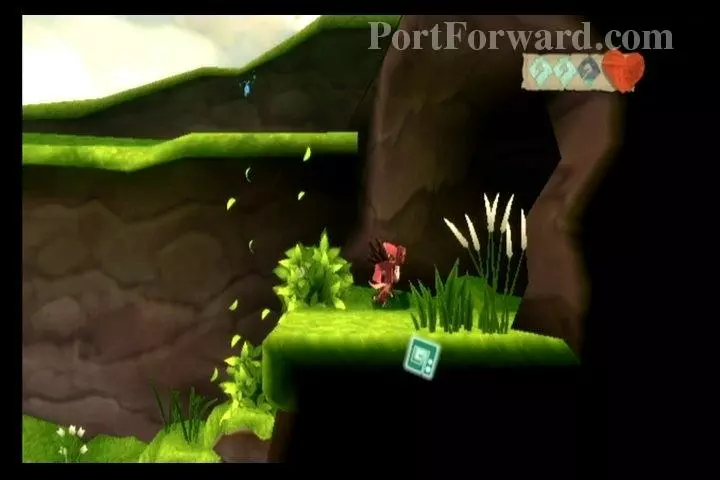
To the left, you'll find a mushroom. Use it to bounce yourself upward.
Try to land next to the spiky plants.
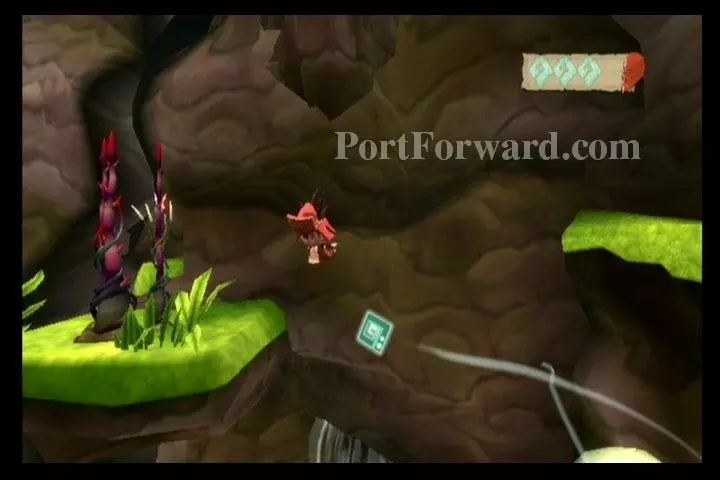
Work your way over to your upper-right.
Use your cape to fly up to some higher platforms above you.
Go rightward, fighting the Squawks in your path.
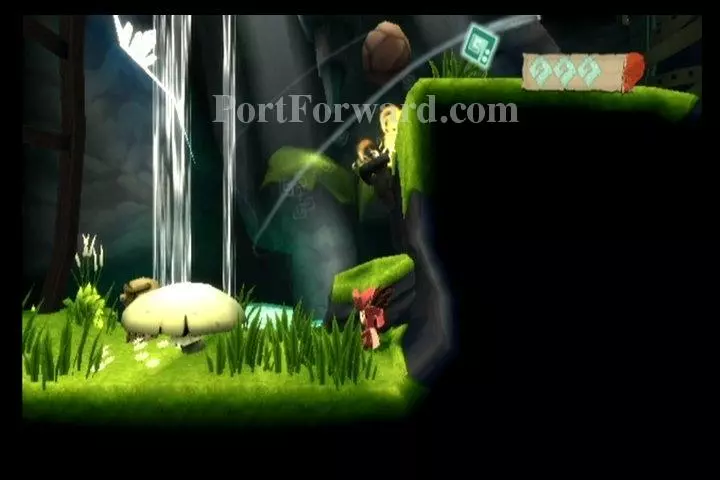
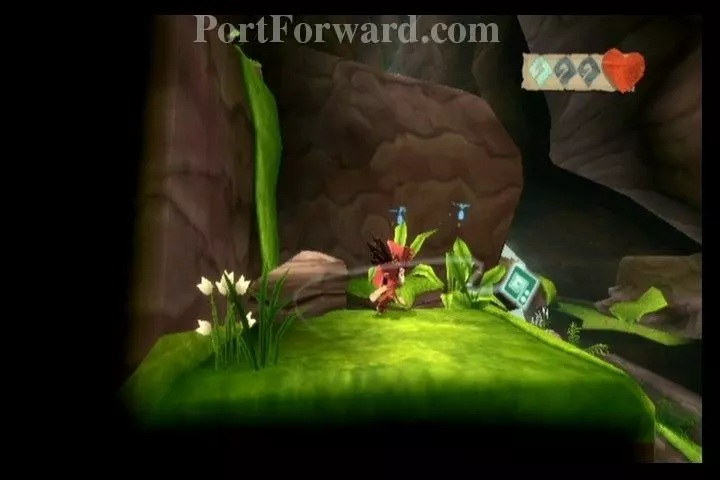
To your upper-right, you'll find a cave entrance. Enter it.
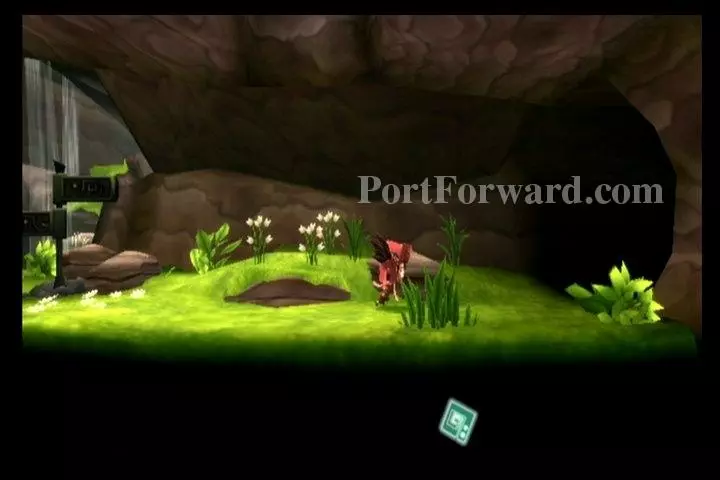
Walk down the hill.
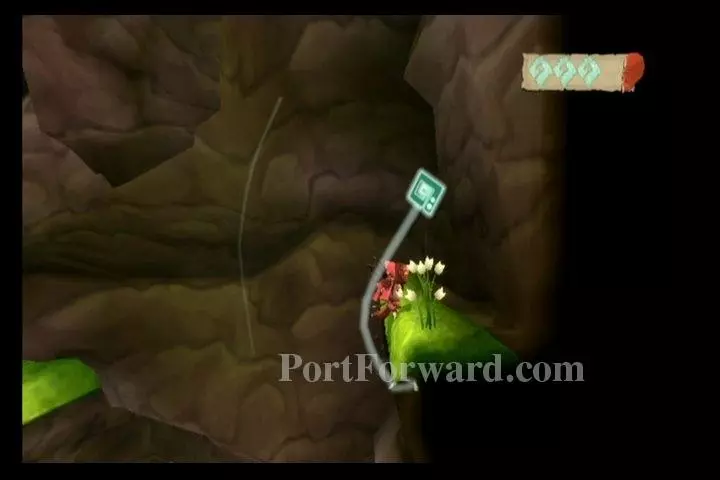
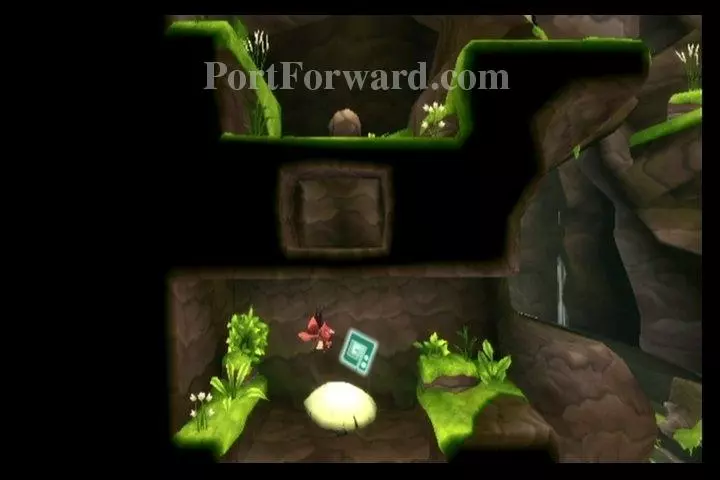
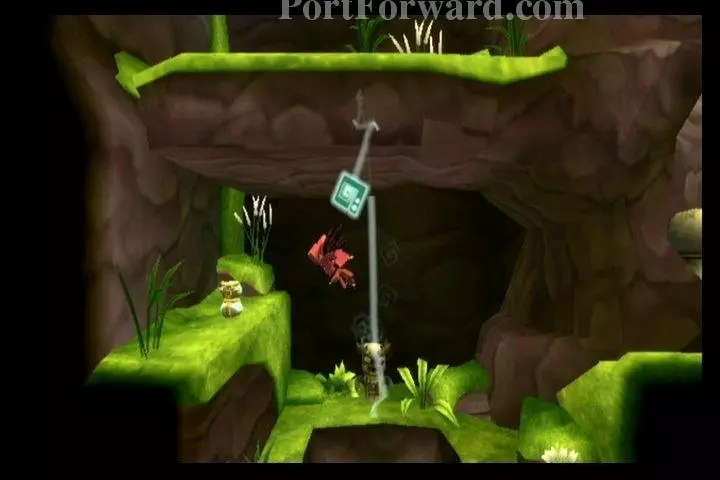
Grab onto the memory chest and gust upward to open it.
This will return more memories to Deo.
Before heading back to see Deo, head all the way to the right and use your cape to fly up and collect Melodia Idol #21.
Leave this area to your left.
Drop down to the bottom of this area. There will be some squawks to fight.
Fly up to the ledge on your upper-left, using your cape.
The get on the next upper-left ledge.
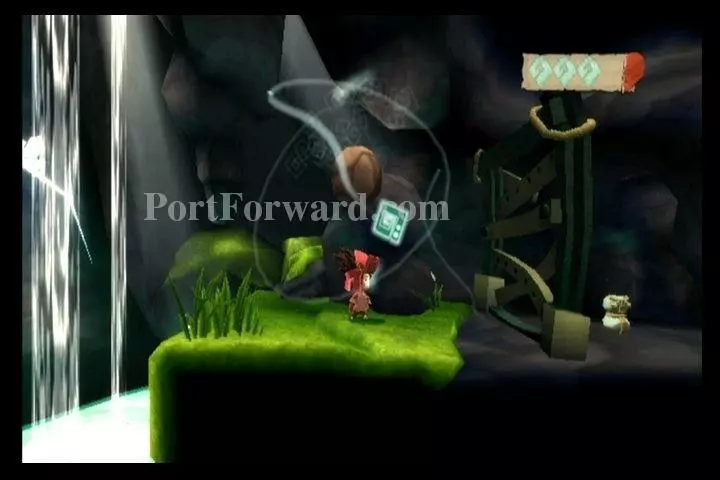
Stand on the mushroom. Gust the boulder above you upward, the create a vortex around it. Slam the boulder into the ground below it.
Fly into the now-open area above and collect Melodia Idol #22.
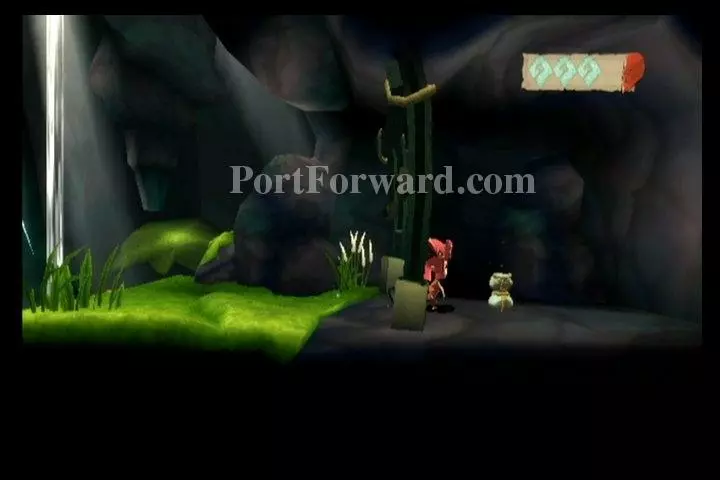
Drop back down and exit to your right.
More LostWinds Walkthroughs
This LostWinds walkthrough is divided into 7 total pages.


