
This LostWinds walkthrough is divided into 7 total pages.
You can jump to nearby pages of the game using the links above.
First Shrine
Welcome to our LostWinds walkthrough. This game is a WiiWare exclusive game, meaning you can't buy it in the store. You can only get this game by downloading it on the Wii's Shopping Channel.
In this game you'll use your wii remote pointer to help guide your character using the power of the wind.
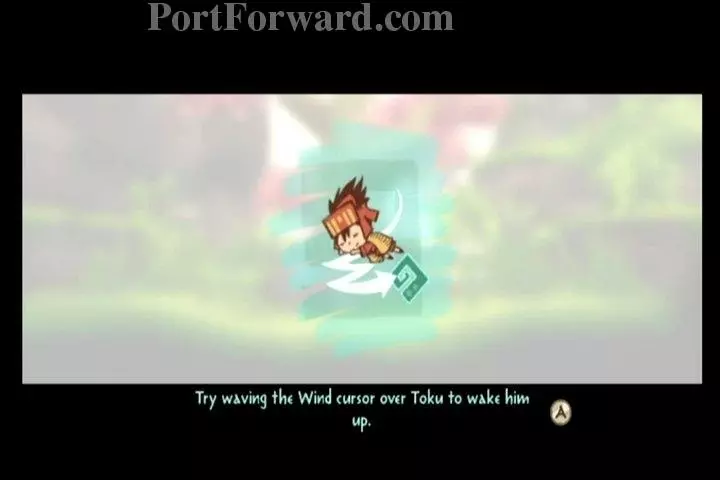
First start by holding the A button and moving your pointer rapidly over Toku, your character in this game.
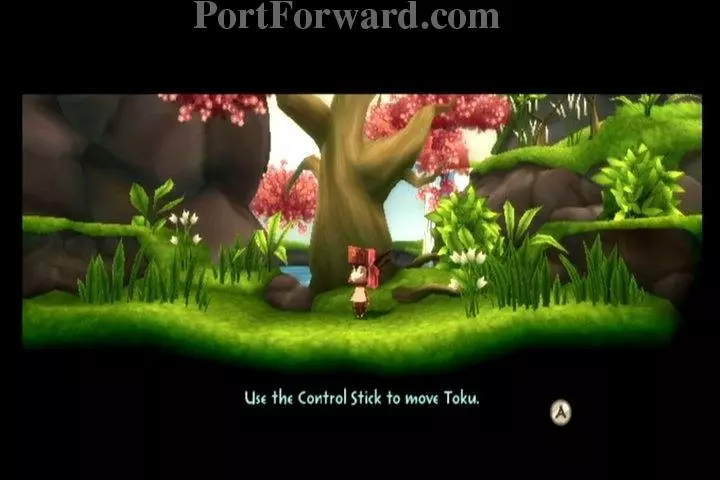
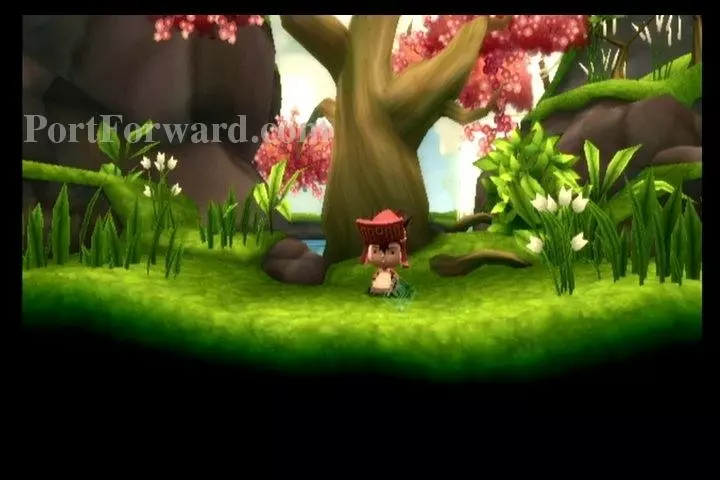
You'll also use the nunchuk attachment's analog stick to move your character.
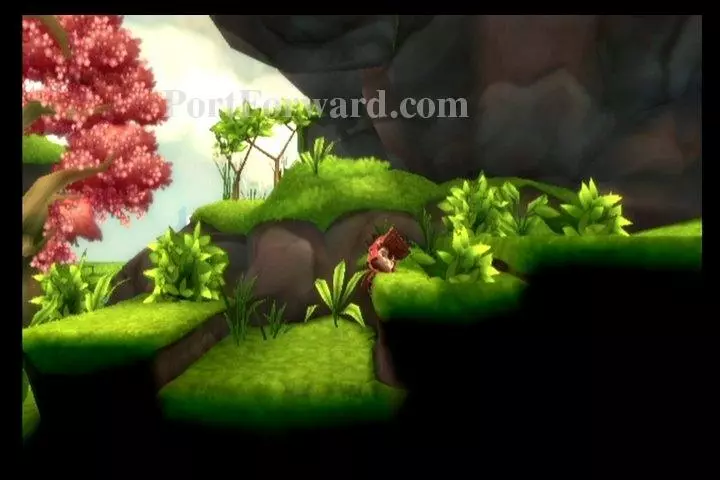
Start by walking to the right. Toku will automatically climb up the ledges here. Exit your screen on the right.
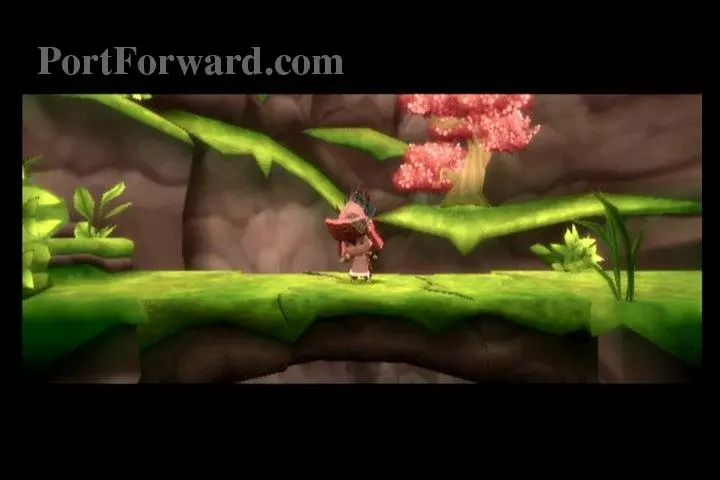
Continue right. You'll reach a bridge that will crumble when you stand on it.
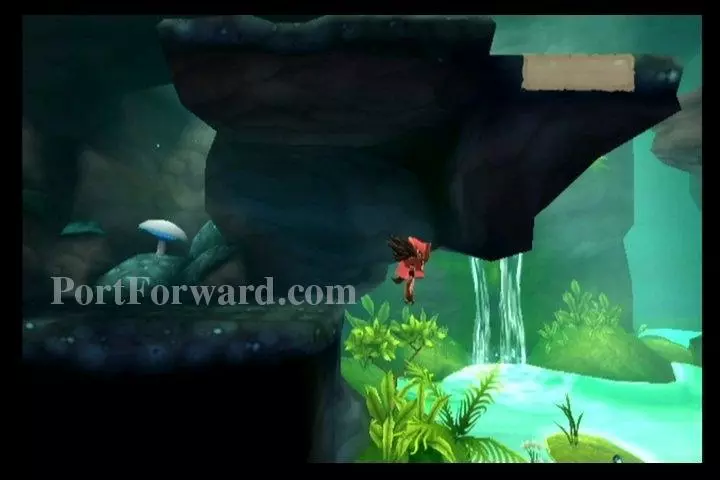
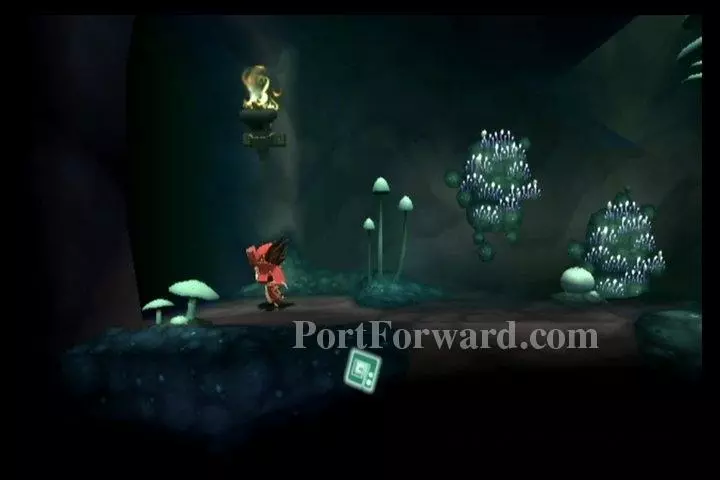
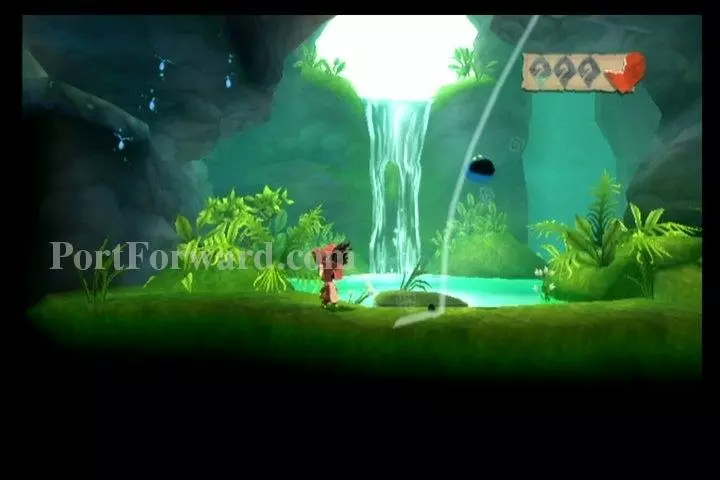
This will drop you into some caverns below. Walk off the edge to your right. Toku will automatically jump when running off an edge.

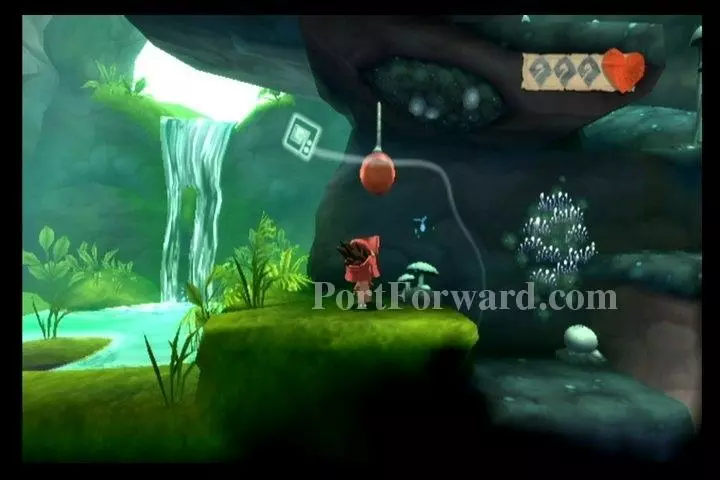
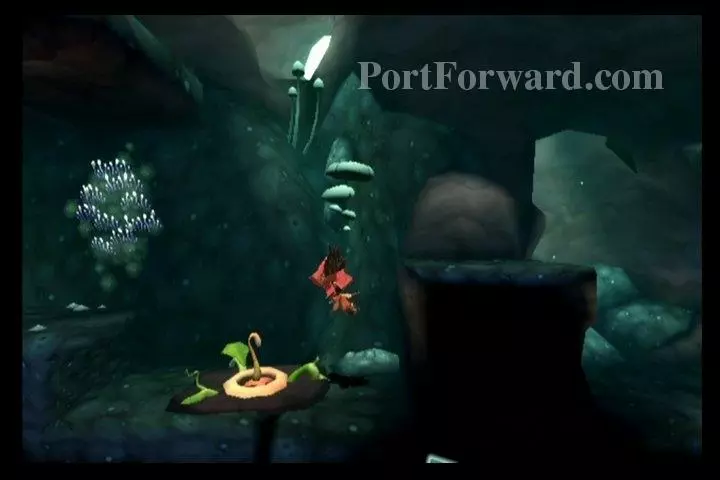
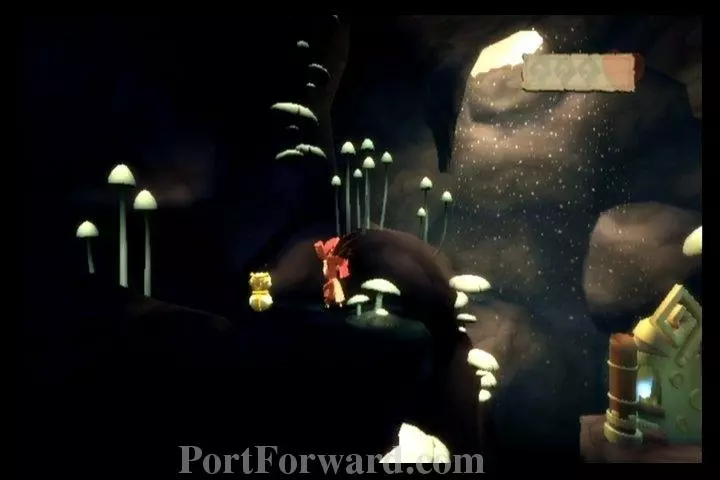
You'll see an object sitting below the waterfall you come to. Press the Z button on the nunchuk attachment to pick up objects.

The object you picked up is Enril, the Wind Spirit. You control her with your pointer throughout the game.
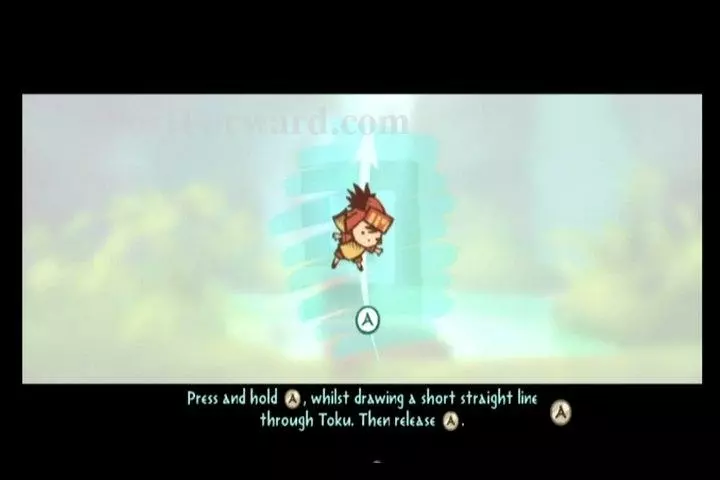
This will give you a new ability. You can press and hold A, while drawing a line through Toku, then release A.
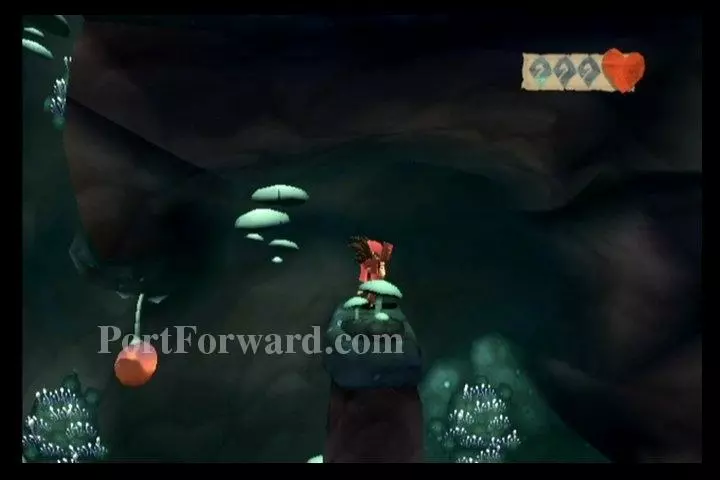
To your right, you'll see some fruit. You can slash your Enril, your pointer, through the fruit to drop it.
Press Z to pick it up and eat it. This will restore some health if needed.
Use the gust ability to jump up the ledges on your right.
From the second ledge, use the gust to jump leftward.
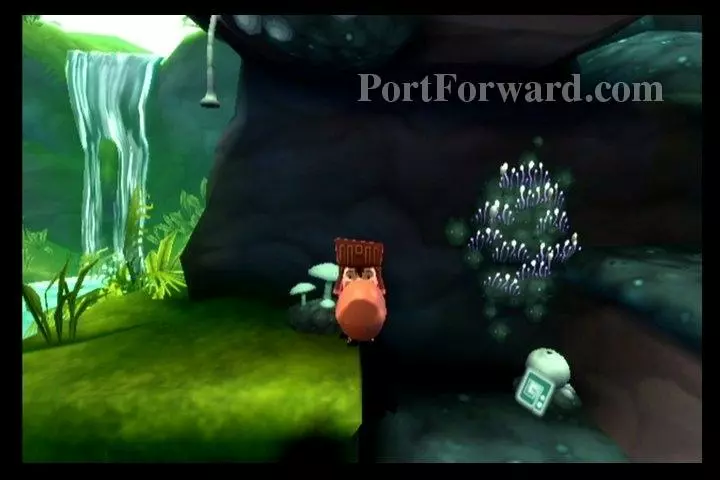
Continue jumping to platforms on your left, until you reach a Poyak, a plant that will propel Toku into the air.
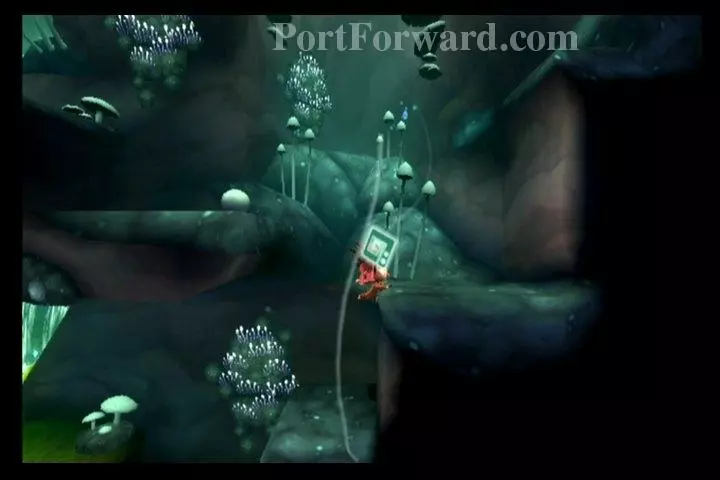
Get in the Poyak and draw a quick line up with Enril, just like doing the gust jump. This will launch Toku. Use it to get to the platform on your upper-left.
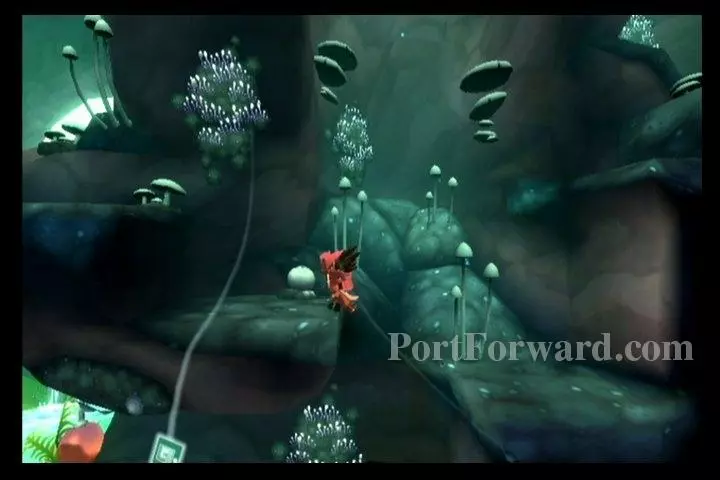
Then continue platforming to the upper-right, then leftward.
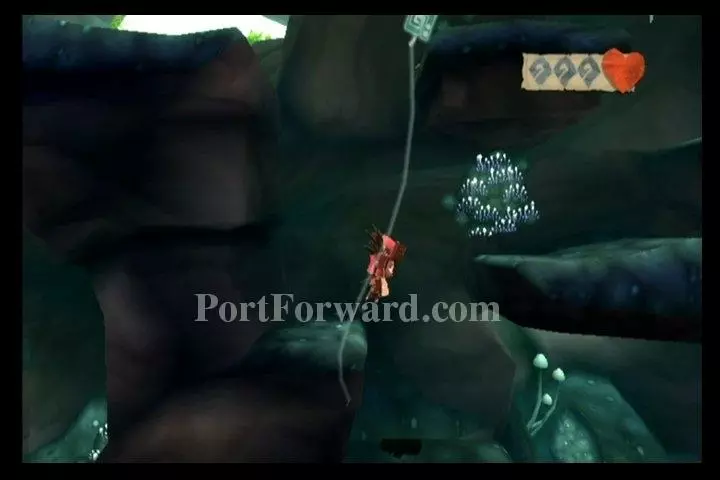
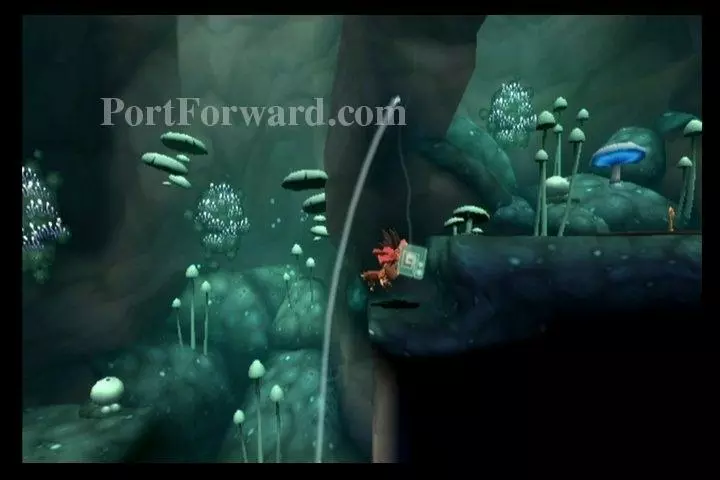
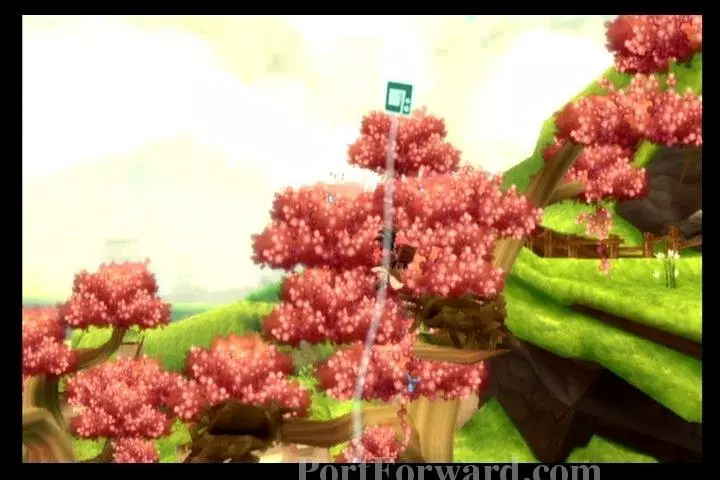
You'll come to a cliff that is too high to fall from. Drop off the cliff and hold A while frantically drawing a zig-zag under Toku. This will slow his decent, landing him on the ground safely.
Exit to your left.
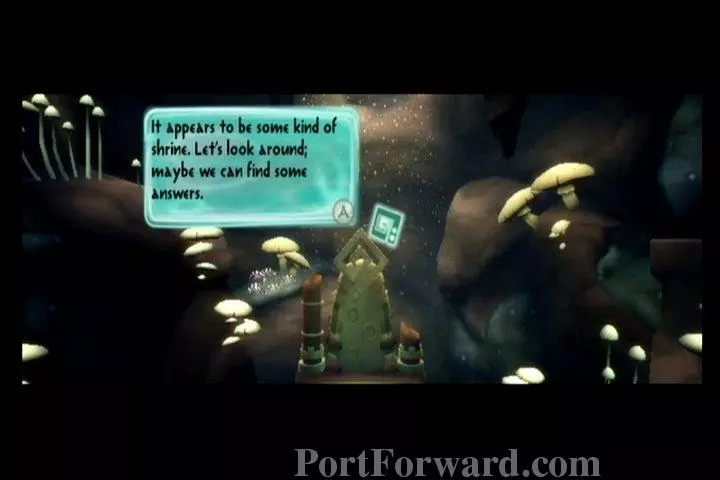
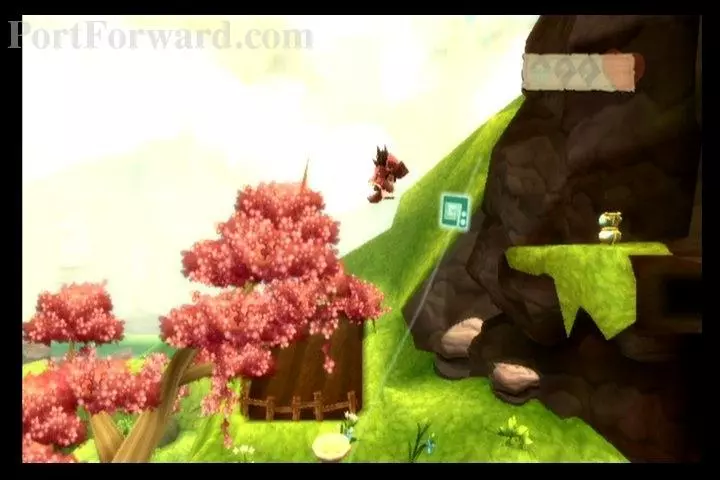
You'll find your first shrine here.
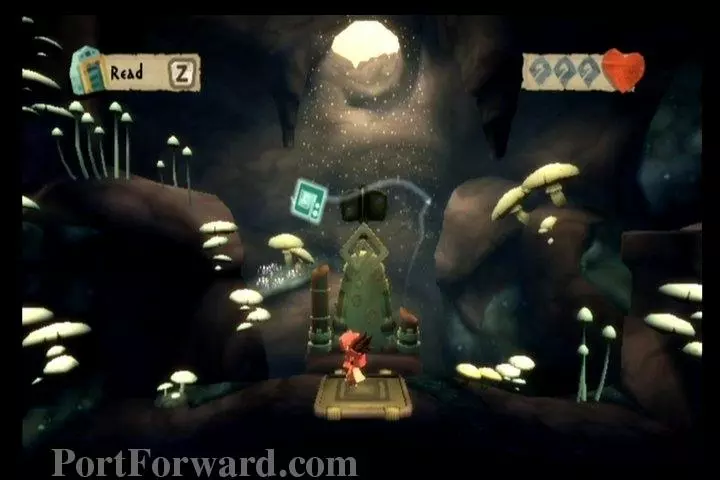
Step on the button-like platform and draw a quick gust of air across the propeller, found above the shrine.
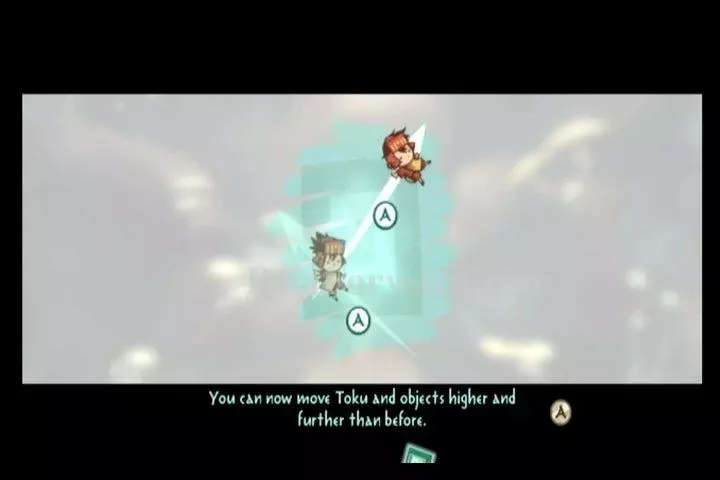
This will increase Enril's power, letting you move Toku higher than before. You can basically do a gust twice to do a double-jump.
Double-jump onto the ledge to the left of the shrine. Collect Melodia Idol #1 of 24.
Head back to the right, past the fruit. Double-jump onto the ledge to your right and collect Melodia Idol #2.
Drop down on the right, slowing your fall.
At the bottom, head right, past the Poyak plant.

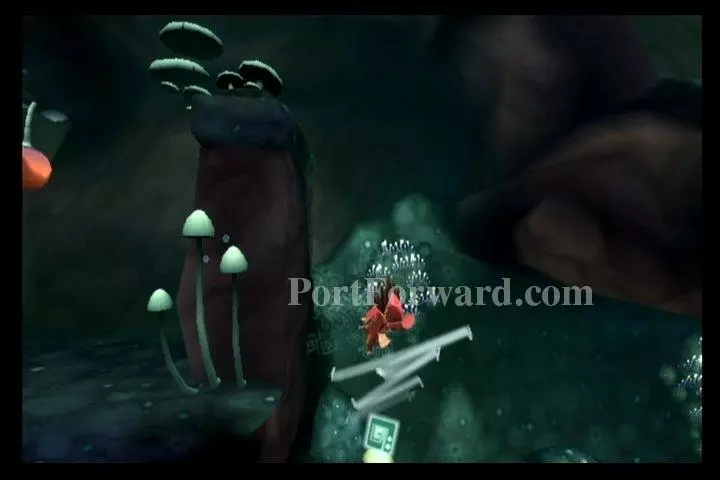
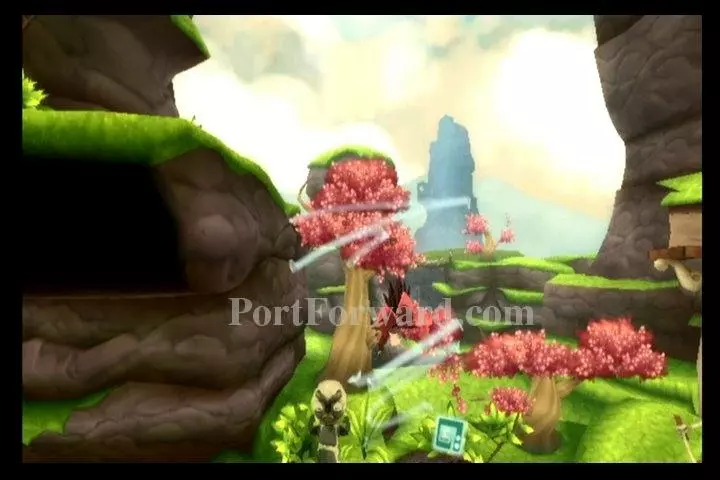
You'll come to your first enemies, the Glorbs.
They are easy to defeat. Just use Enril to gust them down into the ground or into something else hard.
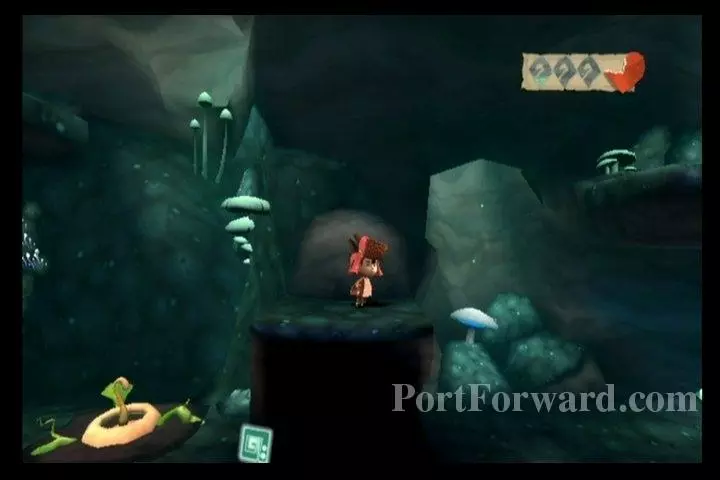
Double gust onto the ledge on your right.

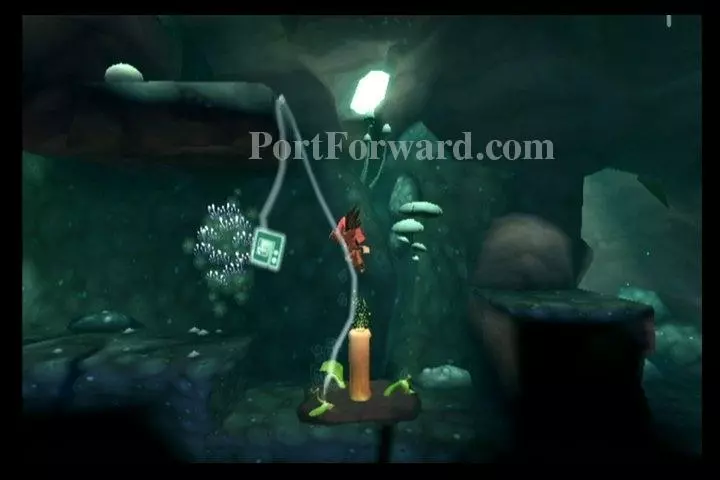
You'll find a sapling in need of some water.
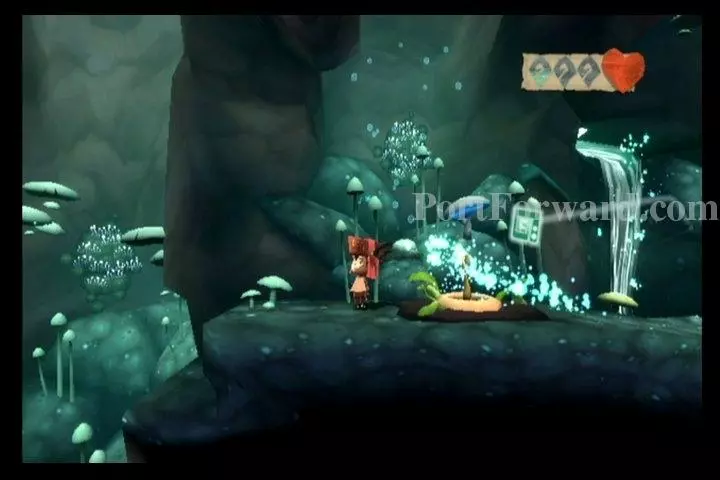
Use a gust from Enril to blow some water from the waterfall onto the sapling. It will grow into a Polak.

Get in the Polak and have it gust you upward.

Gust over the pits while heading rightward, exiting the caverns.
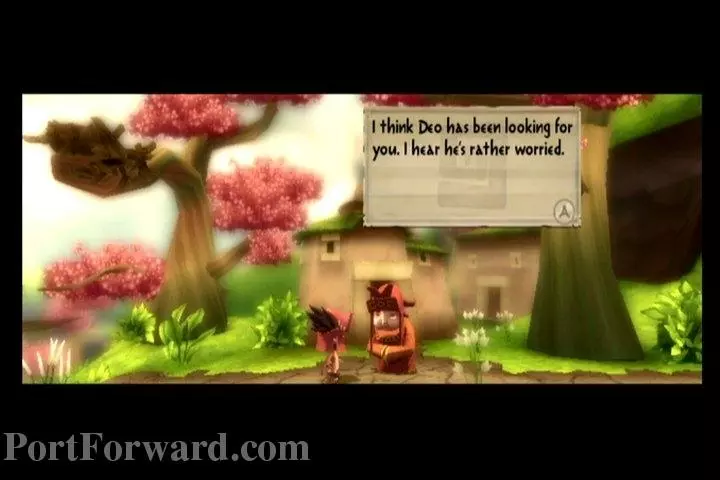
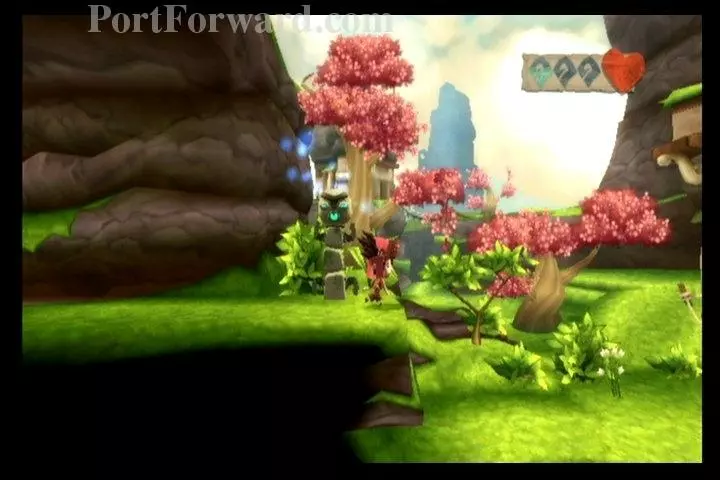
You'll reach the village. Talk to the lady you come to. She'll inform you that Deo is looking for you.

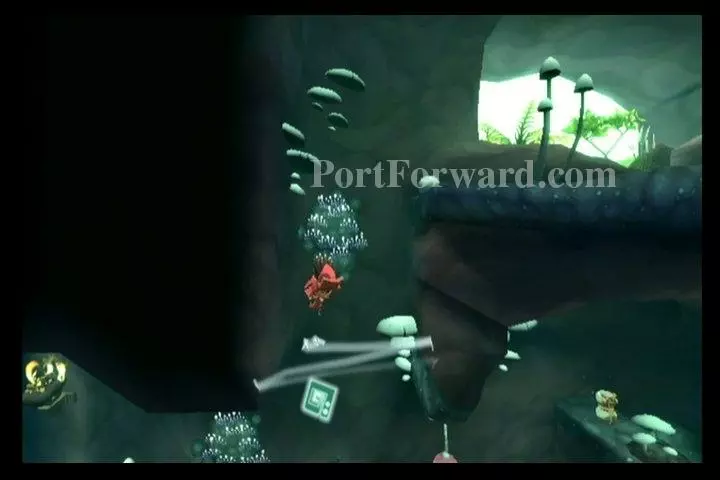
Double gust up to the tree branch, found left of the woman you just talked to.
Gust your way rightward, across the branches.
To the upper-right, you'll find Melodia Idol #3.
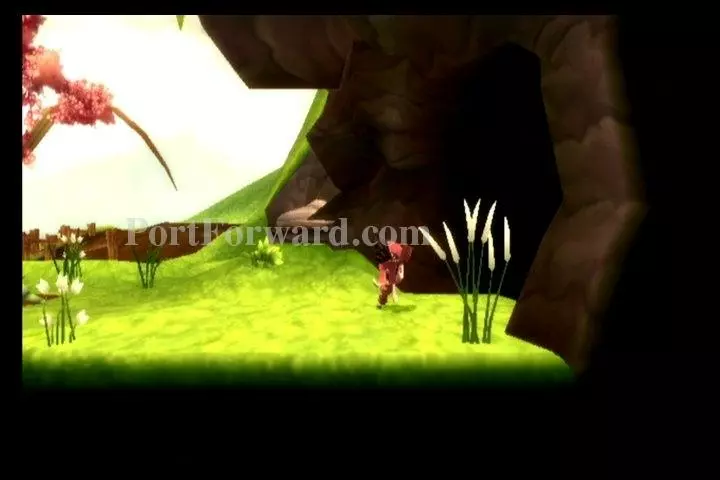
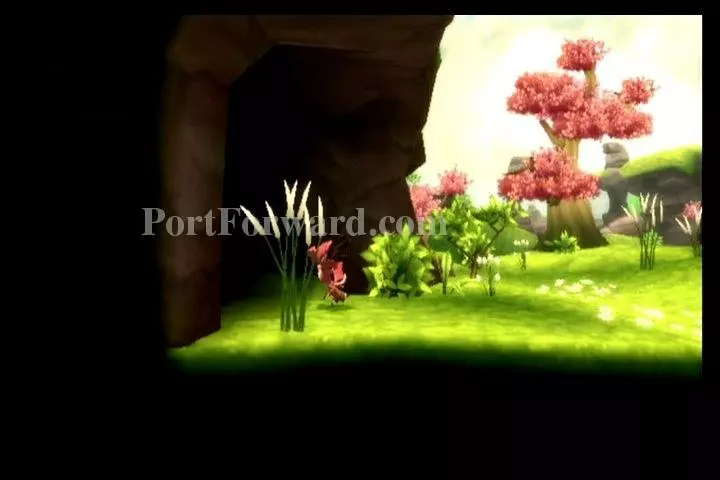
Exit through the cave on the right, found under the Idol.
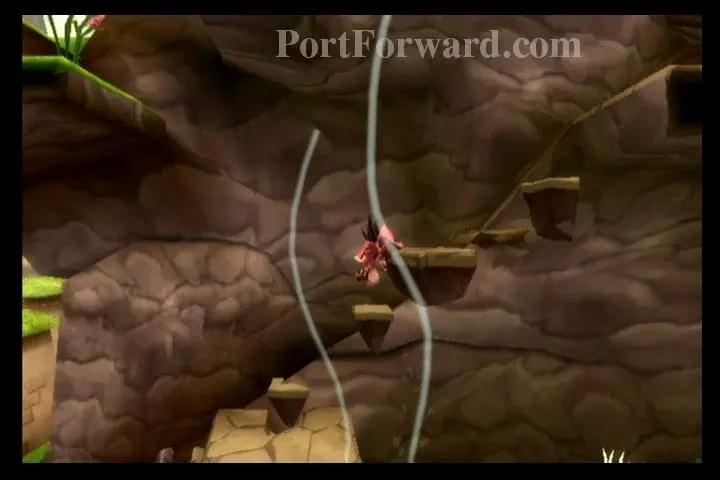
Drop down the cliff, slowing your descent.
You'll find a Melodia Statue. Walk in front of it and press the Z button to save your game. You'll find these statues in many places along your journey.
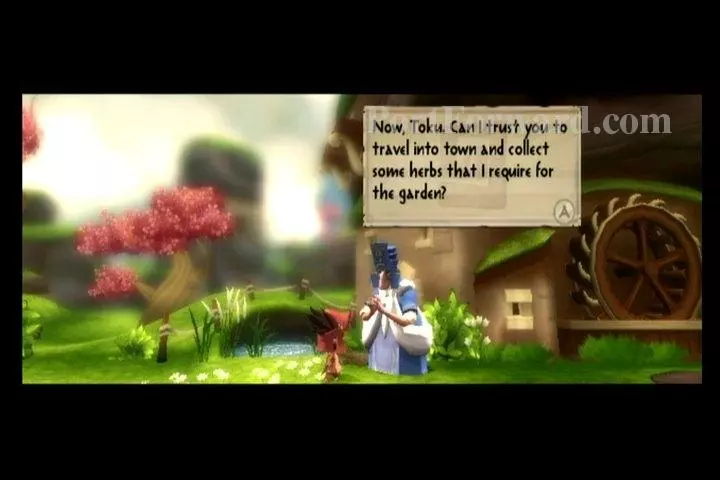
Go rightward and talk to Deo when you find him. He will ask you to go collect some herbs for his garden.
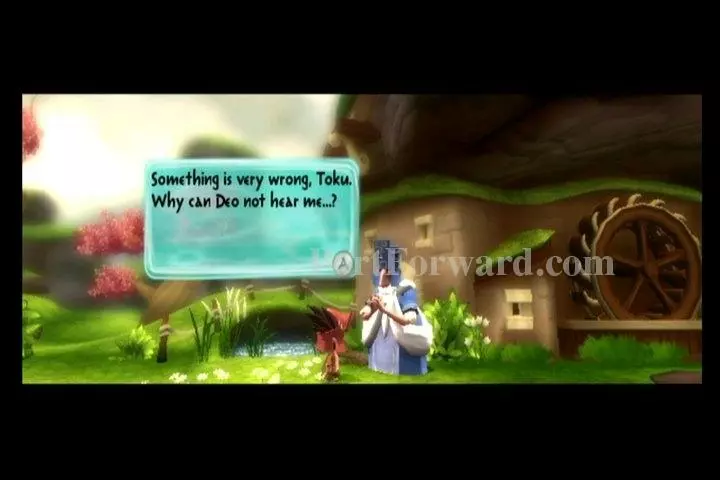
Enril will be concerned that Deo can't hear her.
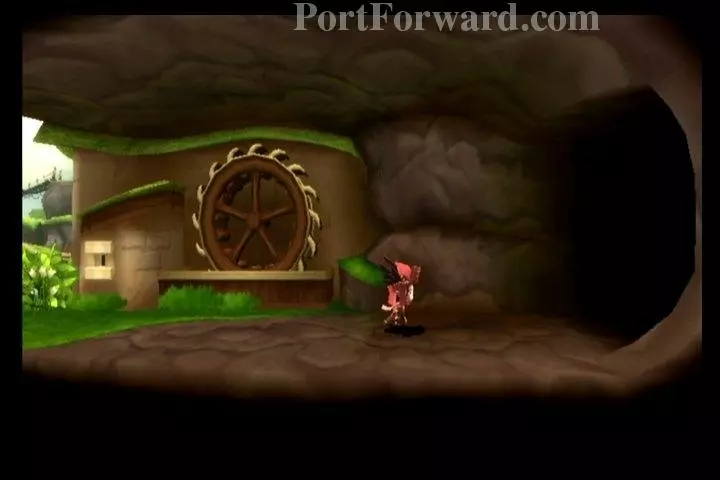
Exit the screen to your right.
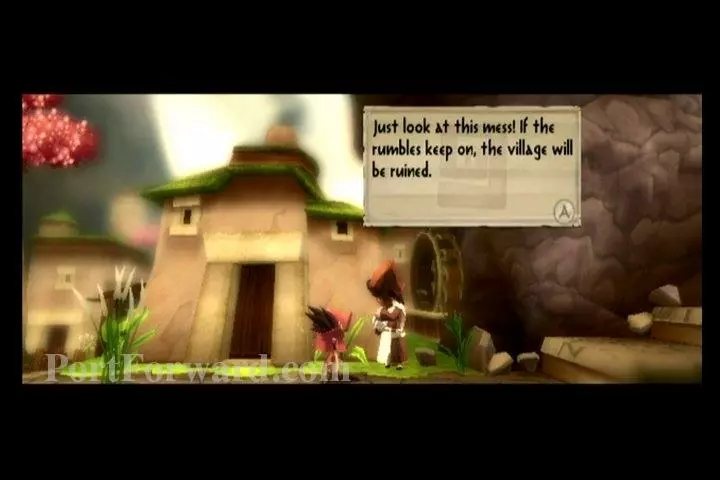
Continue right. There will be a small quake. The woman you come to will explain that it's an ongoing issue.
Double gust up the stairs to your right.
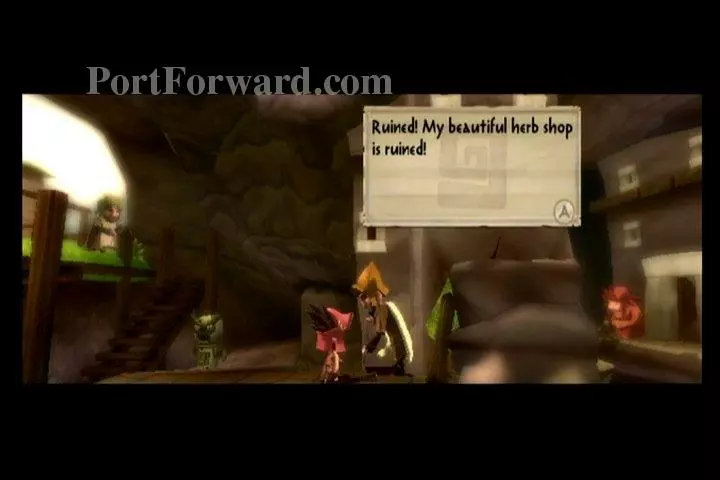
You'll come to the herb shop owner. He'll tell you that they are ruined from the quakes.
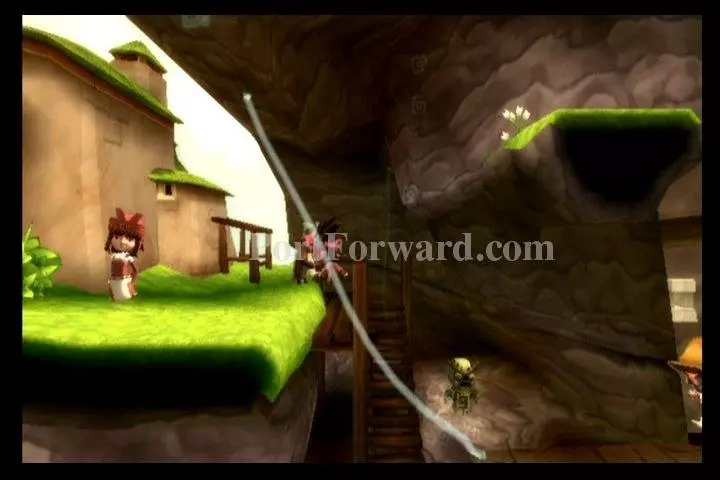
Double gust to the grassy ledge to your upper-left.

Then double gust onto the house found there.
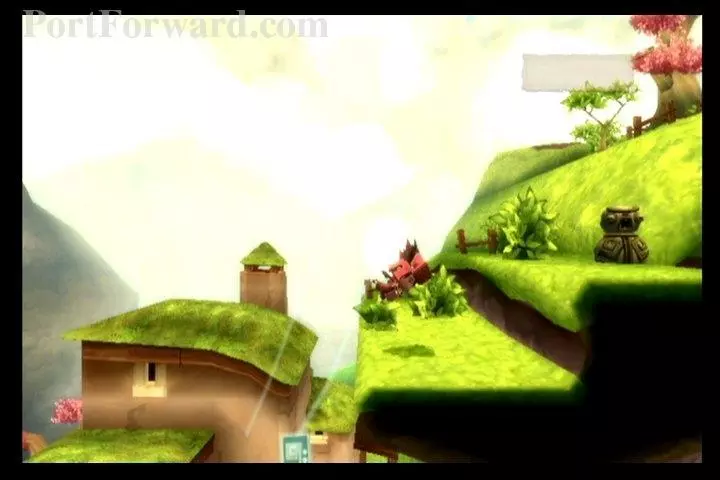
Head to your upper-right, gusting up the cliff-sides.
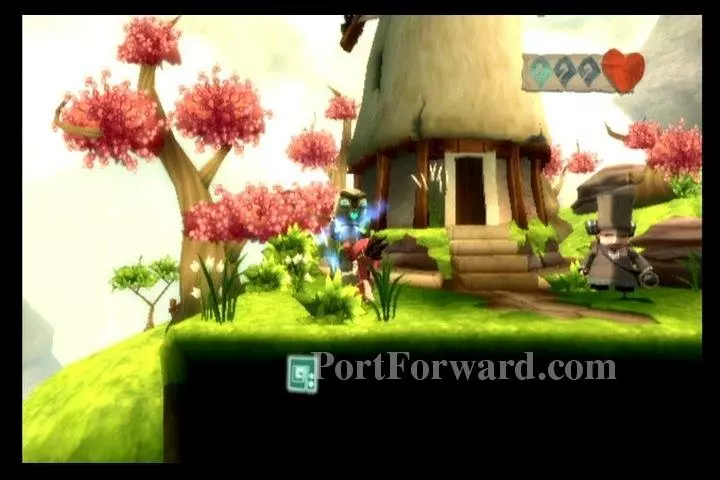
You'll find a Melodia Statue (save point.)
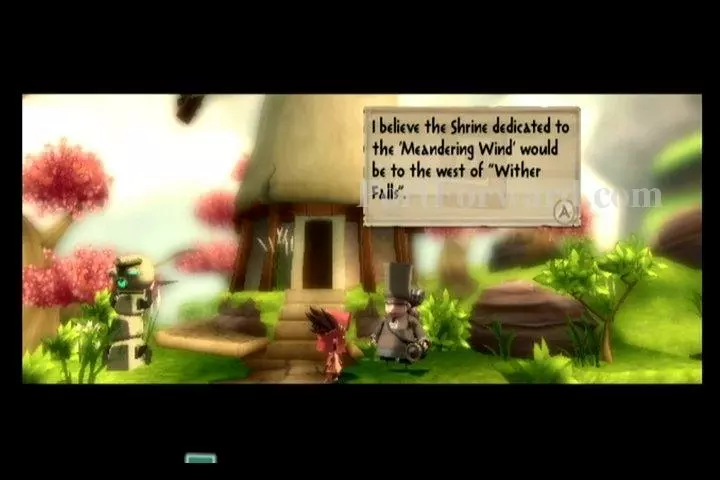
Talk to the man here. He is an explorer named Notea. He'll tell you to look to the west of "Wither Falls" for the second shrine.

Head back to Deo and talk to him. He won't have any more chores for you.
Continue leftward, making your way back to the bridge you originally fell through.
More LostWinds Walkthroughs
This LostWinds walkthrough is divided into 7 total pages.


