
This LostWinds walkthrough is divided into 7 total pages.
You can jump to nearby pages of the game using the links above.
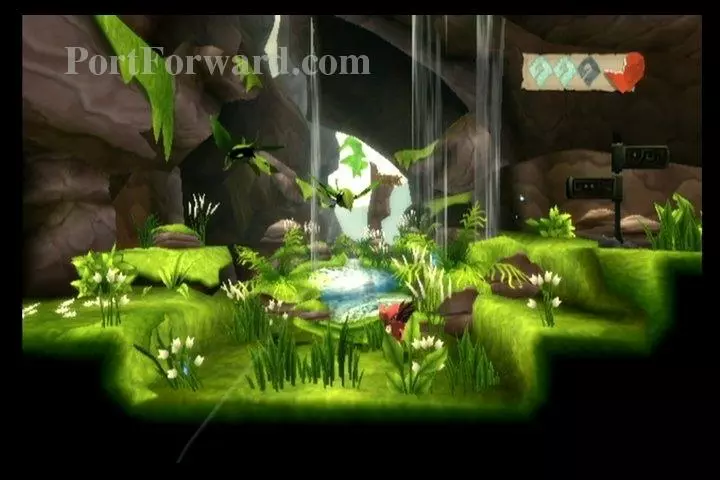
Second Shrine
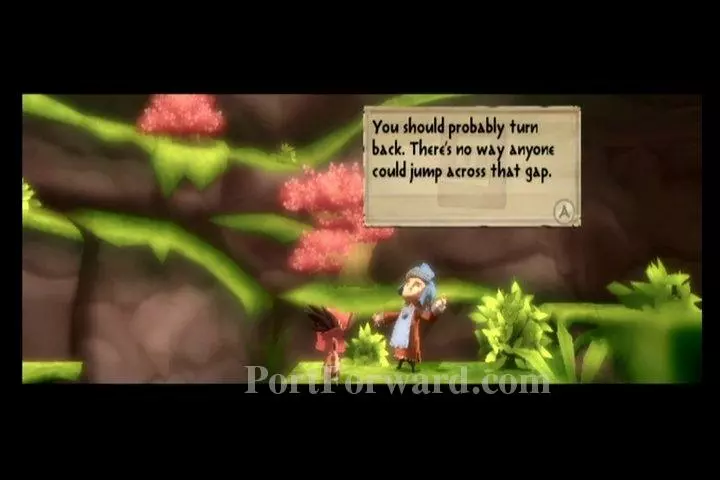
The man here will tell you that there is no way to cross the bridge that collapsed.
Of course, you do have a way. Use your double gust to jump yourself over it. If you fall into it, you can just walk back out and try again. Exit the screen on your left.
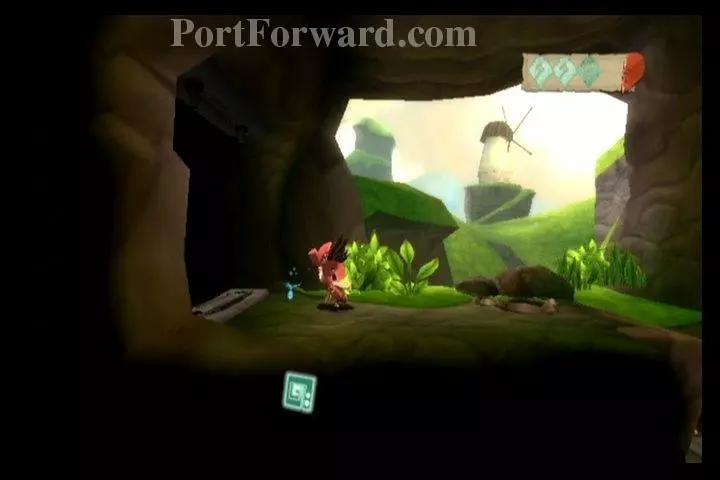
Fight a few Glorbs here, then continue on.

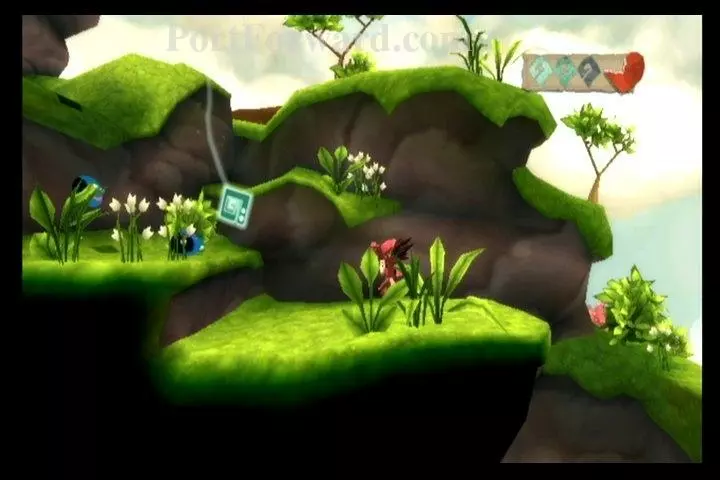
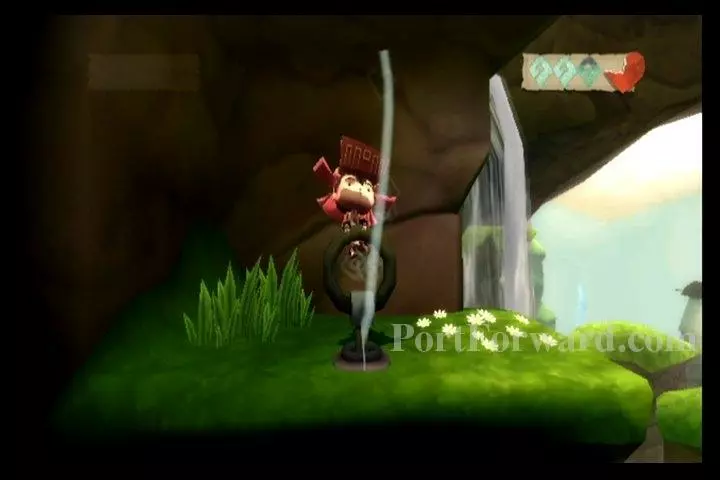
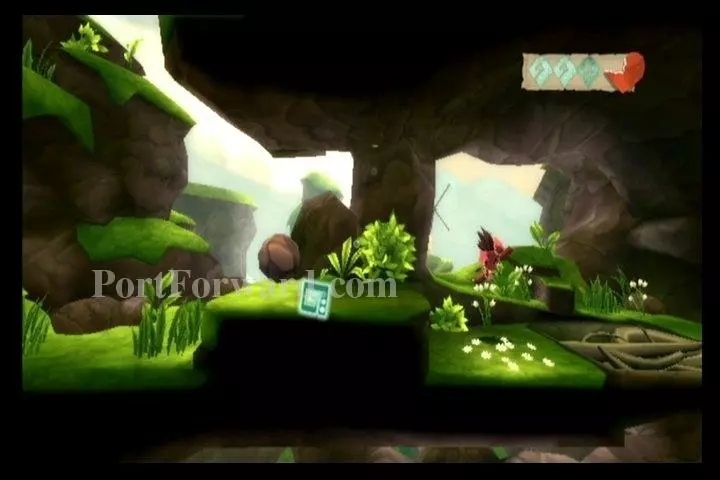
You'll find another Medolia Statue (save point.)
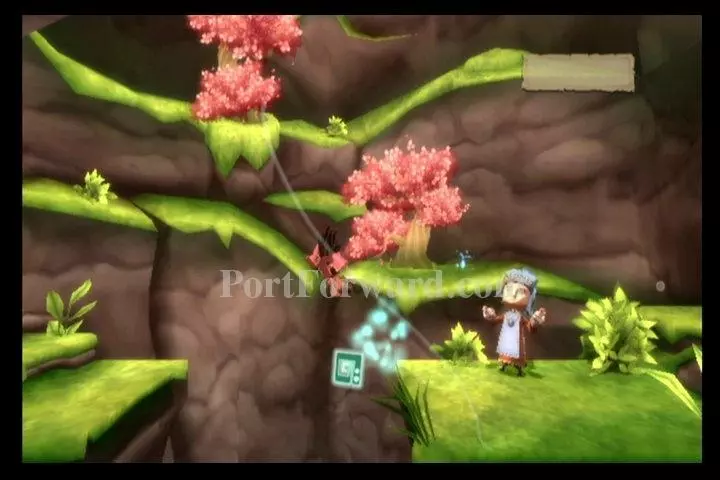
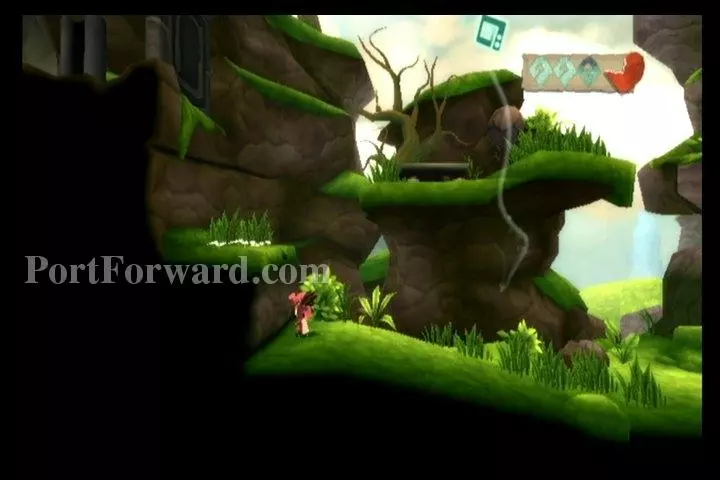
From the statue, you'll want to head to your upper-right, using the platforms in the trees.
Eventually, you'll reach vines blocking your path.
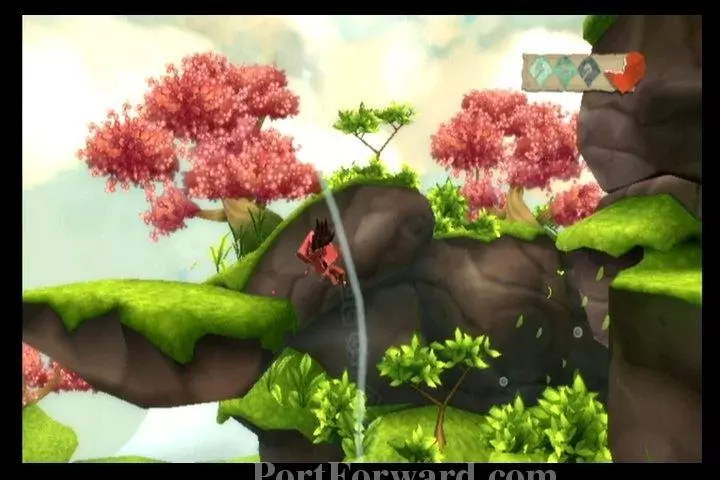
Gust your way leftward.
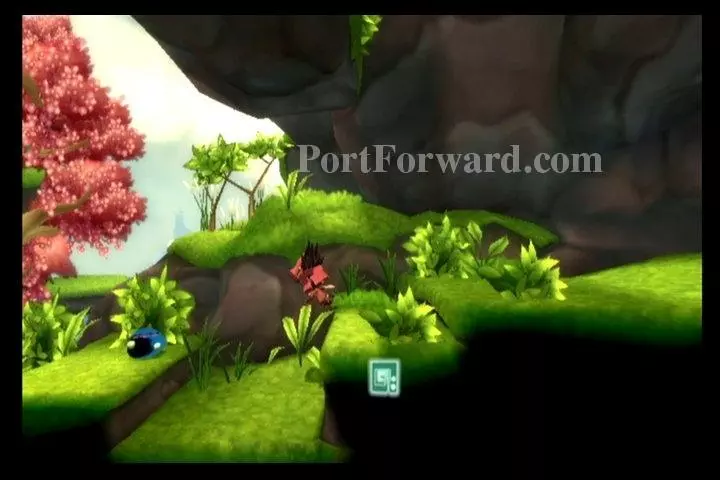
Take out the Glorbs you encounter.
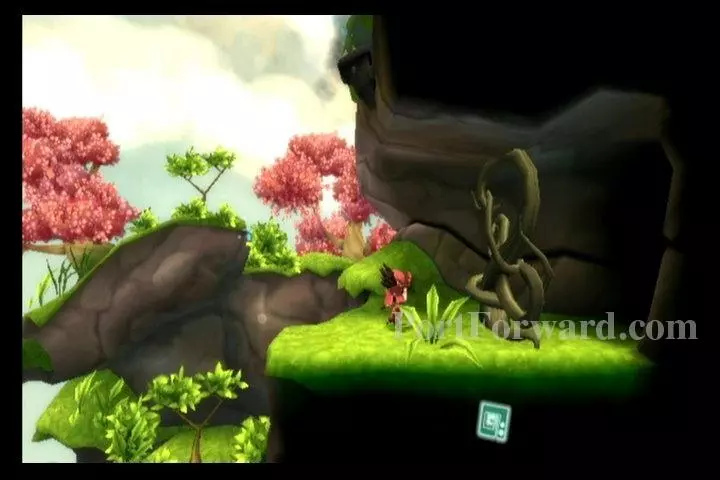
Then enter the cave entrance on your left.
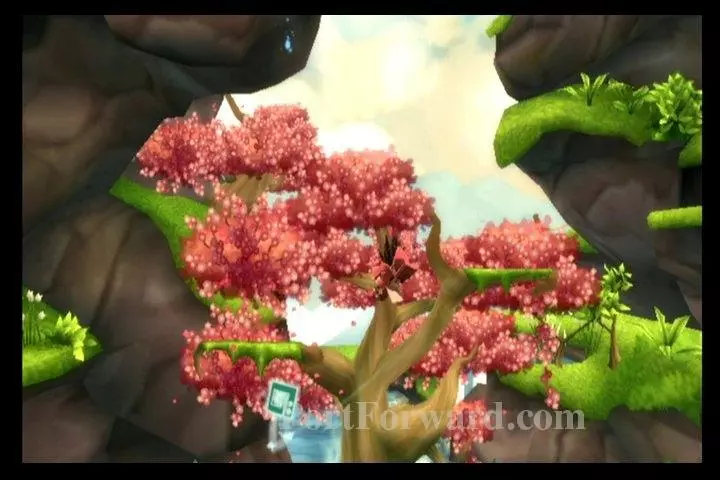
Here you'll find a new enemy. These are Squawks. They have a leafy skin on them, making them blend in well. Slam them into the ground a few times and they will change into a Glorb.
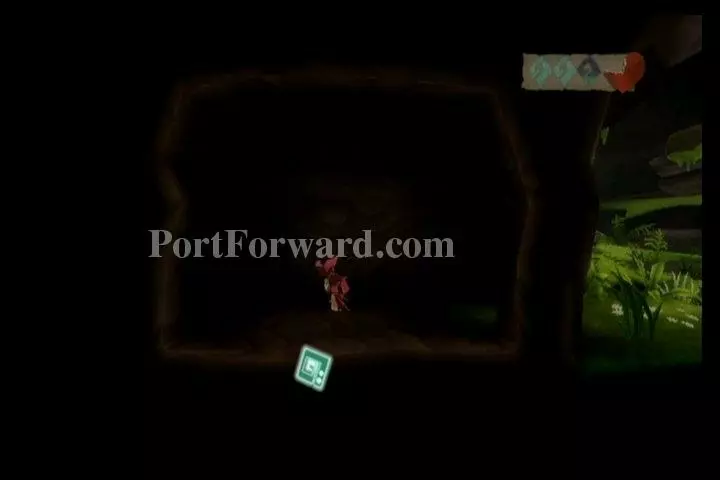
Once you've taken care of the Squawks, exit to your left.
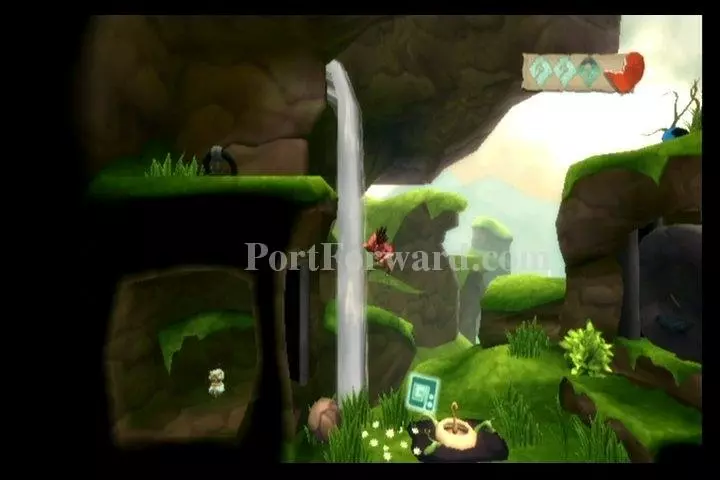
Gust over the pit.
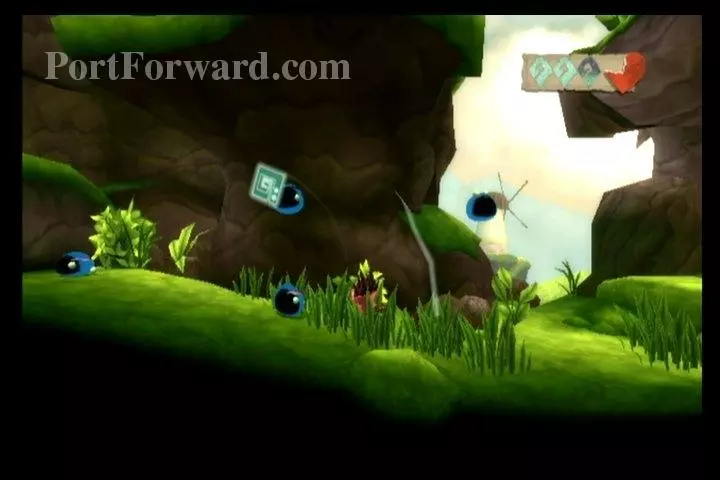
If you fall in, defeat the Glorbs.
You'll be able to get back up to the platform to your left. Use your gust to blow the boulder onto the switch.
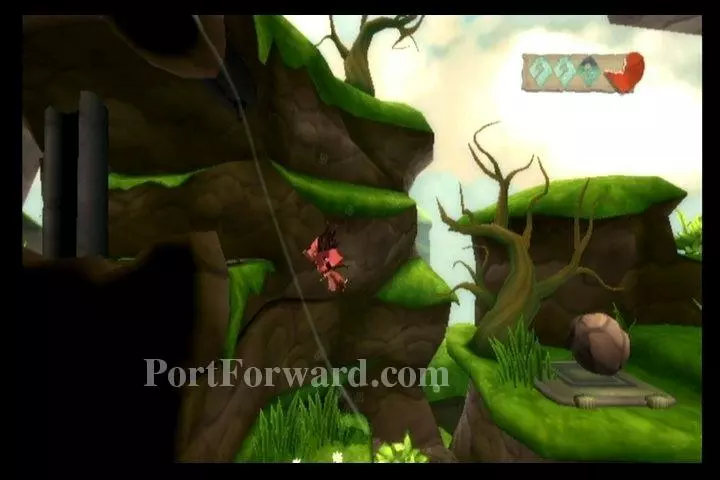
This will open the door to your left, head through.
Defeat two more Squawks.
Use the Poyak to gust you to the upper-left cliff.
Use the Z button to grab onto the ring. Gust yourself upward while holding on and it will pull this lever, opening the door below.
Head through the door and collect Melodia Idol #4.
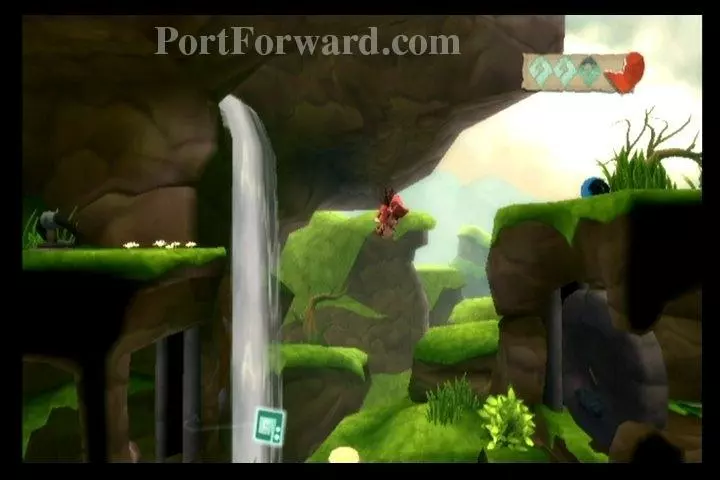
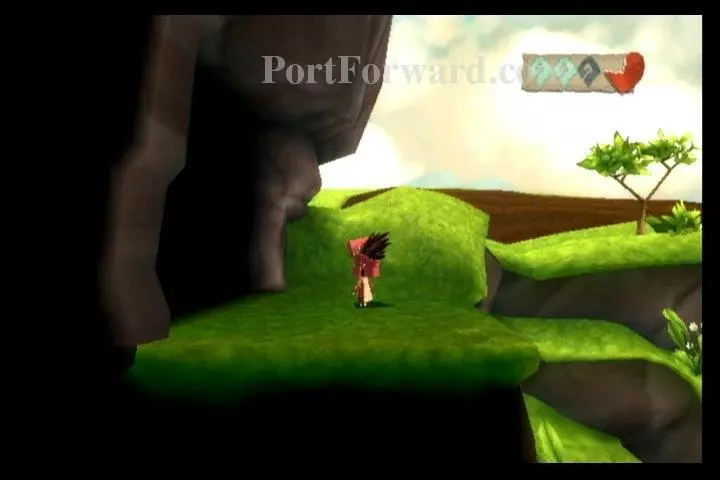
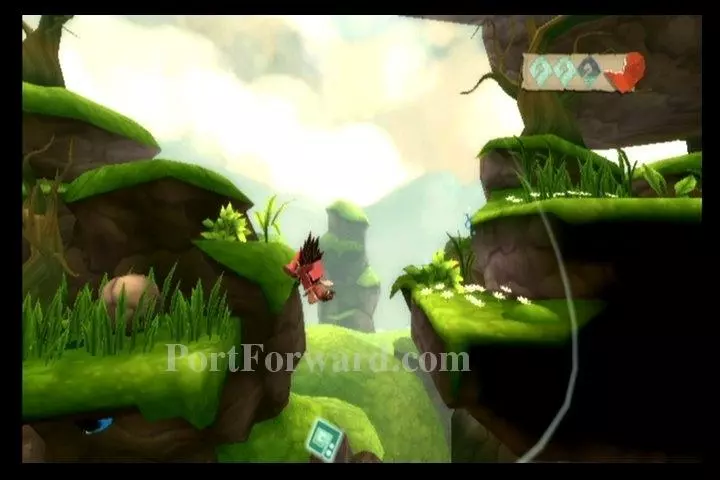
Use the Poyak to get onto the upper-right cliff
Take out the Glorbs and drop down the ledge to your right.
You'll be back at the boulder that was placed on the switch. Head to your lower right, but bring the boulder along with you.
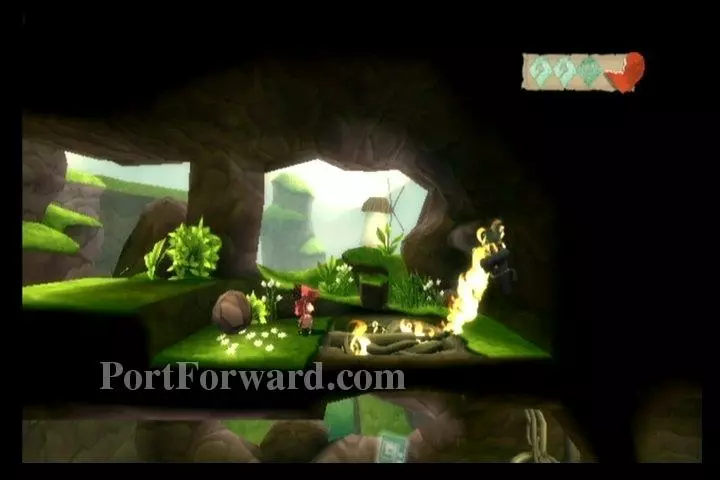
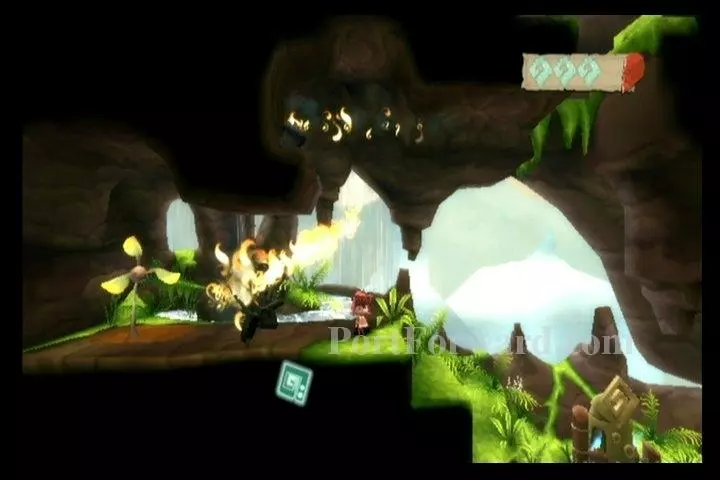
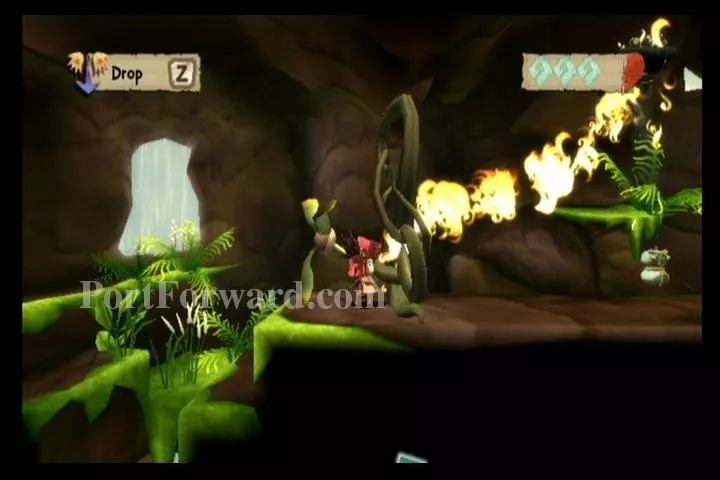
Use a gust to blow the torch fire into the vined door.
Drop down and use the boulder on the switch you come to. This will open a doorway to your left.
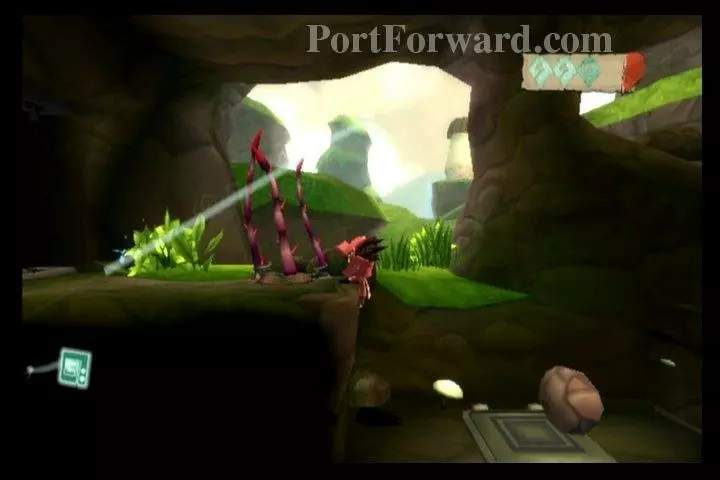
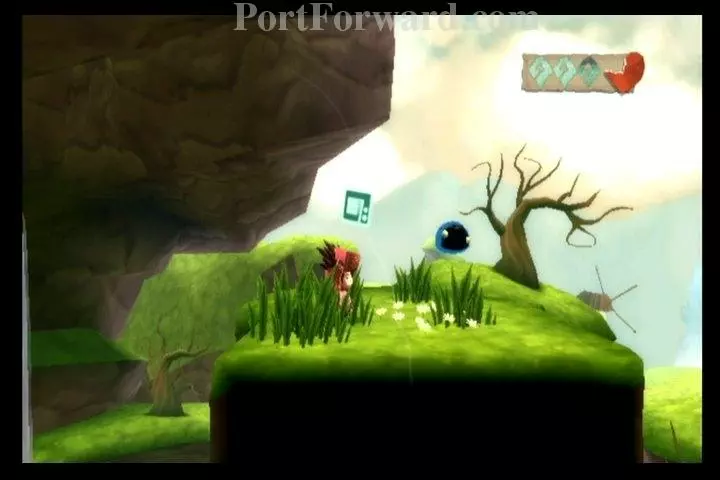
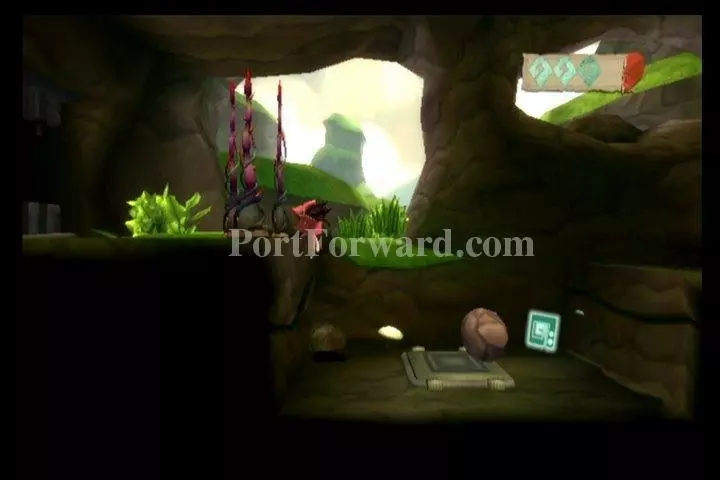
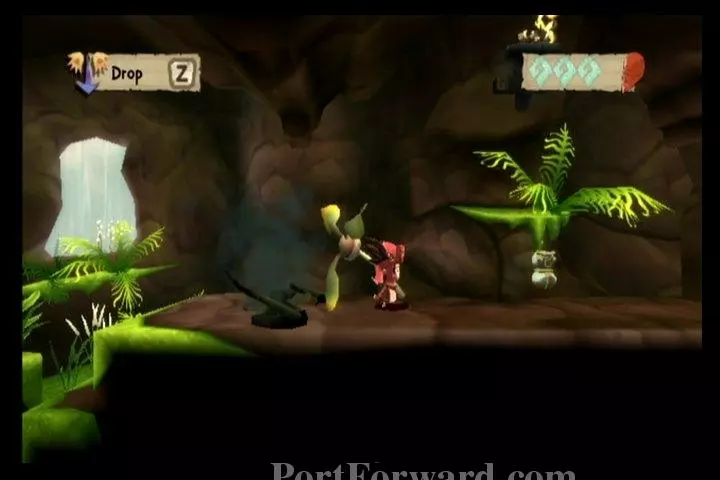
Some spiky plants will block your path. Blow some wind across them and they'll duck into the ground for a few seconds.
Exit through the doorway on your left.
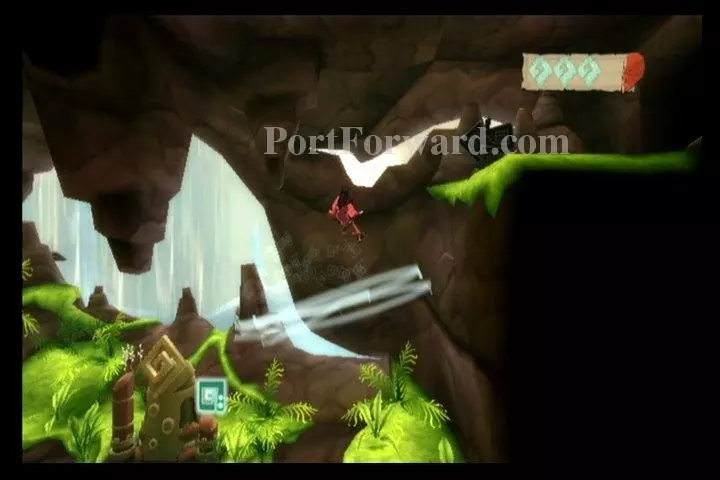
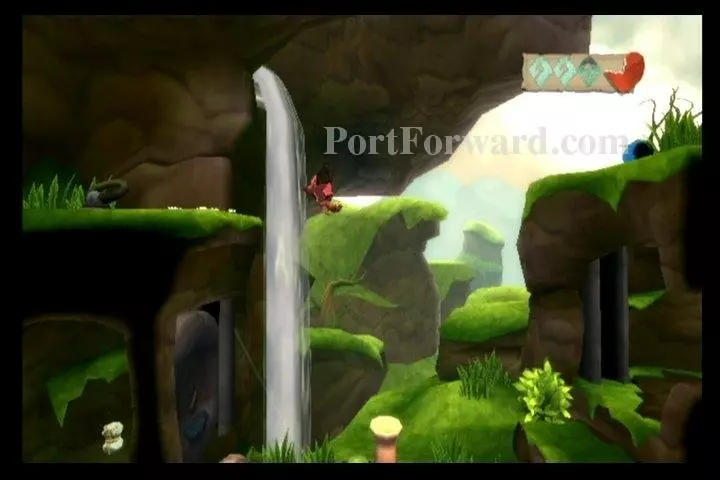
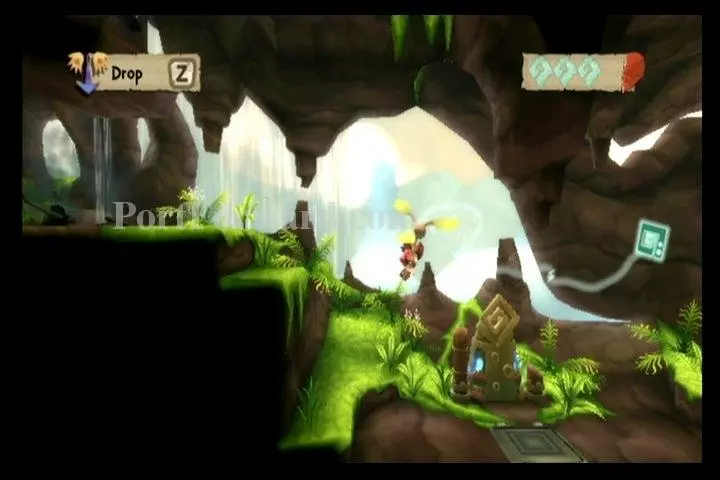
Drop down the ledge, slowing your descent.
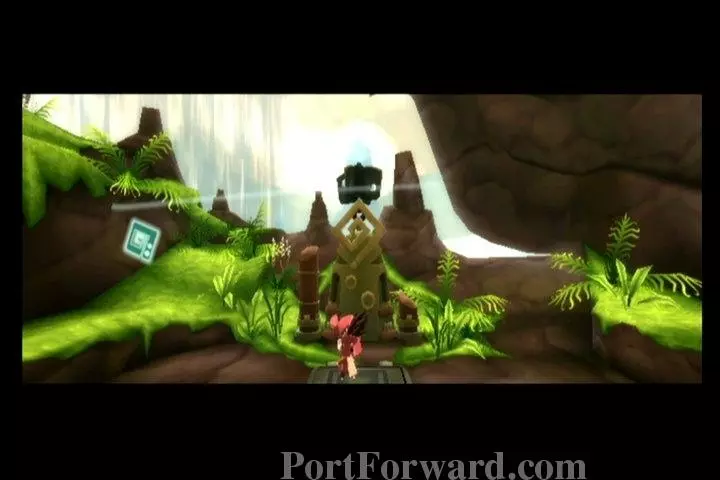
You found the second shrine. Step on the switch and blow a gust of wind across its propeller.
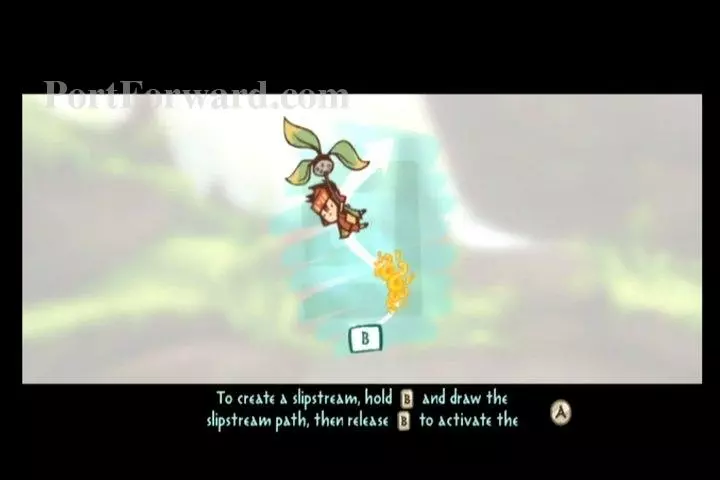
This will give you the slipstream ability.
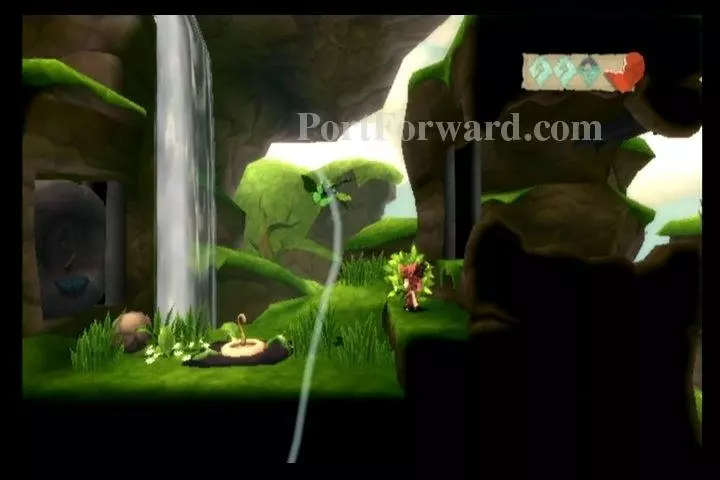
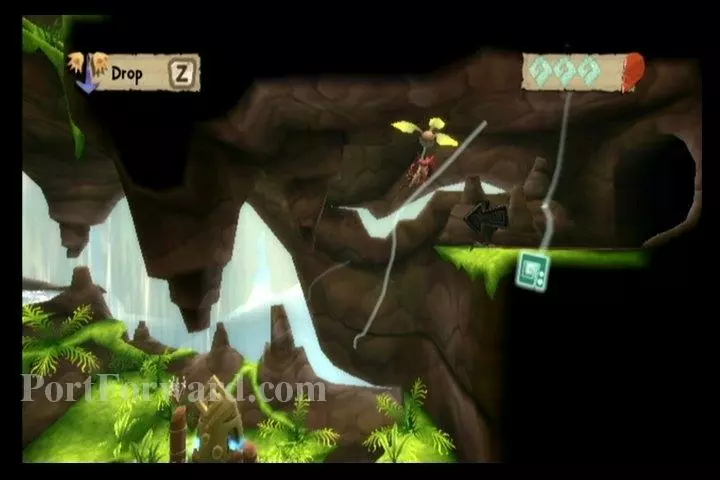
Head to your upper-left and you'll come to vines blocking a passage. We'll use our new slipstream ability here. Using the B button, draw a line from the fire to the vines (not through the rock.) When you release B, the fire will follow the path you drew and burn the vines.
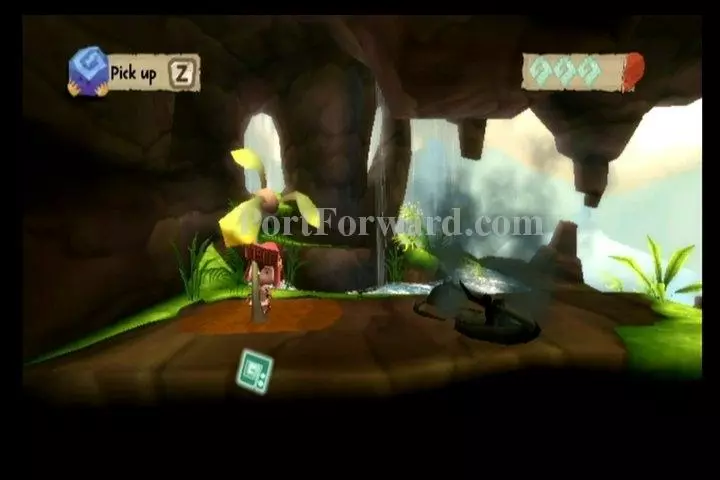
Past the burnt vines, you'll find a Heli-bud. If you accidentally burnt it, you'll have a seed you can plant to make one. Pick up the Heli-bud with the Z button.
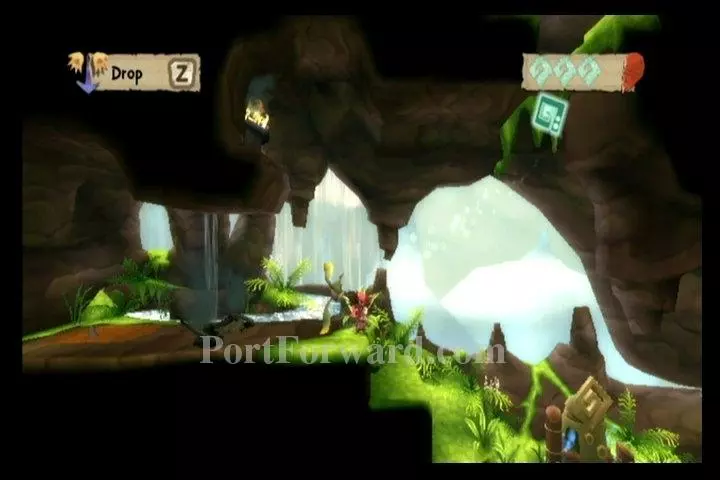
Go to the right edge of this platform. You'll see an opening in the roof. Draw a slipstream from you, into that opening.
The Heli-bud will fly you up there. Use a gust to get the rest of the way up, if needed.
Draw a slipstream from the torch to some vines blocking your path.
Grab Melodia Idol #5, then fall back down the opening.
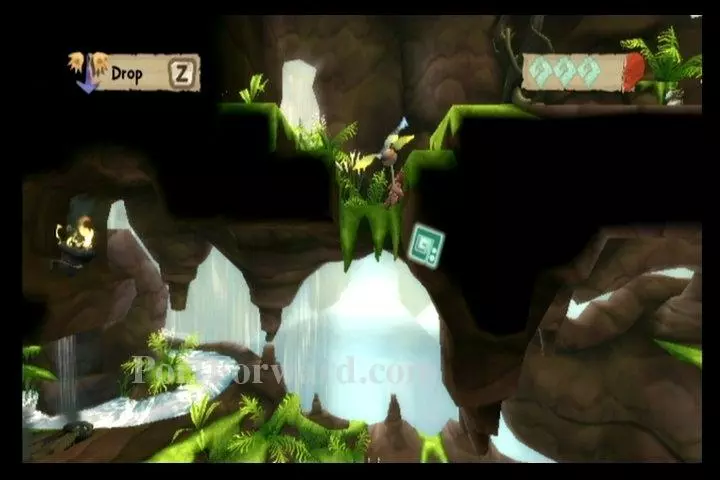
Walk rightward off the edge. You'll fly using the Heli-bud (if it disappears, go get a new one.) When you get near the stalactite, draw a slipstream from yourself to the upper-right ledge.
Give yourself an additional boost with a gust to make it on the ledge, if needed. Exit to your right.
More LostWinds Walkthroughs
This LostWinds walkthrough is divided into 7 total pages.


