
This LostWinds walkthrough is divided into 7 total pages.
You can jump to nearby pages of the game using the links above.
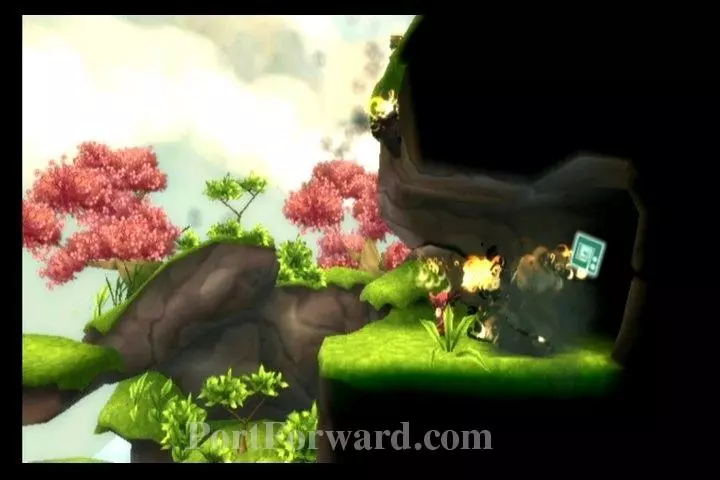
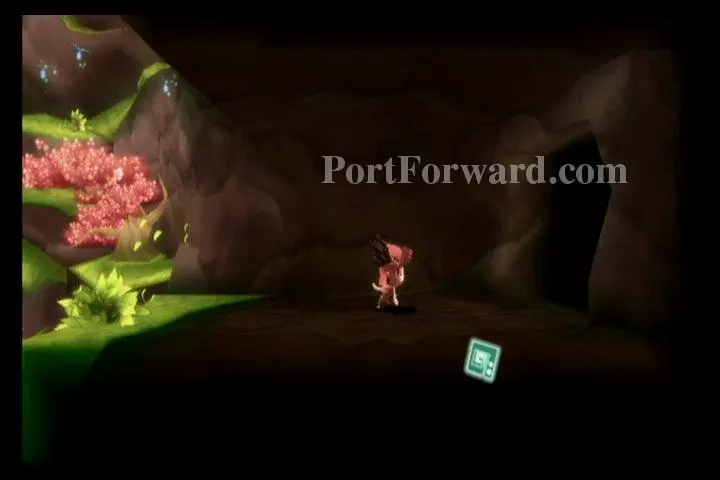
First Memory Chest
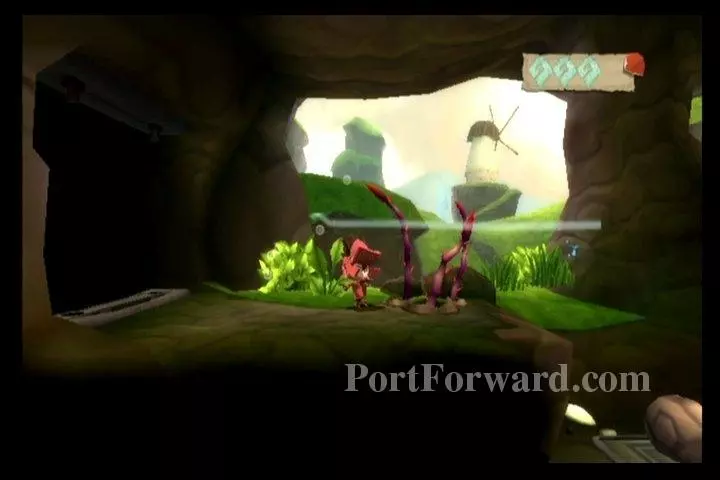
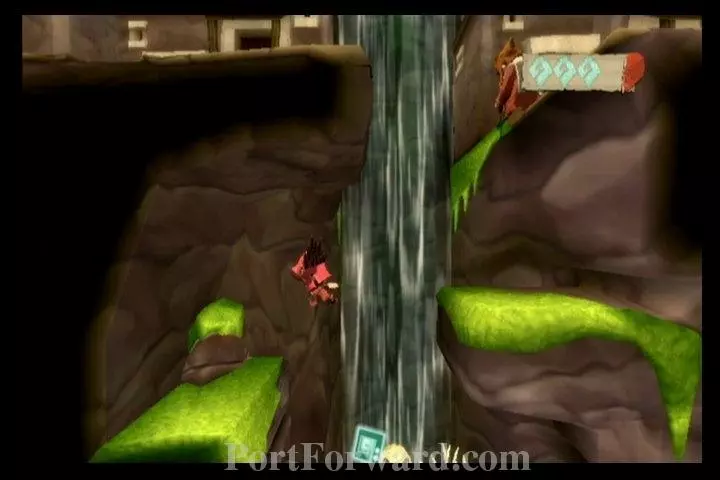
Blow a gust of wind across the spiky plant. They will duck into the ground, allowing you to pass.
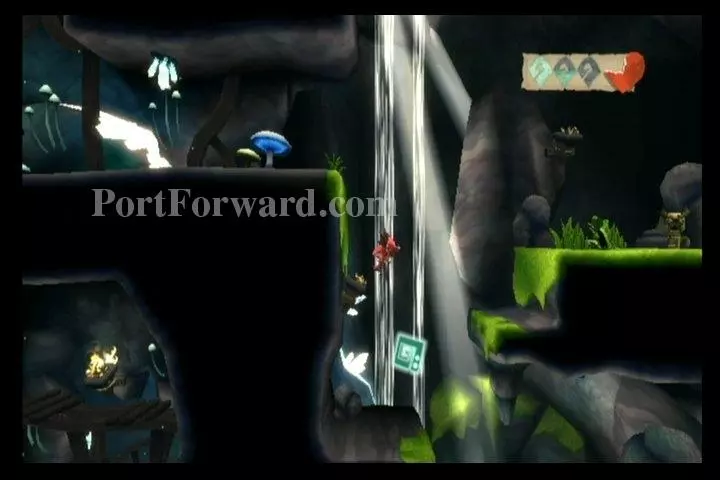
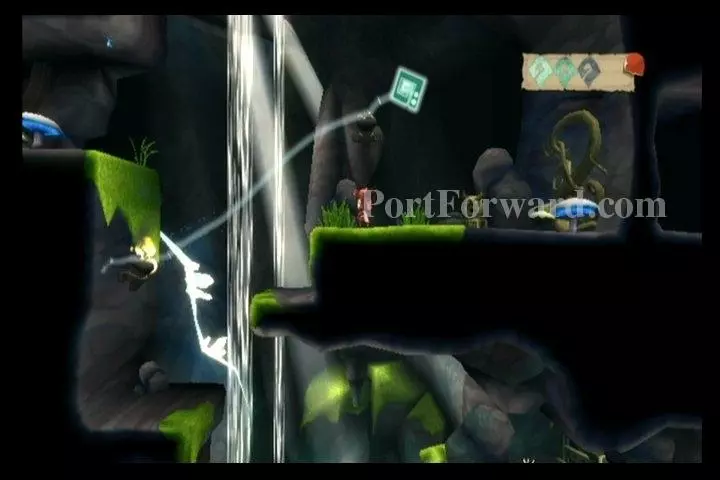
Gust yourself up to the upper-right ledge.
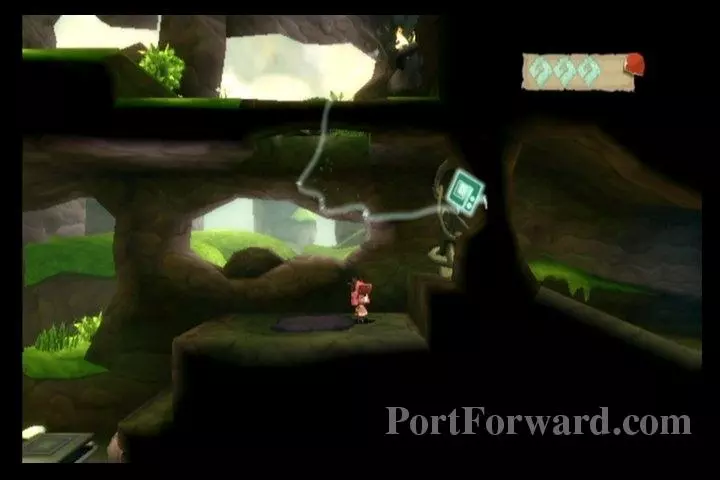
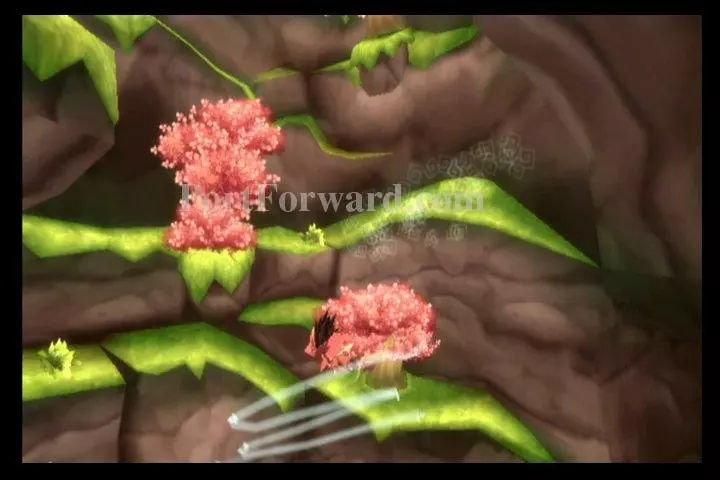
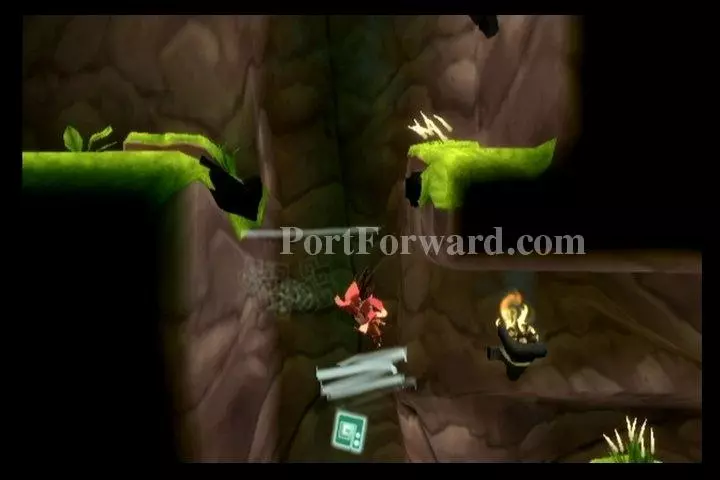
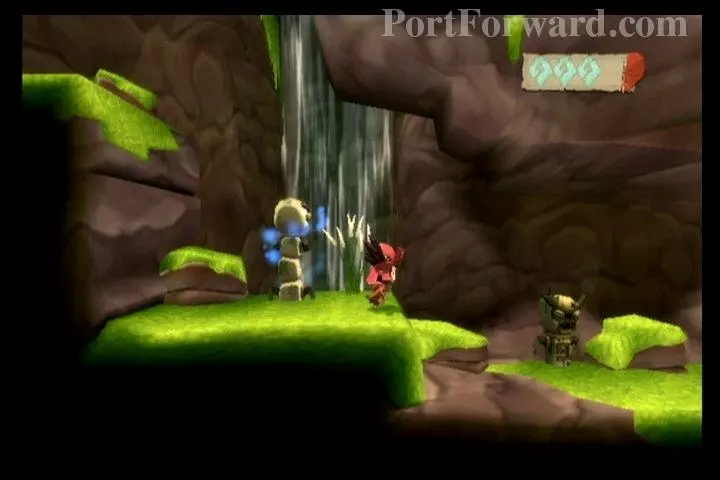
You'll find a Glorb nest here. Kill any Glorbs you see.
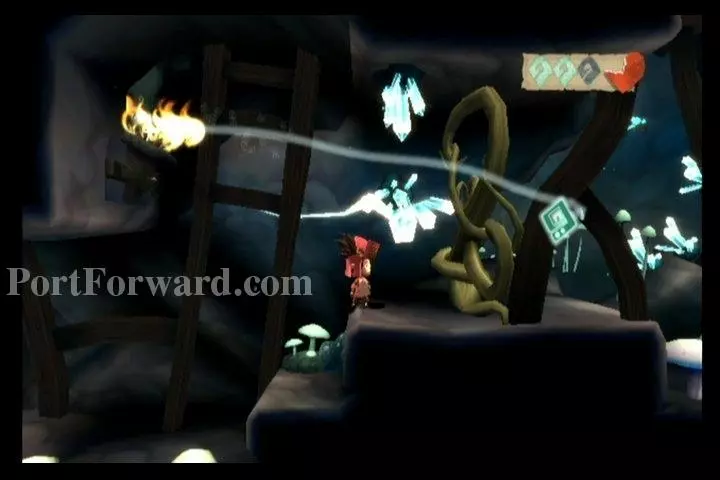
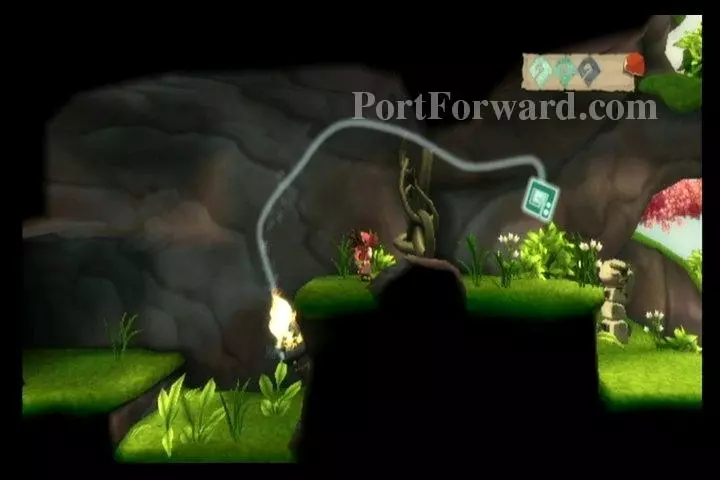
Then draw a slipstream between the torch at the top of the screen and the Glorb nest.

Grab onto the Glorb nest and gust upward to destroy it.
Draw a slipstream from the torch to the vines to destroy them.
Exit to your right.
Blow a gust of wind across the torch to light it, if needed.

Then draw a slipstream between the torch and the vines.

Destroy the Glorbs in your path and continue forward.
You'll also come across a Squawk to kill.

Get down below the lit torch and draw a slipstream from it to the unlit torch on the other side of the wall.
Then draw a slipstream from the now-lit torch to the vines blocking your path.
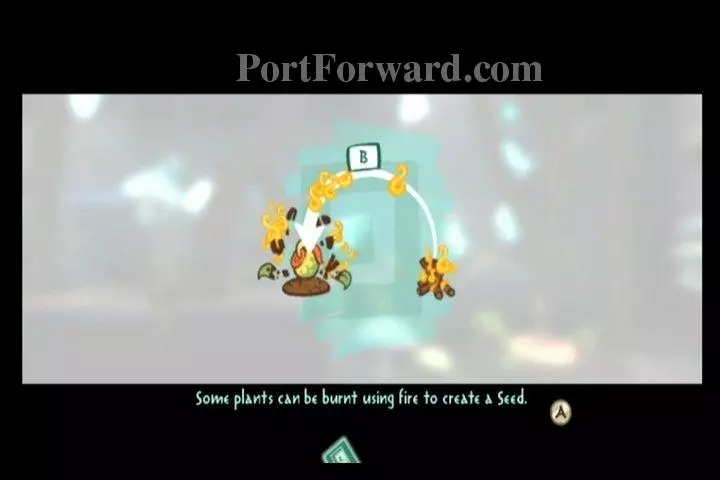
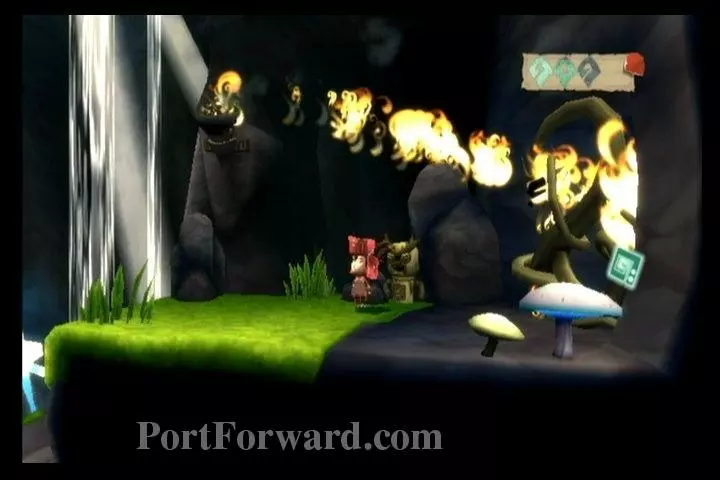
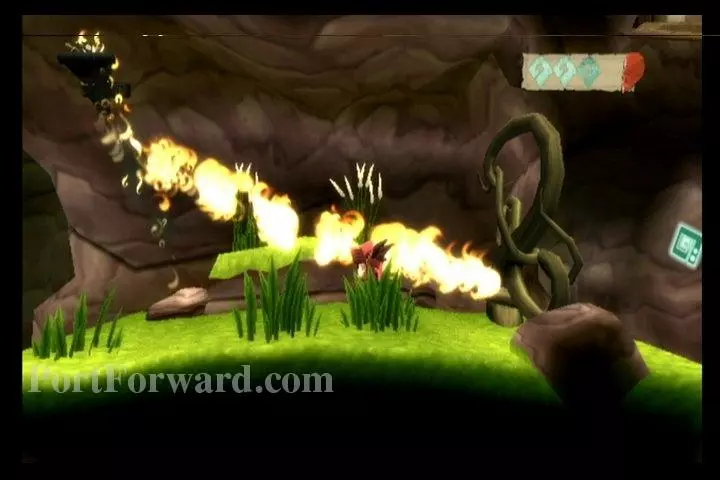
As you continue forward, you'll be informed that some plants can be burnt using fire, creating a seed.
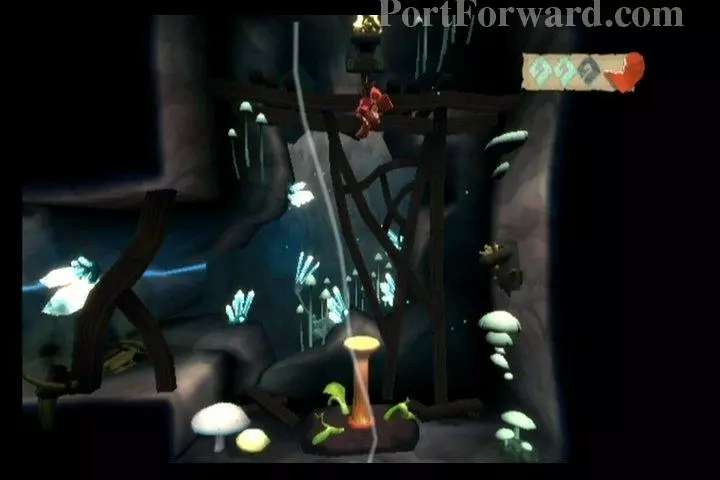
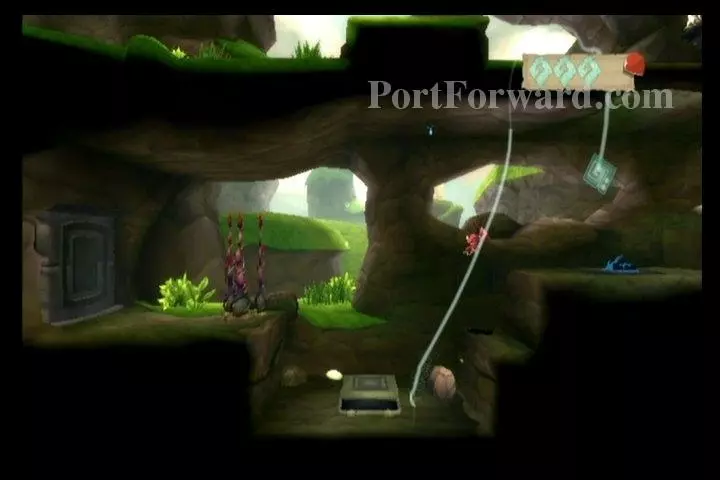
Get in the Poyak and gust upward to launch yourself.
When the lit torch above you is visible, quickly draw a slipstream from it to the unlit torch on your right.
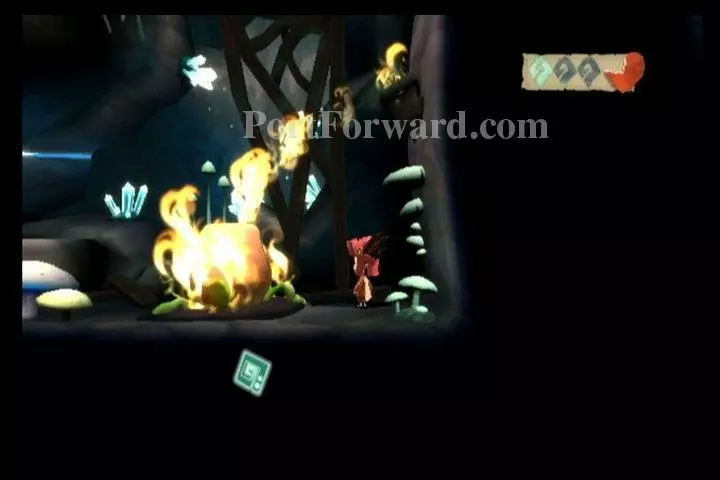
Now you can easily draw a slipstream from the now-lit torch to the poyak.
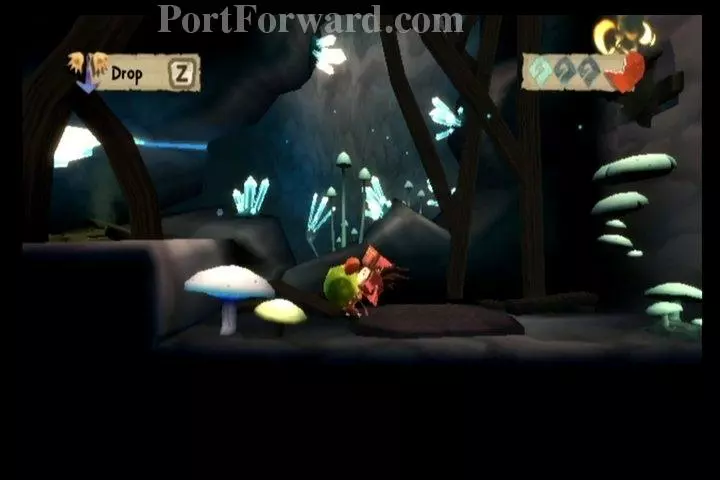
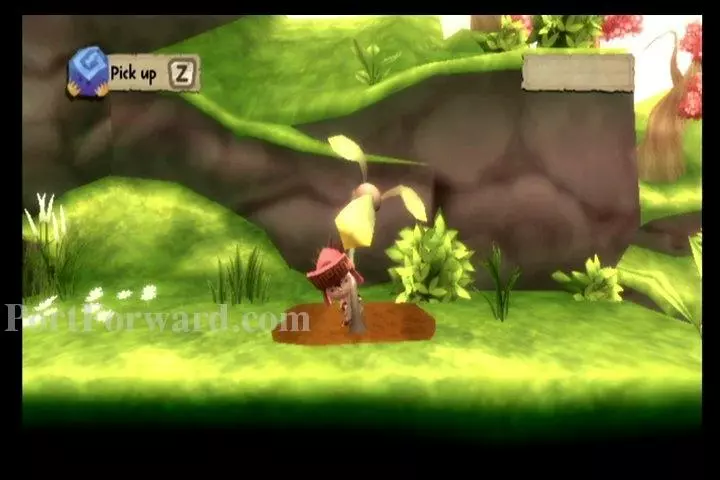
Pick up the seed, left by the burning poyak.

Carry the seed leftward, until you reach a soft patch of ground. Press Z to plant it.
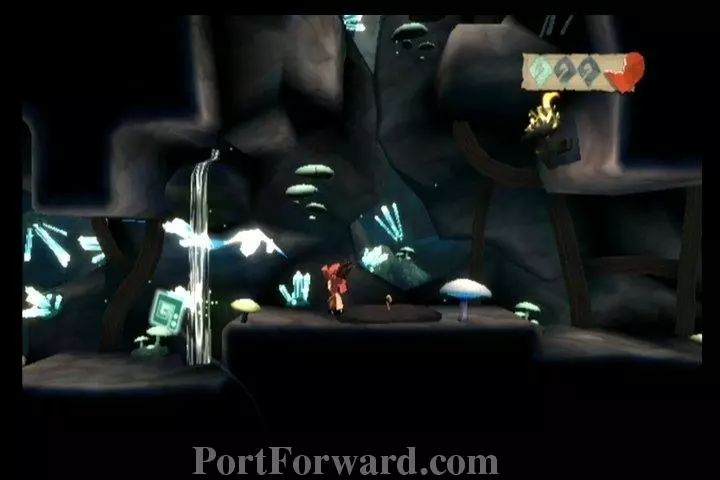
A seedling will appear in the dirt.
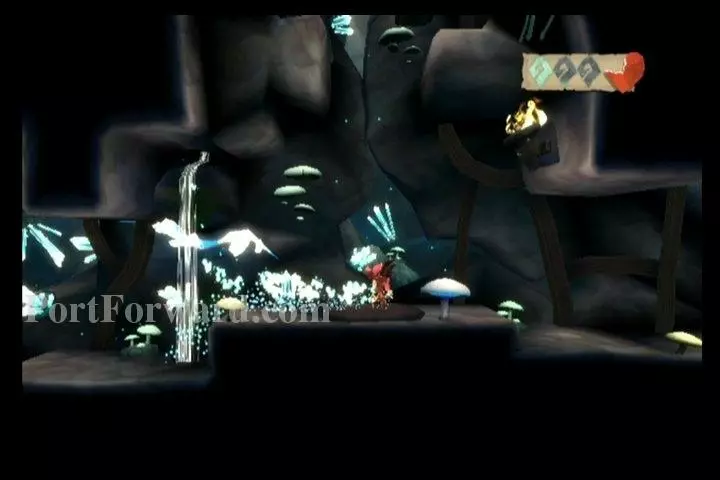
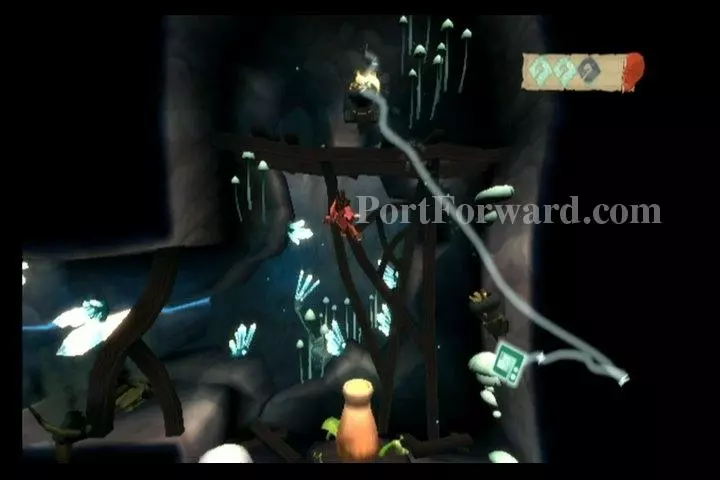
Draw a slipstream from the waterfall to the seedling to make it grow into a full poyak.
Use the poyak to get to the upper ledge.
Gust from this ledge to the upper-left ledge.
Then gust to the upper-right ledge.

Draw a slipstream from the torch to the spiky plant to get rid of it.
Destroy the Glorbs in your path.
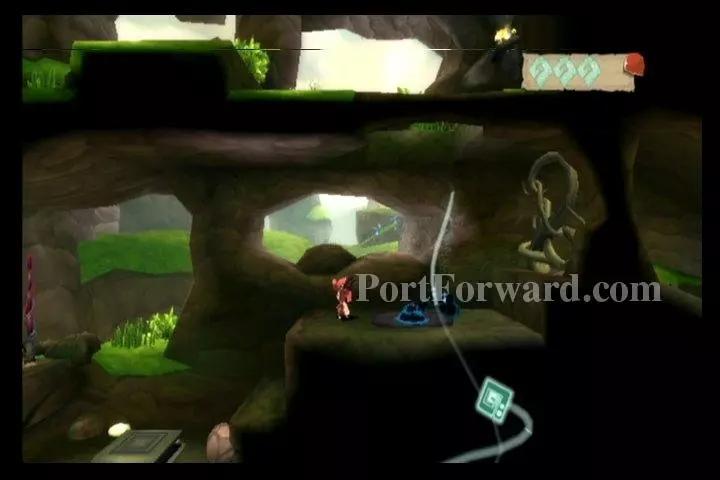
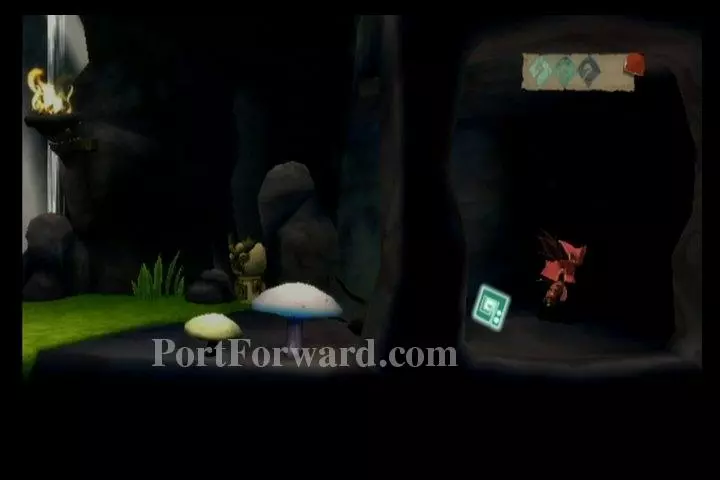
Then drop down the ledge to your right.
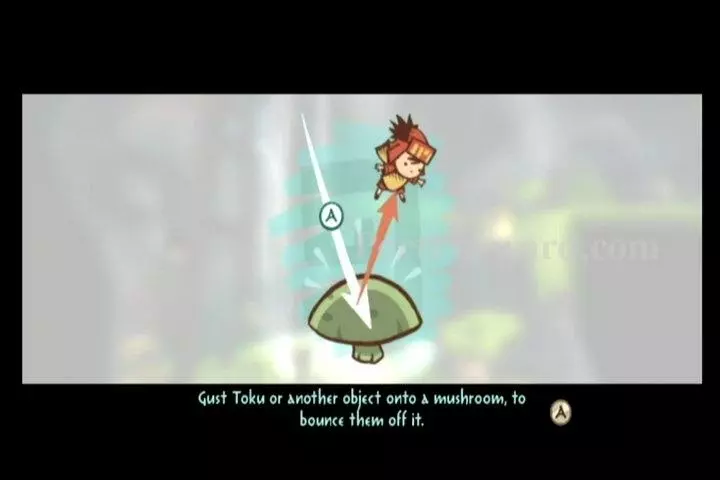
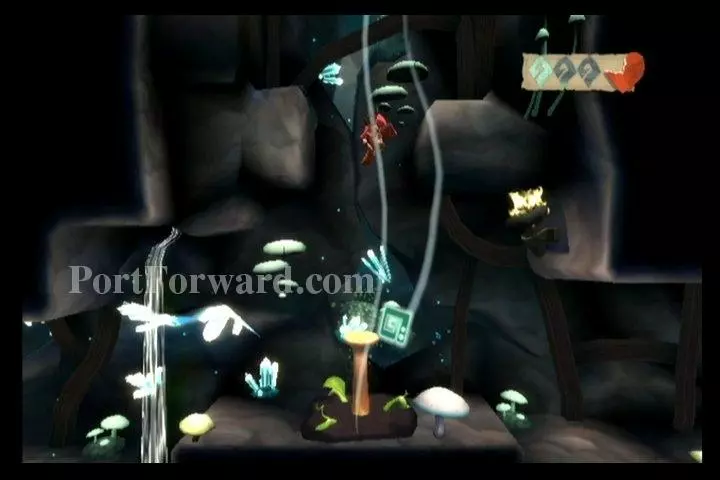
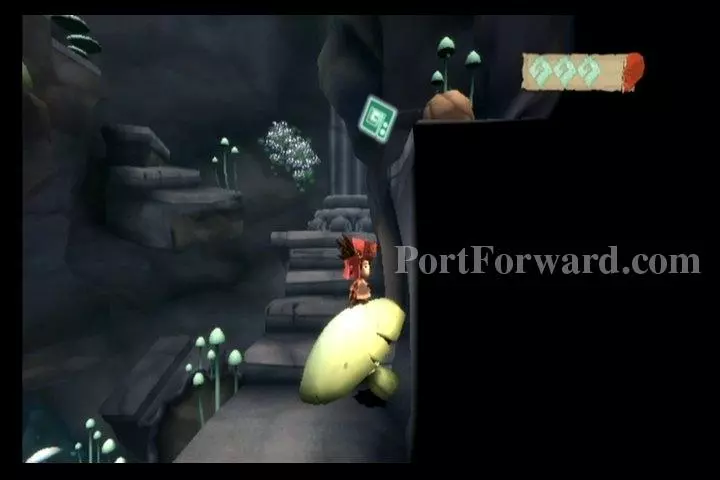
At the bottom you'll find a large mushroom. You can use these to bounce off of. You just gust yourself or another object into them to bounce off it.
Bounce off the mushroom and then do an extra gust to reach the upper-left platform.
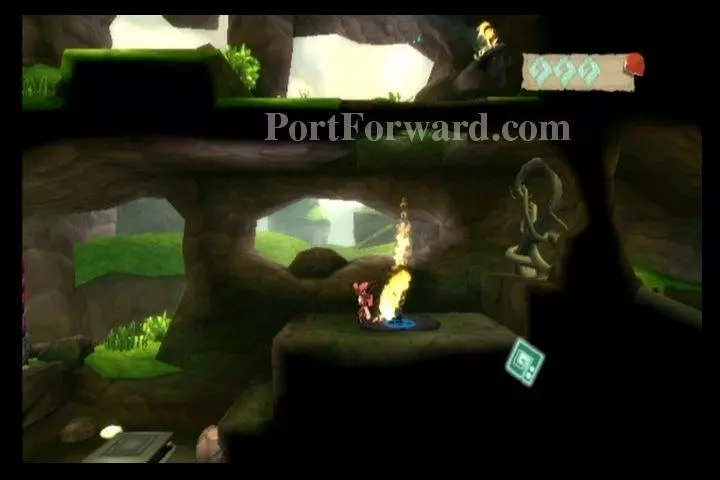
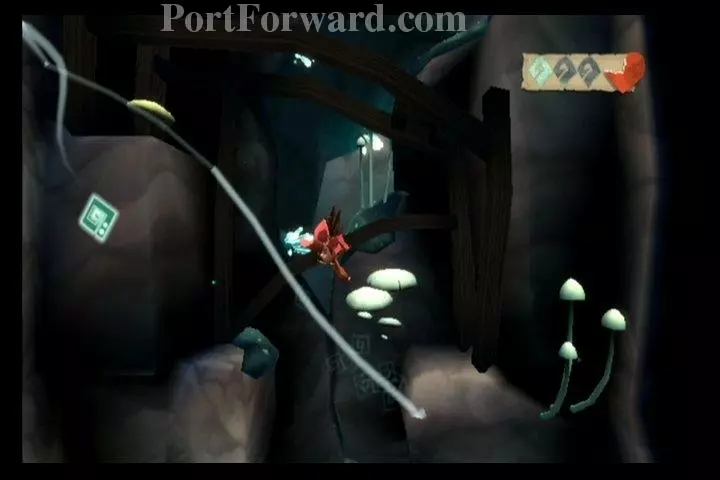
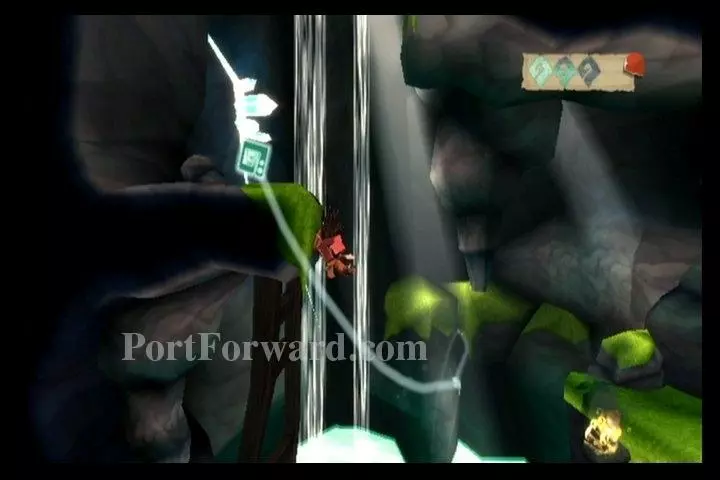
Draw a slipstream from the torch on your lower-right to the torch right above your head.
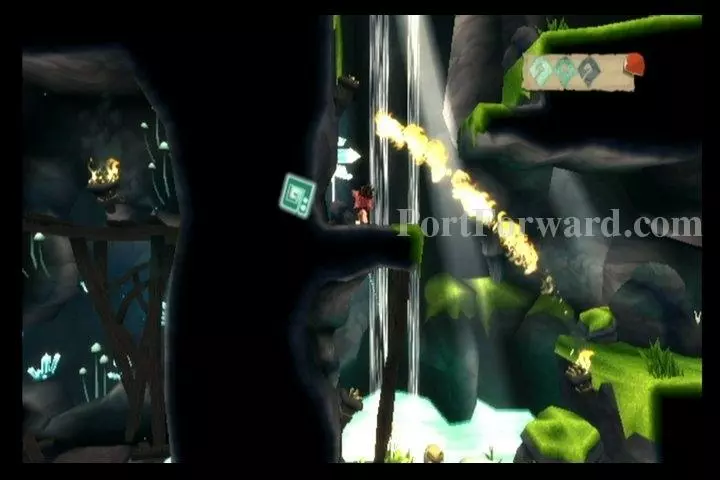
Then get on the platform on your upper-right. Draw a slipstream from the now-lit torch to the unlit torch above this platform.
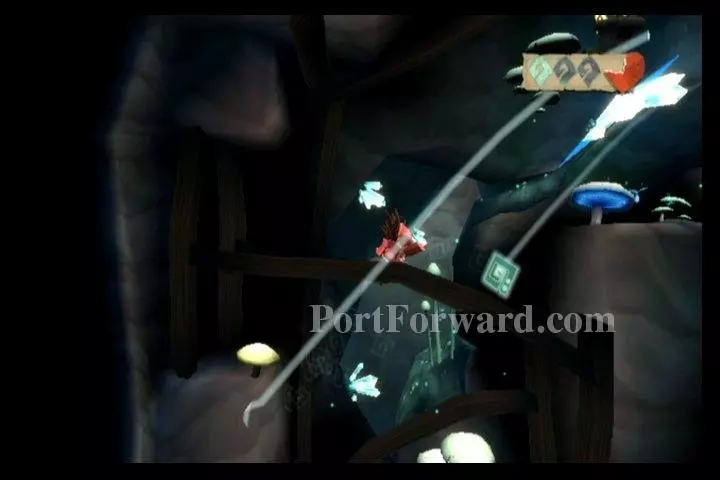
Now draw a slipstream between this lit torch and the vines blocking your path on the right.
Exit the screen to the right.
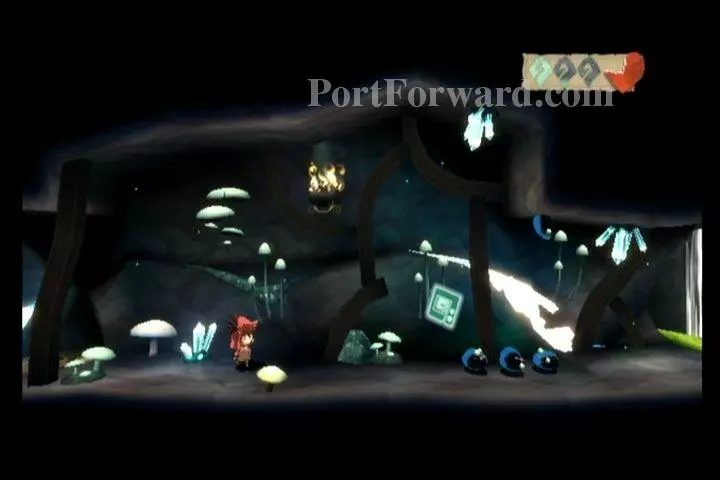
Light the torch with a gust.
Then draw a slipstream between the torch and the vines to destroy them.
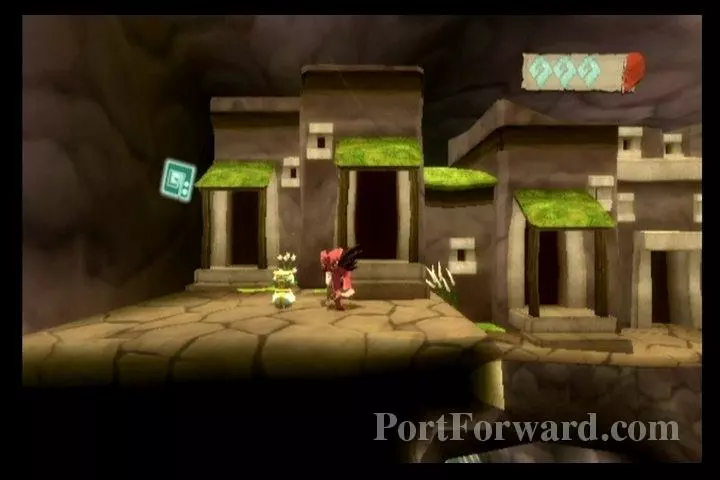
You'll find a Melodia Statue to save your game.
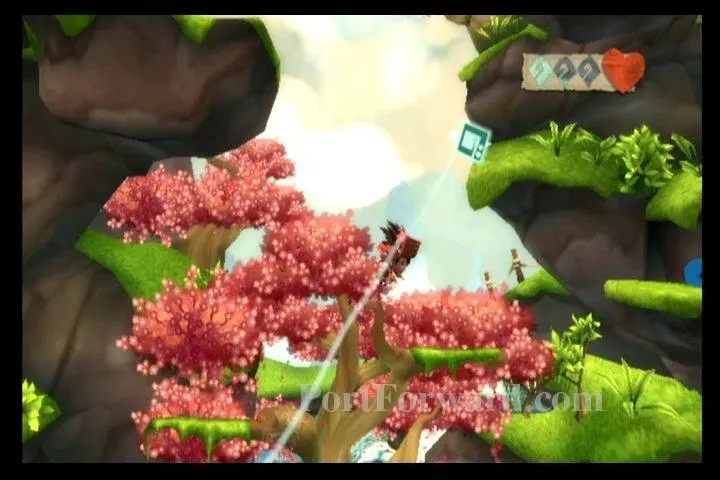
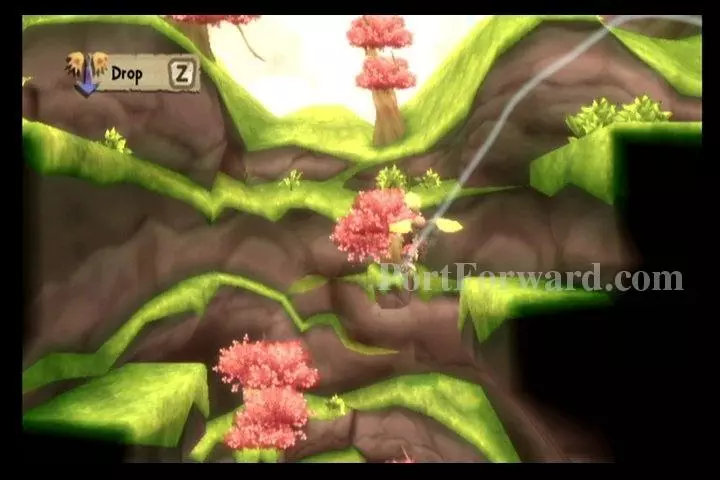
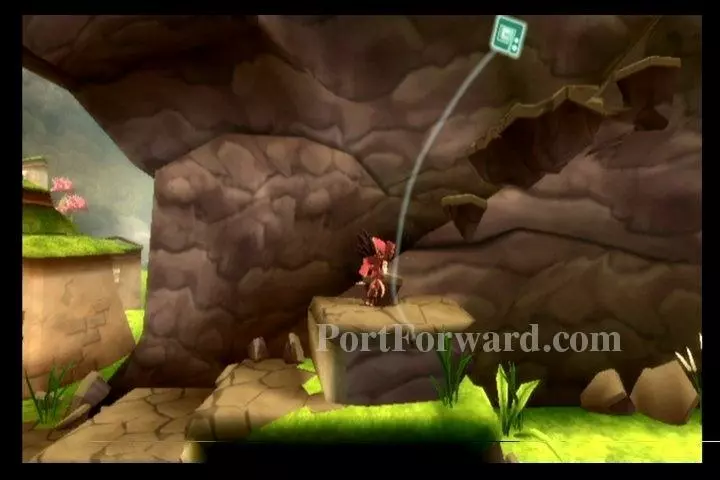
Gust yourself across the treetops and continue gusting to your upper-right.
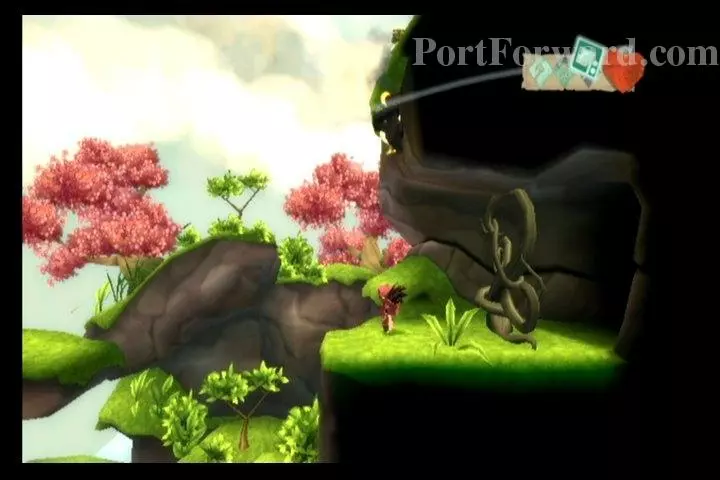
You'll reach some vines blocking your path. Blow a gust across the torch above to light it.
Then draw a slipstream from this torch to the vines to destroy them. Exit to your right.
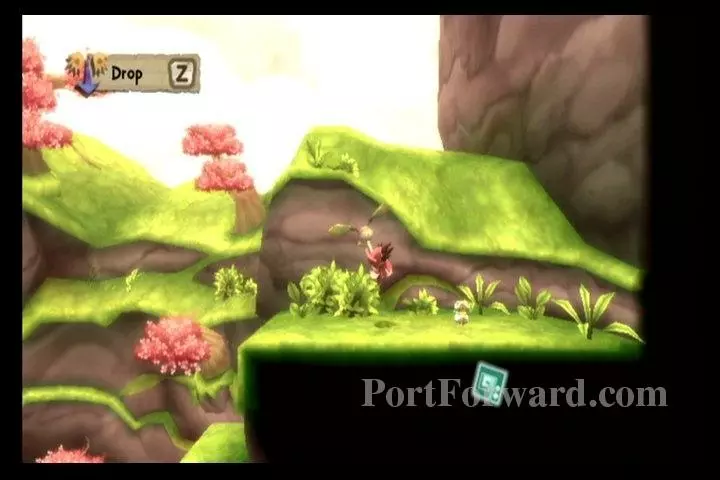
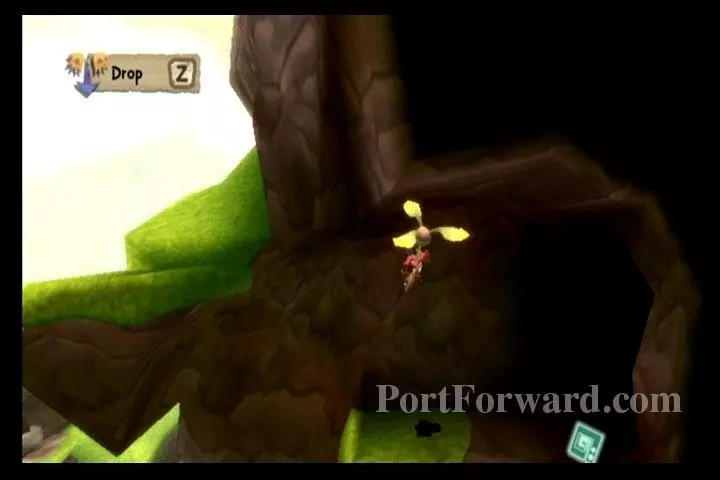
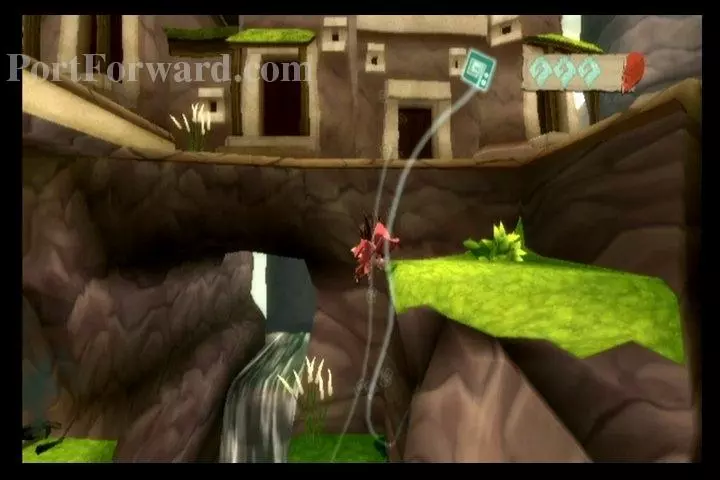
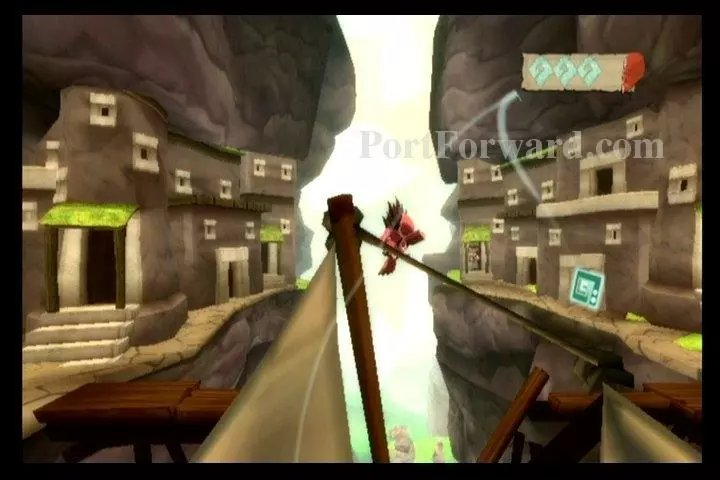
Pick up the Heli-bud.
While holding the Heli-bud, drop off the cliff on your right. Continue holding right, then draw a slipstream from yourself to the upper-right ledge.
The Heli-bud should carry you up to Melodia Idol #6.
Drop back down the ledge on your left, slowing your fall. Try to land on the right side of the pit. If you fall in, just work your way rightward to get out.
Exit to your right.

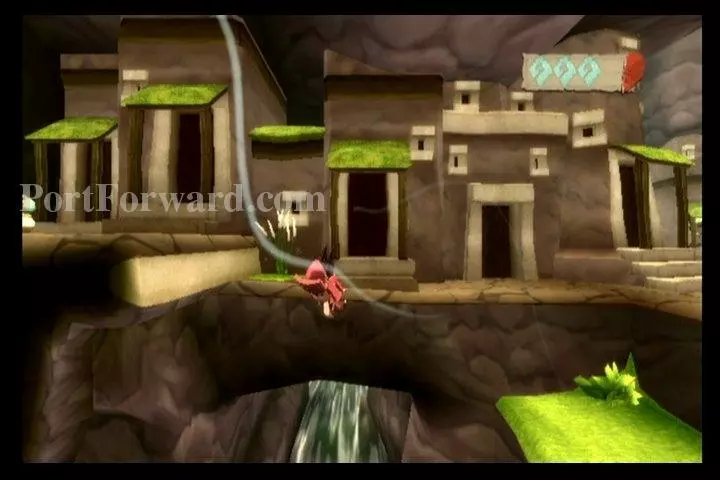
Continue rightward, through the town. There will be more enemies than there previously was.
Gust up the steps.
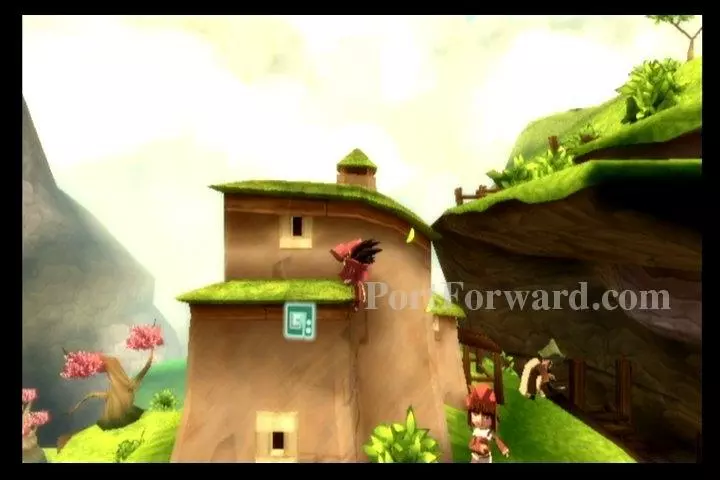
At the top of the stairs, gust to the upper-left and then onto the house.
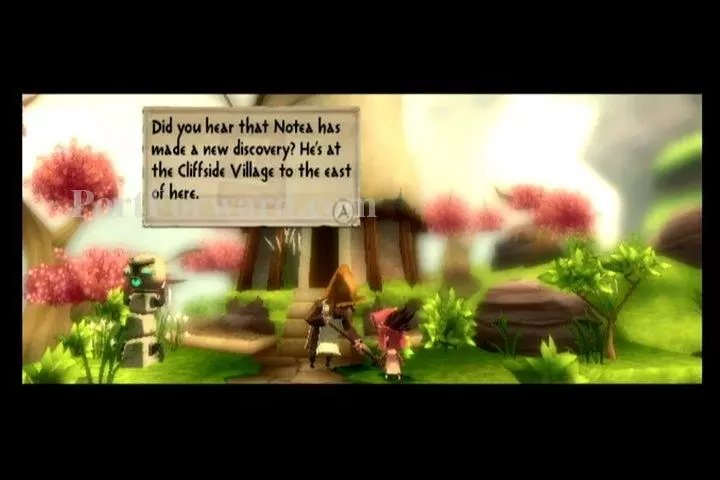
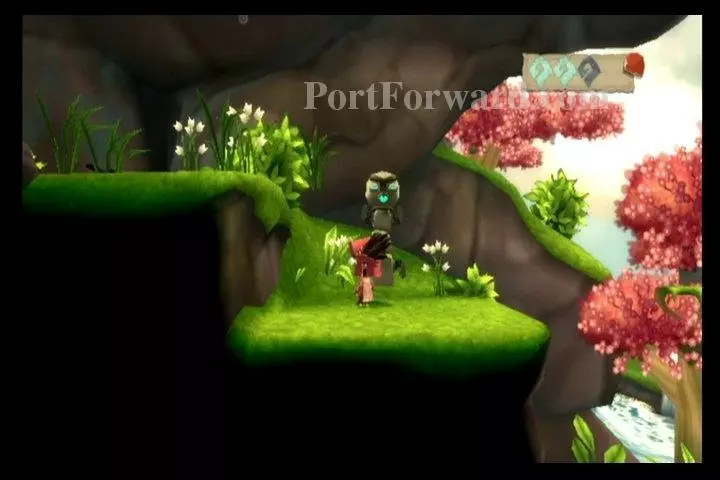
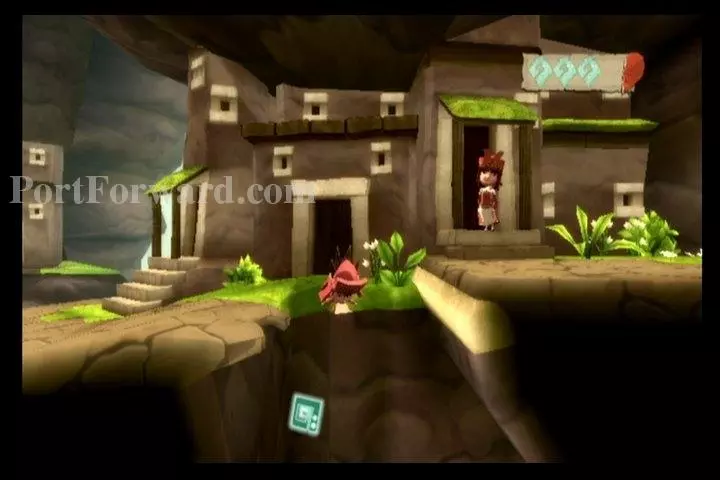
Gust up to the upper-right, where you first found Notea. You'll find a different man working here. He will explain that Notea has gone off exploring the Cliffside Village, East of here.
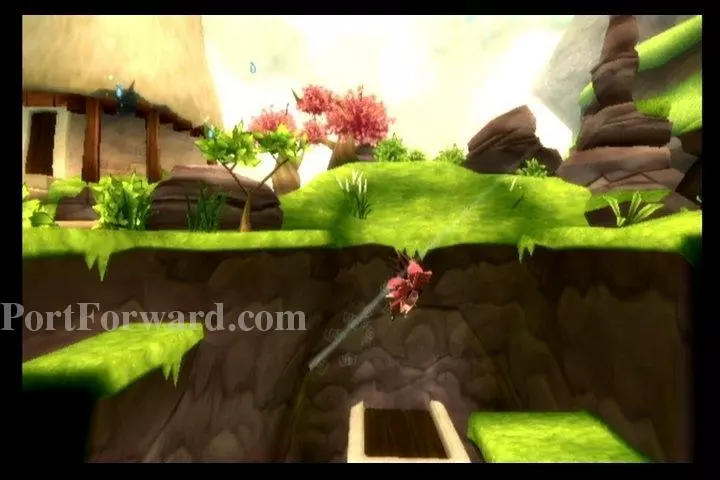
Gust yourself over the pit to your right.
Grab the Heli-bud that you come to.
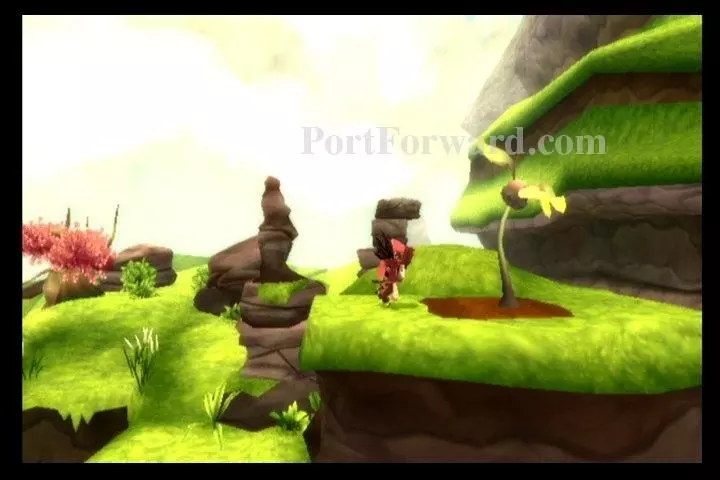
Jump off the platform to the right. Draw a slipstream between yourself and the grassy area above. You may need to give yourself an extra gust to make it all the way up. Grab Melodia Idol #7 here.
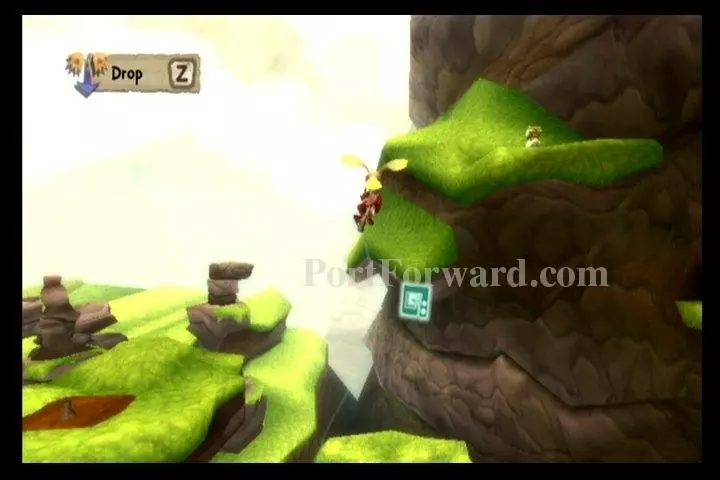
Now jump off the platform where you found the Melodia Idol, to your right, then take the exit on your right.
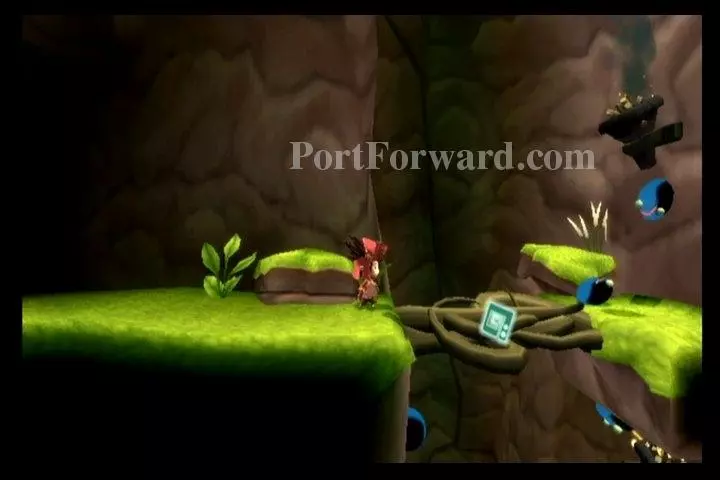
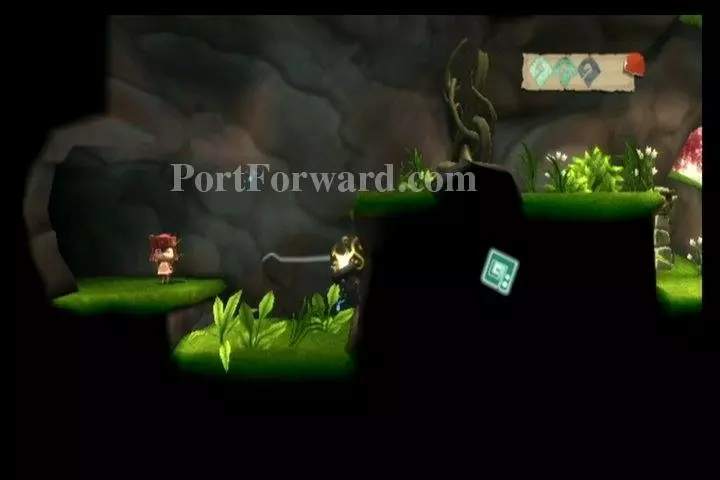
You'll come to some vines blocking your path downward. Destroy the Glorbs here.
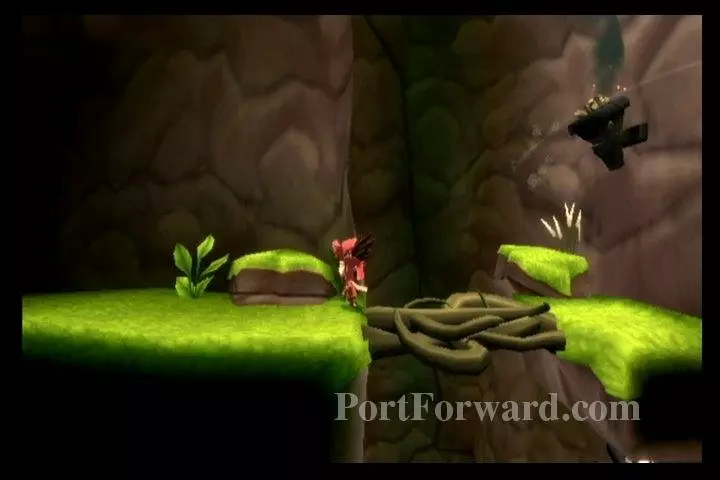
Light the torch with a gust.
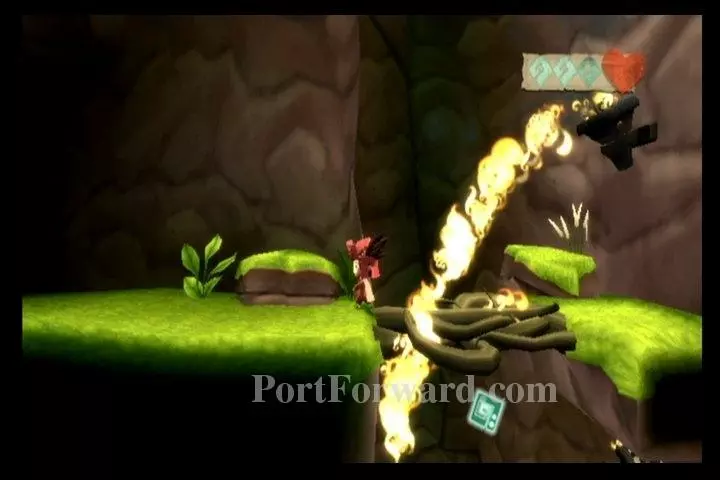
Draw a slipstream from this torch to the vines to destroy them.
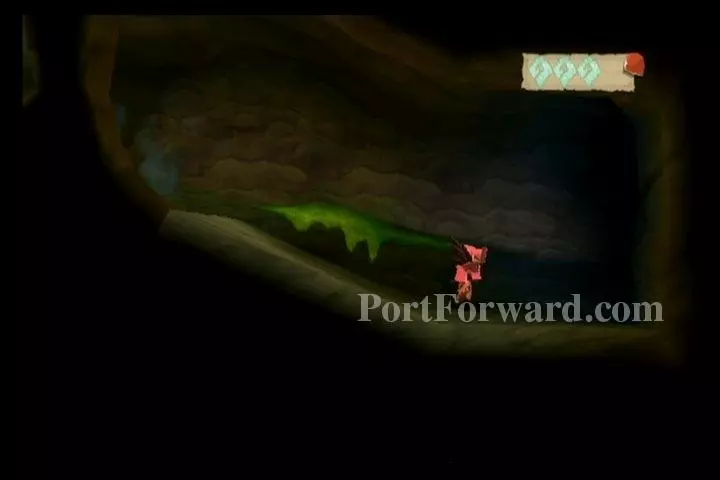
Drop down and slow your descent.
You'll find another torch and vine down here to draw a slipstream between.

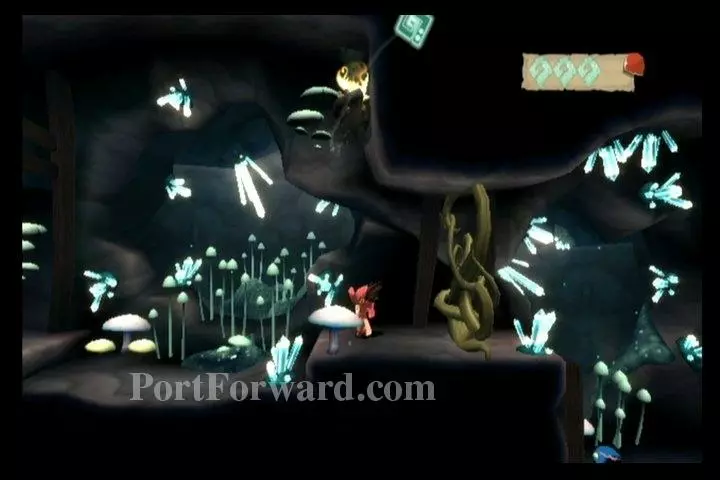
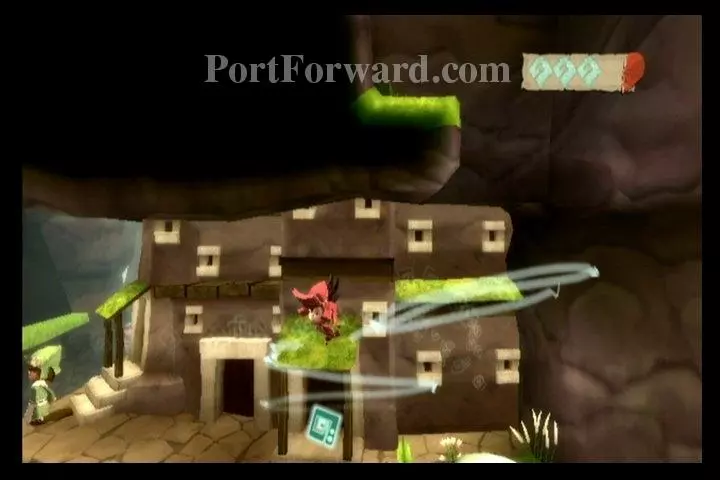
Next, you'll come to a pit with some Glorbs. Destroy them, then gust over the pit.
Gust yourself to the ledge on your upper-right.
Then gust yourself until you reach a ledge on your upper-left.
You'll find Melodia Idol #8 here.
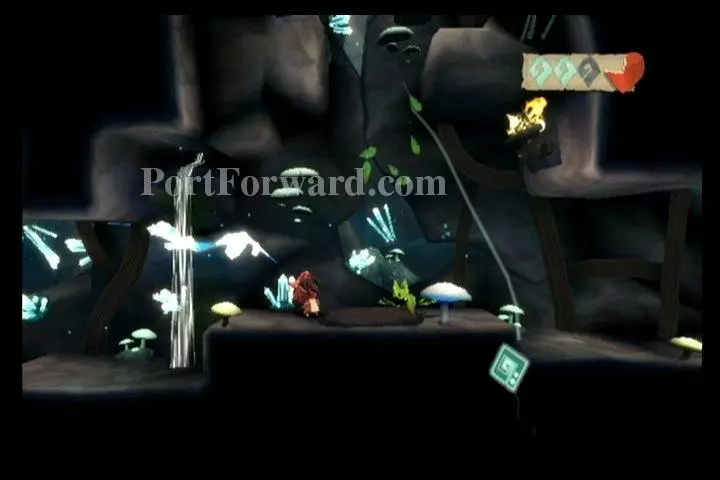
Gust over the broken wooden bridge, above the windmill.
Drop down the pit.
Continue to drop down the ledges. The last one will be a far fall, so slow your descent.

Walk leftward over the wooden bridge.
Drop down the pit you come to.
You'll find a Melodia Statue to save you game.
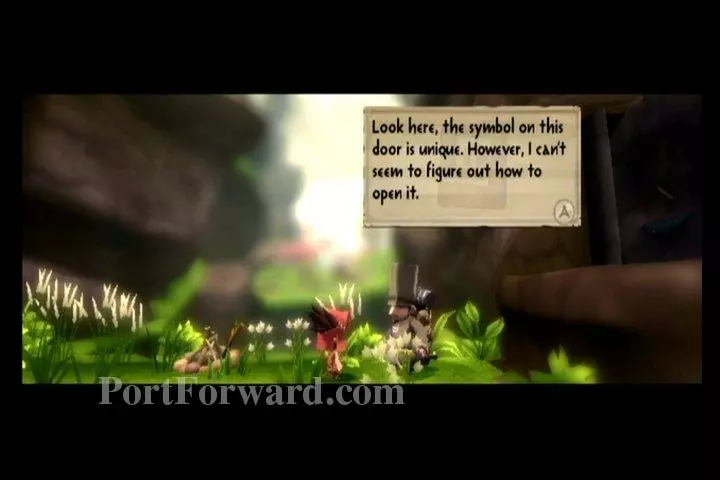
To the right, you'll find Notea. He is trying to figure out how to open a door.
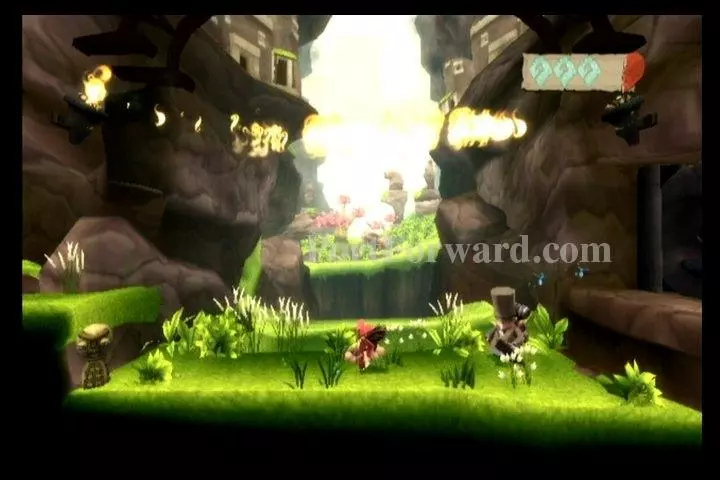
Go in the middle of the grass. You should be able to see a lit torch on your upper-left and an unlit one on your upper-right. Draw a slipstream from the lit one to the unlit one.
This will open the door. Go through it.
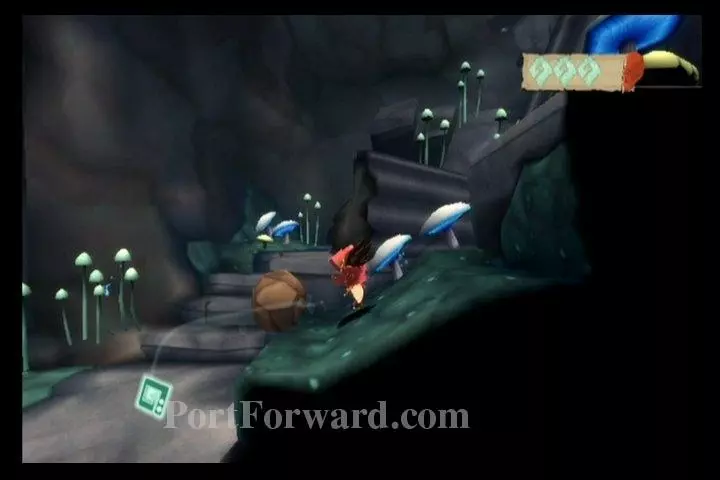
Kill the Glorbs in your path.
Drop down the pit you come to. On the right side, you'll find a boulder. Take this boulder with you as we head left.
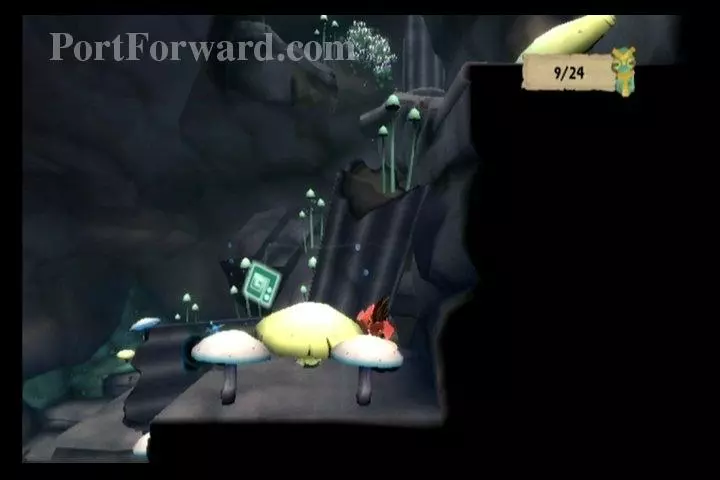
At the bottom mushroom, you'll find Melodia Idol #9.
Continue leftward with the boulder.
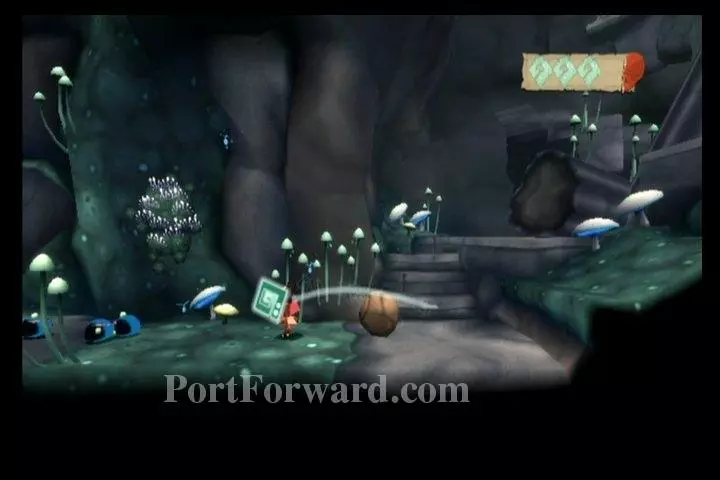
Attack the Glorbs in your way.
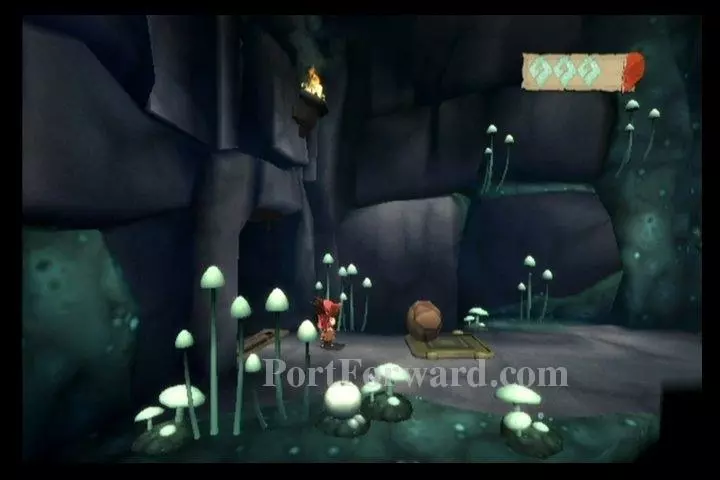
Place the boulder on the switch to open the left door, then walk through.
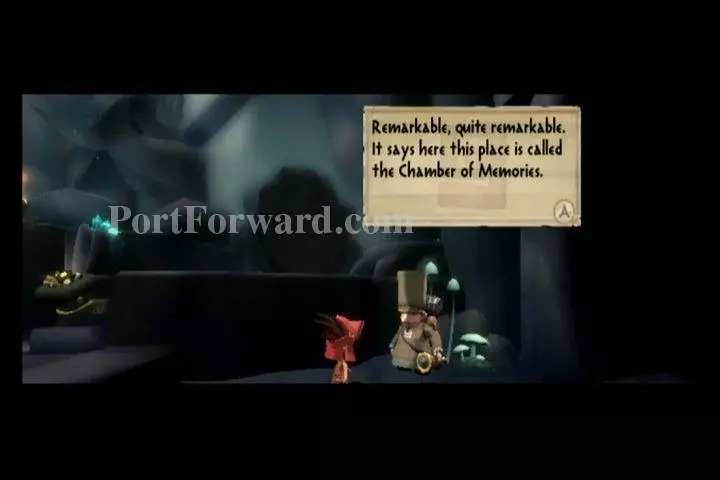
Notea will tell you this is called the Chamber of Memories.
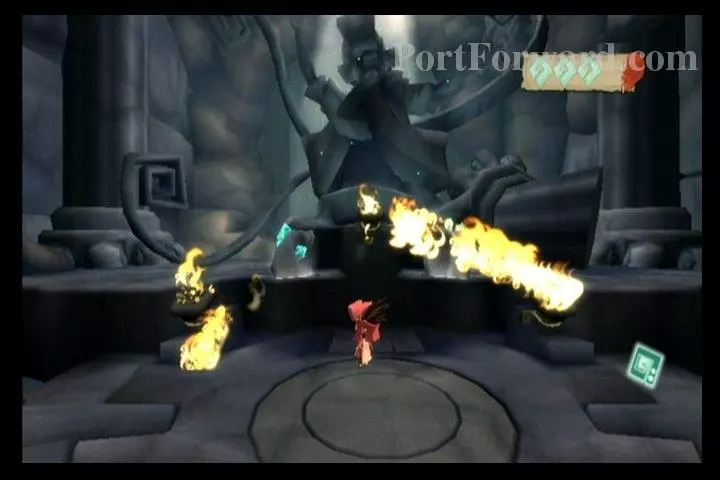
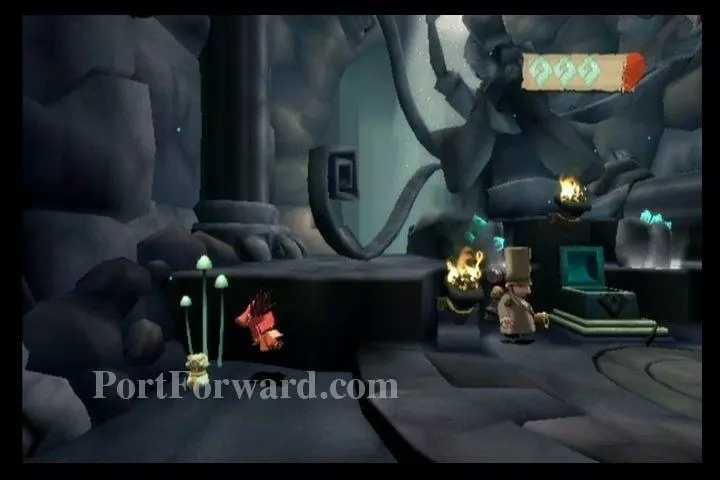
Go under the lit torch and draw a slipstream from the lit torch to the two unlit torches.
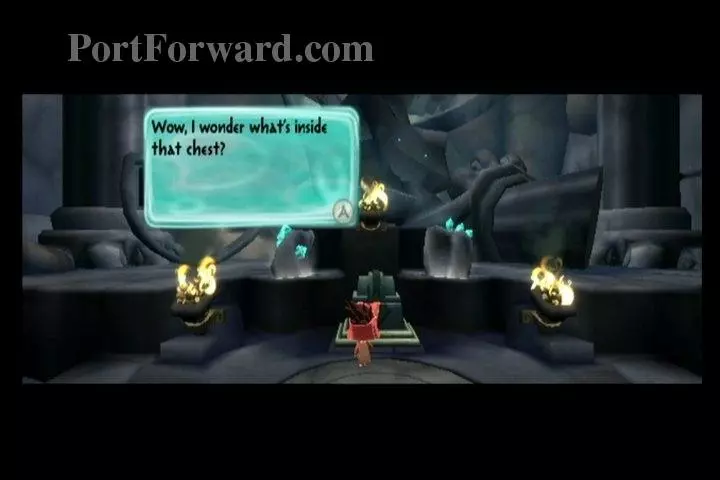
A chest will appear.
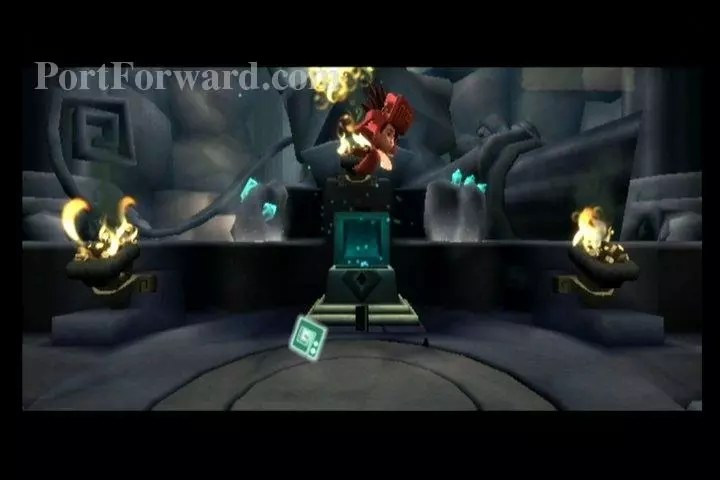
Grab onto the chest with Z and gust upward to open it.
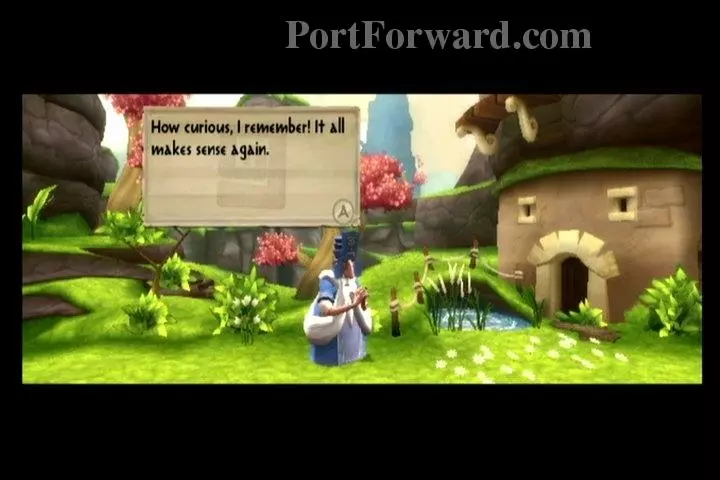
You seem to have returned some of Deo's memories.
To the left of the chest, collect Melodia Idol #10.
More LostWinds Walkthroughs
This LostWinds walkthrough is divided into 7 total pages.


