
This Megaman X2 walkthrough is divided into 16 total pages.
You can jump to nearby pages of the game using the links above.
Sigma Stage 1: All Bosses
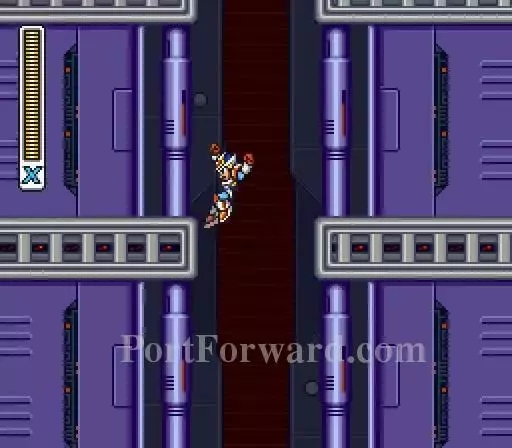
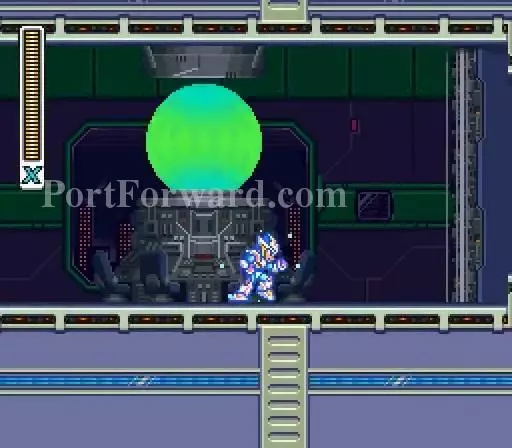
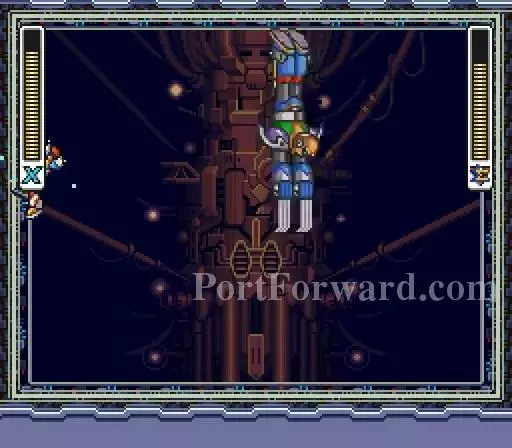
No enemies here. Just climb to the top.

The left teleporter is gone so enter the right.

Each pod contains one of the eight bosses. I will list all changes only.
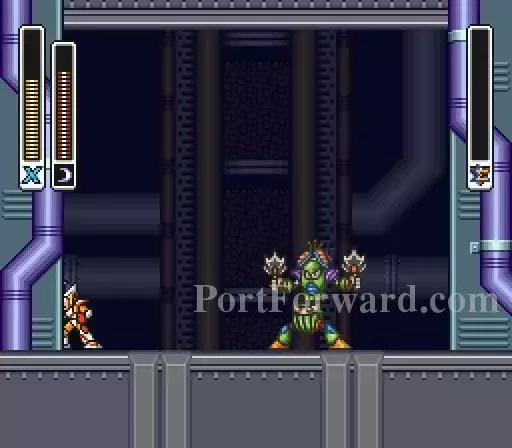
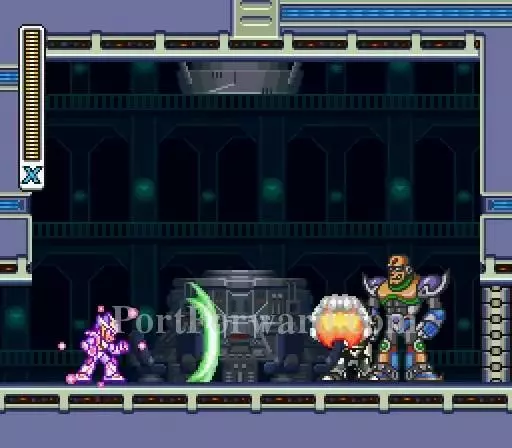
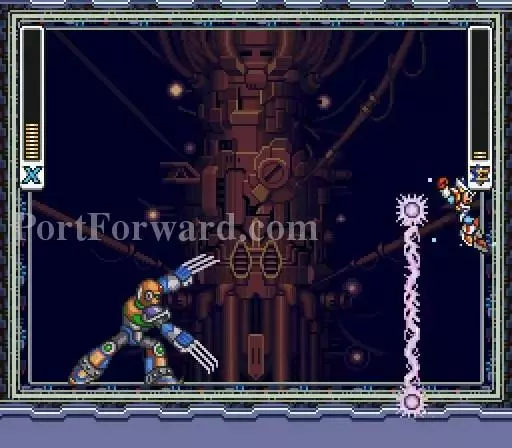
Use Sonic Slicers on Wire Sponge. His death is gruesome.
As he falls apart.

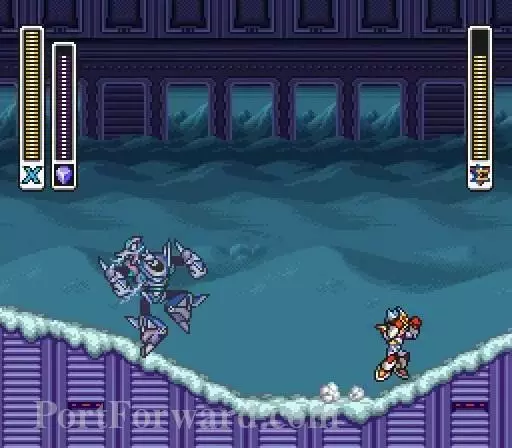
Bubble Crabs fight adds spikes on the ceiling.

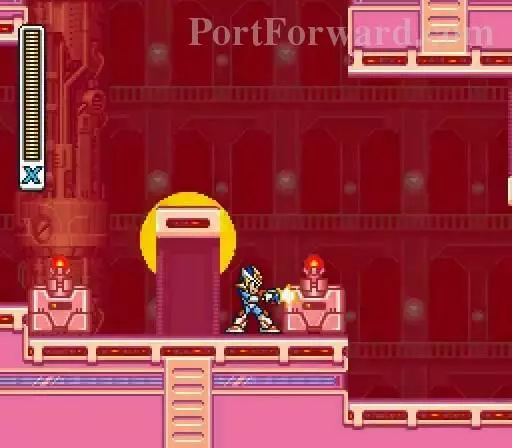
Flame Stag's fire is blue from the start.
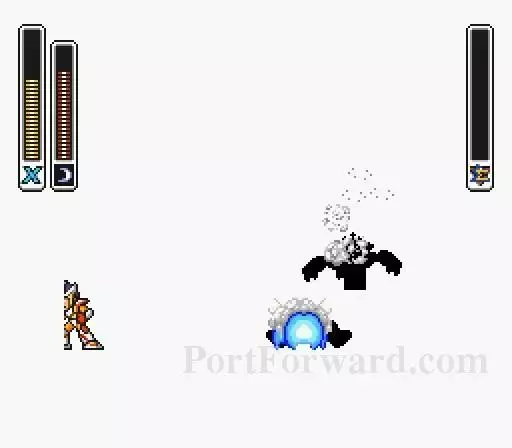
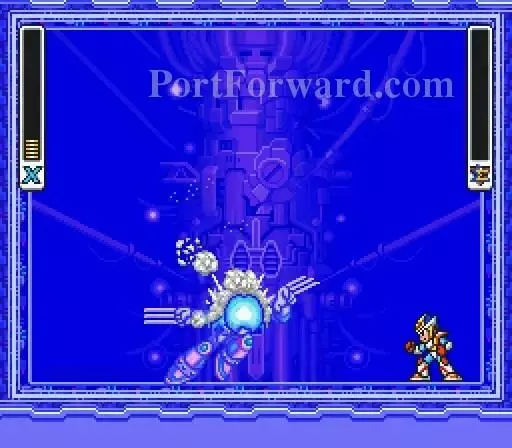
This is Overdrive Ostrich after being hit by Crystal Hunter. He always responds with Sonic Slicers.

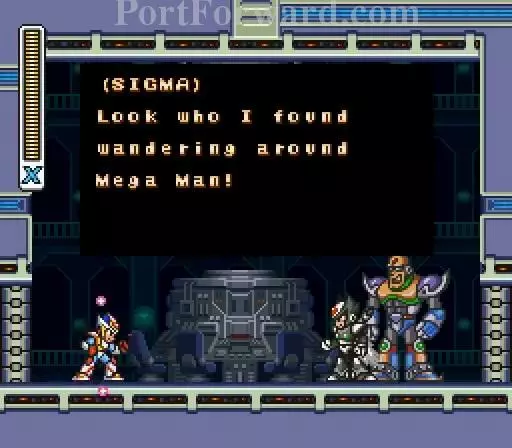
All eight bosses defeated. Sigma sends a message.
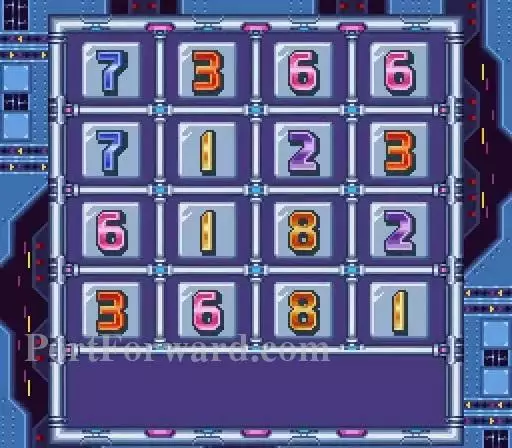
Password.
Sigma Stage 2: Sigma

You are back in Magna Centipede's stage.
This is what a Beckler looks like with the alarm in effect.
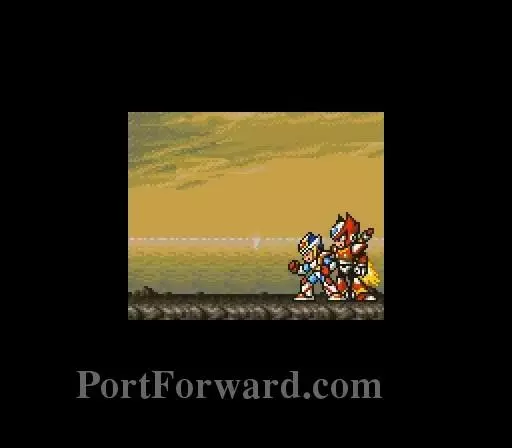
Sigma and a fake Zero prepare to fight. Failure to obtain Zero's parts resulted in this being the real Zero.
What's this?
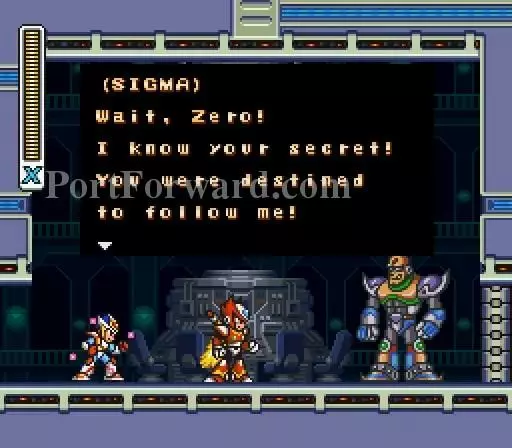
It's the real Zero.

Zero sends you after Sigma.

Through the hole you fall.
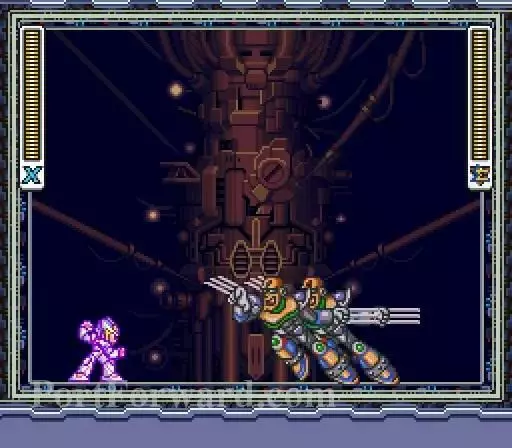
I didn't use it in this fight but Sigma's weakness is the Sonic Slicer.
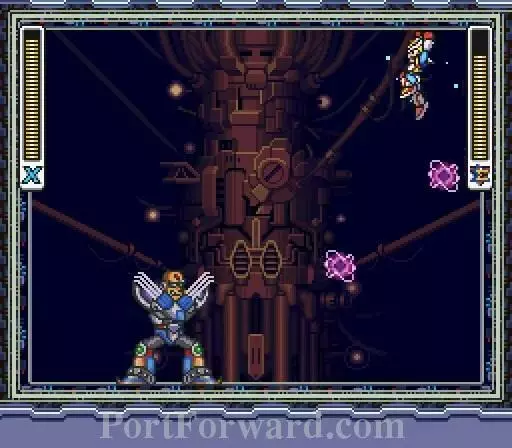
Sigma sends out five sparks in various directions.
Ocassionally, he will blink out and reappear and try to ambush you.

Avoid his swipes as they will bounce you across the room.
His last attack is a electric barrier. Scale the wall to avoid it.
Sigma is defeated but it's not over yet.
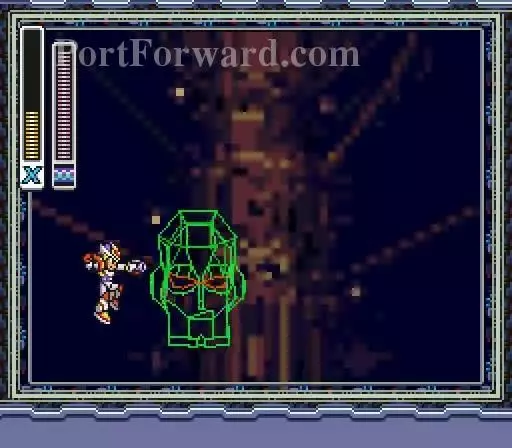
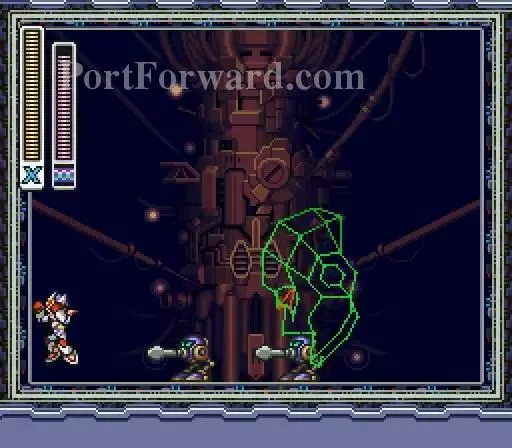
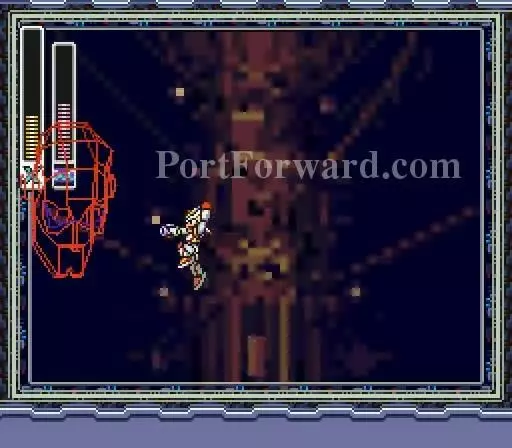
The first appearance of Sigma in wireframe form. Use Strike Chain on him.

Avoid the lasers coming from his mouth.
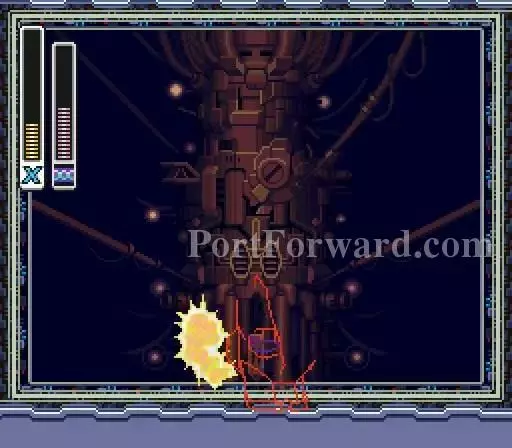
Sigma will send enemies to attack you. Like these Scrivers. All do yield powerups when killed.
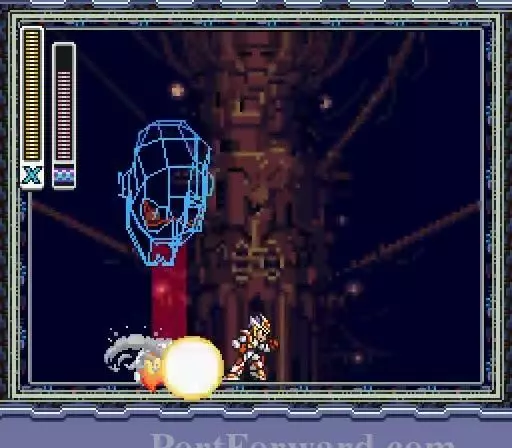
As Sigma takes damage he changes colors. He has no lifebar so the color dictates the damage.
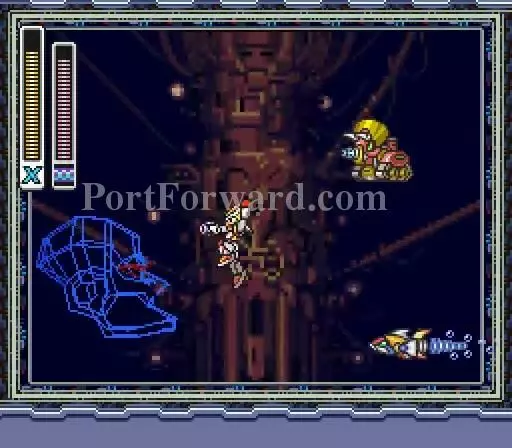
A Fishern and Tiranos.
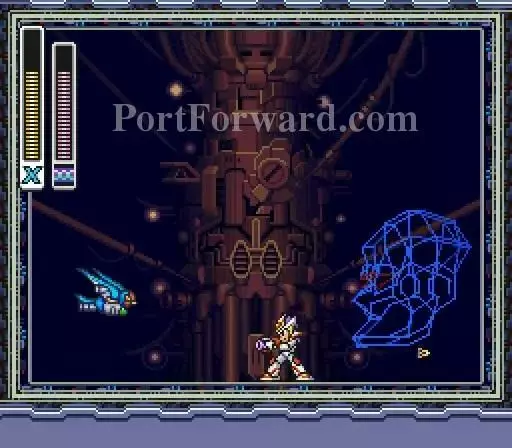
A Tubemail-S.
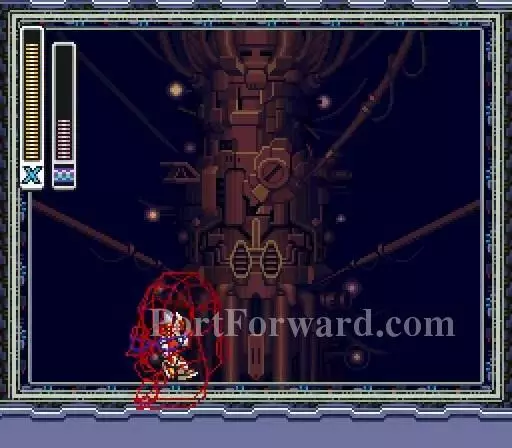
When he turns Red his is almost finished.
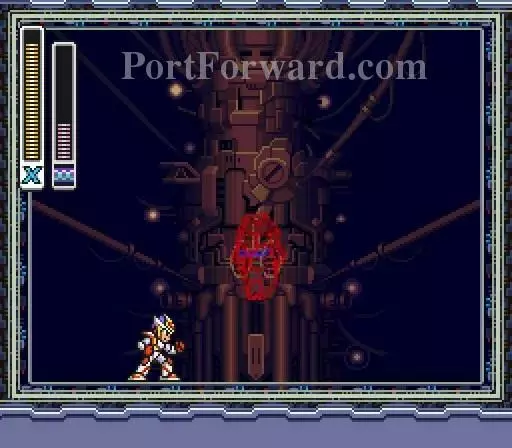
He will disappear and reappear in random spots. Don't let him reappear on you.
If he does then shoot him as much as possible.
Sigma is down and out at least until Mega Man X3.

Sigma's final message for the game.

X escapes the base.
The End.
More Megaman X2 Walkthroughs
This Megaman X2 walkthrough is divided into 16 total pages.


