
This Megaman X2 walkthrough is divided into 16 total pages.
You can jump to nearby pages of the game using the links above.
Magna Centipede - Magnu Hyakulegger
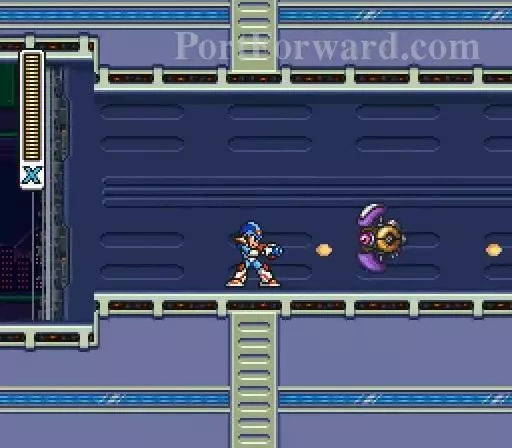
This is a Barrier Attacker. It forms a shield that protects it but gets shattered easily. Finish it off when its shield dissipates.
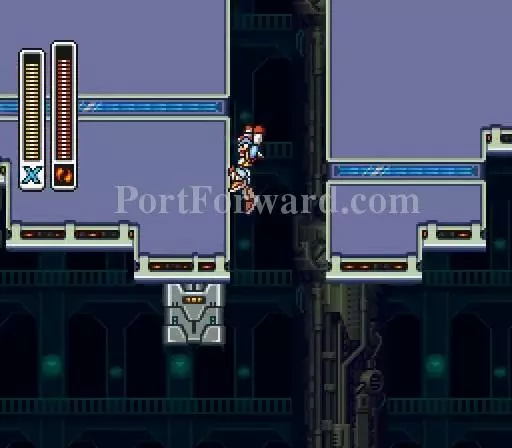
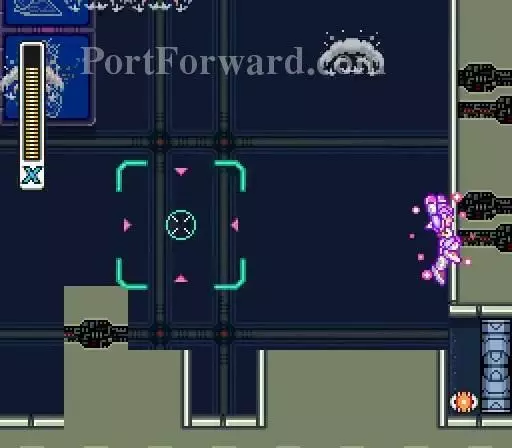
Avoid the searchlights.
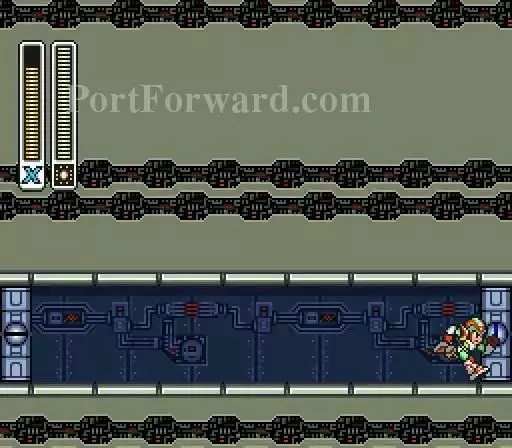
Get in front of these blue parts as much as possible. The searchlights don't shine here.
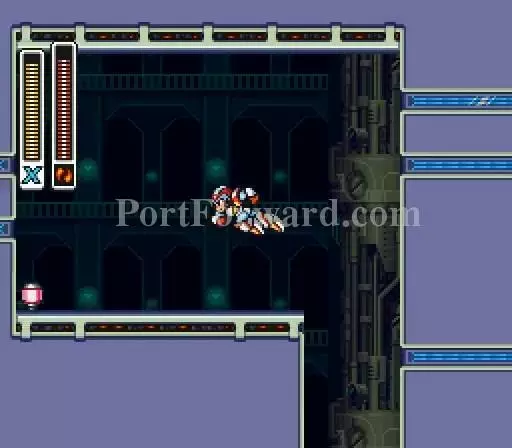
It's better to dash into this spot and out. You don't want any Bleckers falling down anytime soon.

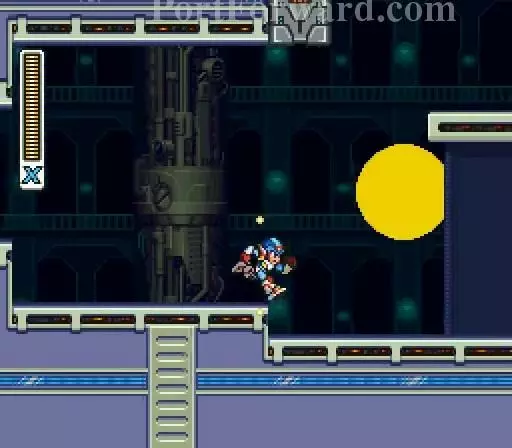
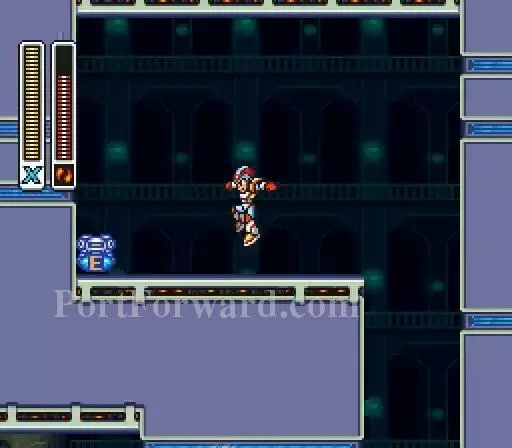
Dash jump up to this spot to avoid this searchlight then come down when safe.
As long as this Blecker is still here, use a charged Speed Burner to reach it and hop up the wall.
There is a Heart Tank here.
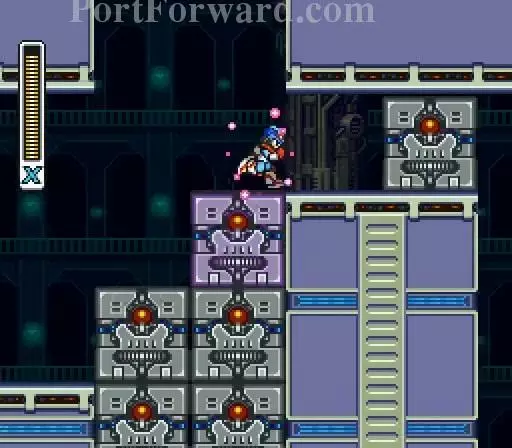
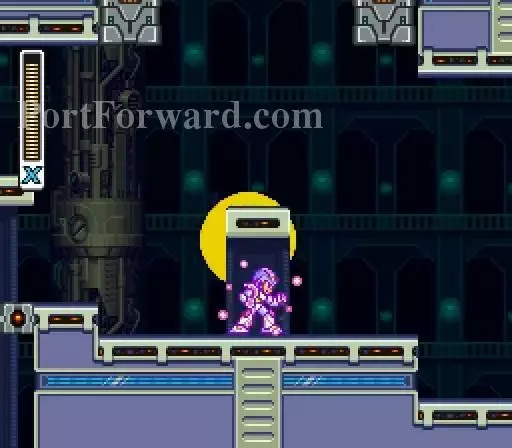
Soon Installers will fall into place. You can only destroy the blue ones.

Don't let them crush you.
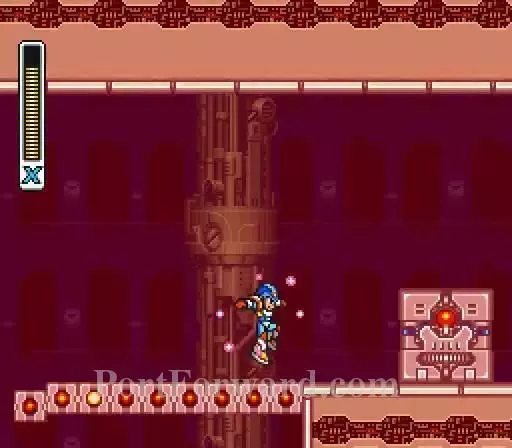
Use a charged Speed Burner to reach this wall and climb up.
You get an E-Tank.
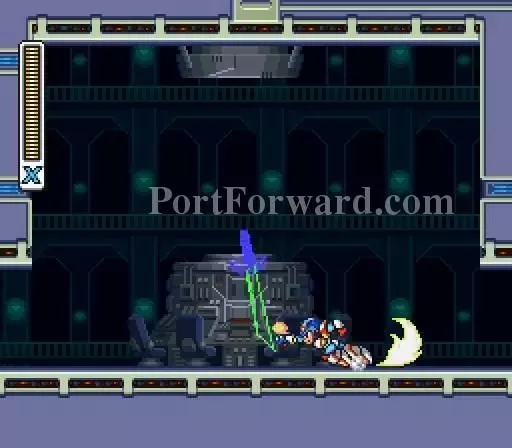
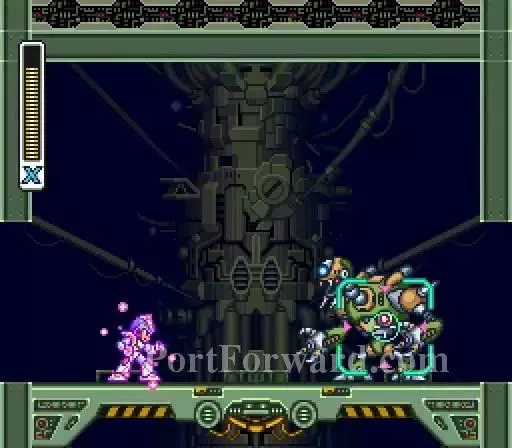
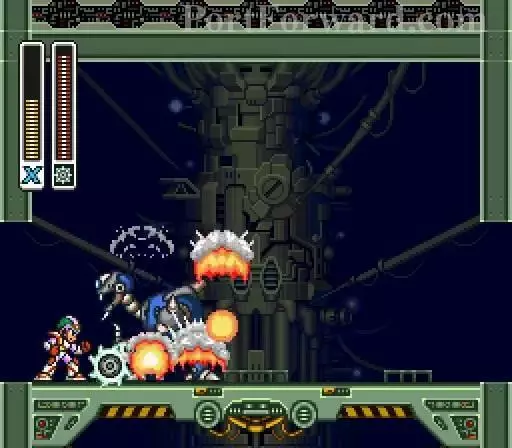
The Chop Register comes to life. Like those graphics this sword has. The sword repels bullets and actively tries to attack you.
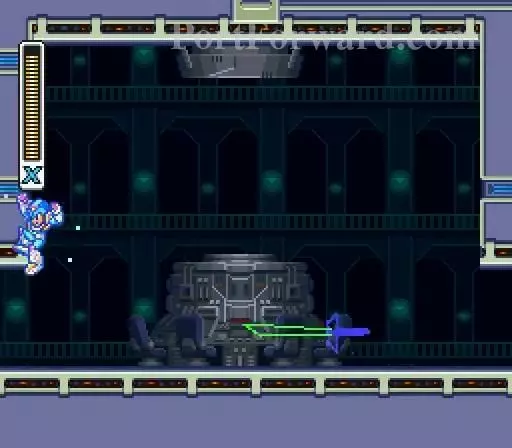
Use the wall to avoid the straight thrusts. To defeat it, use a charged Sonic Slicer or even a Giga Crush to destroy it.
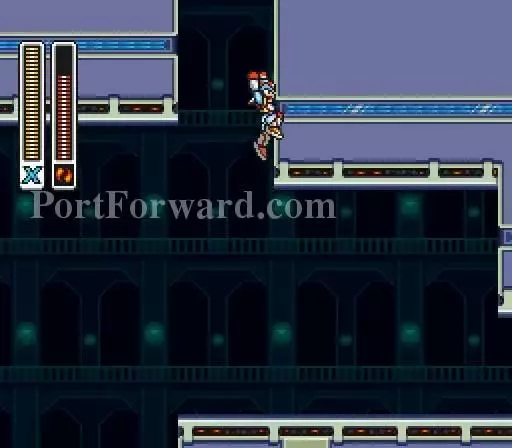
Fall down the right side to avoid the searchlights. I failed to do so here.

Dash like crazy to avoid the falling blobs of blocks.
If you are fast enough, you will reach here but since all X Hunters are defeated here, you won't fight one.
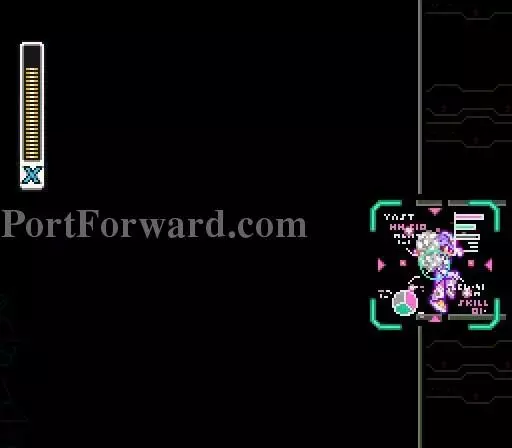
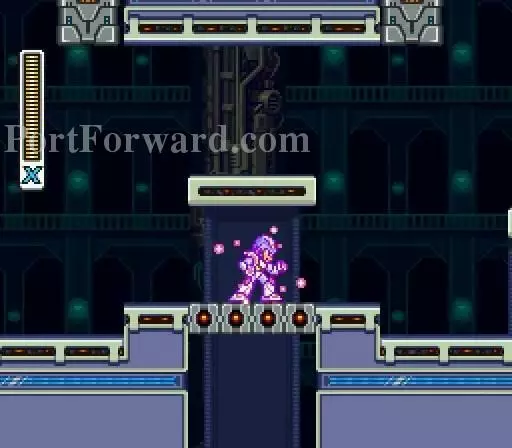
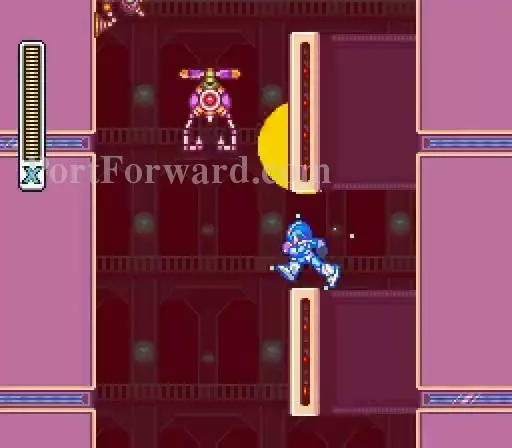
Don't let the analyzer touch you because that will change up the upcoming mini-boss's appearance and method of attack.
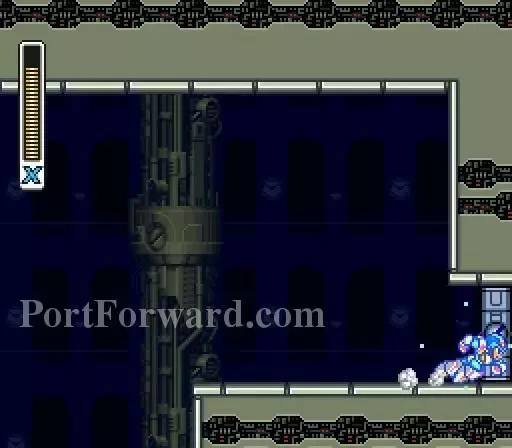
I got scanned only once and thus the Raider Killer turns from green...
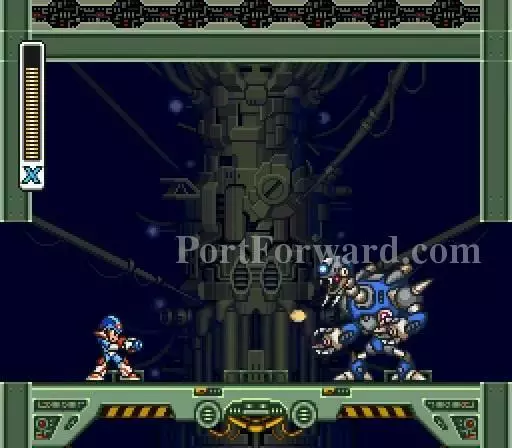
...to blue. Instead of aimless shooting, it aims it shots at you. Had I got scanned 1 or 2 more times, Raider Killer would have been red or purple respectively and try to pounce on you (red) or uses a shield (purple).
The Spin Wheel is a good weapon to use.
The alarm goes off regardless so Installers will come in like crazy and all red core floors will collapse.
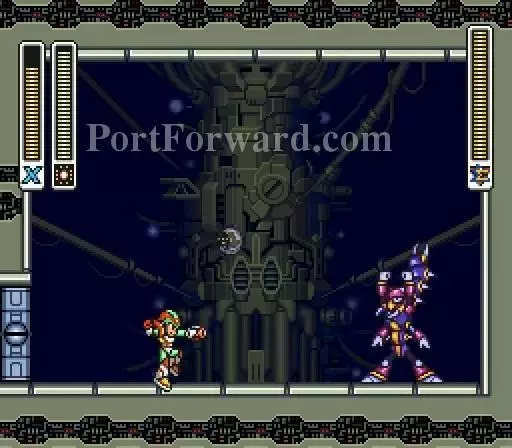
The boss is just ahead.
Arm your Silk Shot and prepare to take on Magna Centipede.
Fire your Silk Shot the first chance you get.
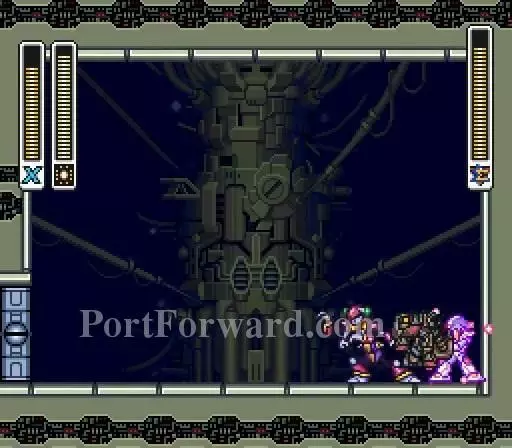
This destroys his tail and takes away the ability for him to poison you.

Magna Centipede will constantly reappear and disappear around the room.
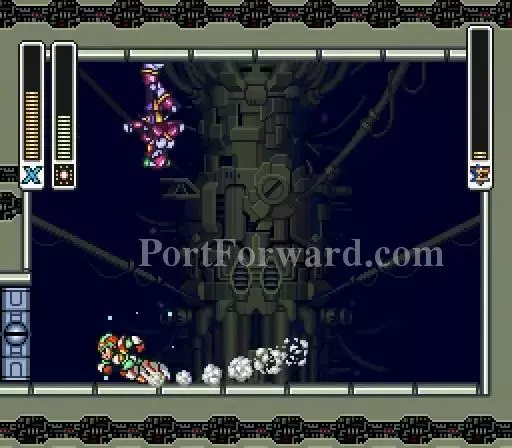
Sometimes he will stand upside down.
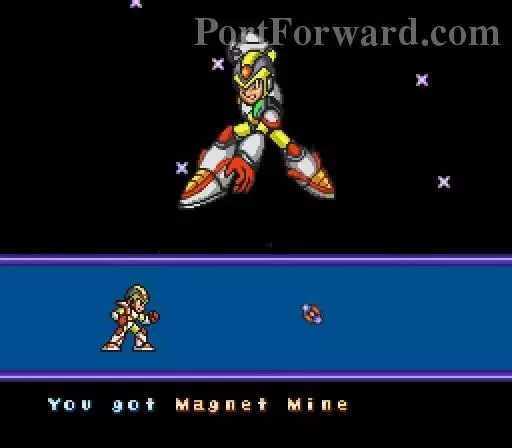
You got Magnet Mine.
Password.
More Megaman X2 Walkthroughs
This Megaman X2 walkthrough is divided into 16 total pages.


