
This Megaman X2 walkthrough is divided into 16 total pages.
You can jump to nearby pages of the game using the links above.
X-Hunter Stage 3: Agile
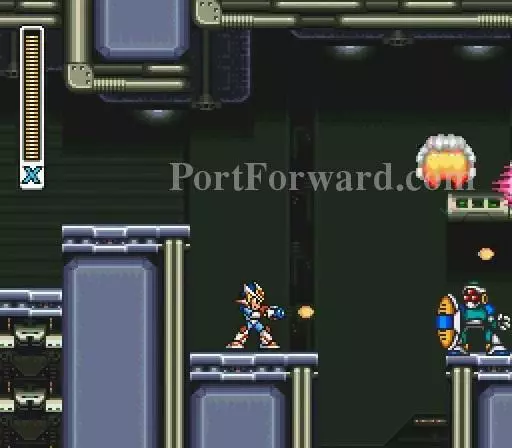
Take on the Disk Boy 08s as you see them.
To get the items above, use the Strike Chain.

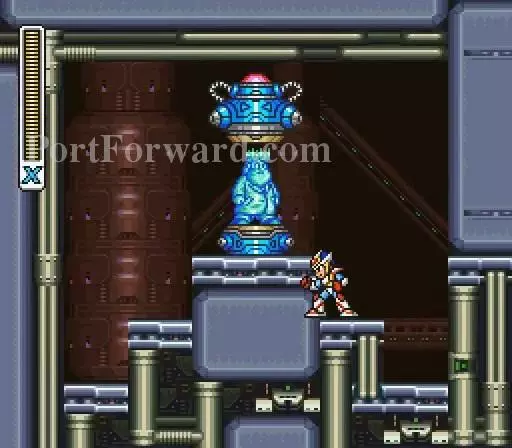
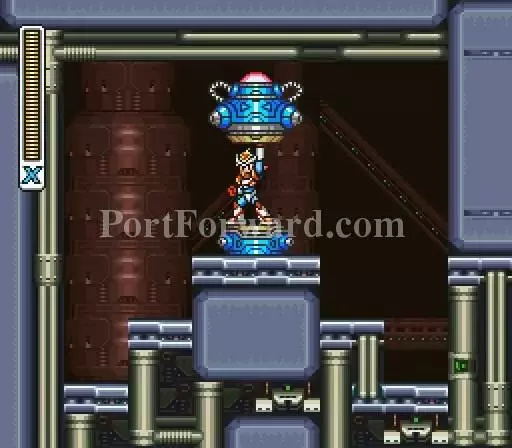
Guide this platform upward.
You got a full lifebar here but here are three life-ups for your E-Tanks.
Use the charged Speed Burner to get over the spikes. Get the energy and go back.

Ride this platform to the top.
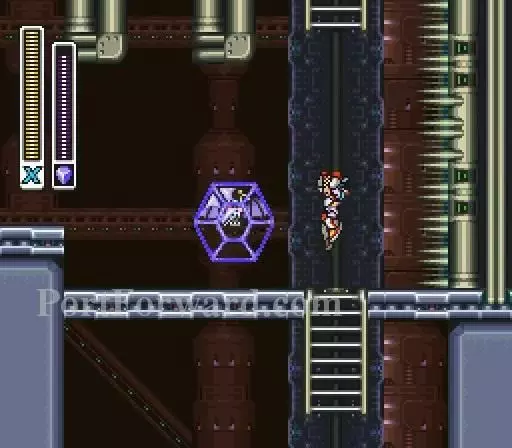
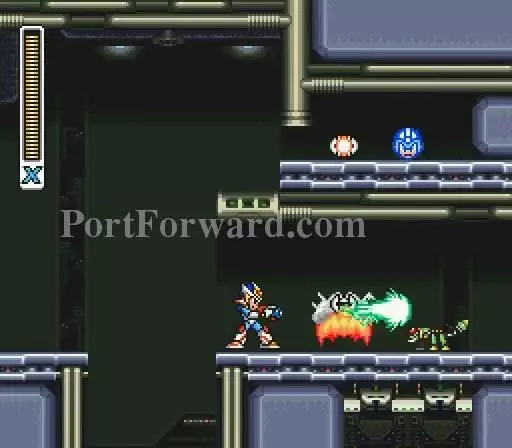
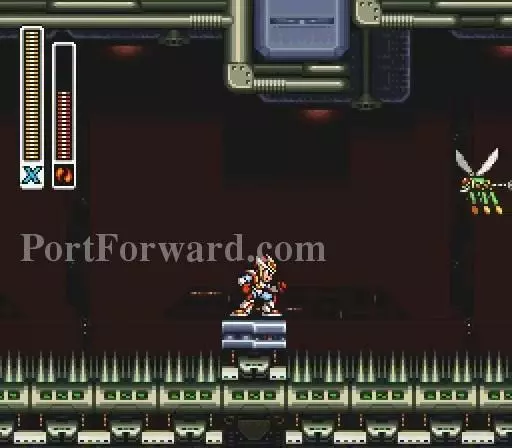
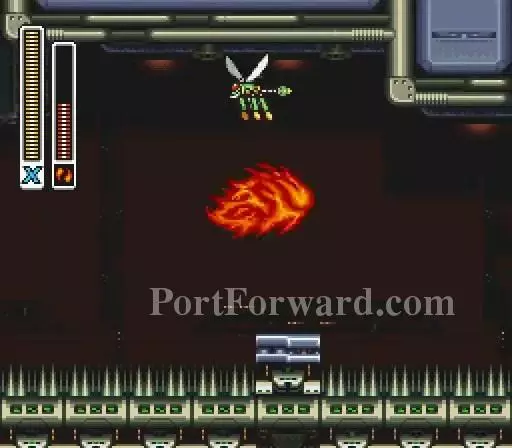
Lure a Bat Bone type G here and crystalize it.
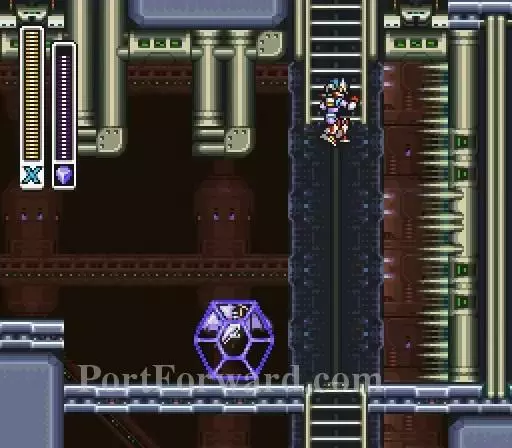
Use it to reach this ladder.
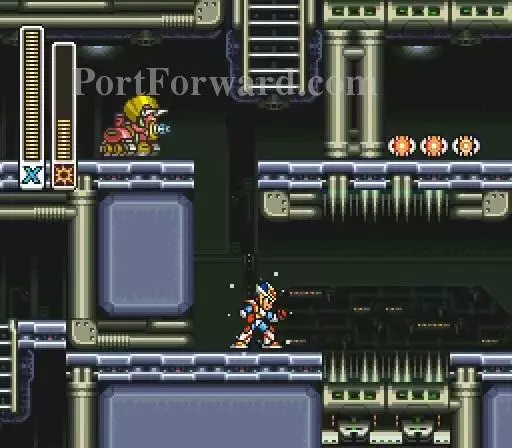
Clear all enemies first.
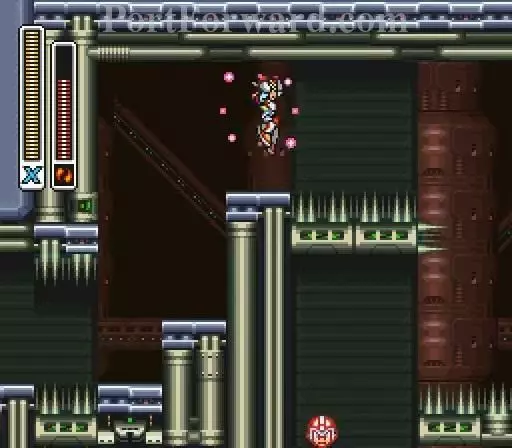
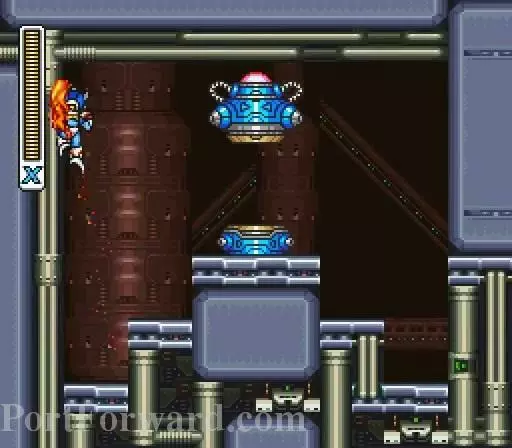
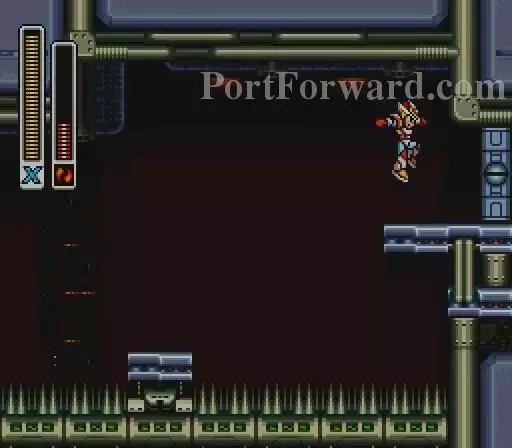
Try to cling to this wall.

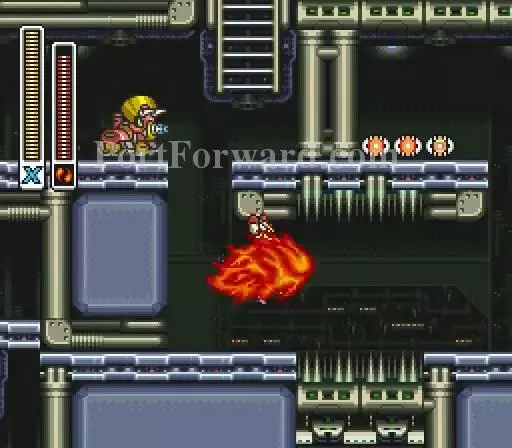
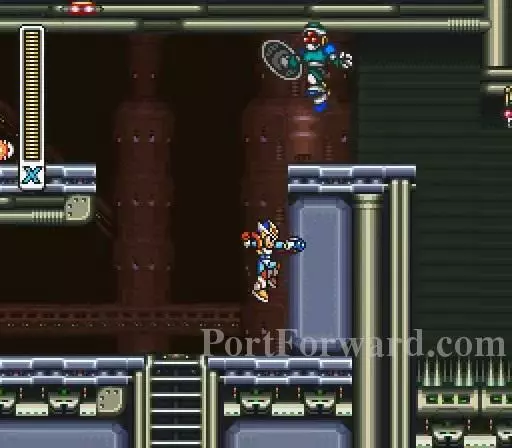
Jump a little to the right and use a charged Speed Burner to land here. Destroy these guys.
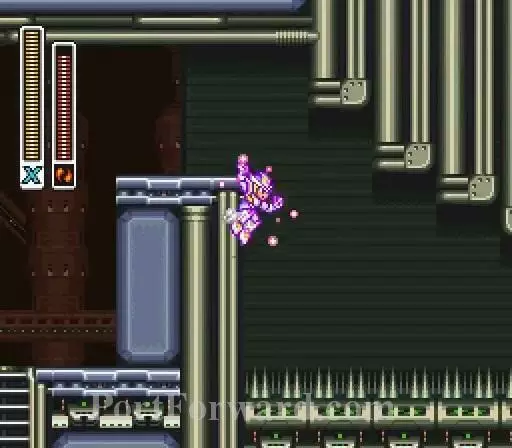
Use a charged Speed Burner but don't hit the spikes.
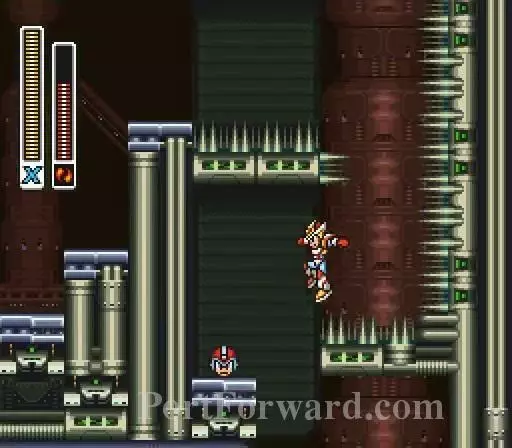
As you fall, use an air dash to the left before you land on the spikes.
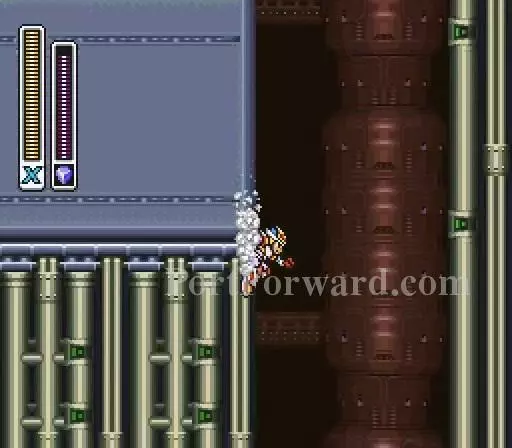
Slide down the wall.
You will eventually go through.
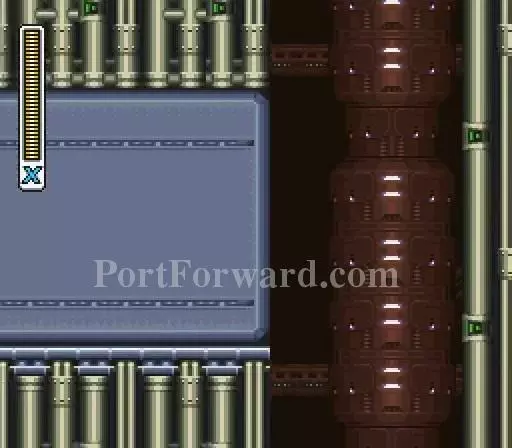
If your lifebar is full, a Wily Capsule appears here.
You get the Shoryuken.
Use the Shoryuken motion to perform it. It is (left, down, down-left then shoot if facing left). The opposite directions if facing right.
Use charged Speed Burners to reach these platforms.
Another good weapon to use though not here is the Crystal Hunter.
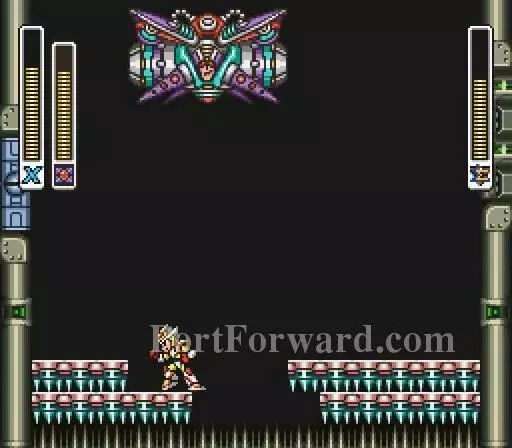
Time to take on Agile.
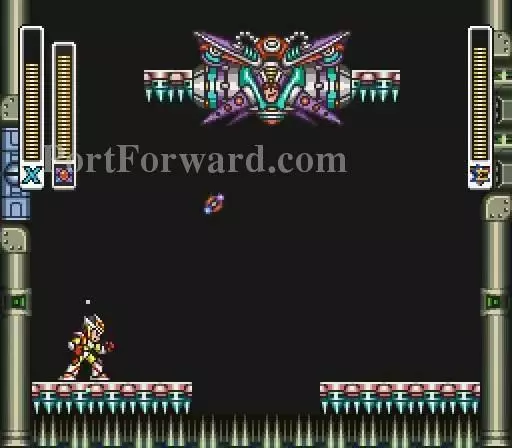
Attack him with Magnet Mines. When he forms platforms, try to be under him to avoid the platforms falling on you.
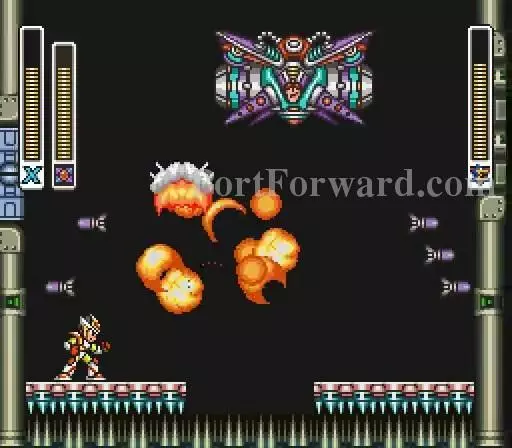
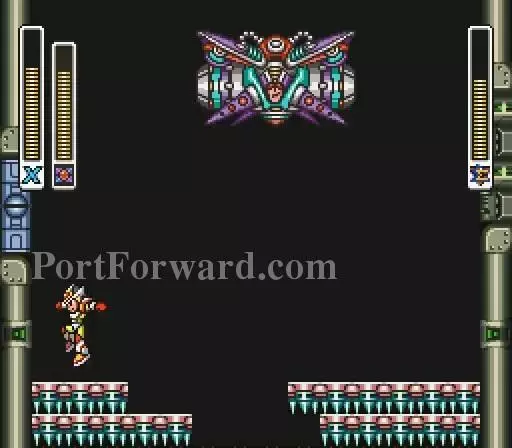
Agile also sends missiles.
When you successfully dodge the platforms, the stage scrolls down.
As you can see the spikes appear to be gone but falling in that gap still kills you instantly as if they were there.
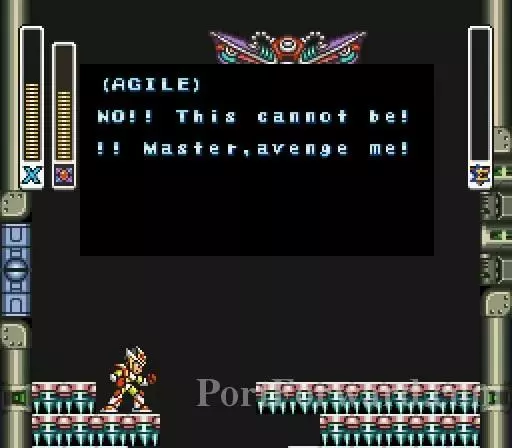
Agile is now destroyed.
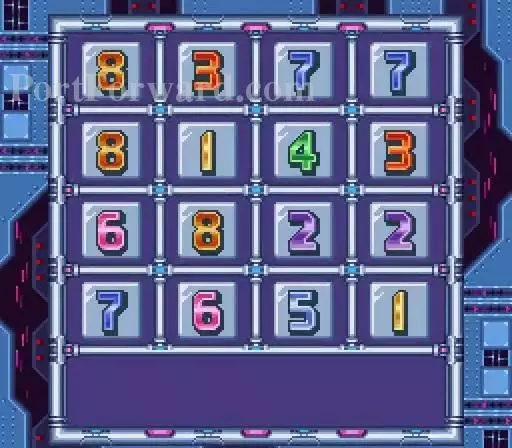
Password.
More Megaman X2 Walkthroughs
This Megaman X2 walkthrough is divided into 16 total pages.


