
This Metal Gear Solid: Rising Revengeance walkthrough is divided into 20 total pages.
You can jump to nearby pages of the game using the links above.
R-04: Hostile Takeover
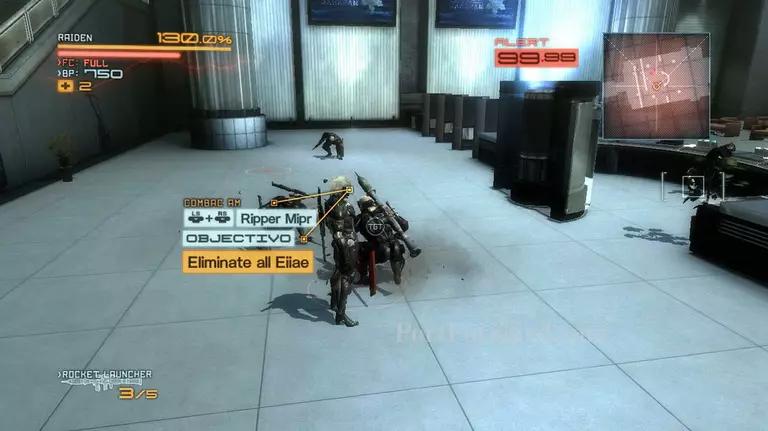
When you get inside of World Marshal HQ. Run towards the front desk and vault over it. The Android secretary will then call in some cyborgs to eliminate you.
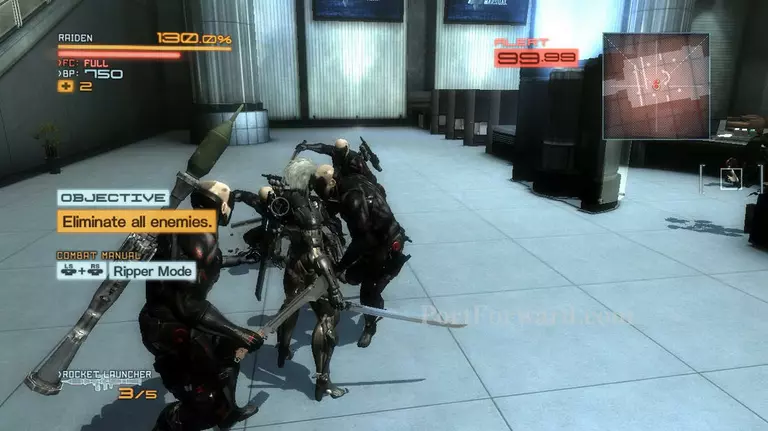
There's a lot of them and although they're wearing the Desperado uniform, they still have the same attack patterns as the police and soldiers that you've fought so far. Kill all of them then head for the second floor.
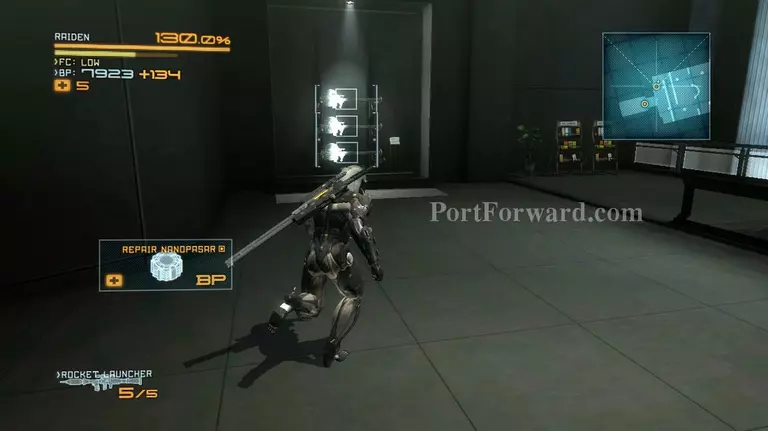
On the second floor you'll find some glass cases that have weapons inside them. Slash the case and take the weapons that are inside, then head for the elevator.
After being informed that Doktor will do the hacking for you, head out to the main entrance again and use the turrent that are on the second floor.
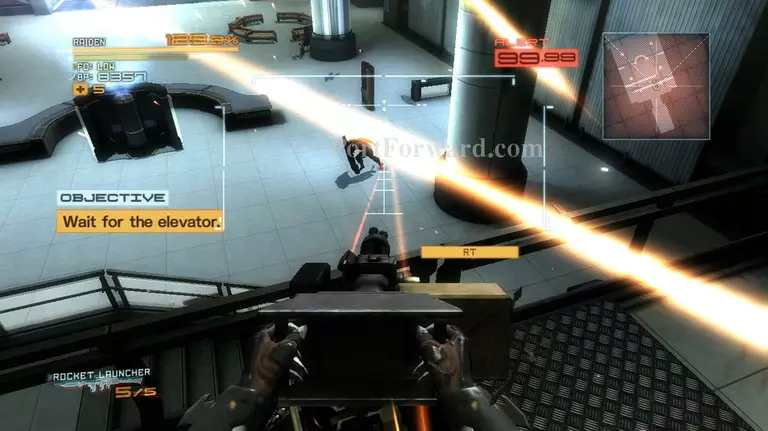
There's going to be a lot more Desperado operatives this time. The goal is to kill as many of them as you can, you can leave the turrent if you want to, but I don't recommend leaving the second floor.
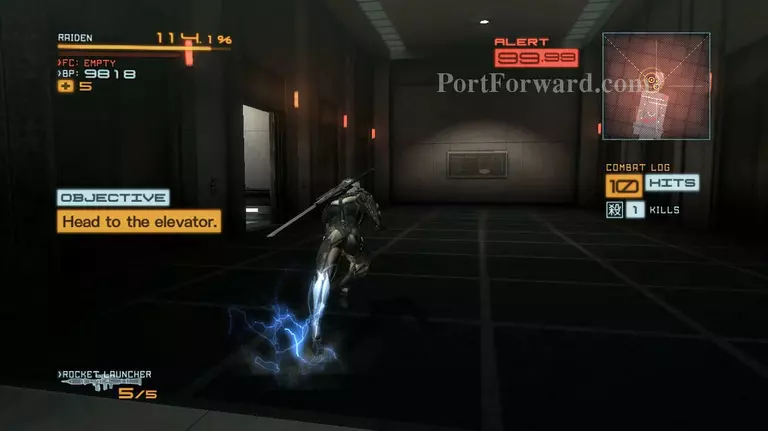
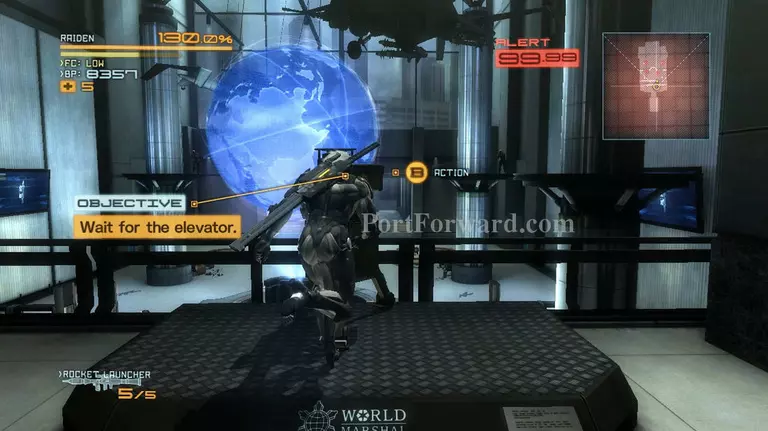
Keep killing the Desperado operatives and you'll eventually receive a call from Doktor informing you that the elevator is now ready. Head back to the elevator and enter the only open elevator on the left side.
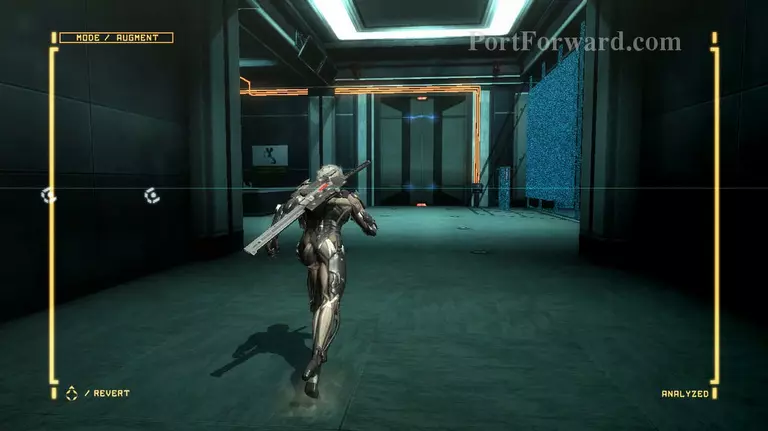
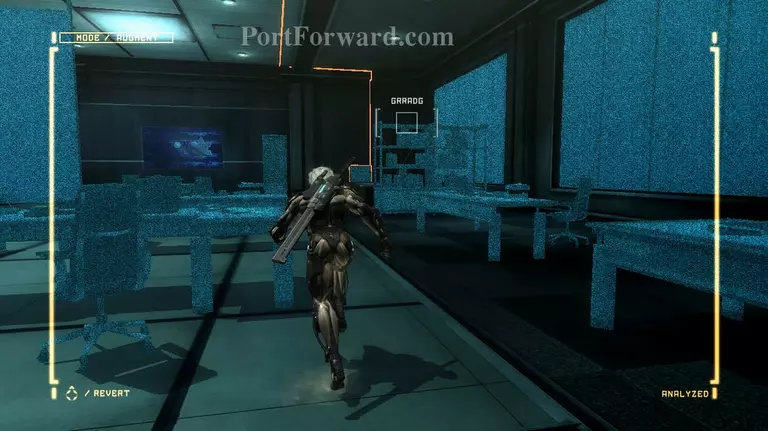
When you get to the 20th floor, you'll need to find the electrical panels that are powering the security gate right in front of the elevator you were riding on. Activate VR mode by pressing up on the Dpad, you'll see 3 wires running from the security gate, follow them.
Slash open the first glass door, then head into the hallway. Get the guards's attention. Well you can also sneak around, but I found that it was just so much easier to kill all of them, then look for the panels.

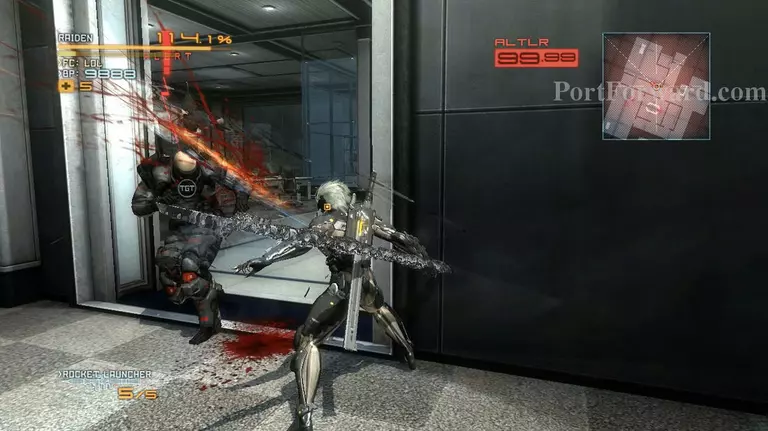
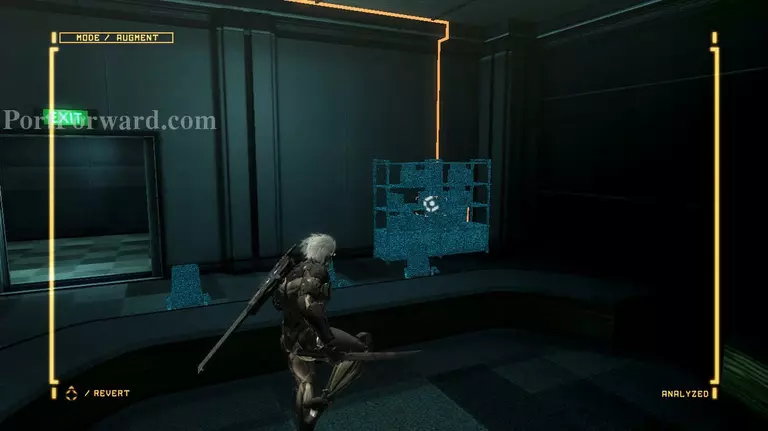
The first Electrical panel is at the back of the first room on the right side, right behind the bookshelves on the right side. Slash it with the HF blade to destroy it.
The second panel is in the room adjacent to where the first panel is. It's also at the far right corner of the room, behind the bookshelves. Raptors will attack you after you've destroyed the second panel. Kill them before looking for the third one.
The final electrical panel is in the first room on the left side (from where the security gate is). The bookshelves are blocking this one. Destroy the bookshelf to get to it, once you've destroyed it head back to the security gate.
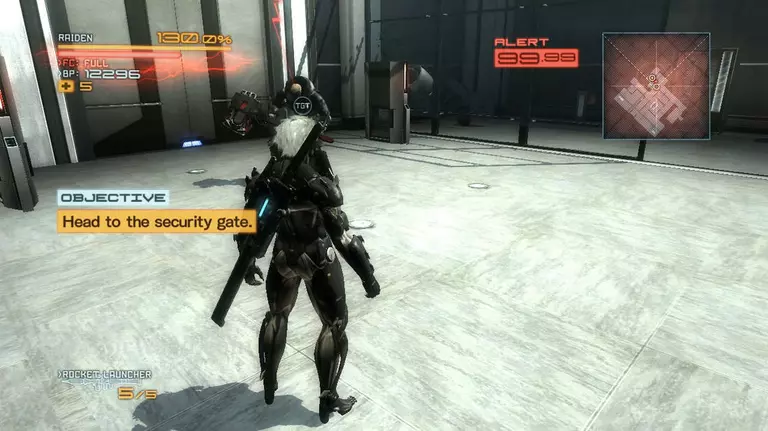
A hammer equipped Desperado operative will be waiting for you at the securit gate, he's the same as the police officer that has the same equipment. This time you have Reaper mode, activate it and keep attacking the enemy to quickly get rid of him, then enter the security gate.
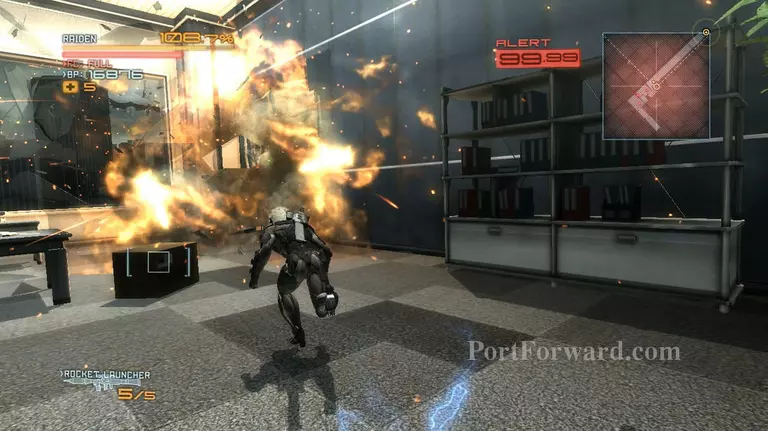
After passing through the security gate, turn right and enter through the next door. Now you can stay and fight the numerous enemies that will appear, but it's better to just run from them. Activate ninja run and just keep running through the hallways and up the higher floors.
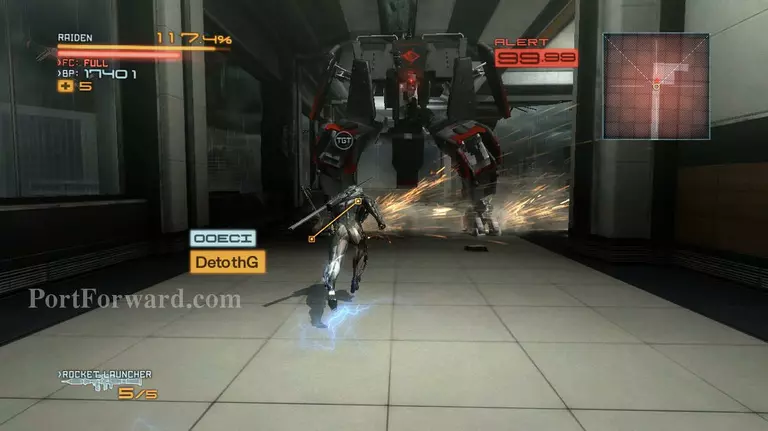
"At the last room that you can go to, a GRAD will come and attack you. You don't have much of a choice in this an you'll have to stay and fight it. Go into reaper mode and start slashing at it with the polearm, it will come down quickly.

After killing the GRAD, Boris will inform you that maybe you can use the Sliders to make your way out. Quickly use ninja run and head for the Sliders just outside the window and keep running through them.

After making your way through the Sliders, Raiden will have to run across the side of the building in an attempt to get to the top. Avoid the red circles that appear on the sides of the building or else you'll fall. Also don't forget that you can jump even though you're currently defying gravity.
More Metal Gear Solid: Rising Revengeance Walkthroughs
This Metal Gear Solid: Rising Revengeance walkthrough is divided into 20 total pages.


