This Metal Gear Solid: Rising Revengeance walkthrough is divided into 20 total pages.
You can jump to nearby pages of the game using the links above.
World Marshal HQ: Higher Floors
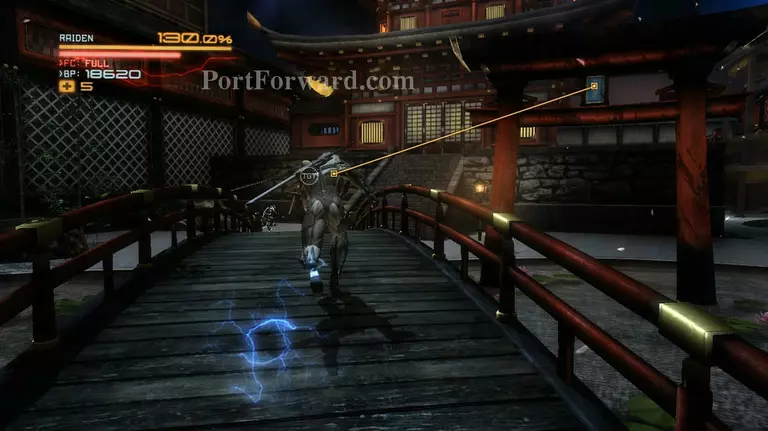
After safely getting back inside the building, go through the corridor and turn right at the first corner. Enter into the Japanese garden and kill all of the Desperado operatives that are waiting to ambush you.
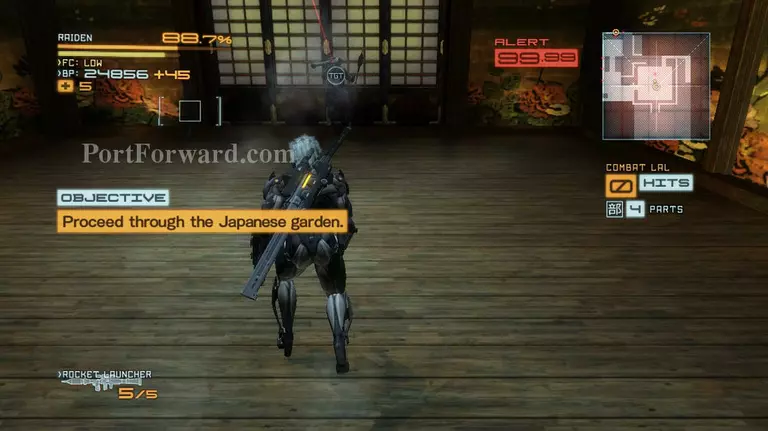
Destroy the door of the tatami room and kill the operative that's waiting inside with his rocket launcher, then destroy the door behind him and head out this way.
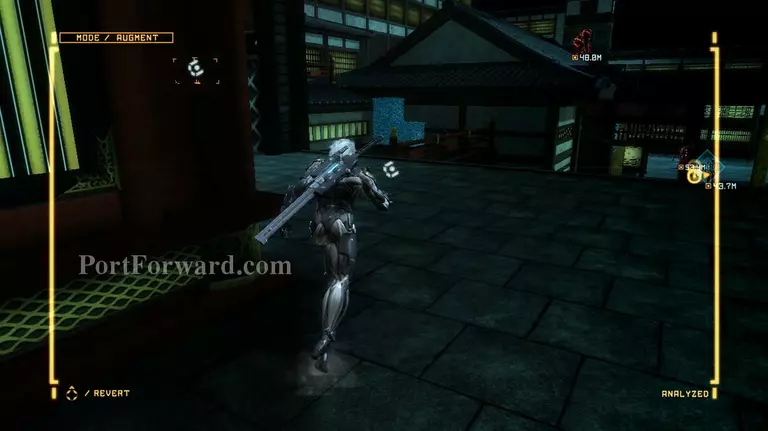
Turn left as soon as you leave the tatami room. You'll see a Mastiff standing on the roof. Climb up on the roof behind where the Mastiff is standing and assassinate it.

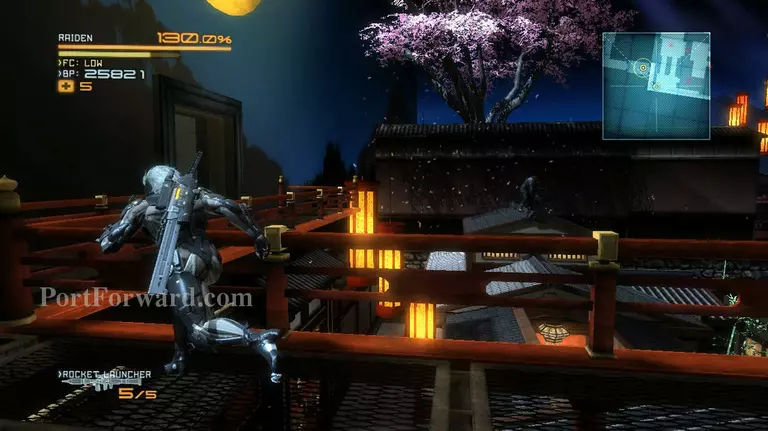
Continue to the left side and jump towards the red box near the roof. Climb on top of it and use the rooftops to get to the other side undetected.
Get on the highest catwalk and make your way to the elevator at the end of it. You can also kill everything in the room, but I would suggest for you to preserve your health kit and HP for later.
Follow the corridor and head inside the next security gate. Eliminate all of the Desperado operatives and head for the elevator on the other side of the glass.
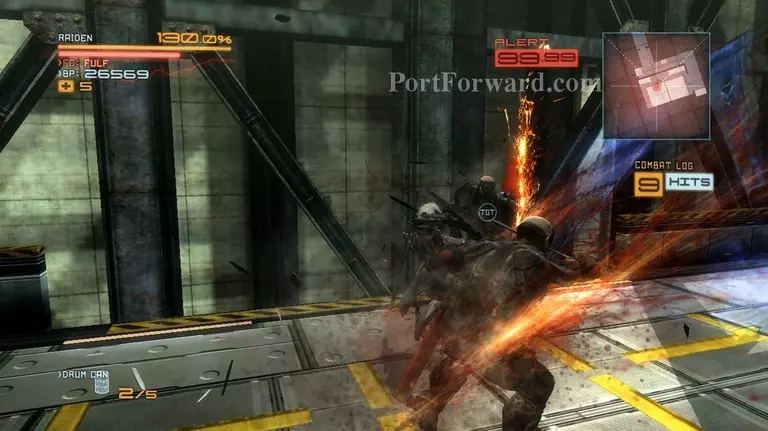
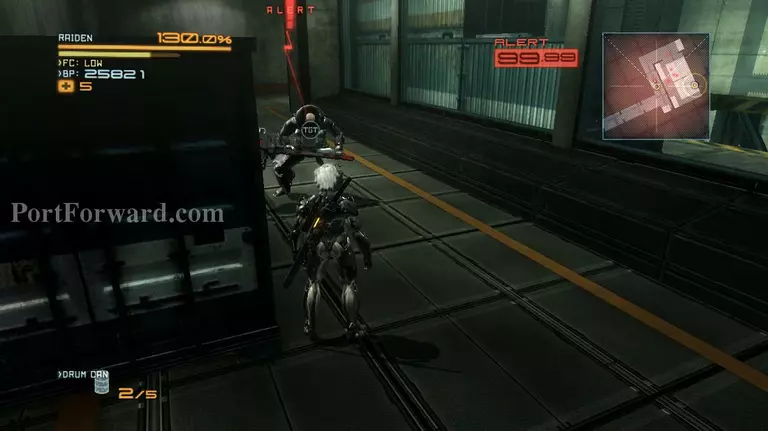
Activate the elevator and Desperado operatives will start jumping down in groups and attacking you. There's a lot of them and it's a long way up. Equip the polearm and start going rabid on them.
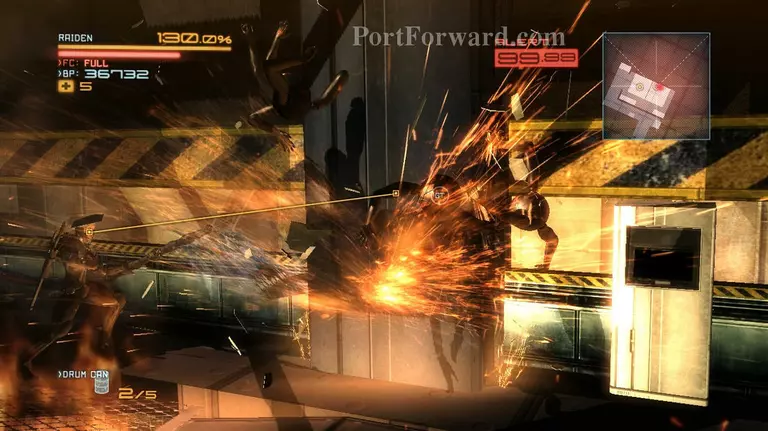
After a while your elevator will get bombed and you'll have to jump towards the next one. But before you can do that a bunch of Dwarf Gekkos will try to stop your elevator from moving. Destroy them, then wait for the elevator to catch up to the next elevator, then jump on the other one and leave the broken one to explode.
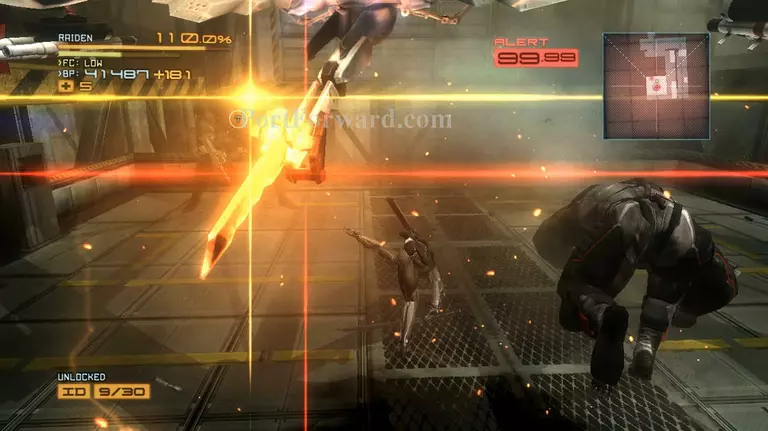
"You'll have a short break before a group of 2 Mastiffs and 2 Sliders attack you. This is actually a lot harder than it sounds.
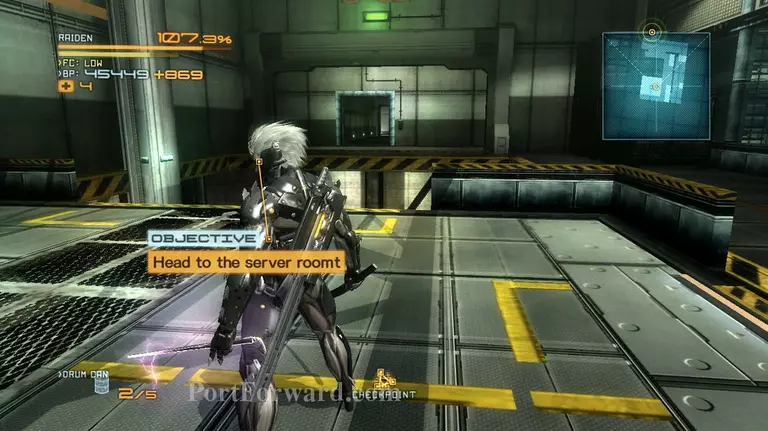
When the elevator reaches the top floor, head for the entrance right in front of the elevator and follow it until you get a call from Doktor.

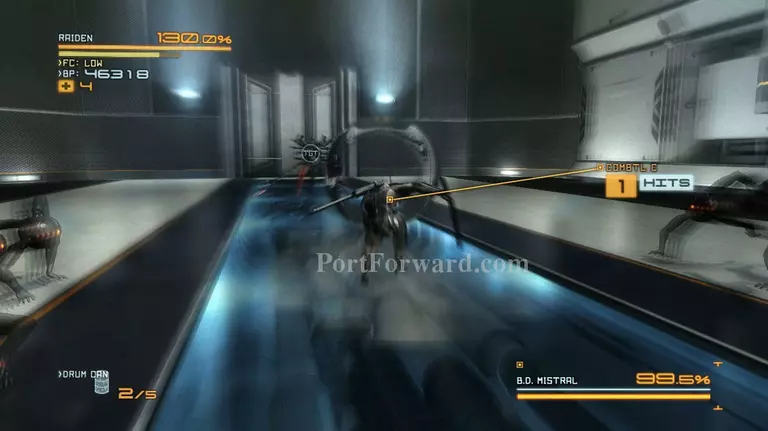
Turn right on the first corner and go through the security door, then head for the next room. In this room you'll have to re-battle Mistral, or at least her spare body. She'll be the same as the first boss, but easier. Equip the Sai that you go from Monsoon for this battle.
The Sai is really usefull, since throwing it at Minstral can cause her AI to flunctuate. Giving you an opening for an attack. The only downside is that you're open to Dwarf Gekko attacks.
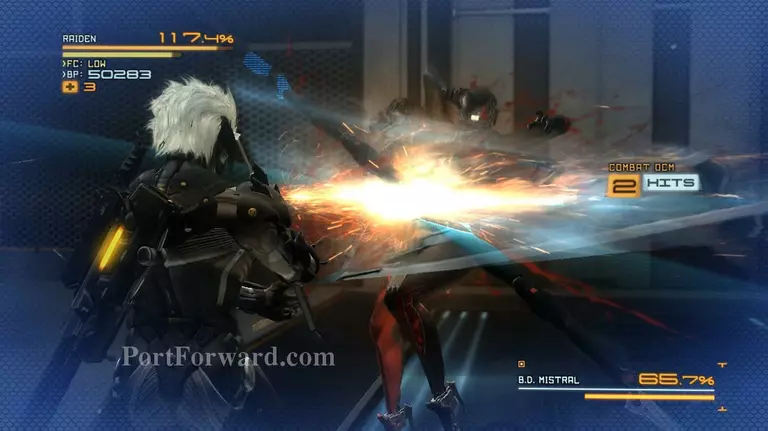
When you deflect her weapon, make sure to only aim for the weak part (blue highlight) hitting the wrong spot twice will cause her to recover. You also need to completely deplete her health (0.0%) to destroy her.
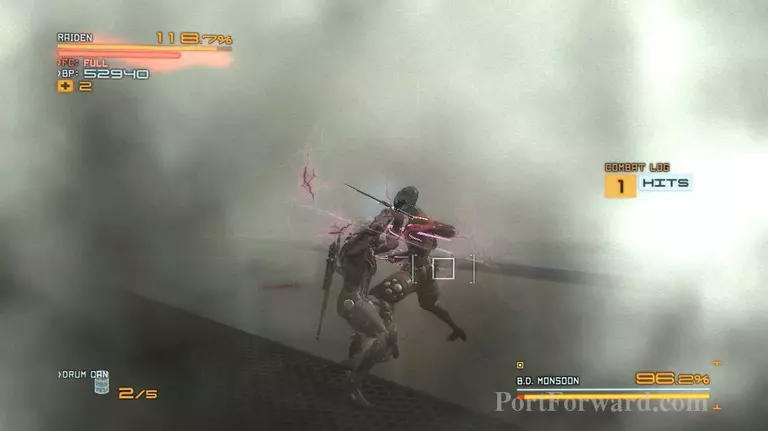
After Mistral, you'll have to fight Monsoon's spare body. It also attacks the same way Monsoon does, minus the whole Blade mode part of the battle.
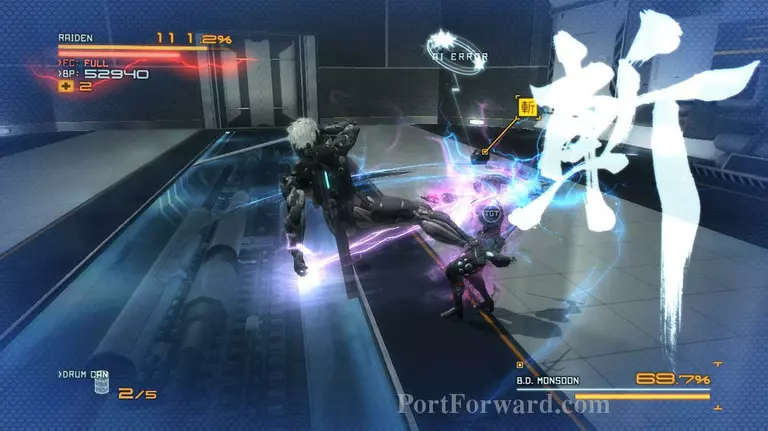
You should also equip the Sai for this battle. For some reason throwing the Sai at him (Y) while he's in invinsible mode makes him stunned and open for your blade mode attack.
Other than that the only thing you need to watch out for is that when you hit the sphere on his head during blade mode, it's really hard to find his head so make sure to follow the direction that it flew in.
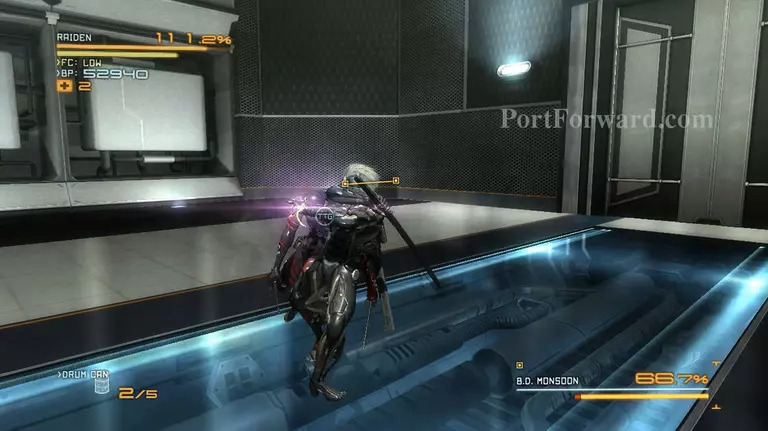
After destroying both Mistral's and Monsoon's spare body, head through the only door in the room and you'll get to the server room. Approach the platform at the middle of the room to start a cutscene.
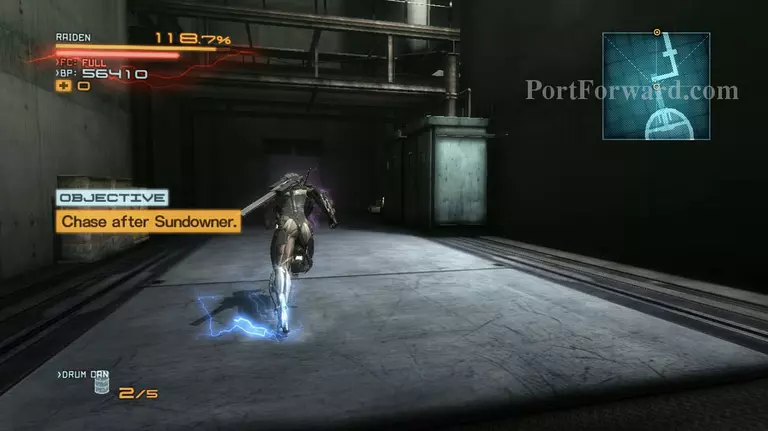
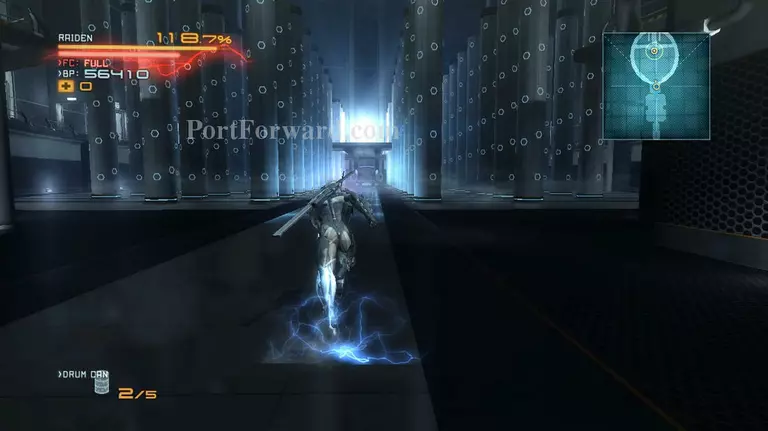
After the cutscene, follow Sundowner up the next floor. Ninja run towards the generator at the right side of the wall to get up to the next floor. Then follow the corridor and towards the Helipad.
More Metal Gear Solid: Rising Revengeance Walkthroughs
This Metal Gear Solid: Rising Revengeance walkthrough is divided into 20 total pages.