
This Metal Gear Solid: Rising Revengeance walkthrough is divided into 20 total pages.
You can jump to nearby pages of the game using the links above.
Research Facility
Once inside, destroy the cameras and head for the entrance at the far left end of the corridor.
Climb up the stairs and destroy both of the cameras that are surveying the area. Then activate the door at the top of the stairs and enter through it.
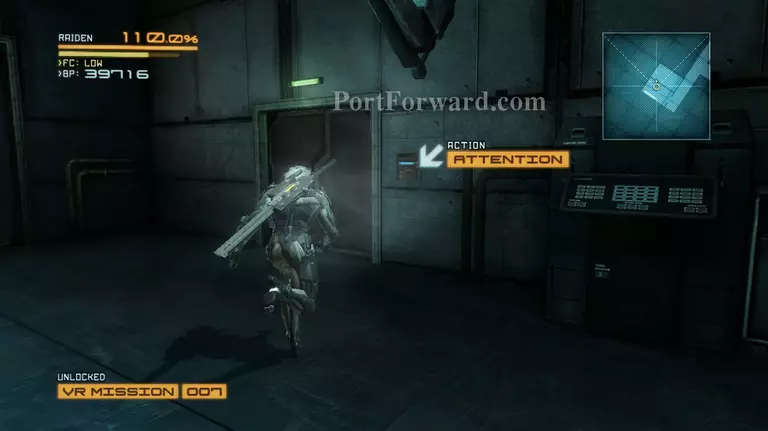
Head through the long corridor and activate the switch at the end of it. Doktor will inform you that you need to find a UG that you can hack, then head inside the next area.
There are three soldiers guarding the floor below. Kill them, then kill all the other back up that comes in the room. Head for the door on the right side and open it via the switch once you're done.
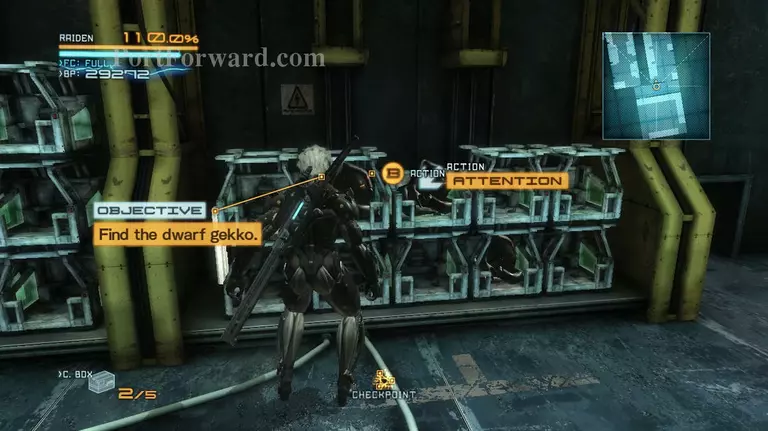
After the cutscene you'll be forced to fight more soldiers in the previous room. Take care of them, then head for the door that they came in through from, which was previously closed. Approach the inactive Dwarf Gekkos and press B to hack it.
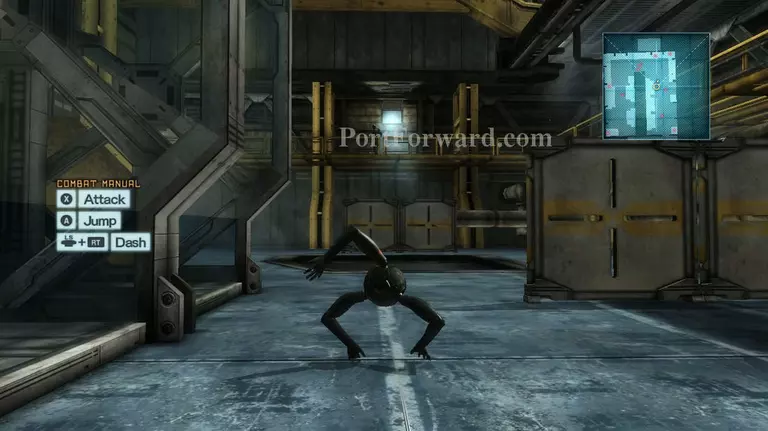
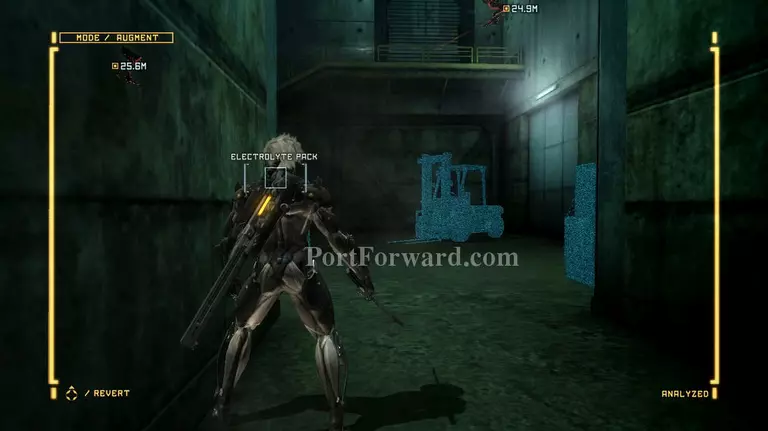
Once you've gained control of the Gekko, head forward and you'll see a small vent that's emitting light directly in front of where you are. You can take out guards by standing behind them and pressing B. Although you may wanna leave them for later.
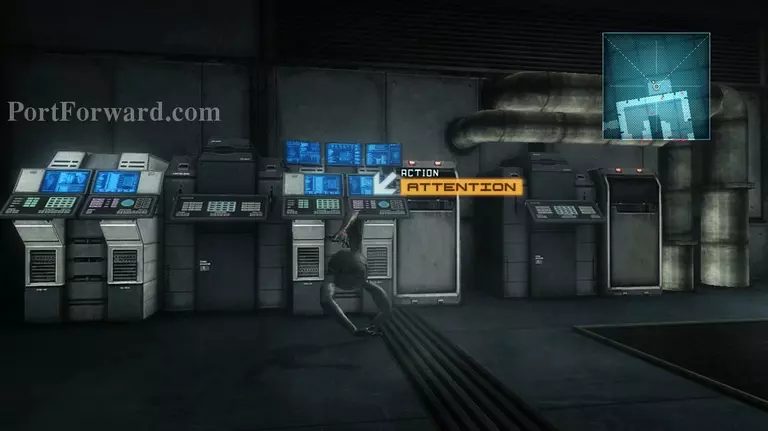
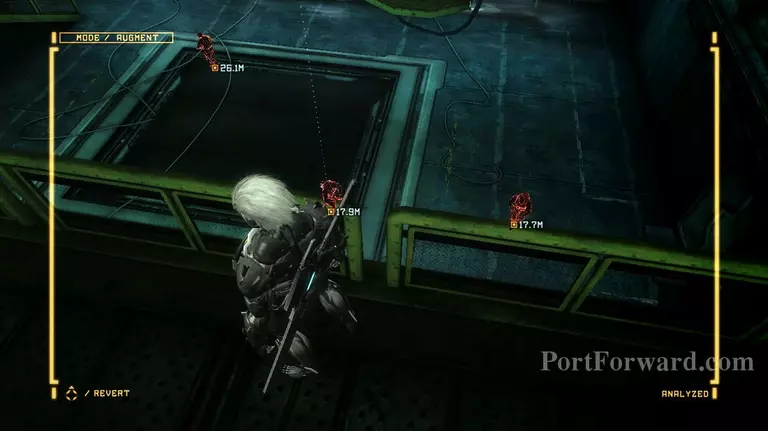
Get to the top part of the catwalk and jump through the vent to get in the terminal room. Approach the PC and press B to start taking information from it.
You'll go back to Raiden after getting the much needed information. The shutter will also open and you'll be able to go inside. Kill all of the enemies that are patrolling the area.
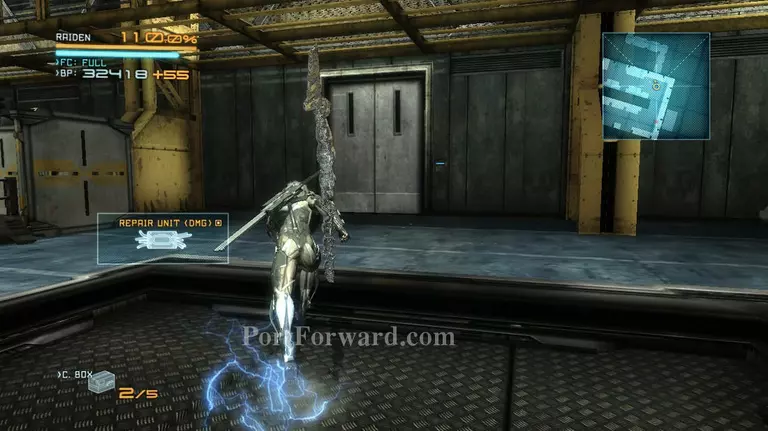
Then head for the electronic door at the end of the first path. Activate it and get inside, you'll then be informed that George is missing.
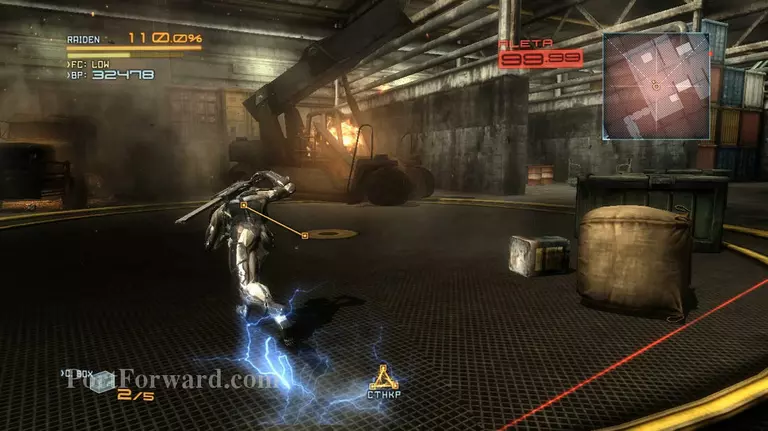
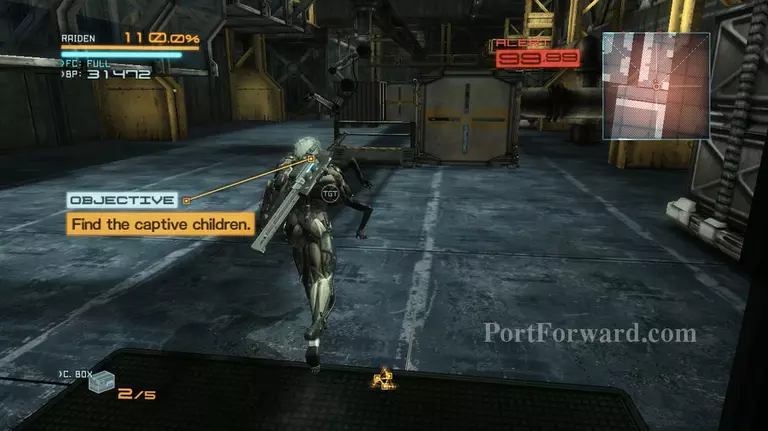
Head through the room and exit through the other door at the opposite end of it. A Desperado tank will be waiting for you in the next area. Quickly run towards the left side wall, always run using ninja run to avoid getting hit by the guns and missiles.
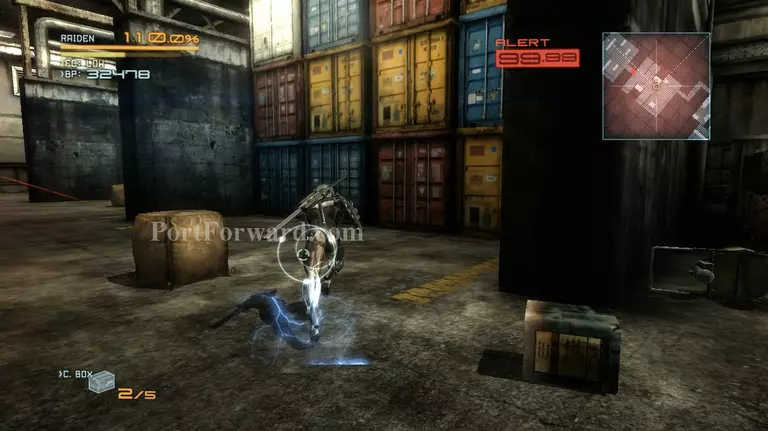
Now dash towards the wall on the left side. Keep dashing across to the oppossite sides of the room until you get to the last wall right beside the tank.
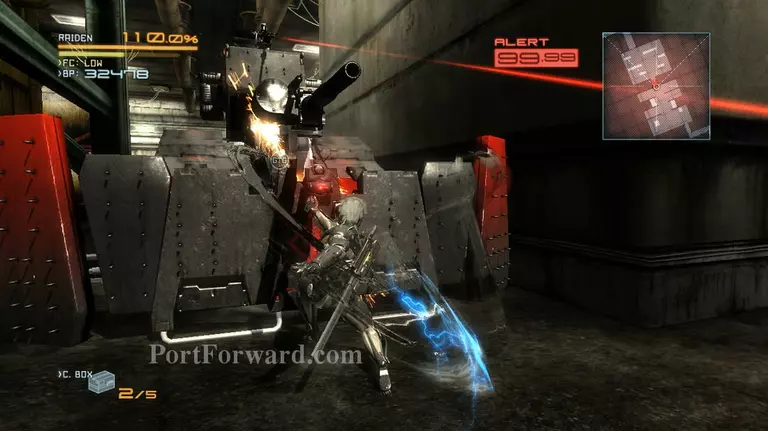
Approach the tank and start attacking it to push it back. Be careful cause it will attack you and attempt to push you back in the process. Just parry its attack, then continue pushing it.
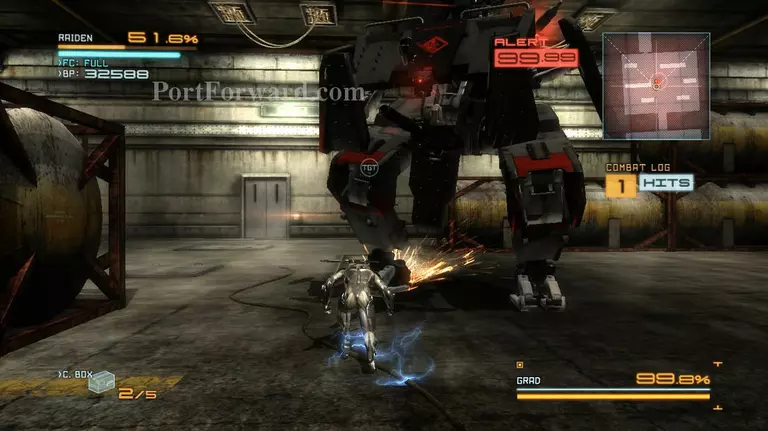
After pushing it into the back room, the tank will transform into a robot. It has shields so your sword won't be very effective, but the polearm is.
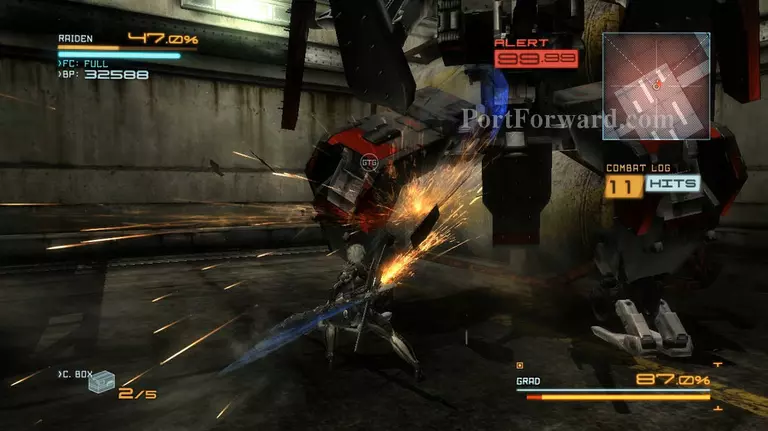
Run after it, because it will run a lot and try to drive it to a corner. Then just keep on attacking it with the pole arm while occasionally blocking its blows. Eventually parts of its shield will start to glow and you'll be able to go into blade mode and destroy them.
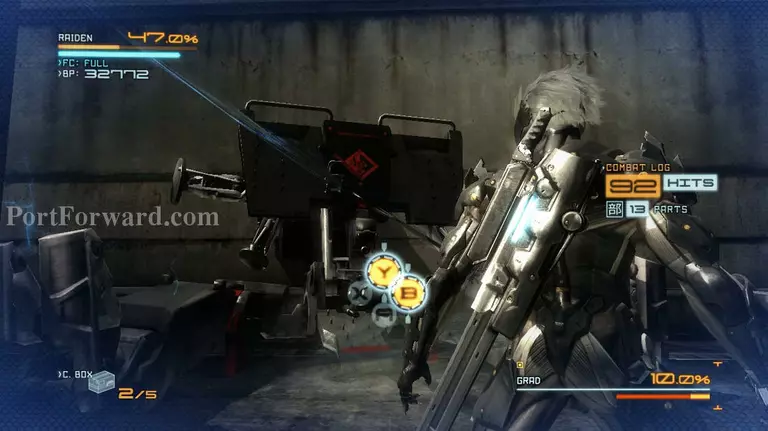
When its HP falls to 10% QTE will activate. Press the buttons on the screen, then go into blade mode and shred the GARD's shield. Then go into blade mode again and destroy its main body.
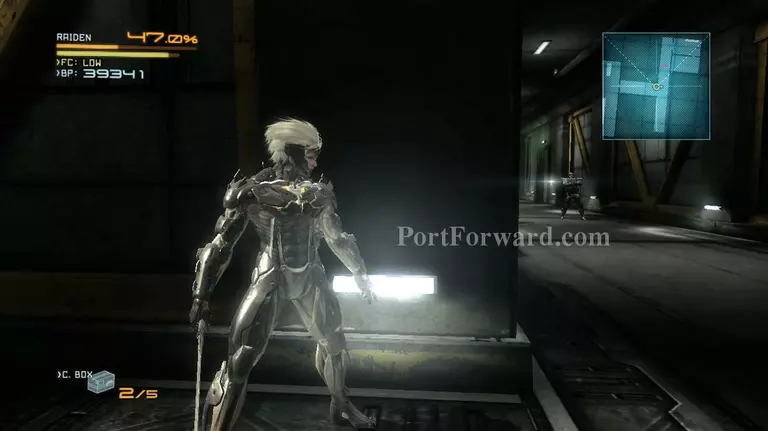
Open the door at the bak side of the room after killing the tank. Then head through the corridor, but don't exit yet. Stay close to the wall and shift your view, you'll see 2 soldiers waiting for you with rocket launchers. Equip an EM grenade and throw it at them, then finish them off while they're dazed. Then enter the door on the right side of the corridor.
Once you're inside the lab, head for the door on the right side and open it. The last cutscene for this level will play. Make sure to upgrade your polearm and HF blade at the upgrade menu after the mission.
More Metal Gear Solid: Rising Revengeance Walkthroughs
This Metal Gear Solid: Rising Revengeance walkthrough is divided into 20 total pages.


