
This Metal Gear Solid: Rising Revengeance walkthrough is divided into 20 total pages.
You can jump to nearby pages of the game using the links above.
R-02: Research Facility

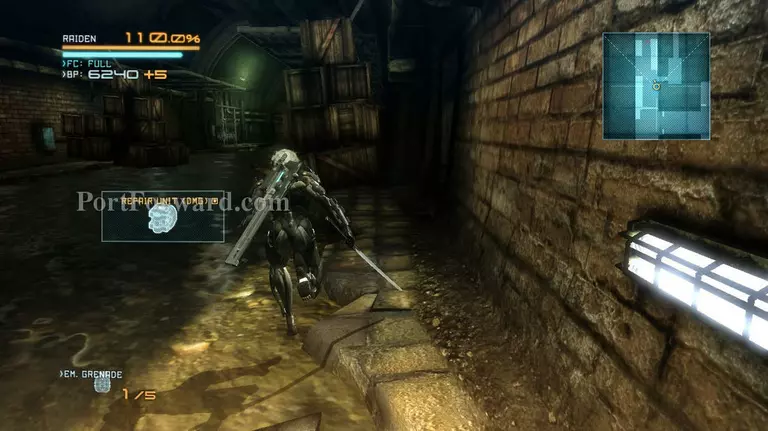
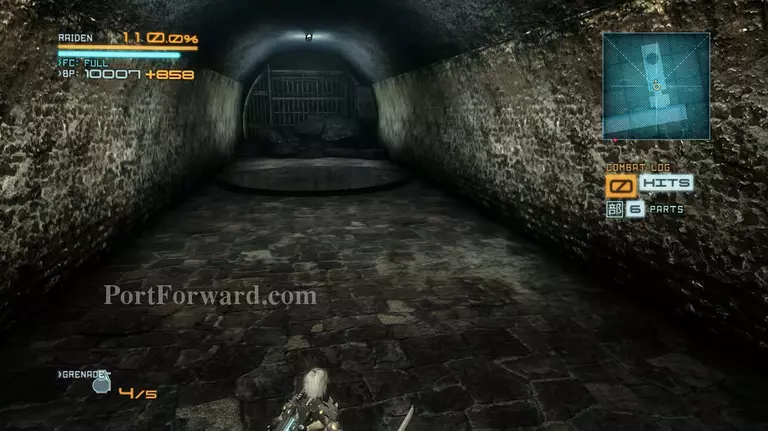
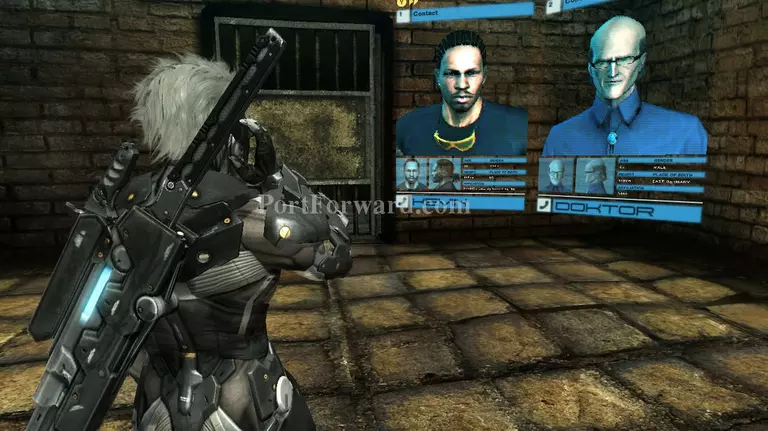
After a briefing with Kevin, head for the end of the sewer tunnel and turn right. Then turn left at the first corner and you'll be ambushed by a Mastiff.
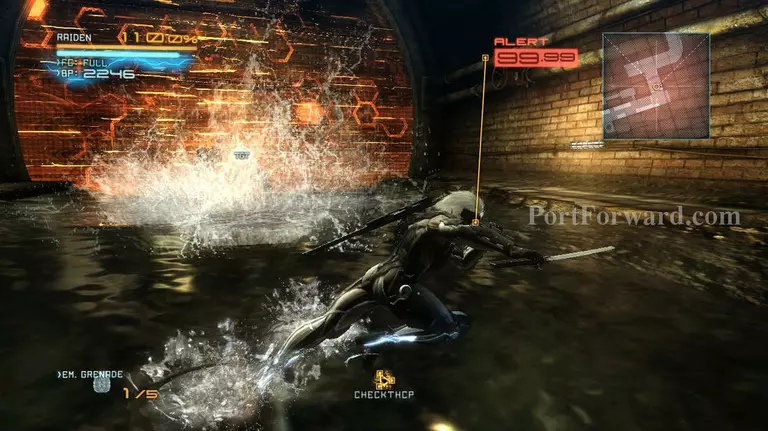
"Mastiffs are probably one of the hardest UGs to deal with. It has massive power and is quick, not to mention it has guns too and is hard to parry.
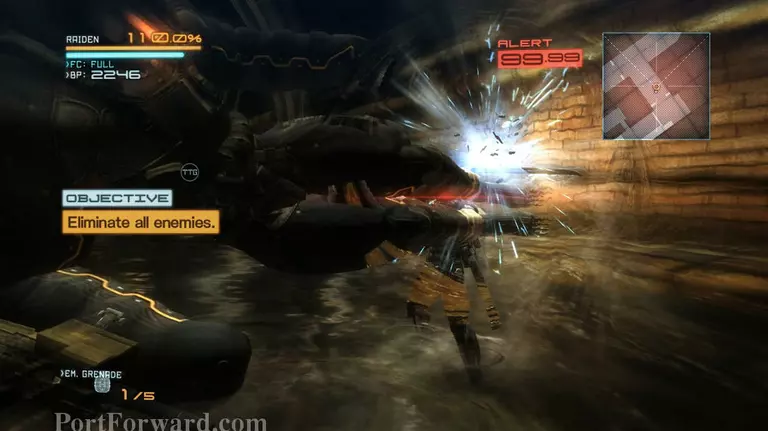
But what really makes this guy hard is that it moves around a lot and is hard to learn parrying times. Deflecting it once also doesn't do the job. That's why you need to upgrade the polearm cause it's gonna be your bestest best friend when taking care of these stronger UGs.
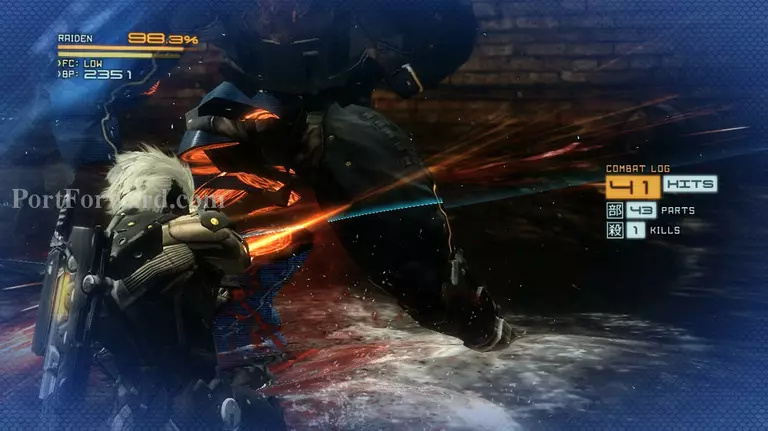
Keep parrying its attacks, then beat it up with the polearm until its limbs start glowing. When it does, parry it at the right time and chop off the limb until the Mastiff dies.
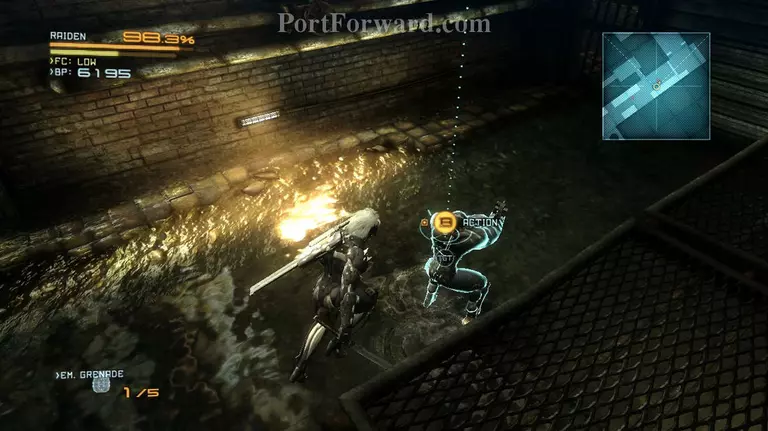
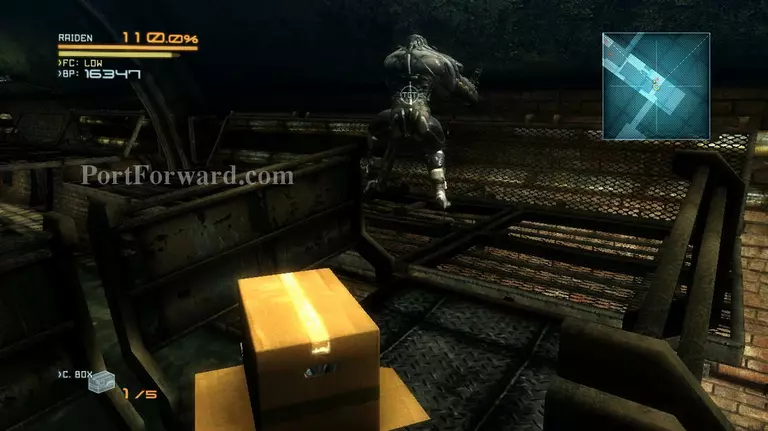
After defeating the first Mastiff you should realize how hard it is to deal with them, let alone two of these. Head through the sewer gates and climb up the stairs on the far end of the tunnel. You'll see two Mastiffs immediately. Get near the side of the platform and wait for the action button to appear, then press it and drop assasinate the Mastiff.
Quickly turn around and head for the stack of boxes on the right side. Climb up and head for the second Mastiff.
Once it's in view, you can either drop assassinate it or jump down and approach it from behind. Both work just fine, but dropping down will require you to be precise with your distance to the Mastiff or you could alert it.
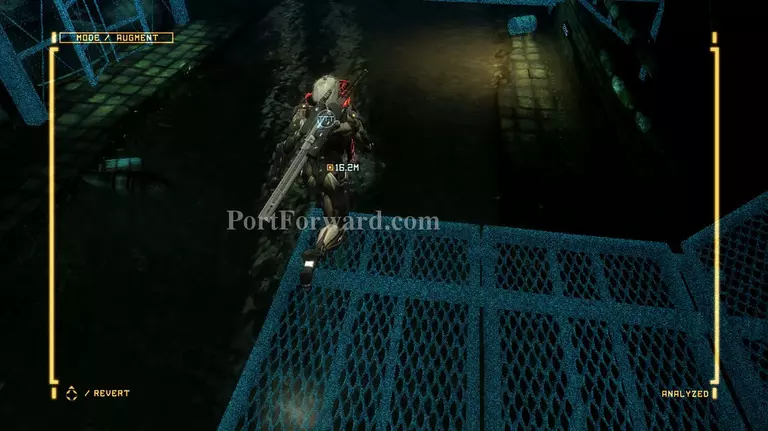
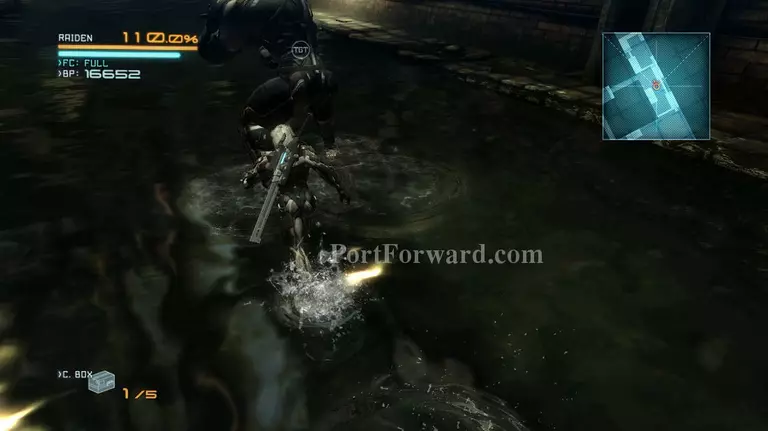
After killing the Mastiffs, head for the right side wall and you'll find a large hole just beyond the mesh gate. Slice up the mesh gate and drop down on the hole.
Once you drop down the blade wolf will inform you that there's a boy in the sewers. Follow the sewer tunnel and destroy any Dwarf Gekko that comes to attack you. They'll spot you no matter what you do.
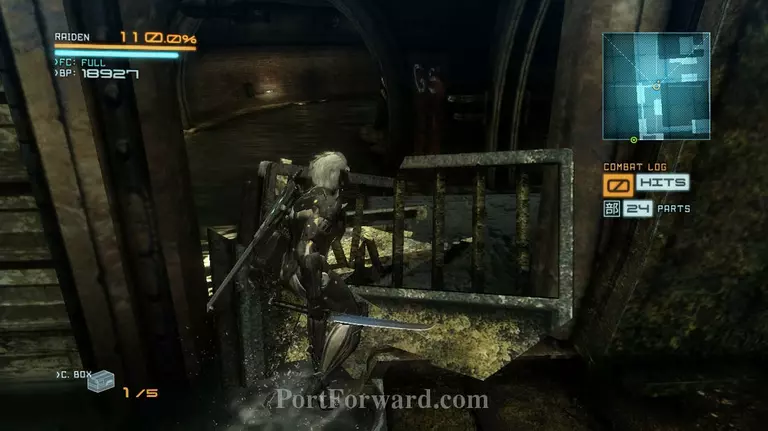
At the end of the tunnel, turn left and you'll find a metal gate. Slash it and it will get cut, allowing you to pass through it. Drop down on the hole at the end of the passage.
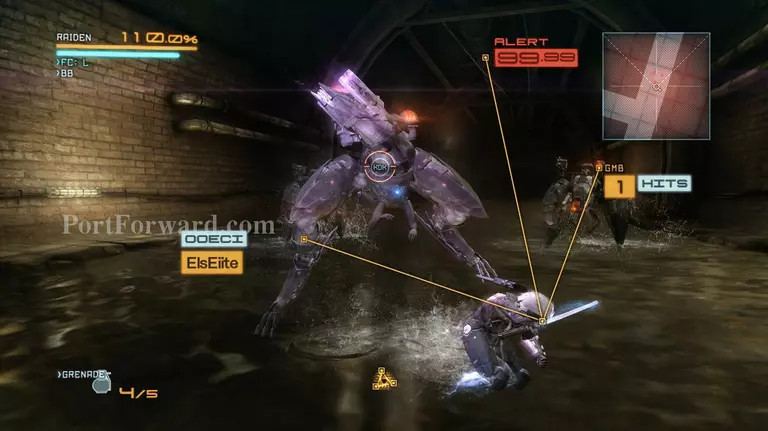
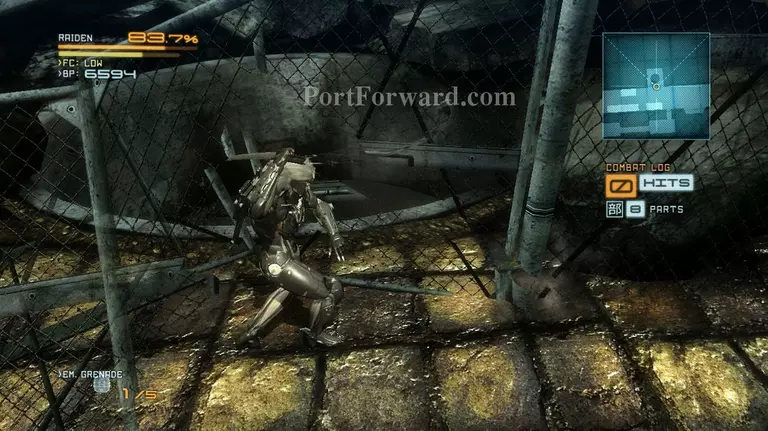
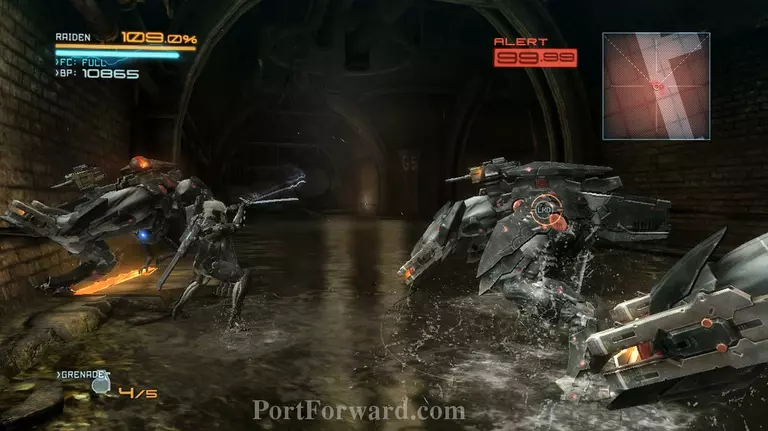
Raiden will have to save George from the Raptors that have come after him. This guys, much like the Mastiff require a bit of effort to take down. Most of its attacks can be parried, except for when it shoots out the purple balls.
Another problem with these is that even when you do a perfect parry, it will jump back and avoid Raidens second hit. Meaning you can't go into blade mode so quickly. Just take out the pole arm and start smashing them with it.
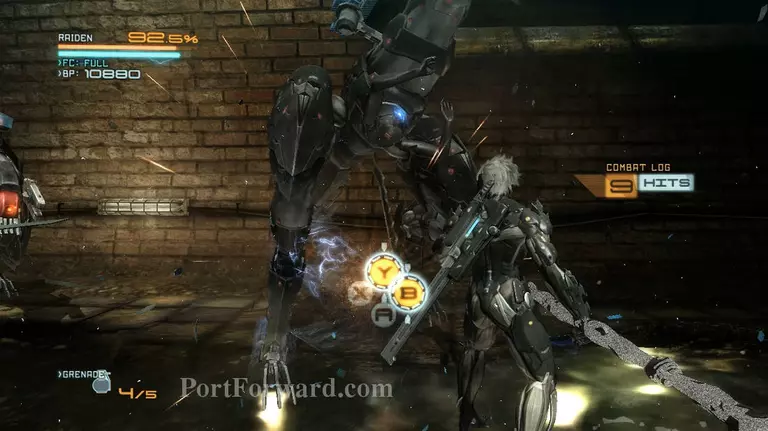
Once dazed QTE will take place and you'll be able to take it down quickly. Make sure to focus on one Raptor at a time to avoid lengthening the battle.
George will tell you where the entrance to the lab is. Head for the metal door at the end of the tunnel and slice it open then head inside.
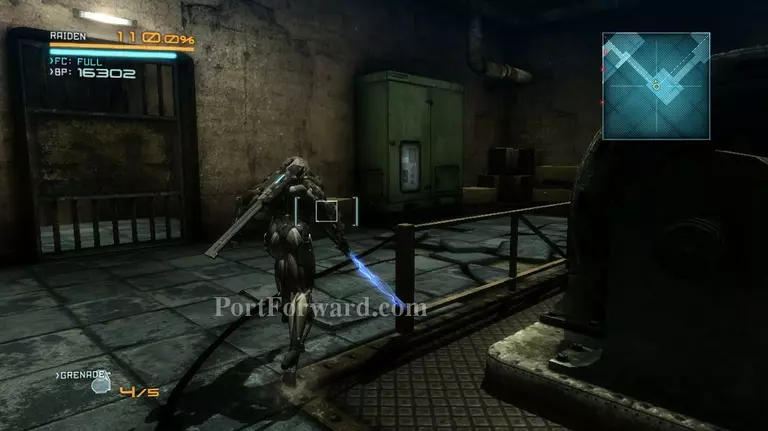
As you head through the door, the blade wolf will inform you that there is a lot of UGs patrolling the next area. Go towards the steel gate on the right side corner of the room and take the box. Equip it in your secondary weapon slot, like where you place grenades. You need to hold the LB button to hide under it.
Slice up the gate and head down to the next area. Hide inside the box and head for the bridge that connects the catwalks. Wait for the Mastiff to turn its back on you then assassinate it.
Go back under the box and wait for the Mastiff that's patrolling the flooded path below to pass you. Then run towards the Mastiff at the end of the catwalk and assassinate it.
Hide inside the box again and wait for the Mastiff that's on the water to turn around, then leave the box and assassinate the last one.
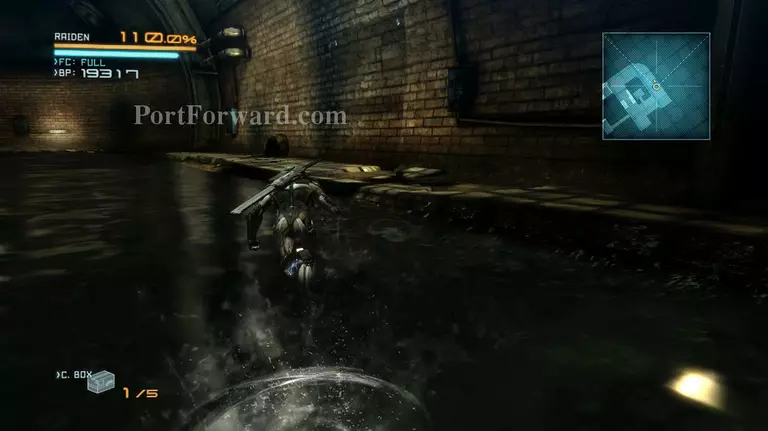
Head for the end of the sewer tunnel and you'll find another gate that you can slice up. Destroy the gate and jump down to the lower level.
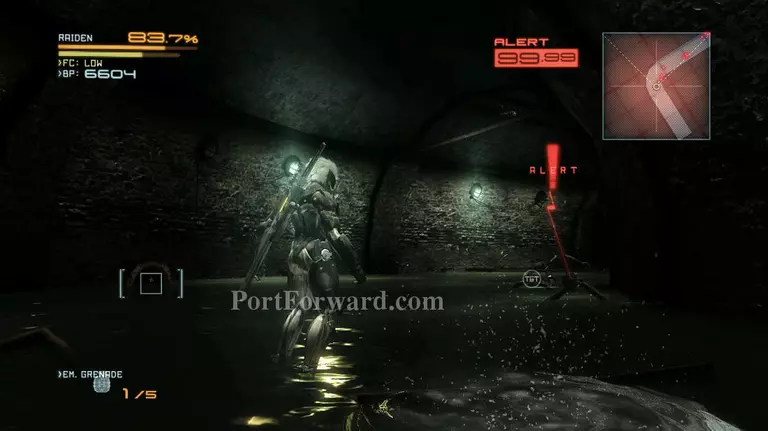
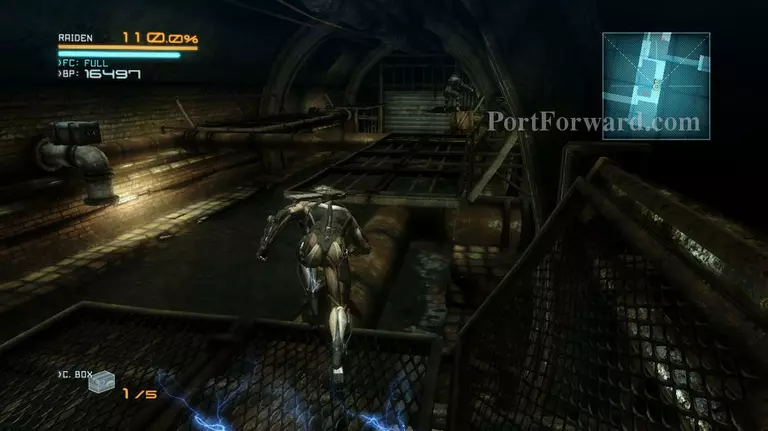
As soon as you climb down, you'll notice that there's a red dot on your map that's moving around the area in a counter clockwise manner. This is a huge UG, one that you can completely avoid fighting.
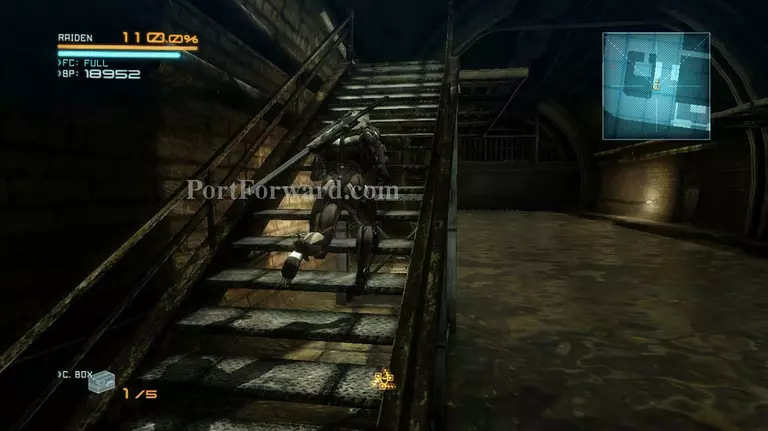
Head up the stairs and hide inside the box. Wait for it to pass, then follow behind it until you get to the northern corridor. You'll find a wall near the power lines that has some odd circular metal thing near the middle section. Approach the wall and slice it to reveal the lab entrance.
More Metal Gear Solid: Rising Revengeance Walkthroughs
This Metal Gear Solid: Rising Revengeance walkthrough is divided into 20 total pages.


