
This Overlord walkthrough is divided into 39 total pages.
You can jump to nearby pages of the game using the links above.
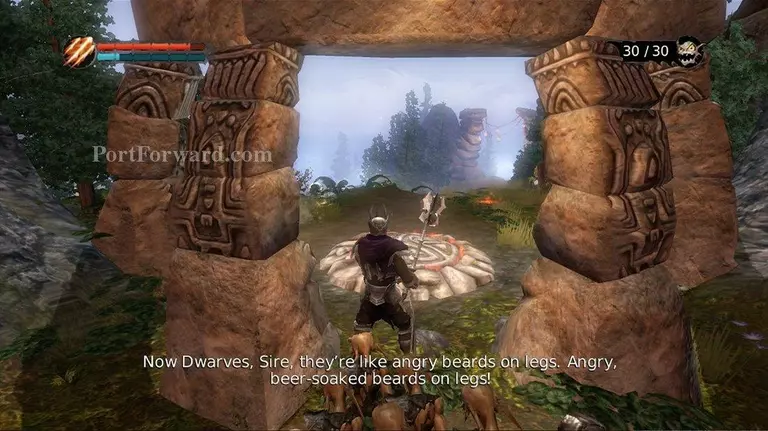
Golden Hills
Follow this path. You will come upon the tower teleporter and summoning pits.
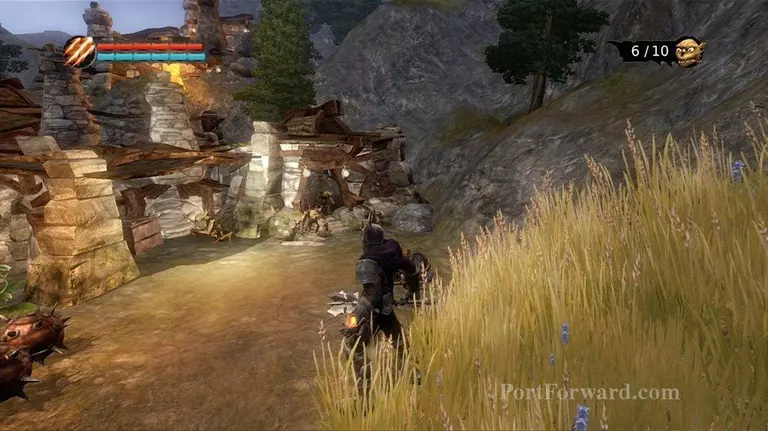
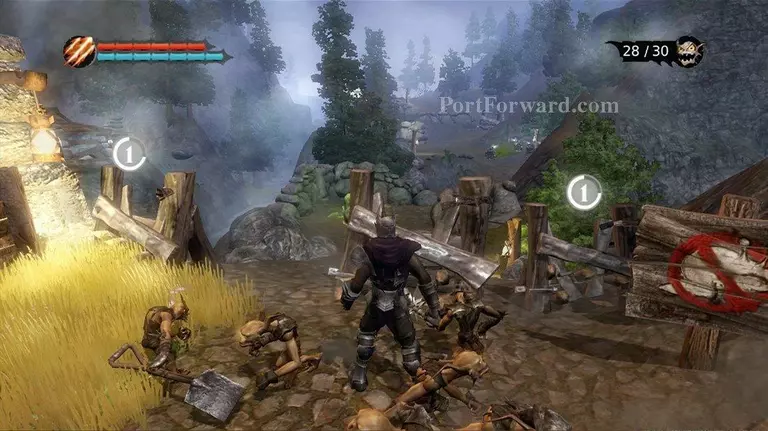
Follow the path down. Take the right path. This leads to the dwarven village. Sweep your minions in to the houses to kill them for good.
Up the hill on the right is a tower object. Have your minions grab it. It will increase mana.
To the left of the bell is the path you want. After the arch you will see slugs coming out of the ground. Have your minions push the cart over the hole.
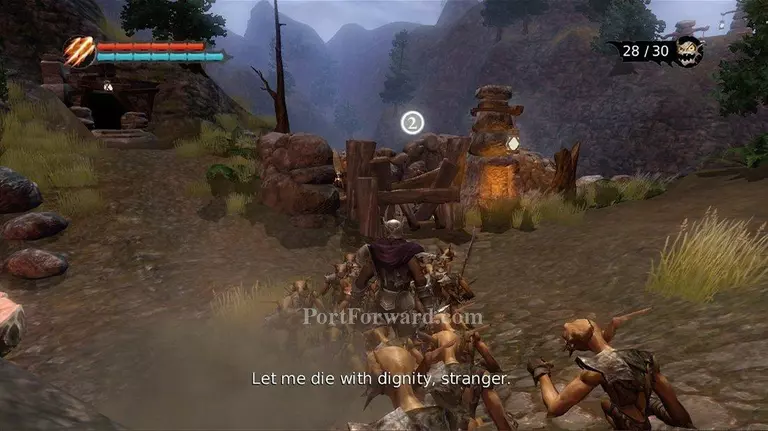
To the right are some trapped elves. Have your minions free them. Corrupt Then kill them for corruption.
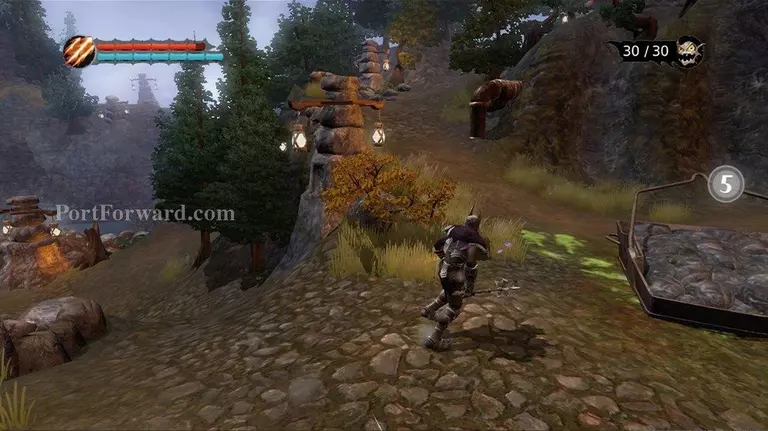
When the fence is broken dwarves attack. Go back to the slug hole you plugged and then to the left. Follow this path to the dwarven party zone.
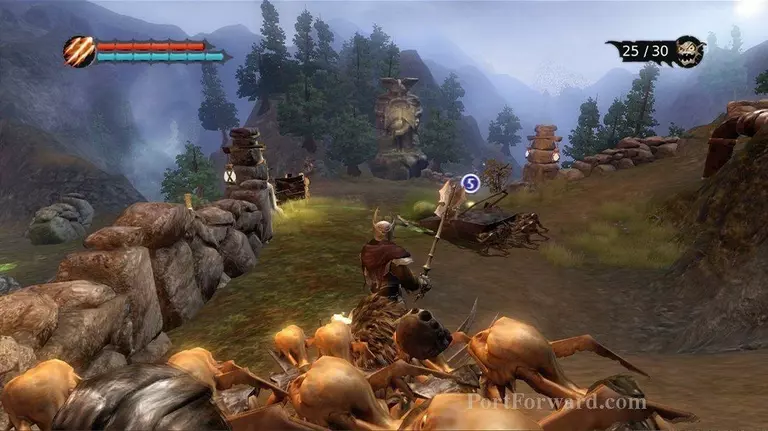
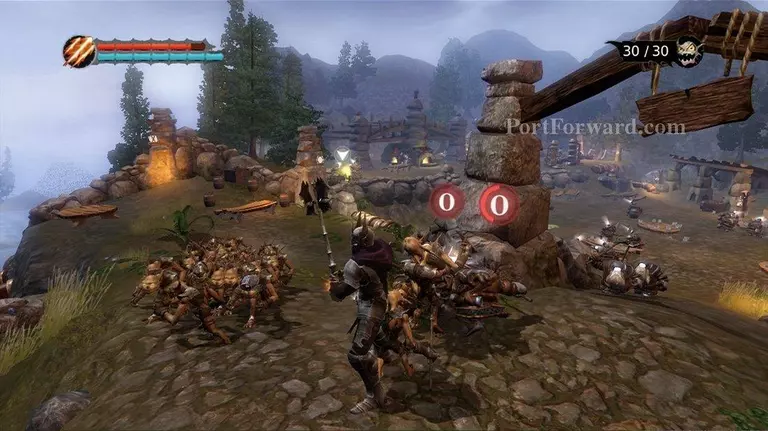
Sweep the area of dwarves.
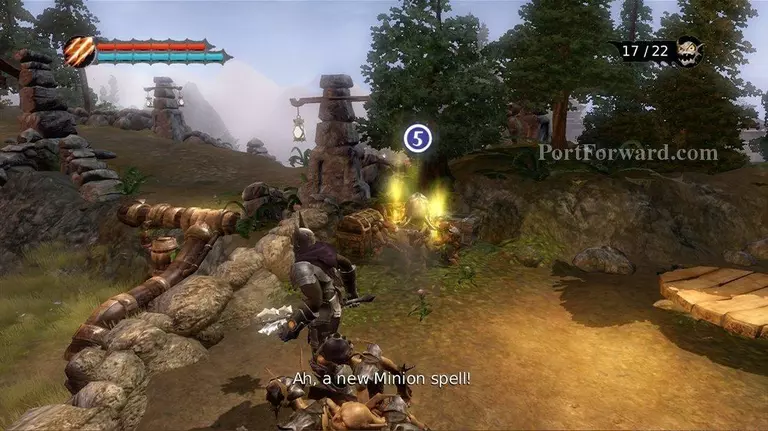
In the area in the back on the left side is a tower object. It is the level 3 upgrade of the minion spell. Have your minions grab it.
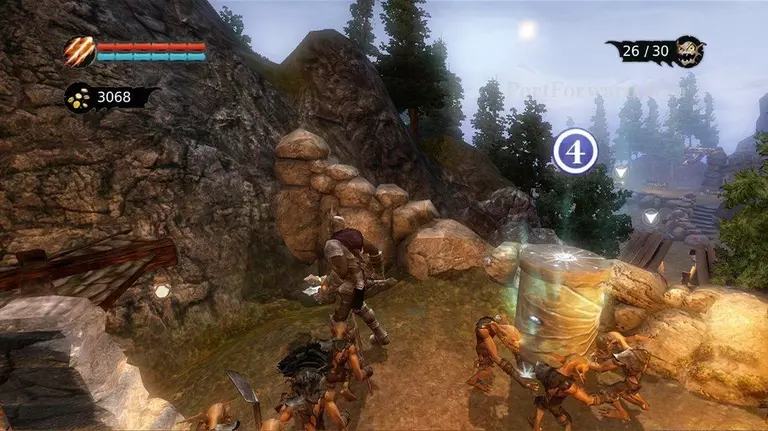
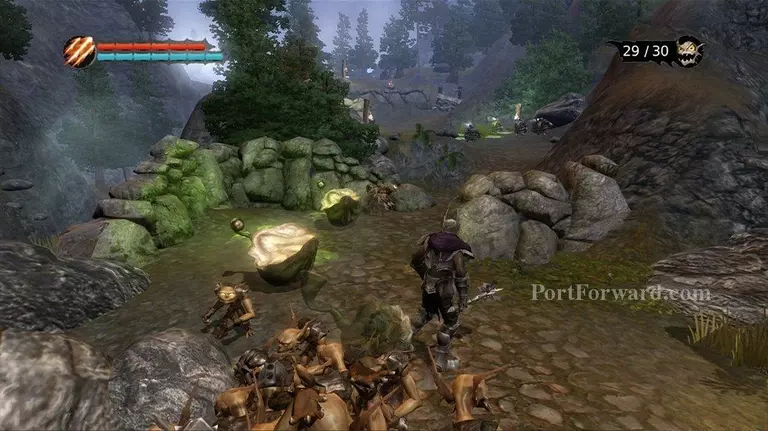
Go back to the slug hole you plugged. There is a barricade with slugs after it. Have your minions break the barricade down.
Follow the path killing slugs and dwarves.
A cut scene will begin when you get near the wheel to make the bridge back to the teleporter. Have your minions use the wheel.

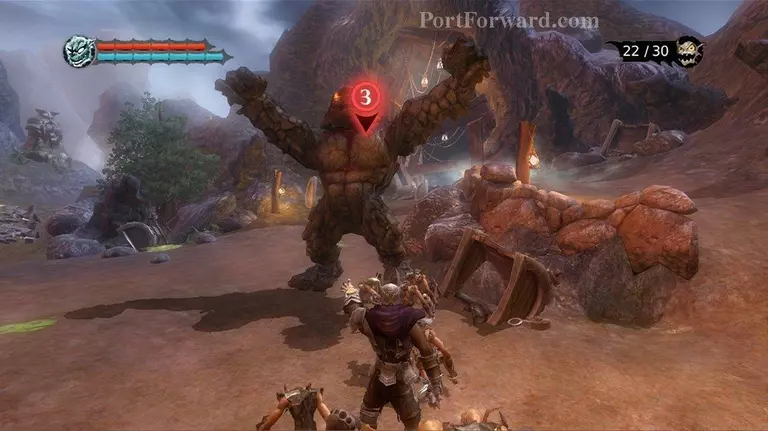
Now it is time to take care of the rock monster. Just swarm the monster and it will go down quickly.
Enter the Glittering Mine.
More Overlord Walkthroughs
This Overlord walkthrough is divided into 39 total pages.


